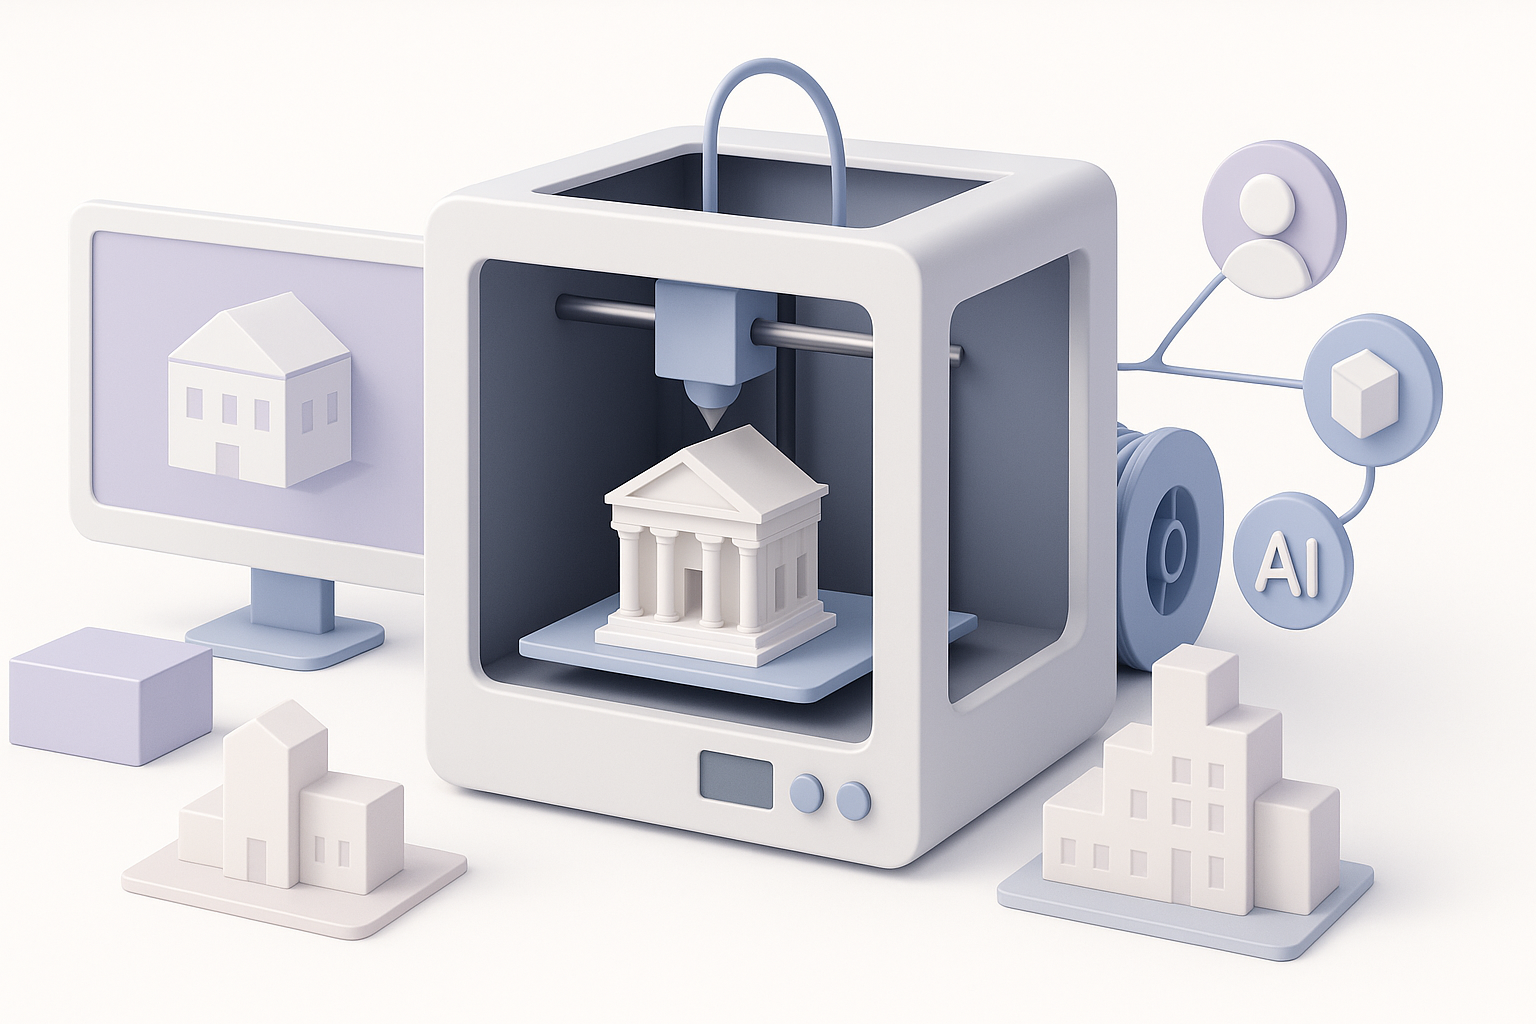
Choosing the Best 3D Printer for Architectural Models
Selecting the right 3D printer for architectural models is crucial for efficiency, accuracy, and presentation quality. Over years of hands-on experience, I’ve learned that choosing the right printer and optimizing your workflow—especially with AI tools—can dramatically streamline model creation. This article is for architects, designers, and students looking to elevate their model-making process, minimize trial and error, and produce professional results. Below, I break down printer types, workflow steps, essential features, and my own lessons learned.
Key takeaways
- FDM, SLA, and SLS printers each have unique strengths for architectural modeling—choose based on your detail and material needs.
- Prepping digital models properly and using AI tools for segmentation and retopology saves significant time and reduces errors.
- Evaluate printers for build volume, resolution, reliability, and material compatibility.
- Post-processing is critical for presentation; don’t underestimate finishing steps.
- Common print failures can be minimized with careful model prep and troubleshooting routines.
Why 3D Printing is Essential for Architectural Models
How 3D printing transforms architectural workflows
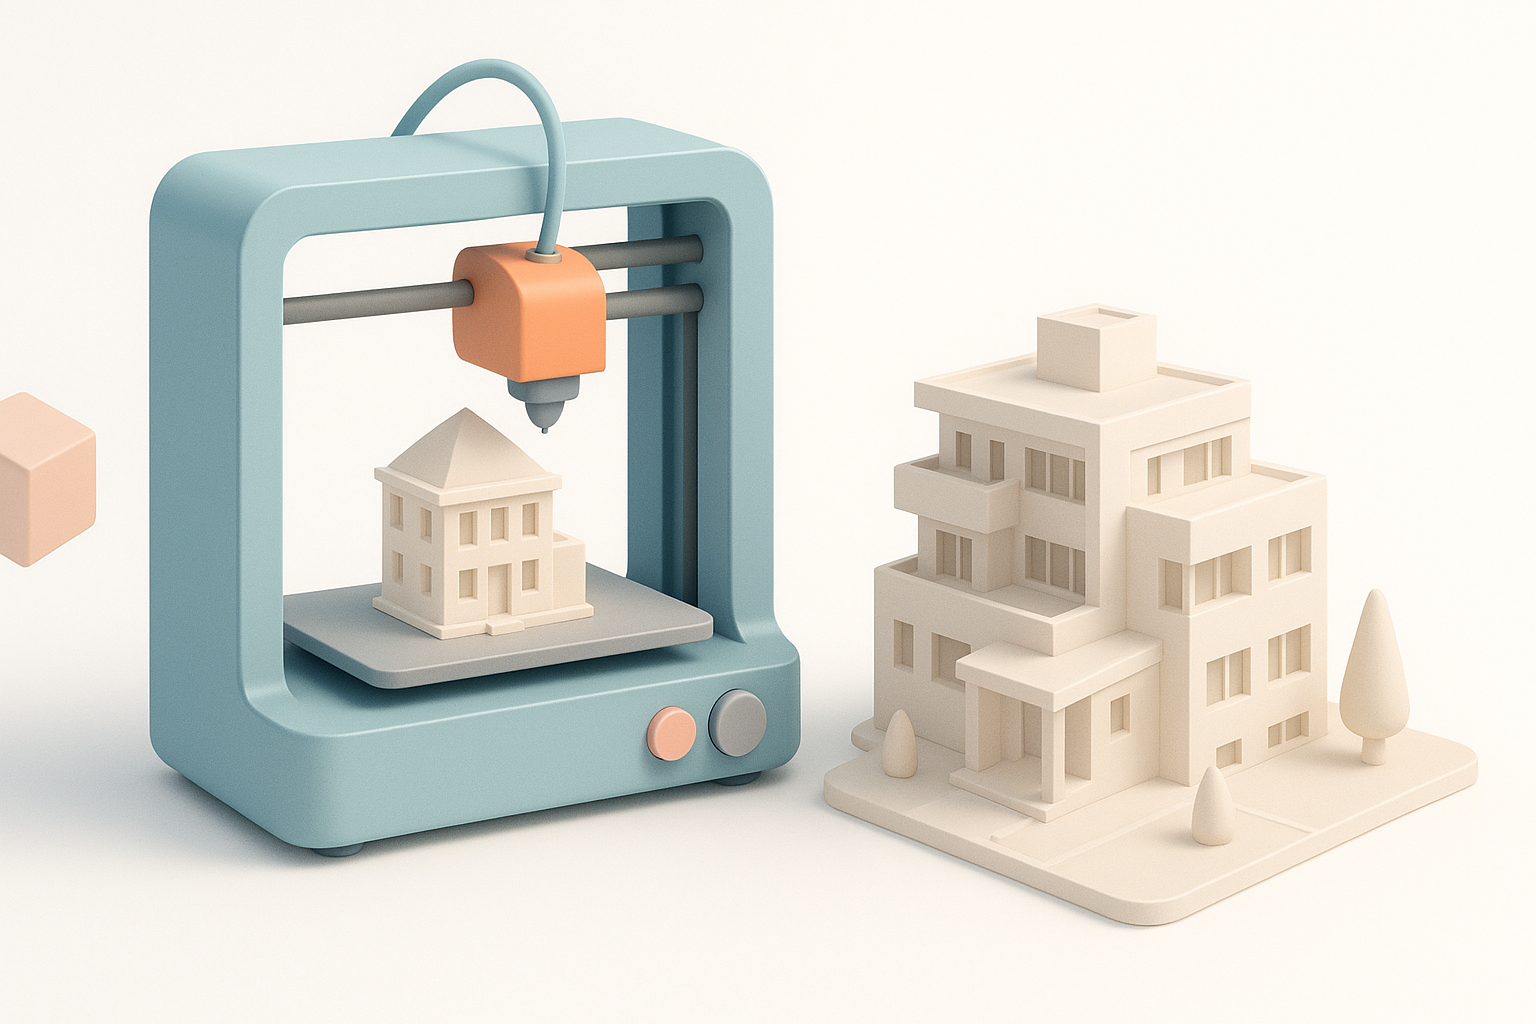
3D printing has fundamentally changed how I approach architectural models. Instead of labor-intensive handcrafting, I can rapidly iterate designs, test spatial relationships, and present complex geometries that would be impossible with traditional methods. This not only accelerates client feedback but also improves design accuracy.
Key benefits I’ve experienced in model creation
- Speed: What used to take days can now be done overnight.
- Complexity: Intricate facades and interlocking parts are now feasible.
- Cost savings: Reduced manual labor and material waste.
- Presentation: Models are more precise and visually impressive, boosting client confidence.
Types of 3D Printers Suitable for Architecture
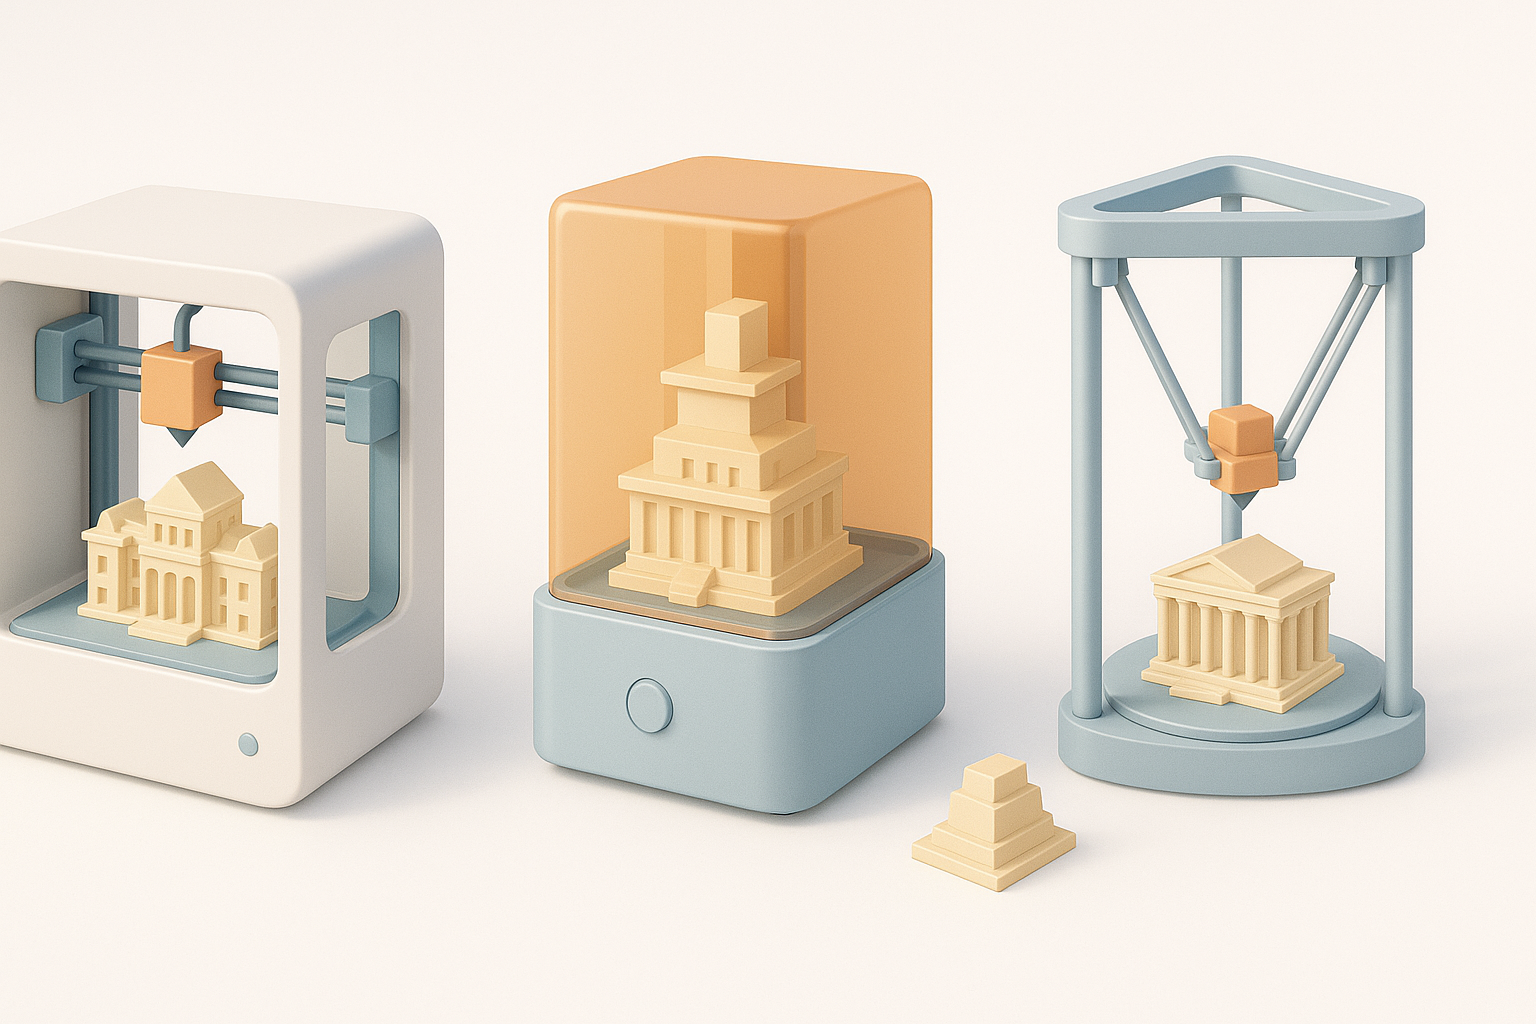
FDM vs. SLA vs. SLS: What I use and why
- FDM (Fused Deposition Modeling): My go-to for quick, large-scale massing models. It’s affordable and easy to maintain, but struggles with fine details and smooth surfaces.
- SLA (Stereolithography): I use SLA when surface finish and detail are critical—think façade studies or presentation models. Resin prints capture sharp edges and tiny elements.
- SLS (Selective Laser Sintering): Ideal for complex, interlocking parts and higher durability. I reserve SLS for models needing moving components or robust prototypes.
Tip: For most architectural work, I recommend starting with FDM for rough studies and SLA for final presentations.
Material choices and their impact on model quality
- PLA/ABS (FDM): Cheap and easy, but can warp or show layer lines.
- Resins (SLA): Excellent for detail, but brittle and require careful handling.
- Nylon/PA12 (SLS): Strong and flexible, suitable for intricate, functional parts.
Checklist:
- Match material to the model’s purpose—presentation, study, or functional prototype.
- Consider post-processing needs (sanding, painting, assembly).
My Step-by-Step Workflow for Printing Architectural Models
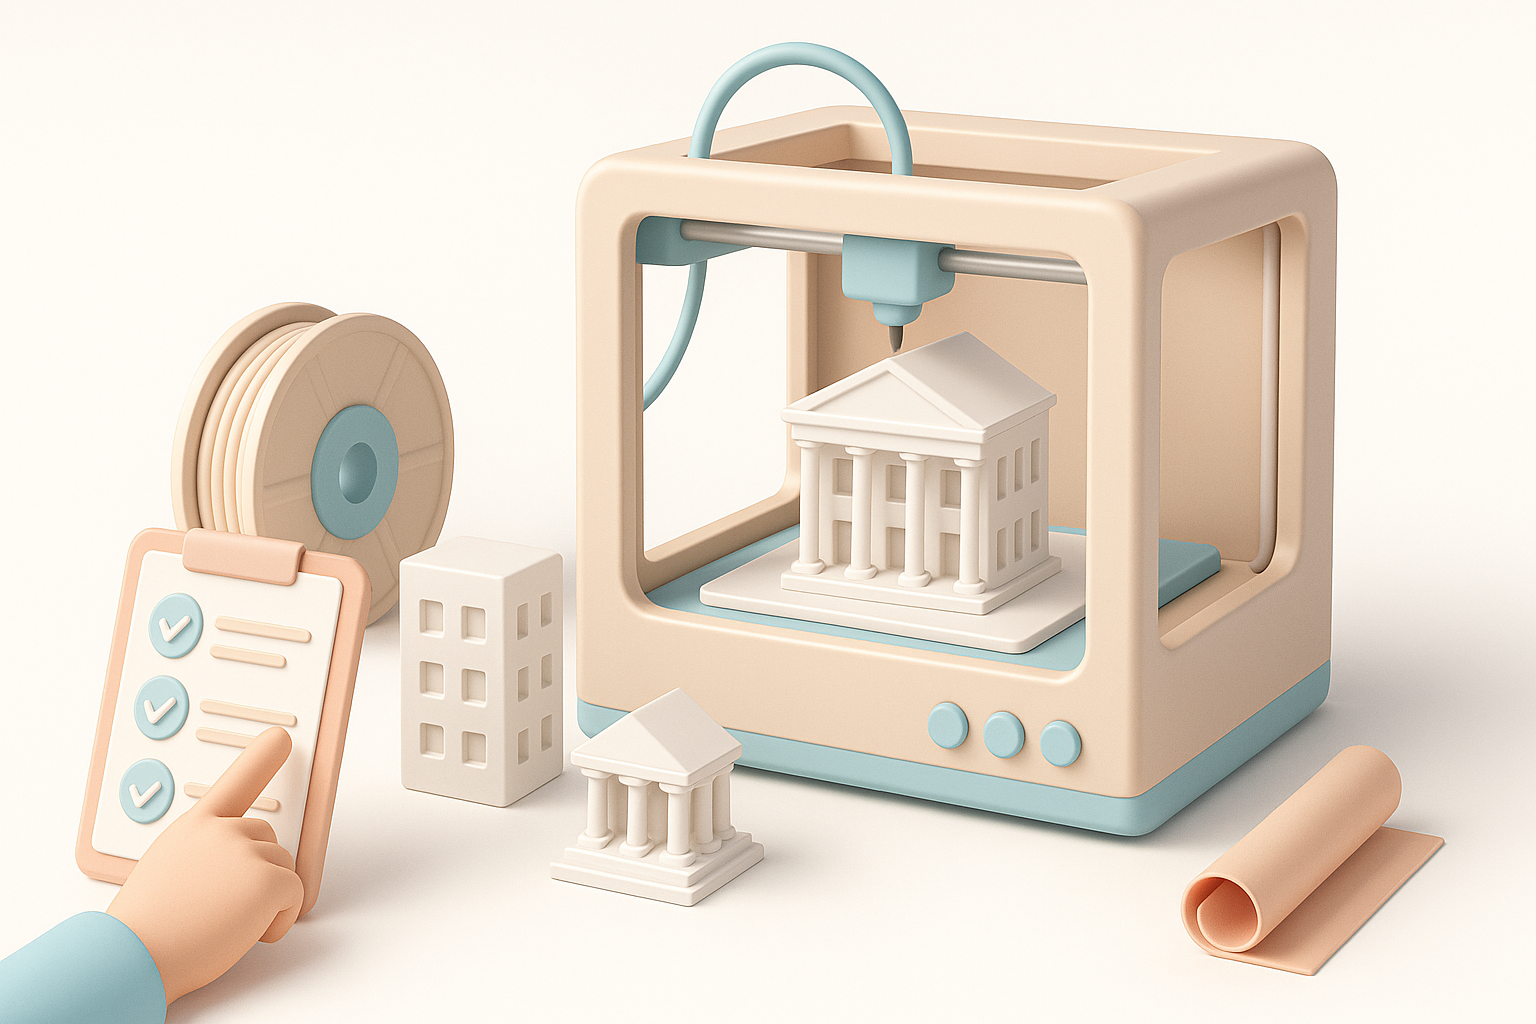
Preparing digital models for print: Best practices
- Model simplification: I always remove unnecessary interior geometry to save print time and material.
- Scale and wall thickness: I check minimum wall thickness (usually 1–2mm for FDM, 0.5mm for SLA) to prevent fragile prints.
- Segmentation: For large models, I split them into modular parts—AI-powered tools like Tripo help automate this.
Pitfalls to avoid:
- Overlooking small details that won’t print at scale.
- Forgetting to check for non-manifold edges or mesh errors.
Post-processing and finishing tips from my experience
- Support removal: I use flush cutters and gentle sanding for clean results.
- Priming and painting: A quality primer hides layer lines; acrylics or spray paints work well.
- Assembly: For multi-part models, I use alignment pins or magnets for easy assembly.
Pro tip: Test fit all parts before final gluing or painting to avoid surprises.
Comparing 3D Printers: What Matters Most
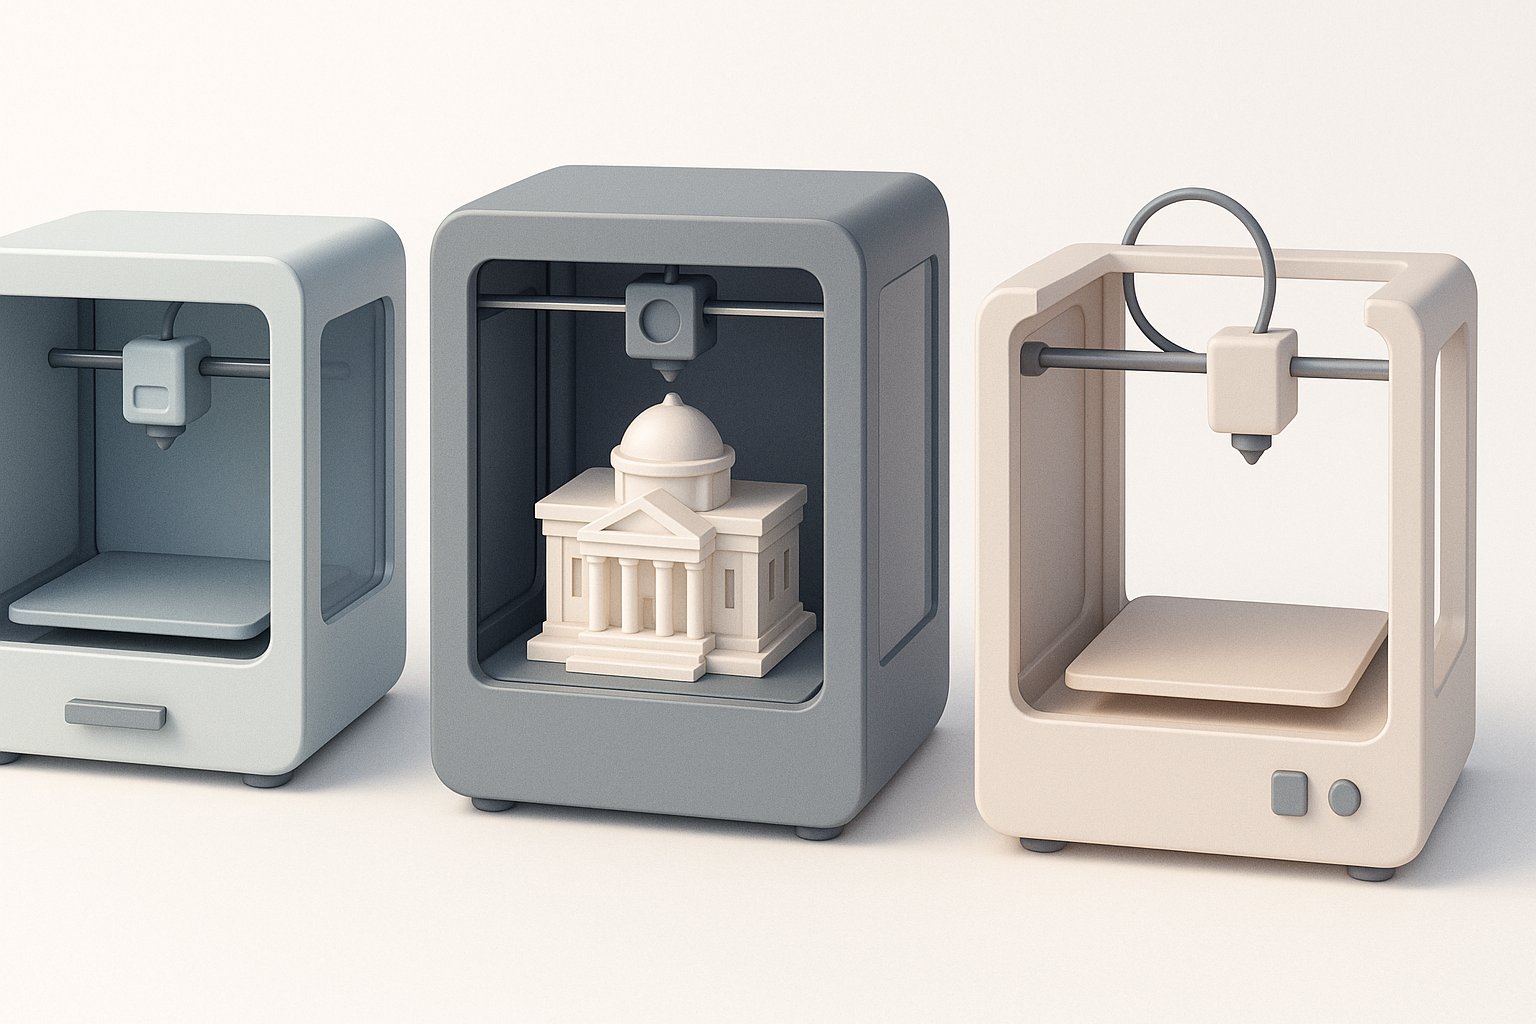
Key features to evaluate for architectural use
- Build volume: Larger beds accommodate bigger models or more parts per run.
- Resolution: Higher X/Y/Z resolution yields crisper details—critical for façade elements.
- Reliability: Consistent performance trumps flashy specs; downtime kills deadlines.
- Material compatibility: Ensure your printer supports the materials you need.
My personal recommendations and lessons learned
- Don’t chase the highest specs: I prioritize reliability and support over theoretical resolution.
- Look for open material systems: Flexibility in material choice pays off long-term.
- Community and support: Active user forums and responsive support have saved me countless hours.
Integrating AI Tools for Faster Model Preparation
How I use AI-powered platforms for segmentation and retopology
AI tools like Tripo have become a staple in my workflow. They automate tedious steps such as:
- Segmentation: Breaking complex structures into printable parts.
- Retopology: Optimizing mesh density for faster slicing and fewer print errors.
Result: I spend less time fixing mesh issues and more time designing.
Streamlining the workflow: From concept to print-ready files
- Import design: I bring in my CAD or 3D files.
- AI processing: Use Tripo for segmentation and retopology.
- Export STL/OBJ: Clean, print-ready files with minimal manual intervention.
Tip: Always review AI-processed files for critical details before printing.
Common Challenges and How I Overcome Them
Troubleshooting print failures and model inaccuracies
- Warping: I use heated beds and brims on FDM prints.
- Layer shifting: Regularly calibrate belts and check for obstructions.
- Detail loss: Increase resolution or switch to SLA for fine elements.
Checklist:
- Inspect first layers closely.
- Keep firmware and slicer software updated.
Optimizing for scale, detail, and durability
- Scaling: I test print small sections before committing to a full build.
- Detail: For tiny features, I orient models to minimize support contact.
- Durability: Reinforce thin parts or use tougher materials like nylon for structural elements.
Pro tip: Document each print’s settings and results—this builds a personal knowledge base for future projects.
Choosing the right 3D printer and workflow for architectural models is a mix of technical know-how and creative problem-solving. By leveraging the right printer, materials, and AI-powered tools, I’ve been able to deliver models that impress clients and streamline my own process. With preparation and the right tools, anyone can achieve professional results in architectural model-making.


