3D Printed Model: Expert Workflow, Tips, and Best Practices
скачать 3d модель для chicken gun
Creating high-quality 3D printed models is more accessible and efficient than ever, thanks to AI-powered tools and streamlined workflows. In my experience, success comes from mastering both the digital and physical sides of 3D modeling—knowing how to design for print, prepare files, and finish models for durability and realism. This guide walks through my hands-on process from concept to completed print, highlights best practices, and offers pro tips for beginners and advanced users. If you want to elevate your 3D printing results, avoid common pitfalls, and leverage both AI and traditional methods, this is for you.
Key takeaways:
- Start with clear concepts and use AI tools to speed up complex modeling tasks.
- Always optimize models for printability—check scale, wall thickness, and manifold geometry.
- Material choice and printer settings directly impact print quality and finishing.
- Post-processing (sanding, priming, painting) is essential for professional results.
- AI platforms like Tripo can drastically reduce manual modeling and prep time.
- Troubleshoot early—catching errors in the digital stage saves wasted prints.
What Is a 3D Printed Model?
Definition and Common Uses
A 3D printed model is a physical object created by depositing material layer by layer, based on a digital 3D design. I use 3D printing for prototypes, custom parts, miniatures, functional objects, and artistic pieces. Common applications include product design, architecture, gaming, and education.
How 3D Printing Transforms Model Creation
3D printing has fundamentally changed how I approach model making. Instead of traditional sculpting or subtractive manufacturing, I can rapidly iterate designs, test fit and function, and produce complex geometries that would be impossible or costly with other methods. The digital-to-physical workflow also means I can share, modify, and reproduce models with ease.
My End-to-End Workflow for Creating 3D Printed Models
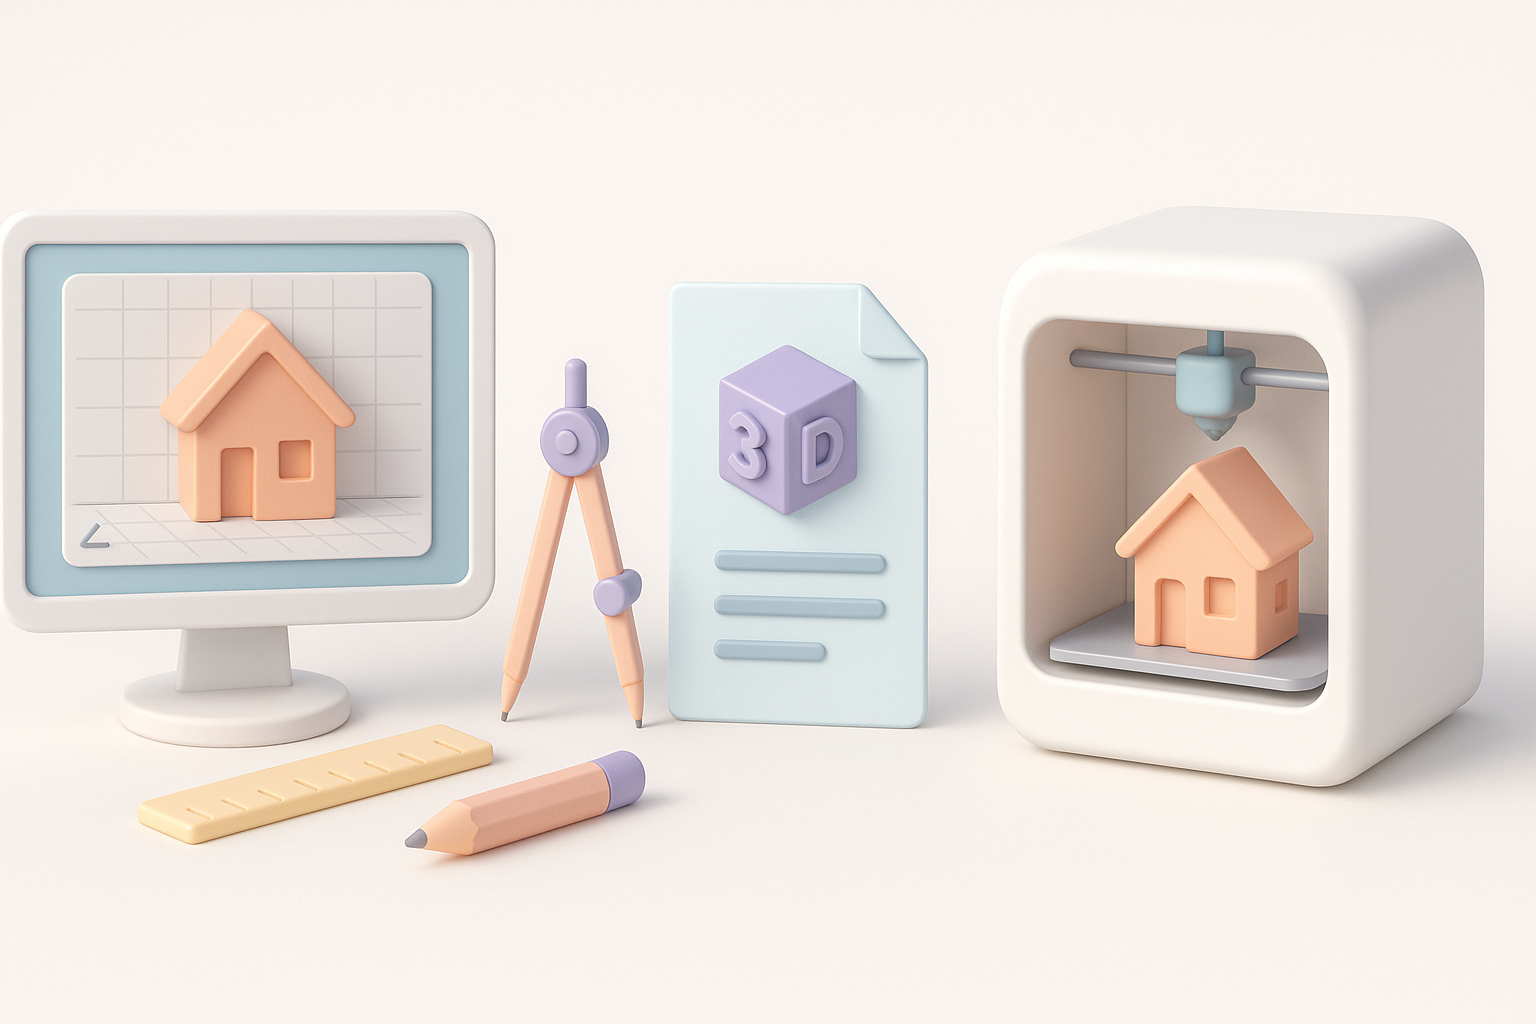
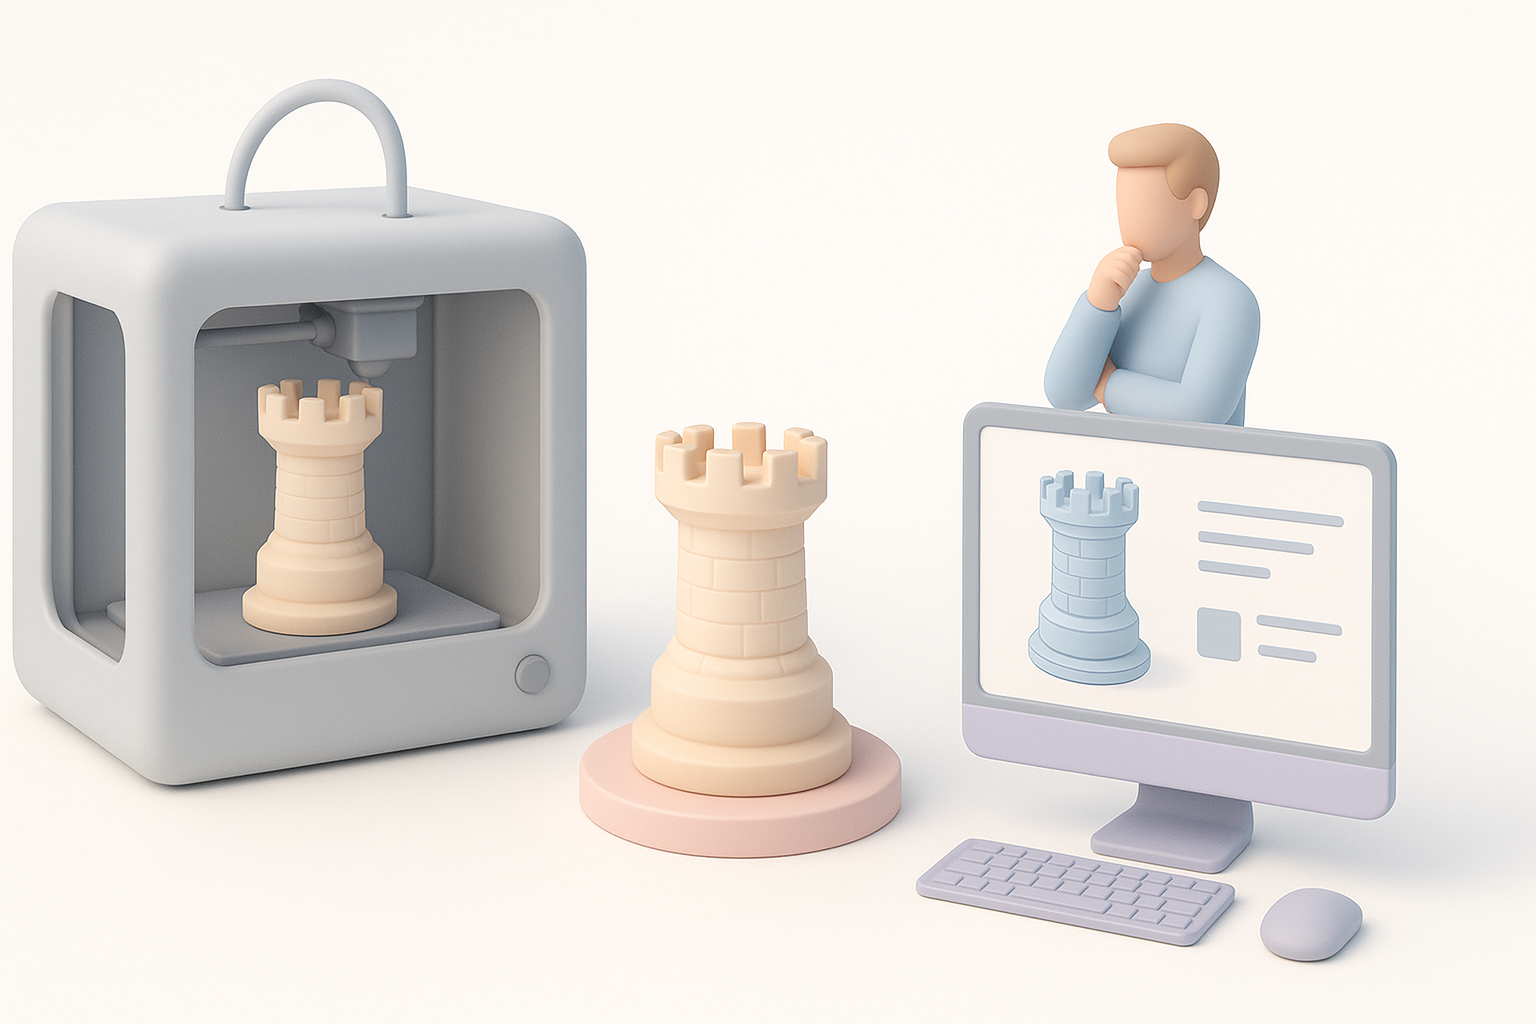
Concept to Digital Model: Tools and Techniques I Use
My process usually starts with a sketch or a written brief. I often use AI-powered platforms like Tripo to generate a base mesh from text prompts or reference images—this saves hours, especially for organic or intricate forms. For precise control, I refine models in traditional 3D software (e.g., Blender, ZBrush).
Workflow steps:
- Define the concept and intended use (display, functional, etc.).
- Gather references or create rough sketches.
- Generate base geometry using AI tools or manual modeling.
- Refine topology, add details, and check scale.
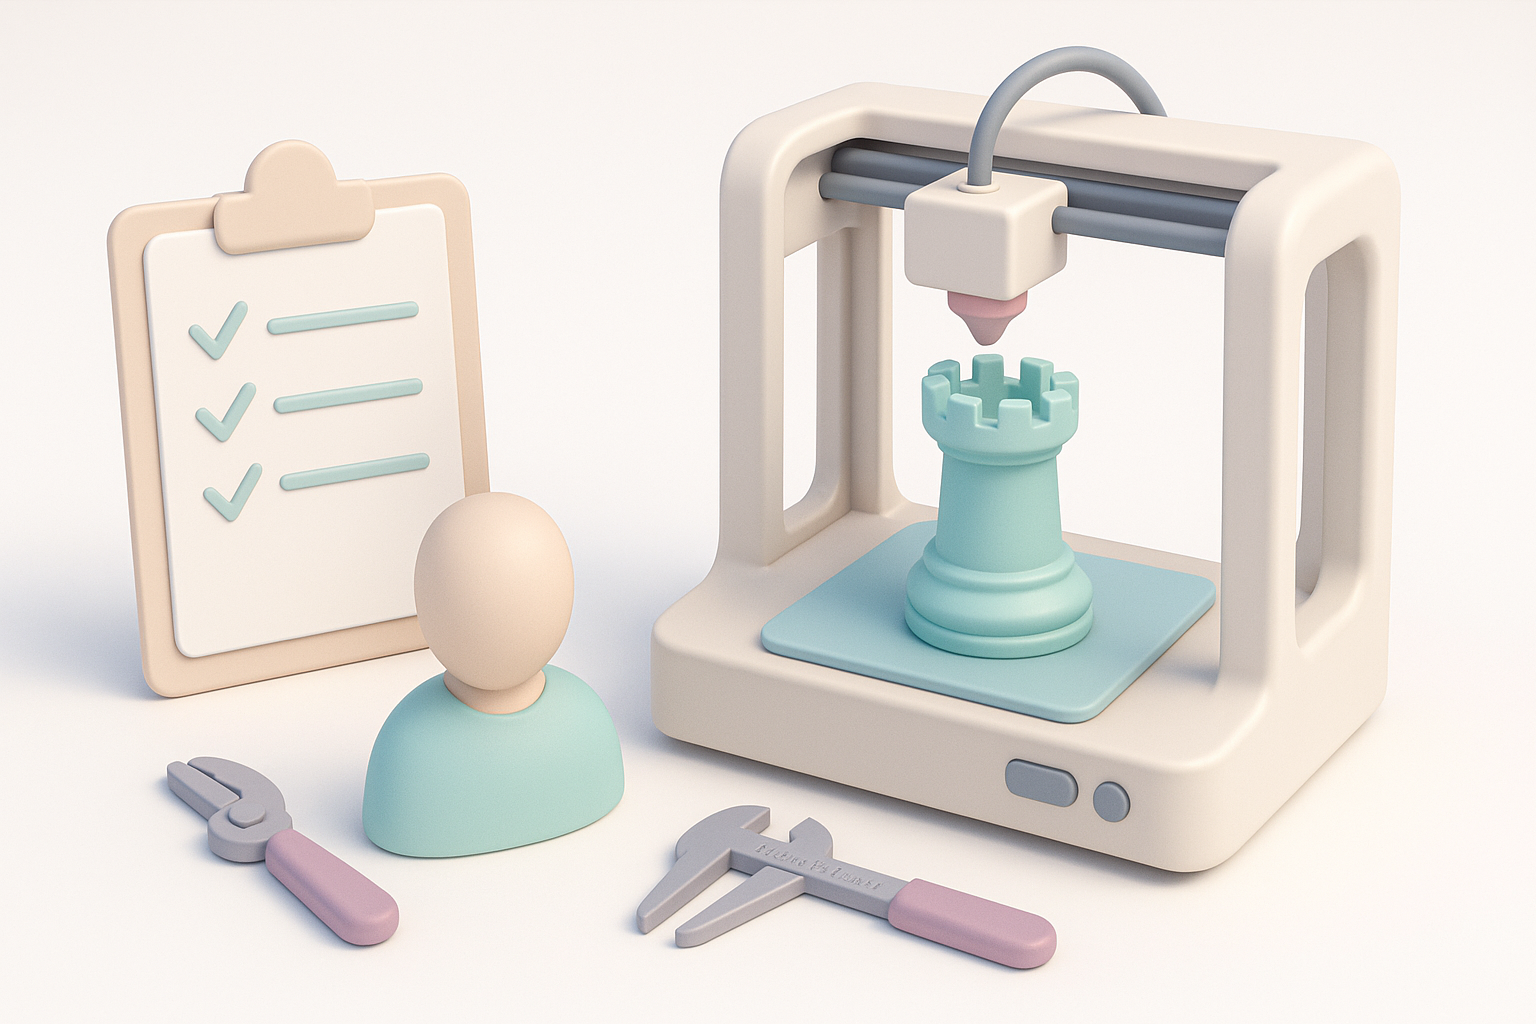
Preparing Models for Successful 3D Printing
Printability is always top of mind. I check for watertight (manifold) geometry, correct wall thickness, and proper orientation. I use built-in analysis tools or plugins to flag potential issues. Exporting to STL or OBJ, I run a final check in my slicer software (like Cura or PrusaSlicer).
Checklist before printing:
- Ensure model is manifold (no holes or non-manifold edges).
- Check wall thickness (minimum 1–2 mm for most FDM prints).
- Orient model to minimize supports and layer lines.
- Export in correct scale and file format.
Best Practices for High-Quality 3D Prints
Material Selection and Printer Settings
Choosing the right material is crucial. I mostly use PLA for prototypes due to its ease of use, but switch to PETG or ABS for functional parts. Printer settings—layer height, infill, temperature—are tuned based on material and desired quality. I always calibrate my printer before critical jobs.
Material tips:
- PLA: Great for detail, easy to print, not heat-resistant.
- PETG: Stronger, more flexible, good for mechanical parts.
- Resin: Superior detail, ideal for miniatures, but requires post-curing.
Troubleshooting Common Printing Issues
Most print failures stem from poor bed adhesion, incorrect supports, or slicing errors. I’ve learned to level the bed meticulously, use adhesion aids (brims, rafts), and preview toolpaths in the slicer. For persistent issues, I check for clogged nozzles or moisture in filament.
Quick troubleshooting:
- First layer not sticking? Re-level bed and clean surface.
- Gaps or weak walls? Increase wall thickness or infill.
- Warping? Use enclosure or switch to a less shrink-prone material.
Texturing, Painting, and Finishing 3D Prints
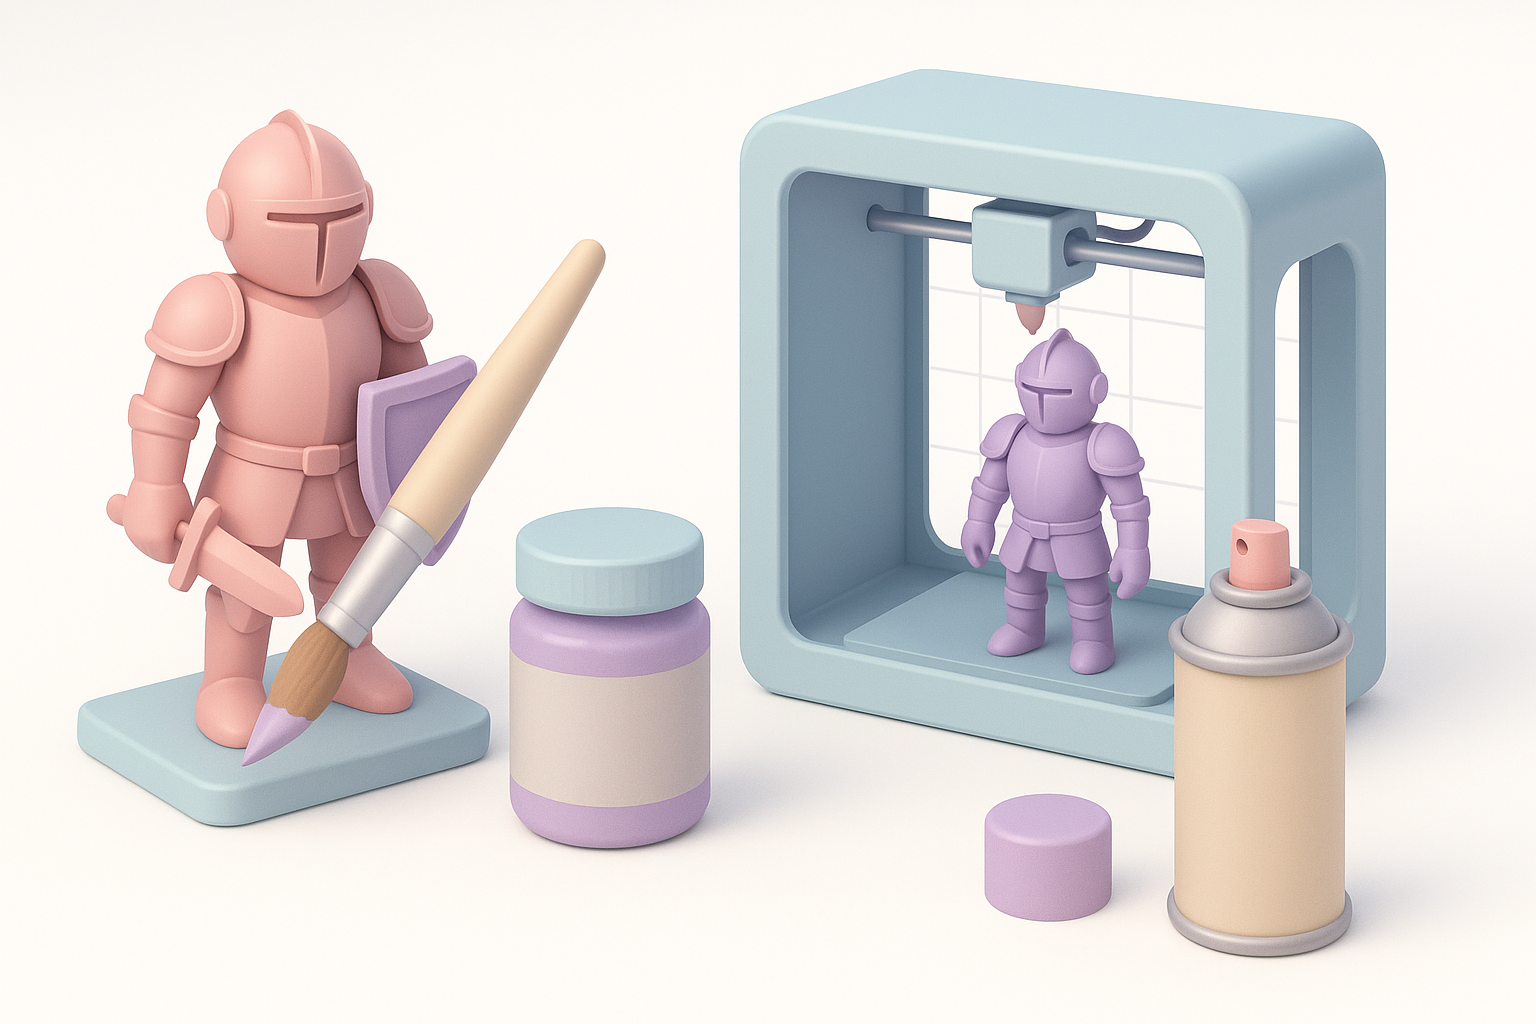
My Approach to Post-Processing
Raw prints rarely look perfect. I start with sanding (progressing from coarse to fine grit), then apply a primer to reveal imperfections. For FDM prints, I sometimes use filler primer to smooth layer lines. Resin prints may need extra UV curing.
Finishing steps:
- Sand (dry or wet) to remove print lines.
- Prime with spray primer; inspect for flaws.
- Fill gaps with putty if needed; sand again.
Tips for Realistic and Durable Finishes
Painting is where models come to life. I use acrylics for most prints, applying thin layers and building up color. For durability, I seal with a clear coat. Weathering techniques (dry brushing, washes) add realism, especially for props and miniatures.
Finishing tips:
- Use multiple thin coats for even coverage.
- Allow adequate drying time between steps.
- Seal painted models for scratch resistance.
Comparing AI-Powered and Traditional 3D Model Creation
When I Use AI Tools Like Tripo
AI tools like Tripo fit best when I need rapid ideation, organic shapes, or to bypass tedious manual modeling. For projects with tight deadlines or when I need a production-ready base mesh, AI accelerates my workflow. I still review and refine outputs—AI isn’t perfect, but it’s a huge time-saver.
Alternative Methods and Their Pros & Cons
Traditional modeling gives me full control and precision, especially for mechanical or highly specific designs. However, it’s time-consuming and requires more expertise. AI-generated models can lack nuance or need cleanup, but they dramatically reduce initial workload.
Summary:
- Use AI for speed and concept generation.
- Use manual modeling for accuracy and custom requirements.
- Combine both for best results.
Frequently Asked Questions About 3D Printed Models
Beginner Questions I Often Hear
Q: What’s the easiest way to start 3D modeling for printing?
I recommend starting with simple objects and using AI-assisted tools to generate basic shapes. Focus on learning how to prepare and slice models for your printer.
Q: How do I avoid failed prints?
Double-check model integrity, bed leveling, and use recommended slicer settings for your material.
Advanced Tips from My Experience
- Always inspect models for overhangs and unsupported features before printing.
- Batch similar parts to optimize printer time and material usage.
- Use AI tools to generate variations quickly—great for prototyping or custom commissions.
If you’re serious about 3D printing, mastering both digital modeling and physical finishing will set your work apart. Leveraging AI tools like Tripo alongside traditional techniques gives you flexibility, speed, and professional results.


