How to Use 3D Models in Procreate: Expert Workflow Guide
As a 3D practitioner, I’ve integrated 3D workflows with Procreate for concept art, illustration, and rapid prototyping. This guide condenses my hands-on experience: how to prepare, import, and paint 3D models in Procreate, plus tips for optimizing quality and performance. Whether you’re a digital artist, game designer, or just exploring Procreate’s 3D features, you’ll find actionable advice on model prep, retopology, texturing, and leveraging AI-powered tools like Tripo for streamlined results.
Key takeaways
- Procreate supports 3D painting, but models must be properly prepared and optimized.
- Exporting compatible formats (USDZ) and clean topology is crucial.
- AI-powered tools can accelerate model creation and preparation.
- Efficient painting relies on UV layout and model segmentation.
- Balancing detail and file size prevents lag and crashes in Procreate.
- Troubleshooting import and rendering issues is part of the workflow.
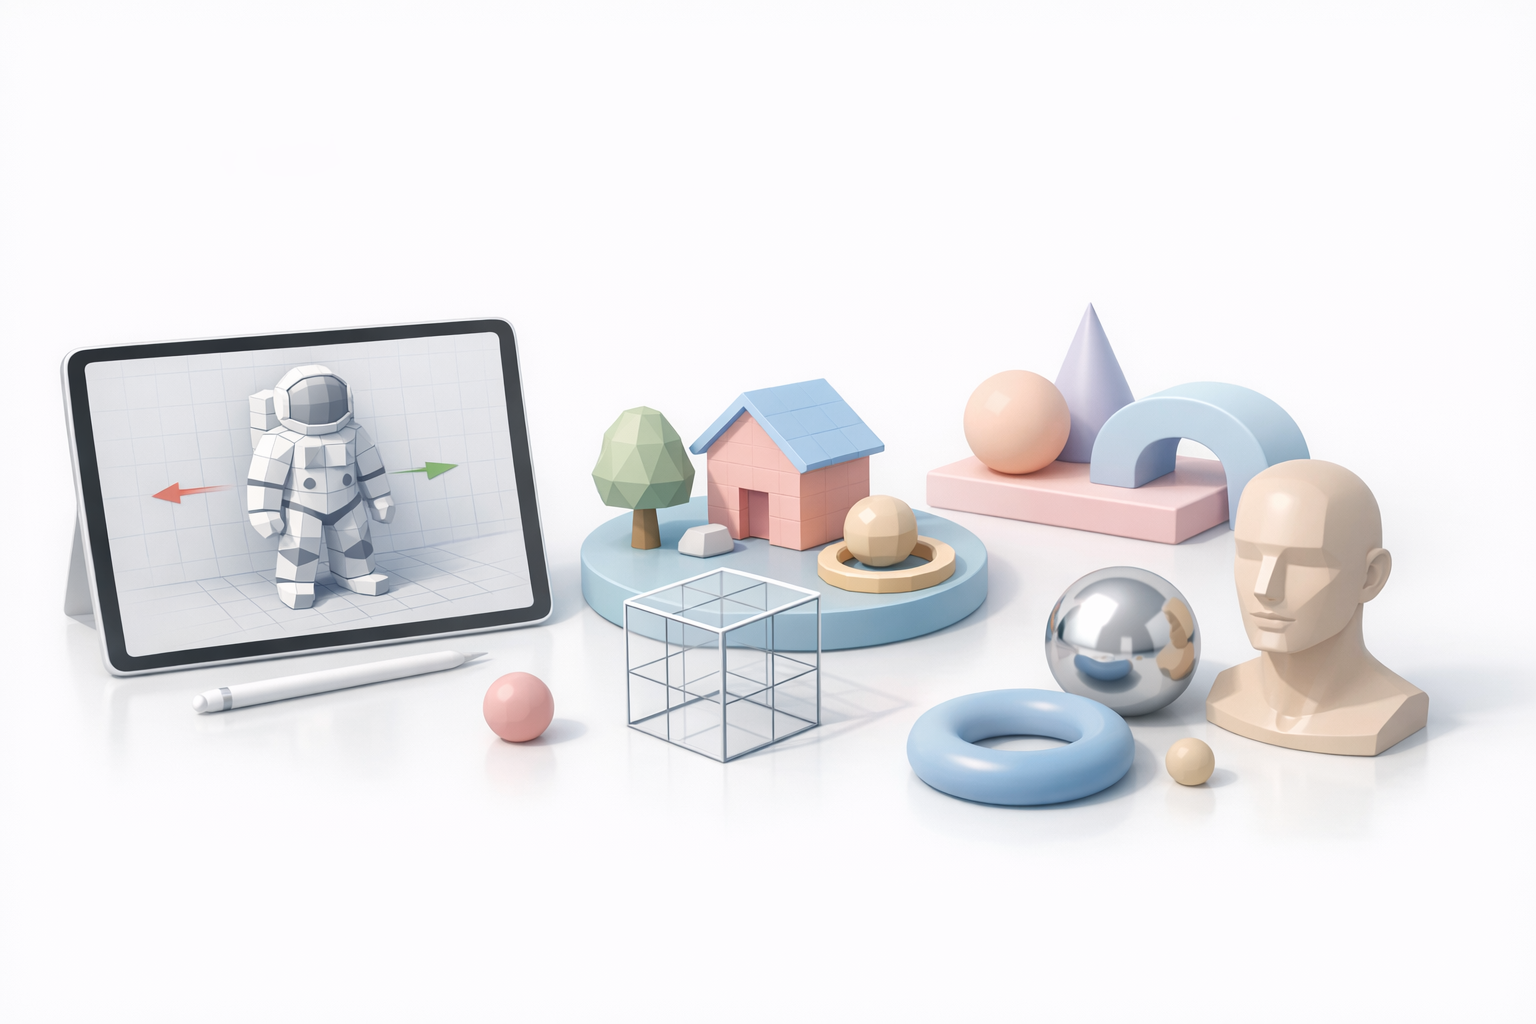
Understanding 3D Model Integration in Procreate

What 3D Models Can Do in Procreate
Procreate’s 3D painting capabilities let me paint directly onto models, preview textures, and generate concept renders without leaving the app. I use this for texture development, illustration overlays, and quick visualizations. However, Procreate isn’t a full 3D editor—it’s a painting tool, so modeling and rigging must be done elsewhere.
Practical uses:
- Painting textures for game assets
- Concept art overlays
- Previewing designs in AR
Supported Formats and Limitations
Procreate currently supports the USDZ format for 3D import. Models must have UVs and textures assigned; animation and complex rigs aren’t supported. High-poly models or those with poor UVs can cause slowdowns or render issues.
Checklist:
- Export as USDZ
- Ensure UVs are unwrapped and non-overlapping
- Limit polygon count for smooth performance
- Avoid complex rigs or animations
Creating and Preparing 3D Models for Procreate
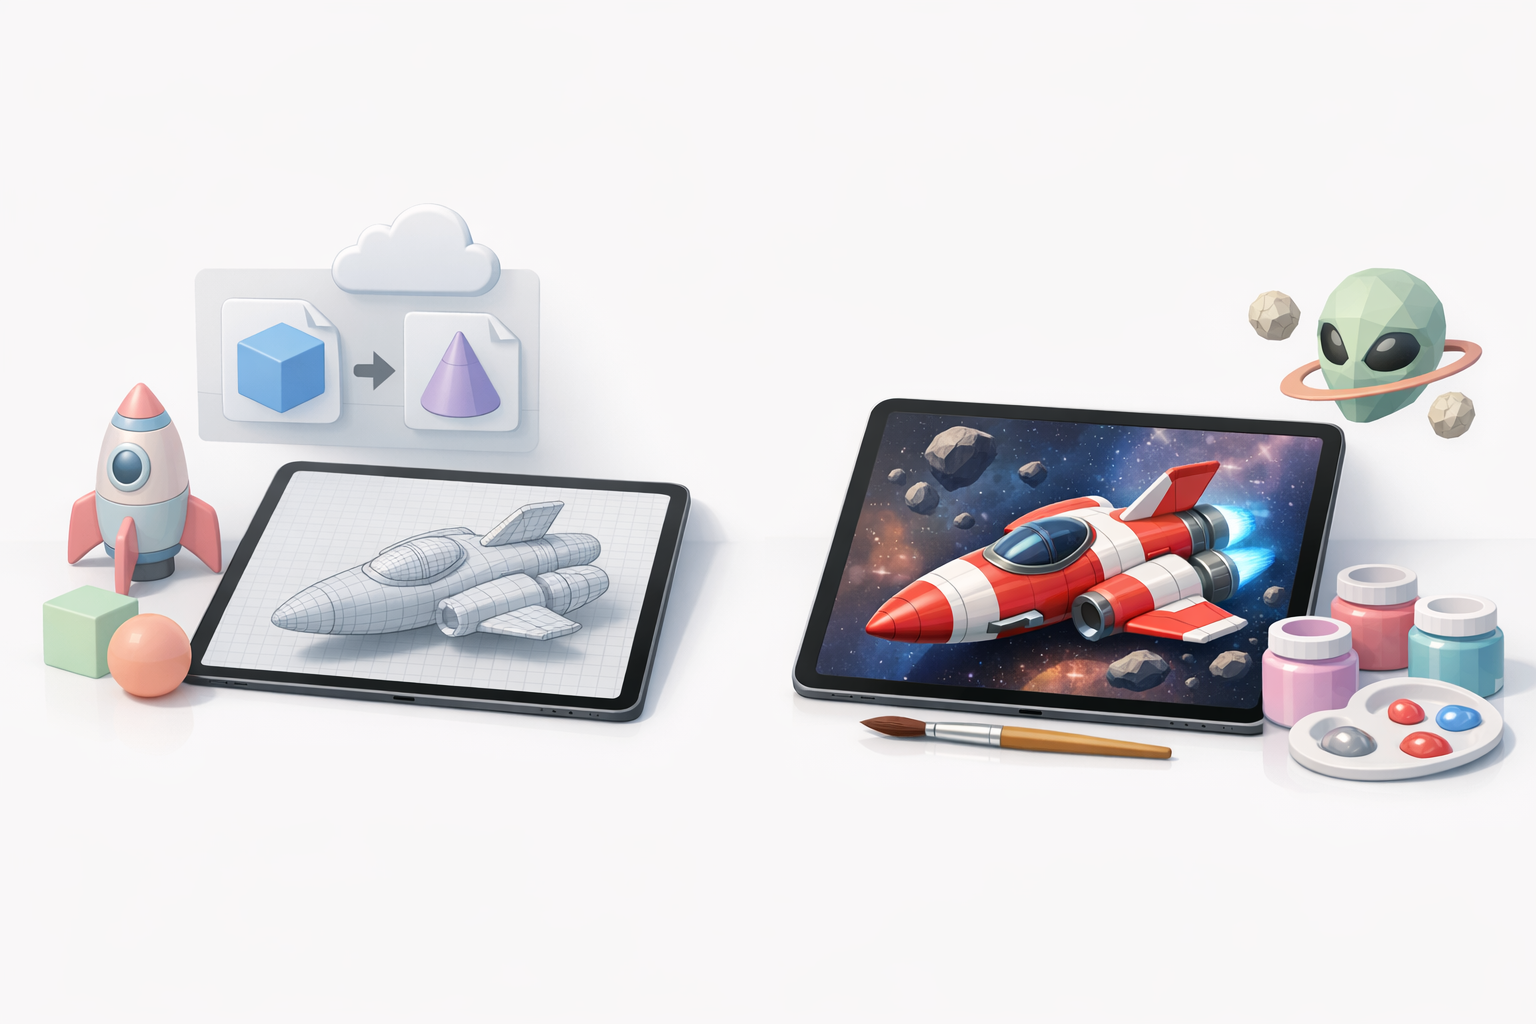
My Workflow: From Concept to Export
I start by sketching or referencing the concept, then generate a base mesh using AI-powered tools like Tripo for rapid prototyping. I refine topology and UVs in a dedicated 3D app, then export as USDZ.
My steps:
- Generate base mesh (AI or traditional modeling)
- Refine topology and UVs
- Texture in-app or externally
- Export as USDZ for Procreate
Best Practices for Retopology and Texturing
Clean topology and UVs are essential for seamless painting in Procreate. I use automatic retopology features in Tripo or manual tools to keep poly counts manageable. For texturing, I ensure UV islands are logically separated and textures are at least 2K resolution.
Tips:
- Use quad-based topology for smoother painting
- Separate UVs by material zones
- Test texture seams before export
- Keep file sizes under 50MB for optimal performance
Importing and Painting 3D Models in Procreate
Step-by-Step Import Process
Importing into Procreate is straightforward but requires careful prep. Here’s how I do it:
- Open Procreate and select ‘Import’ > ‘3D Model’
- Choose the USDZ file
- Review the model for UV and shading issues
- Start painting using brushes, layers, and texture maps
Pitfalls:
- Models with overlapping UVs won’t paint correctly
- Large files may cause lag or crashes
Tips for Efficient 3D Painting
To paint efficiently, I use layer masks and keep textures organized. I avoid high-res brushes unless needed, and regularly check the model in different lighting.
Checklist:
- Use layer masks for non-destructive edits
- Organize textures by material
- Check for paint artifacts at seams
- Save incremental versions
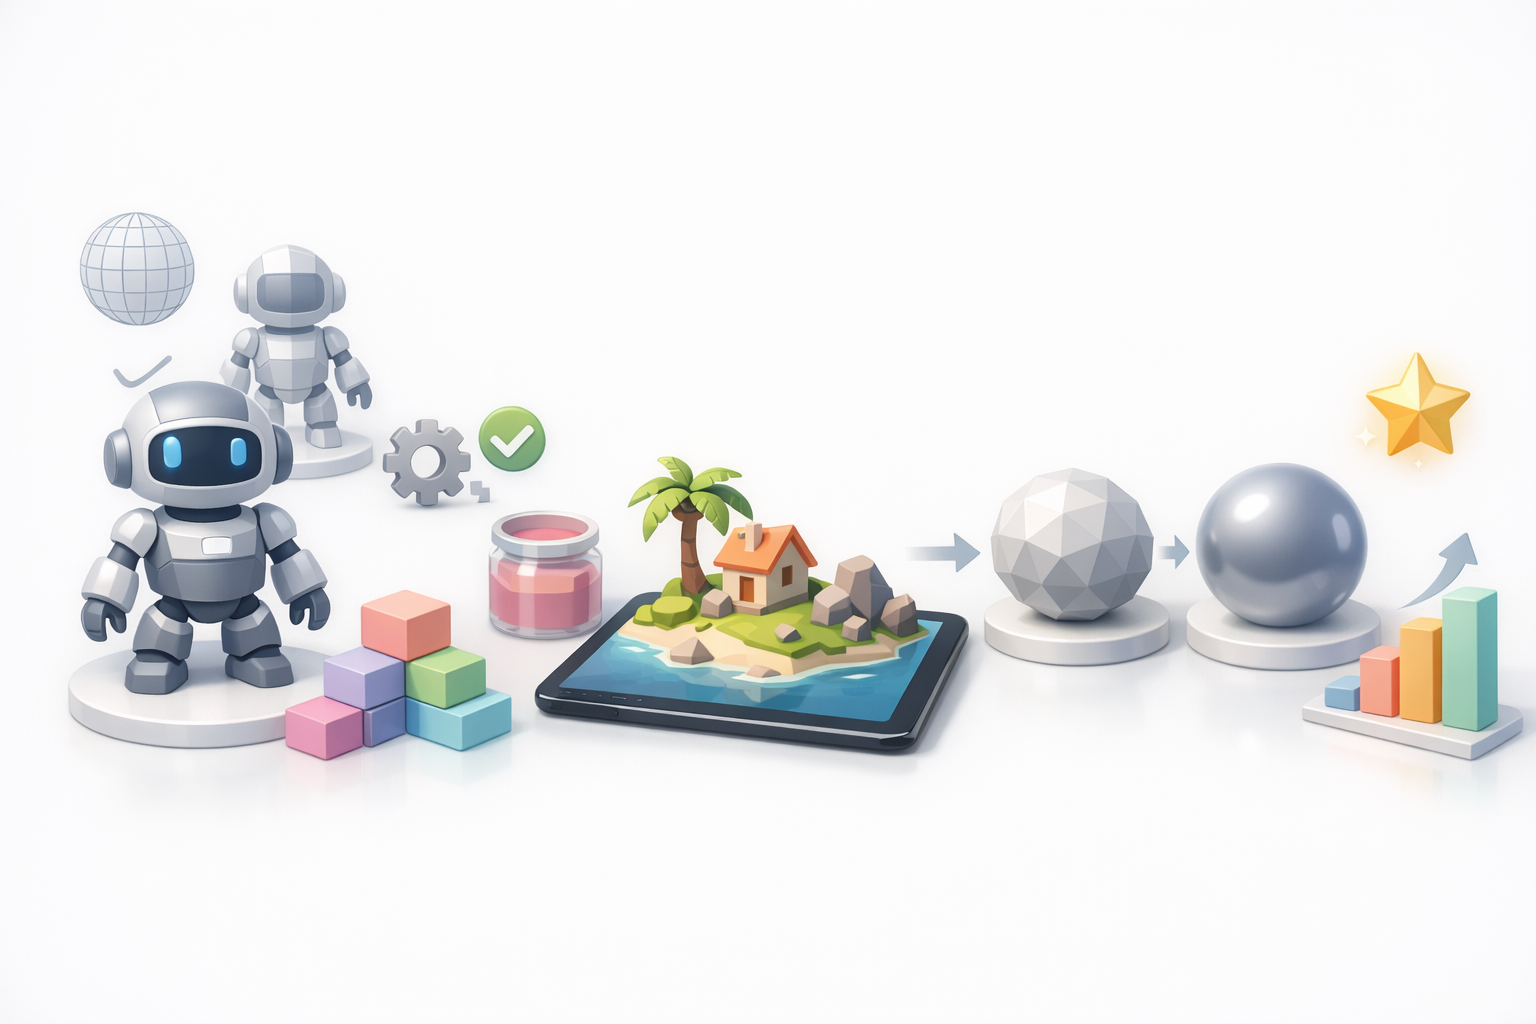
Optimizing 3D Models for Performance and Quality
Balancing Detail and File Size
I prioritize clean topology and moderate detail to ensure Procreate runs smoothly. For most assets, 10–50k polygons is ideal. I compress textures and remove unused materials before export.
Tips:
- Decimate high-poly meshes
- Compress textures (PNG/JPEG)
- Remove hidden geometry
Troubleshooting Common Issues
Common issues include failed imports, texture glitches, and performance bottlenecks. I troubleshoot by checking UVs, reducing file size, and re-exporting the USDZ.
Steps:
- Verify UV layout and texture assignment
- Reduce poly count if lag occurs
- Re-export with updated settings
- Test on a sample model before full production
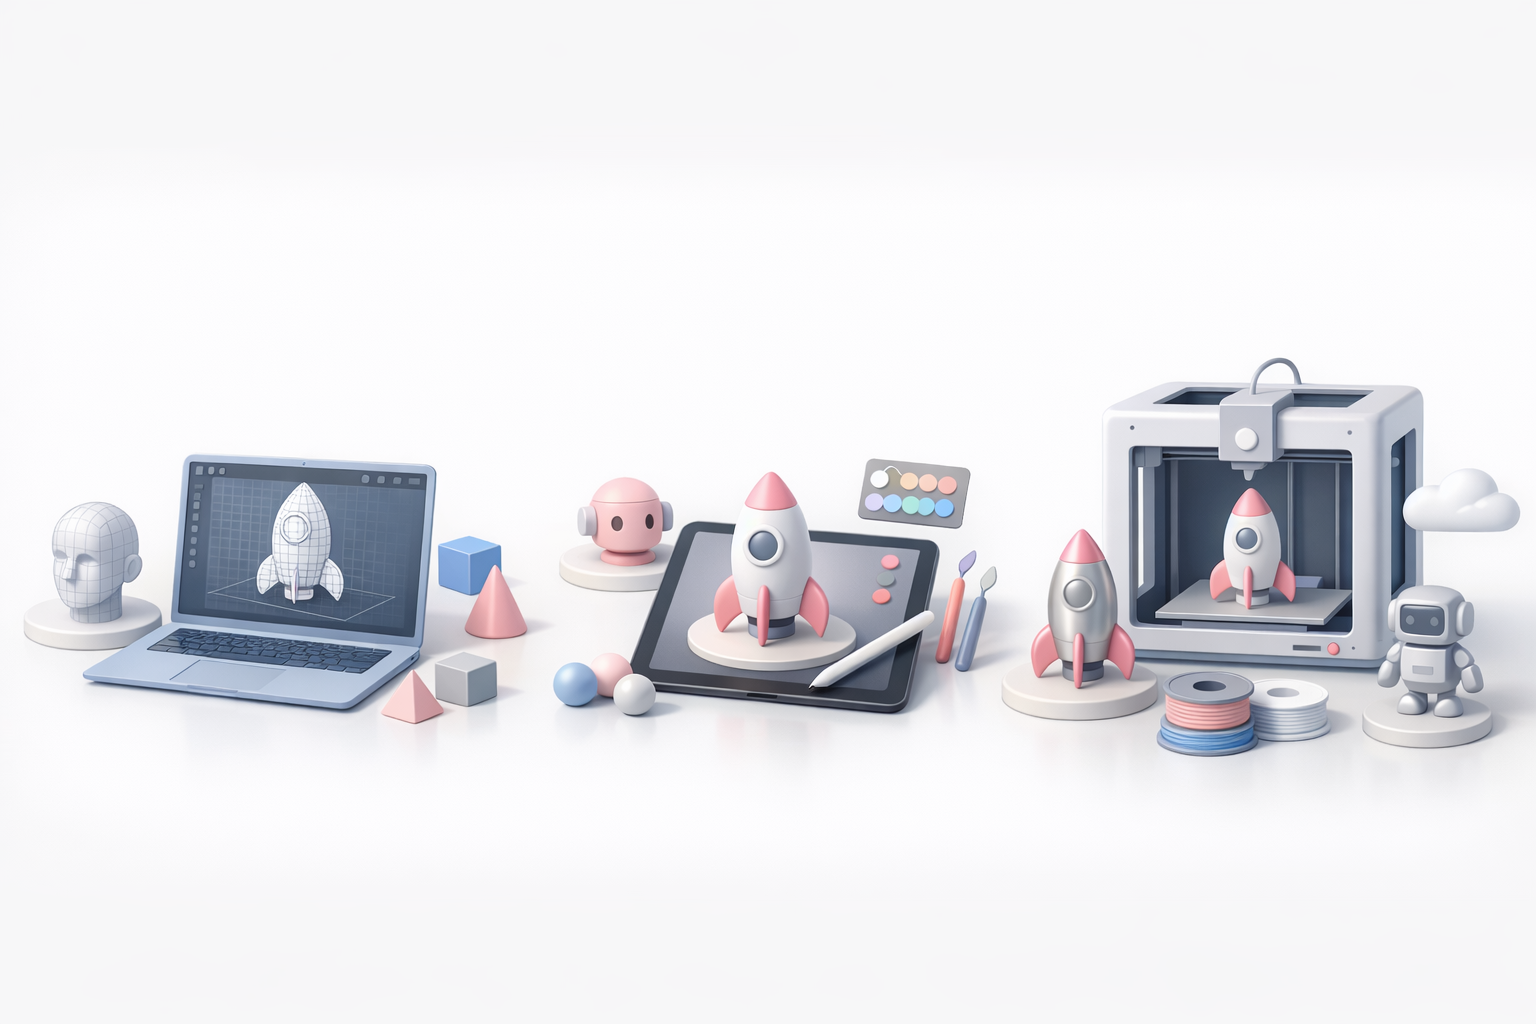
Comparing Creation Tools and Methods for Procreate 3D Models
AI-Powered vs Traditional Workflows
AI-powered tools like Tripo allow me to generate production-ready meshes and textures in minutes, bypassing manual modeling and UV unwrapping. Traditional workflows offer more control but are slower.
Comparison:
- AI tools: Rapid prototyping, auto-retopology, quick texturing
- Traditional: Full control, manual tweaks, advanced detailing
Integrating Tripo and Other Tools
I use Tripo for fast mesh and texture generation, then refine in a traditional 3D editor if needed. The final step is always export to USDZ for Procreate.
Workflow:
- Generate base in Tripo
- Refine topology/UVs in 3D editor
- Export as USDZ
- Paint in Procreate
Pitfalls:
- Skipping UV refinement can cause painting issues
- Overly complex models may not import smoothly
In summary: Procreate’s 3D painting is powerful when models are properly prepared. Leveraging AI tools like Tripo streamlines creation, while attention to topology, UVs, and file size ensures optimal results. This workflow lets me focus on creativity without technical bottlenecks.


