How to Use 3D Models in PowerPoint: Expert Tips & Workflows
Using 3D models in PowerPoint has transformed how I present ideas, making slides more engaging and visually impactful. With AI-powered tools like Tripo, creating and integrating production-ready models is faster and easier than ever, even for non-specialists. This guide covers proven workflows, practical tips, and pitfalls I’ve encountered—whether you’re a designer, educator, or business professional. If you want to streamline your workflow and boost your presentations with 3D, this article is for you.
Key takeaways:
- 3D models dramatically increase engagement and clarity in presentations.
- AI tools simplify model creation and integration, removing technical hurdles.
- Optimizing file size and format is crucial for smooth PowerPoint performance.
- Step-by-step workflows help avoid common mistakes and save time.
- Choosing the right creation tool depends on your needs and skills.
- Intelligent segmentation and retopology streamline the process.
Why Use 3D Models in PowerPoint Presentations?

Enhancing Visual Impact and Engagement
In my experience, adding 3D models to slides instantly grabs attention and helps audiences understand complex concepts. Unlike flat images, 3D assets allow for interactive rotation and zoom, making data and ideas more tangible. I often use them to illustrate products, prototypes, or architectural designs, which leads to higher retention and engagement.
Practical tip:
- Use 3D models to highlight key points or visualize processes that are hard to explain with text alone.
Real-World Applications and Success Stories
I’ve seen 3D models used successfully across industries—product demos in sales pitches, medical illustrations in education, and interactive design reviews in architecture. Teams report improved communication and faster decision-making when visuals are clear and immersive.
Mini-checklist:
- Identify slides where a 3D model would clarify or enhance your message.
- Gather feedback from your audience on which visuals resonate most.
Best Practices for Integrating 3D Models into PowerPoint

Optimizing Model Size and Format
Large or poorly optimized models can slow down PowerPoint or cause crashes. I always check polygon count and texture resolution before importing. AI tools like Tripo help by auto-retopologizing and compressing textures, making models presentation-ready.
My workflow:
- Export models in .GLB or .OBJ formats (PowerPoint prefers .GLB).
- Keep file sizes below 50MB for reliability.
- Use baked textures and limit animation complexity.
Ensuring Compatibility and Smooth Performance
Compatibility issues are common, especially when mixing different formats or software. I test models on multiple devices before presenting. Tripo’s exports are consistently compatible, but I still verify animations and materials render correctly in PowerPoint.
Pitfalls to avoid:
- Don’t use unsupported formats (.FBX, .STL).
- Avoid high-poly models with dense meshes.
- Check all animations play smoothly in Slide Show mode.
Step-by-Step Workflow: Creating and Importing 3D Models
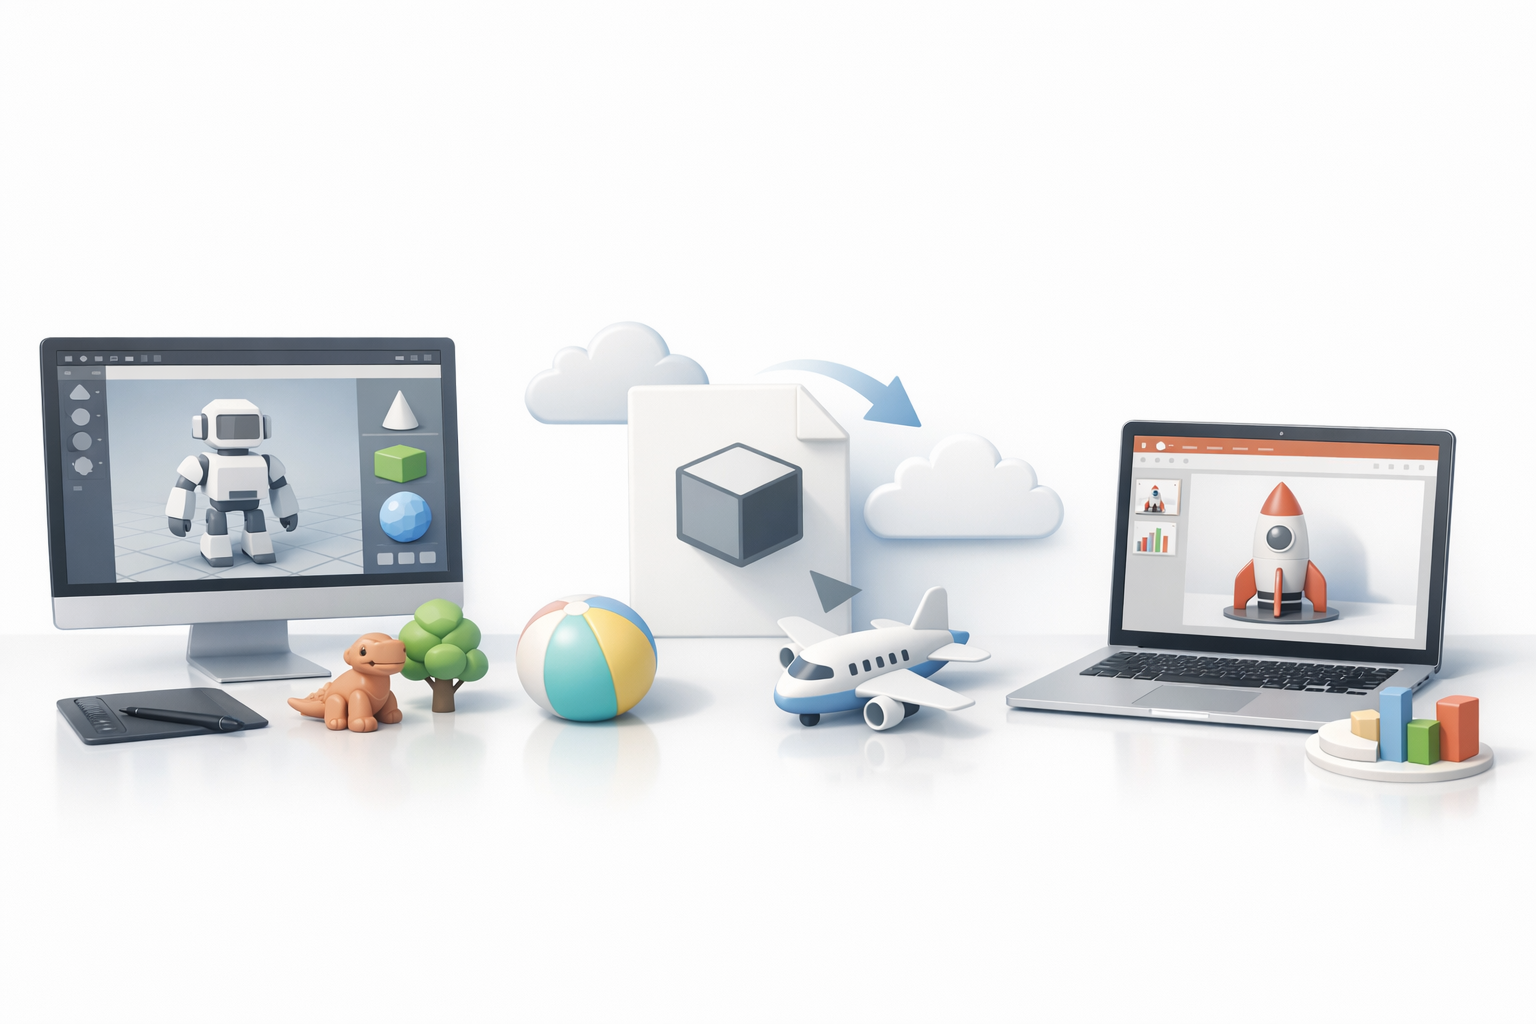
Generating 3D Models from Text, Images, or Sketches
AI-powered platforms like Tripo make model creation accessible. I start by inputting a prompt, reference image, or sketch. The tool generates a segmented, textured, and retopologized model in seconds.
Steps:
- Open Tripo and select input method (text, image, or sketch).
- Refine segmentation and textures as needed.
- Export as .GLB for PowerPoint.
Importing and Positioning Models in PowerPoint Slides
Once the model is ready, importing is straightforward. I use PowerPoint’s “Insert > 3D Models > From File” option and then adjust scale and orientation.
Checklist:
- Insert the model and use built-in rotation controls.
- Position for maximum visibility—avoid overlap with text.
- Test slide transitions to ensure the model remains interactive.
Comparing 3D Model Creation Tools for PowerPoint
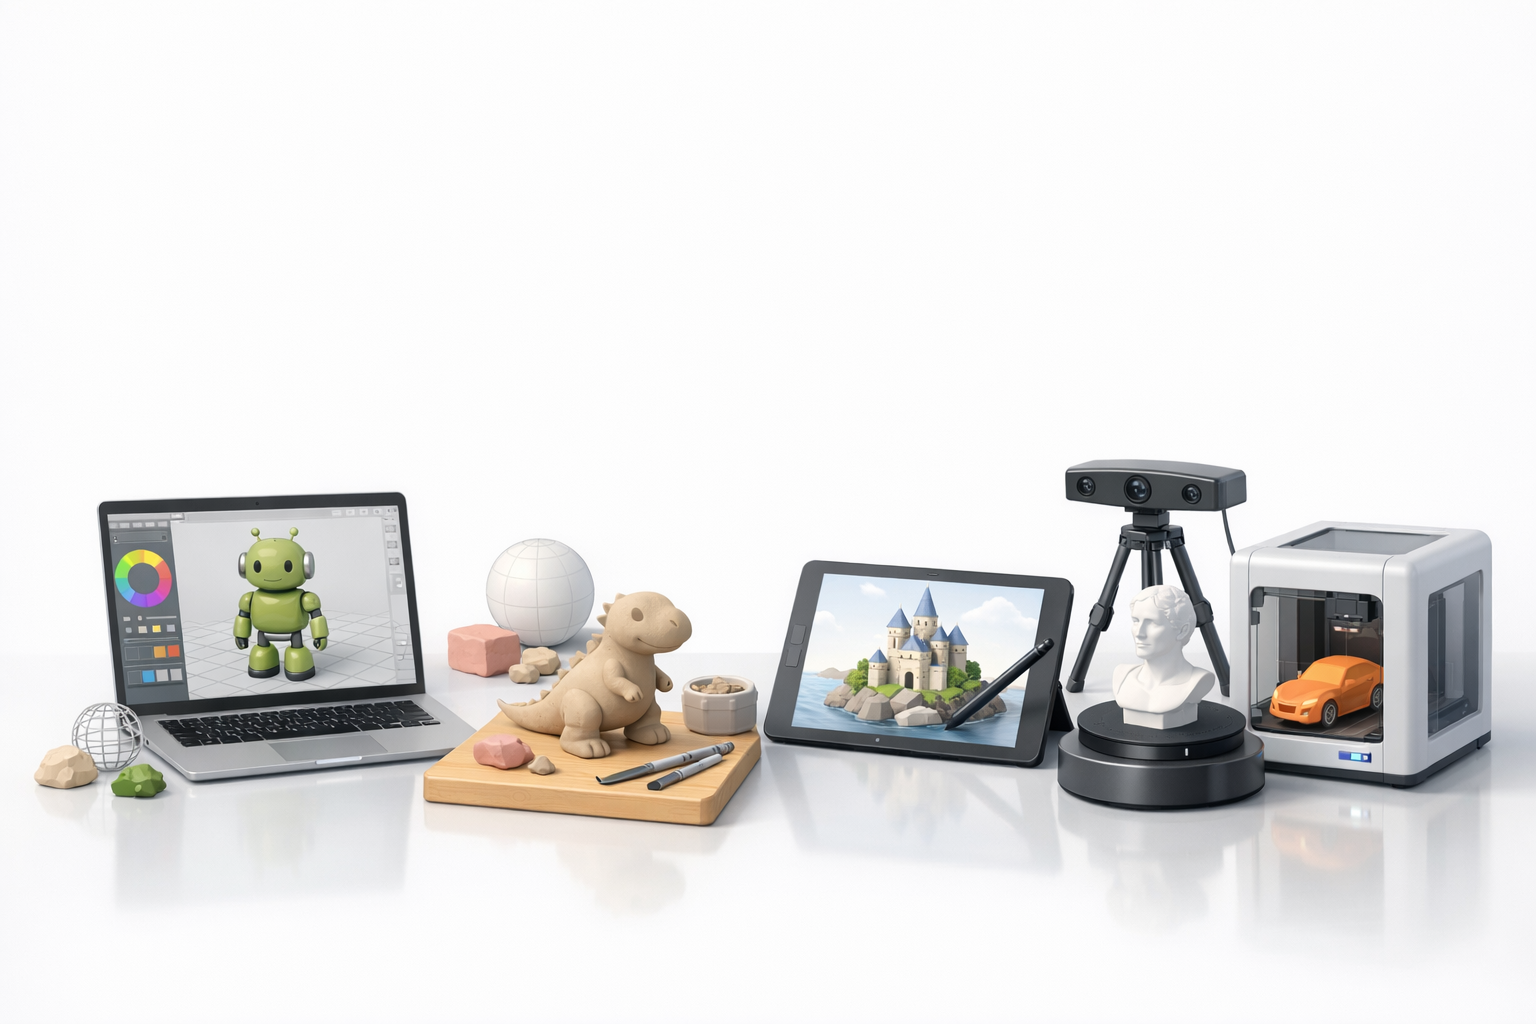
AI-Powered Platforms vs. Traditional Methods
Traditional 3D modeling with desktop software is powerful but time-consuming and requires technical skill. AI tools like Tripo automate segmentation, retopology, and texturing, making the process accessible to non-specialists. I’ve found this invaluable for quick iterations and tight deadlines.
Pros and cons:
- AI tools: Fast, easy, production-ready output.
- Traditional tools: More control, higher learning curve.
Choosing the Right Tool for Your Needs
Your choice depends on project complexity, timeline, and skill level. For quick presentations or prototyping, AI tools are my go-to. For custom animation or high-detail assets, traditional modeling may be necessary.
Questions to ask:
- Do you need custom rigging or animation?
- Is time or quality your priority?
- Are you comfortable with 3D software, or do you prefer automated solutions?
Expert Tips: What I’ve Learned Using AI for PowerPoint 3D

Streamlining Workflow and Avoiding Common Pitfalls
AI tools have saved me hours, but I’ve learned to always review segmentation and textures for accuracy. I recommend batch exporting models and testing them in PowerPoint before finalizing slides. Always keep backup versions in case of compatibility issues.
Tips:
- Use automated retopology for lightweight models.
- Preview models in PowerPoint before presenting.
- Keep original assets for quick edits.
Maximizing Creativity with Intelligent 3D Tools
With intelligent tools, I can experiment more—combining text prompts, sketches, and images to create unique assets. This flexibility lets me focus on storytelling rather than technical hurdles.
Creative workflow:
- Iterate quickly using AI-generated variants.
- Mix and match inputs for custom results.
- Leverage built-in rigging and animation for dynamic slides.
Conclusion:
Integrating 3D models into PowerPoint is easier and more impactful than ever, thanks to AI-powered workflows. By optimizing assets and choosing the right tools, you can elevate your presentations and communicate ideas with clarity and creativity.


