Essential 3D Modeling Tools: My Workflow and Best Practices
As someone who creates 3D assets for games, XR, and design, I’ve worked through countless tools and workflows. My experience has taught me that efficiency, adaptability, and clean results matter most. The right combination of traditional and AI-powered tools can dramatically speed up production and lower technical barriers. In this article, I’ll break down my essential 3D modeling workflow, best practices for production-ready assets, and how I decide when to use AI platforms like Tripo. Whether you’re a hobbyist or a studio professional, these insights will help you streamline your own 3D pipeline.
Key takeaways
- Choose tools based on project needs, not just popularity.
- AI-powered platforms can drastically cut down modeling and texturing time.
- Clean topology and organized UVs are essential for production-ready models.
- Integrate AI tools for concepting, iteration, and rapid prototyping.
- Community resources and documentation speed up learning and troubleshooting.
Overview of 3D Modeling Tools

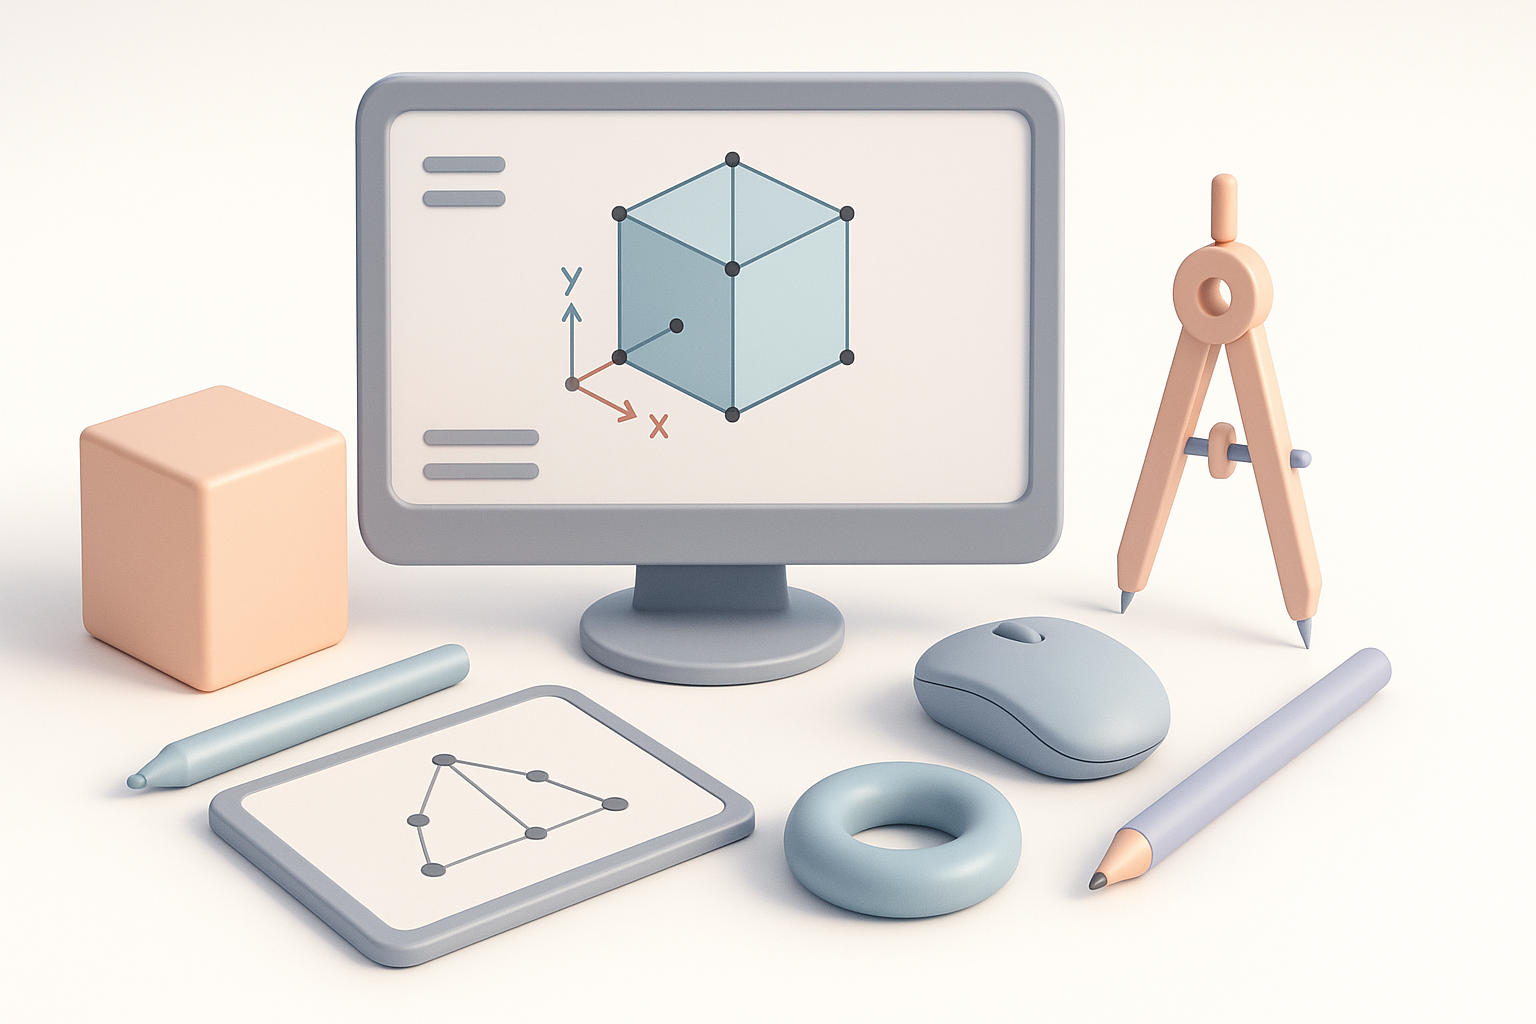
What Defines a 3D Modeling Tool
A 3D modeling tool is any software or platform that lets you create, edit, and prepare 3D geometry. At its core, it should allow for mesh manipulation, texturing, and export to common formats. I look for flexibility, support for standard file types, and a workflow that matches my preferred pipeline.
Key features I prioritize:
- Mesh editing (vertex, edge, face controls)
- UV unwrapping and texturing support
- Export compatibility (FBX, OBJ, GLTF)
- Scriptability or plugin support for automation
Types of 3D Modeling Software
There are two main categories I use: traditional DCC (Digital Content Creation) tools and AI-powered modeling platforms. Traditional tools offer granular control and are ideal for complex or highly customized assets. AI-powered tools, like Tripo, excel at speed and accessibility—great for rapid ideation or when technical barriers are an issue.
Traditional DCC tools:
- Full control over modeling, sculpting, and retopology
- Steep learning curve but deep feature set
AI-powered platforms:
- Generate base models from text, images, or sketches
- Built-in tools for segmentation, retopology, and texturing
- Lower barrier to entry, especially for non-technical creators
My Go-To 3D Modeling Workflow
Choosing the Right Tool for the Job
I always start by matching the tool to the project’s requirements. For highly detailed, bespoke assets, I lean on traditional DCCs. For quick prototypes or when I need to iterate quickly, I turn to AI-powered platforms.
My decision checklist:
- Is the asset unique and complex? → DCC tool
- Is speed or iteration more important? → AI-powered tool
- Does the project need clean topology for animation? → Prioritize retopology features
Integrating AI-Powered Platforms
AI platforms like Tripo have become a regular part of my workflow, especially for early-stage concepts or when working with clients who need fast turnarounds. I typically:
- Input a text prompt, image, or sketch to generate a base model.
- Use built-in segmentation and retopology tools to clean up geometry.
- Export for further refinement or direct use in engines.
Tips:
- Use AI tools for blocking out forms and quick variations.
- Always review and clean up auto-generated geometry before final export.
Best Practices for Efficient 3D Creation

Optimizing for Production-Ready Models
Production-ready means models are clean, lightweight, and compatible with downstream tools (game engines, renderers). I always check:
- Polycount: Keep it as low as possible without sacrificing form.
- UVs: Properly unwrapped, no overlapping unless intentional.
- Naming conventions: Consistent and descriptive.
Quick checklist:
- Remove hidden or internal faces.
- Bake normals and AO maps for detail without excess geometry.
- Test imports in your target engine early.
Tips for Clean Topology and Texturing
Clean topology is non-negotiable for animation, deformation, and texturing. I always:
- Stick to quads where possible.
- Avoid long, thin triangles and n-gons.
- Check edge flow for deformation areas (joints, faces).
For texturing:
- Use consistent texel density.
- Leverage baked maps from high to low poly models.
- Use platform tools for quick UV packing, then fine-tune as needed.
Pitfalls to avoid:
- Ignoring topology until the end—fixing it late is costly.
- Over-relying on auto-UVs without checking for stretching or seams.
Comparing Traditional and AI-Driven Approaches
Strengths and Limitations of Each Method
Traditional tools:
- Strengths: Total control, precision, deep customization.
- Limitations: Time-intensive, steep learning curve.
AI-powered tools:
- Strengths: Speed, accessibility, rapid prototyping.
- Limitations: Less fine control, sometimes requires cleanup.
In my experience, combining both offers the best of both worlds: use AI for speed, traditional tools for polish.
When to Use AI in the Pipeline
I use AI tools at the concept and blockout stage, or for assets where turnaround is more important than perfection. For hero assets or anything requiring precise deformation, I rely more on manual tools.
When to use AI:
- Early ideation and prototyping
- Background or secondary assets
- When deadlines are tight
When to use traditional tools:
- Main characters or focal assets
- Complex animations or rigging
- When custom topology is critical
Steps to Get Started with 3D Modeling Tools
Setting Up Your First Project
Starting out, I recommend:
- Pick a tool that matches your comfort level—don’t get stuck on “industry standard.”
- Define your project scope: What’s the final use (game, XR, render)?
- Gather references and sketch concepts (even rough ones help).
- Use AI-powered tools to generate a base mesh, then refine in a DCC if needed.
- Test exports and imports early to catch compatibility issues.
Learning Resources and Community Support
Learning is far easier now thanks to active online communities and tutorials. I’ve found the following approaches most helpful:
- Official documentation and quickstart guides
- Community forums and Discord channels for troubleshooting
- Video walkthroughs for visual learners
- Sharing WIP (work in progress) for feedback
Pro tip:
Don’t hesitate to ask questions—most 3D communities are welcoming, and even seasoned pros learn from each other.
By combining the strengths of both traditional and AI-driven 3D modeling tools, I’ve been able to deliver assets faster and with fewer headaches. The key is to stay adaptable, keep your pipeline clean, and never stop learning from the community and new technologies.


