3D Modeling Eyes: Techniques, Tips, and Best Practices
Creating realistic 3D eyes is a critical skill for character artists, game developers, and animators. Over the years, I’ve learned that nailing the anatomy, textures, and subtle shading makes all the difference between a lifelike character and an uncanny one. In this guide, I’ll walk through my proven workflow for modeling, texturing, rigging, and optimizing 3D eyes, including how I integrate AI tools like Tripo AI to speed things up. Whether you’re a beginner or a seasoned artist looking to refine your process, you’ll find actionable steps and troubleshooting tips to elevate your results.
Key takeaways
- Understanding eye anatomy is essential for realism and avoiding common pitfalls.
- Blocking out and refining the eye shape lays the foundation for lifelike models.
- High-quality textures and careful shader work are crucial for convincing eyes.
- Rigging and animation require practical controls for believable movement.
- AI tools like Tripo can significantly accelerate and simplify eye modeling.
- Optimization ensures eyes look great in both renders and real-time engines.
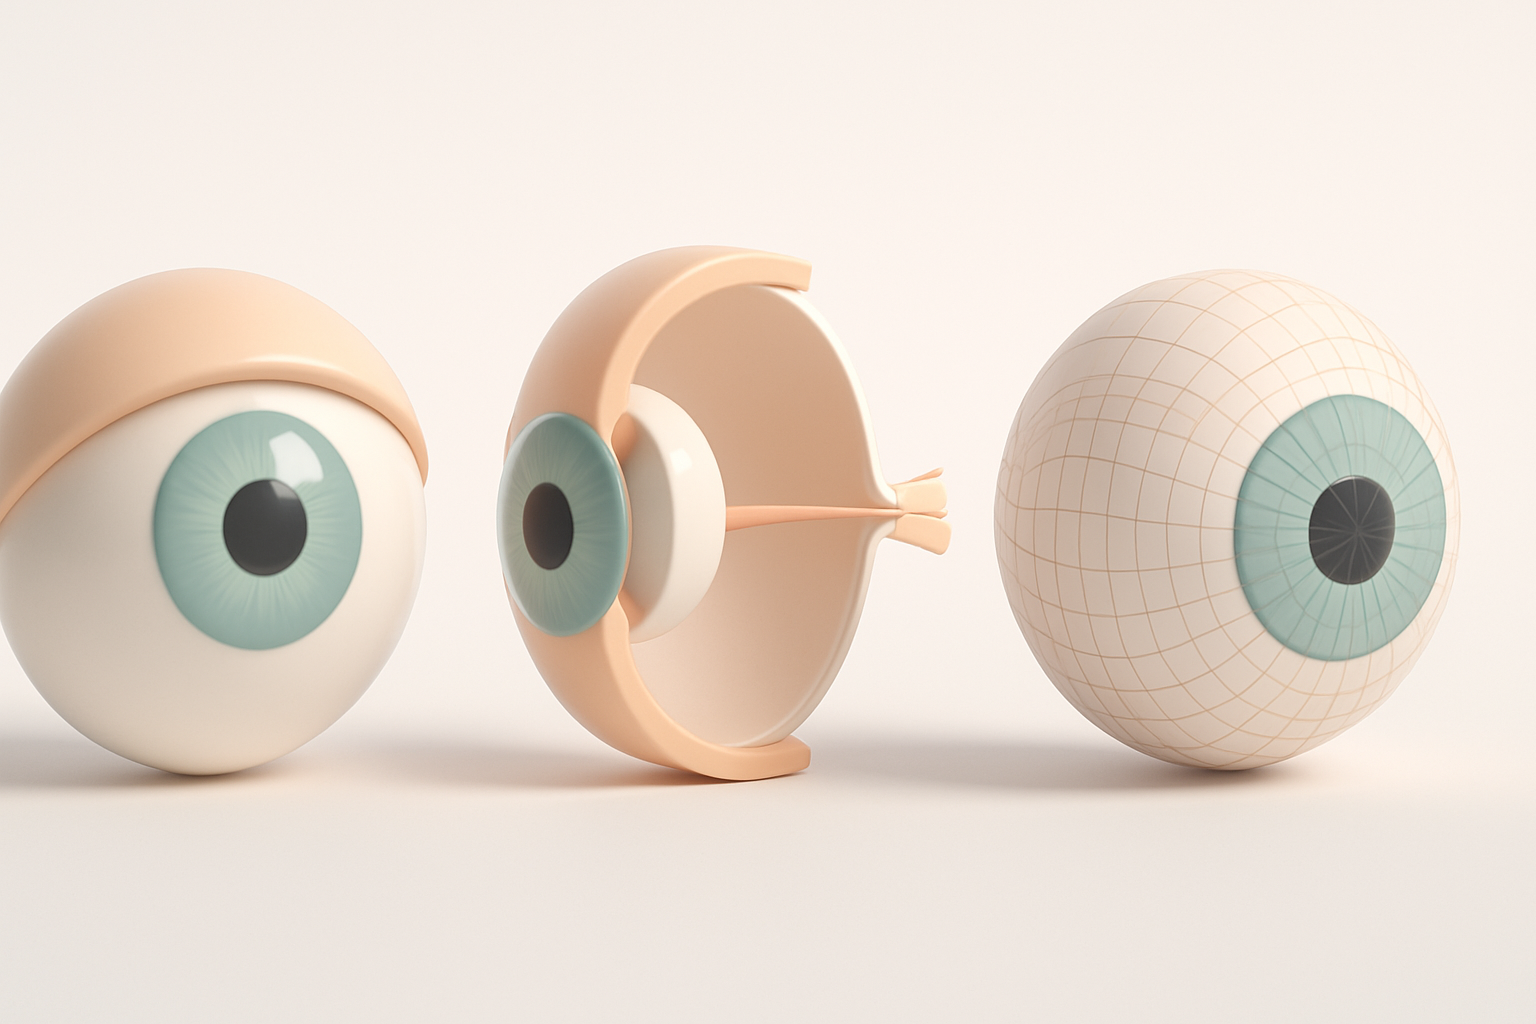
Understanding Eye Anatomy for 3D Modeling
Key anatomical features to capture
When modeling eyes, I always start by studying real references. The main features I focus on are:
- Cornea: The clear, curved outer layer that gives the eye its depth.
- Sclera: The white part—often overlooked, but it has subtle shading and veins.
- Iris and Pupil: The colored ring and central black hole, both with intricate patterns.
- Eyelids and Tear Line: These frame the eye and add realism with thickness and moisture.
I keep side and front references handy and often sketch the eye structure before moving to 3D. Understanding how these layers interact is crucial for believable results.
Common mistakes and how I avoid them
Some pitfalls I’ve seen (and made) include:
- Flatness: Eyes without a proper corneal bulge look lifeless. I always model the cornea as a separate, convex mesh.
- Misplaced iris/pupil: The iris should be inset beneath the cornea, not flush with the sclera.
- Uniform sclera: Real scleras have subtle color shifts and veins—flat white looks fake.
Checklist:
- Use real-life references for shape and color.
- Model the cornea as a distinct, transparent object.
- Offset the iris/pupil under the cornea.
- Add asymmetry and imperfections.
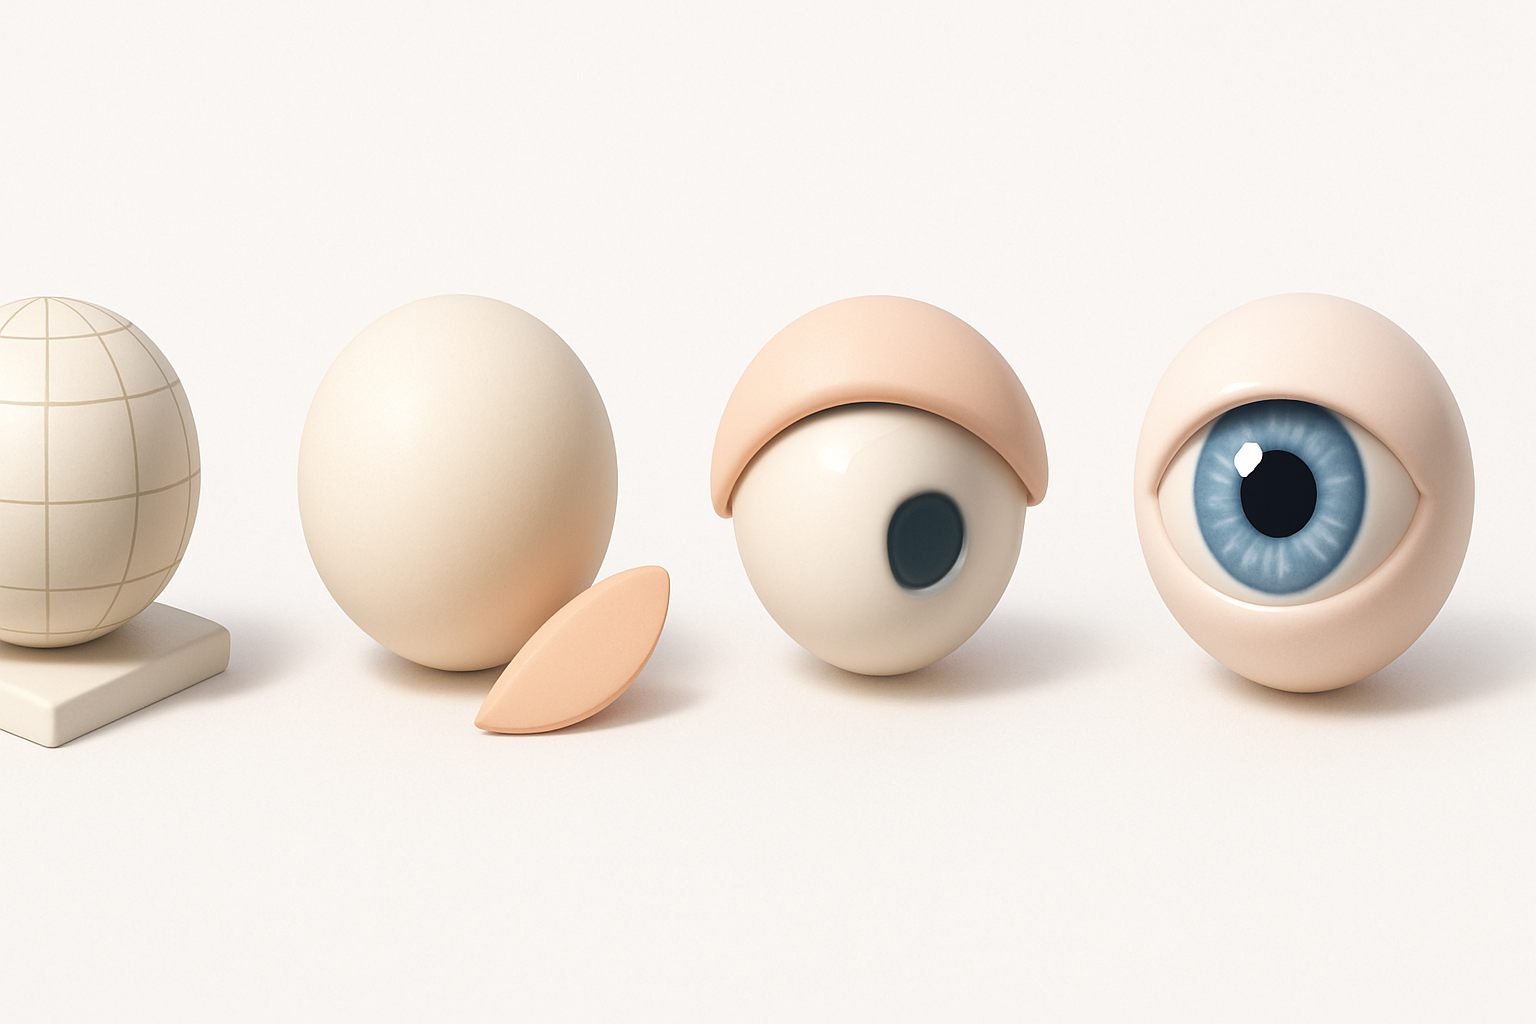
Step-by-Step Workflow for Modeling Realistic Eyes

Blocking out the eye shape
My process starts with basic geometry:
- Sphere as base: I use a UV sphere for the eyeball, ensuring even topology.
- Cornea bulge: I duplicate the front faces and scale them outward for the cornea.
- Iris indentation: I slightly indent the iris area to sit below the cornea.
This blockout gives me a solid foundation to sculpt further details and ensures the anatomy feels right from the start.
Refining details and adding depth
Once the base is set:
- Edge loops: I add loops around the iris and eyelid area for better deformation.
- Sclera veins and bumps: Subtle sculpting or normal maps go a long way here.
- Tear line: I model a thin mesh at the eyelid margin for added realism.
Tips:
- Use symmetry tools, but break symmetry for realism.
- Don’t overdo details—subtlety is key.
- Regularly check the model under different lighting.
Texturing and Shading Eyes for Lifelike Results
Creating convincing iris and sclera textures
I prefer hand-painting iris textures or using high-res photo references. My steps:
- Iris: Radial gradients and layered color variations mimic real complexity.
- Sclera: Off-white base with red/blue veins painted in, plus some yellowing for realism.
- Normal/displacement maps: These add fine surface detail without heavy geometry.
I often use Tripo AI to generate base textures from references, then tweak them manually for uniqueness.
Best practices for shaders and reflections
- Cornea shader: Transparent with a high gloss, using a subtle refraction index (around 1.38).
- Iris shader: Slightly glossy, with a parallax effect if supported.
- Sclera shader: More diffuse, but with a wet look near the tear line.
Pitfalls:
- Overly sharp reflections look artificial. I use blurred environment maps for more natural highlights.
- Avoid pure black in the pupil—allow a hint of reflection for depth.
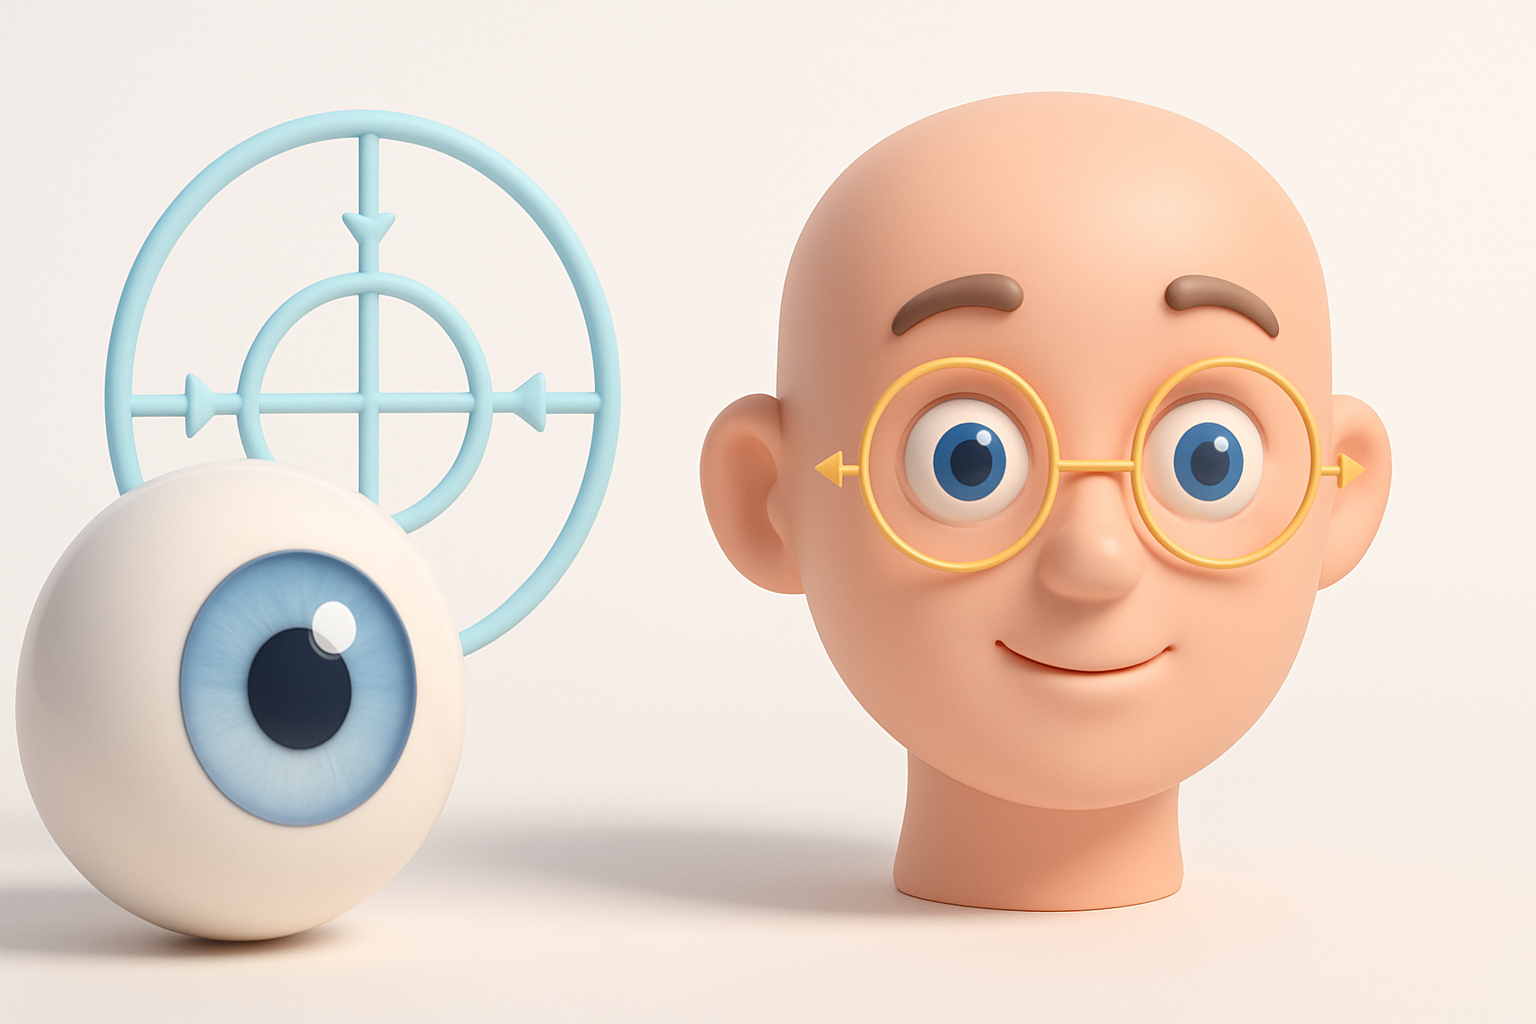
Rigging and Animating Eyes in 3D Characters
Setting up eye controls and constraints
For animation, I set up:
- Parented eyeballs: Both eyes as separate objects, parented to the head.
- Aim constraints: Controls that let me direct gaze easily.
- Eyelid rigs: Blendshapes or bones for blinking and squinting.
Checklist:
- Test eye rotation limits—avoid unnatural extremes.
- Sync eyelid movement with eyeball rotation for realism.
Tips for natural eye movement
- Micro-movements: Small, rapid shifts (saccades) make eyes feel alive.
- Blink timing: I animate blinks every 3–5 seconds, with occasional double blinks.
- Focus shifts: Eyes rarely stay perfectly still—subtle motion helps.
I often reference real video footage to match timing and range.
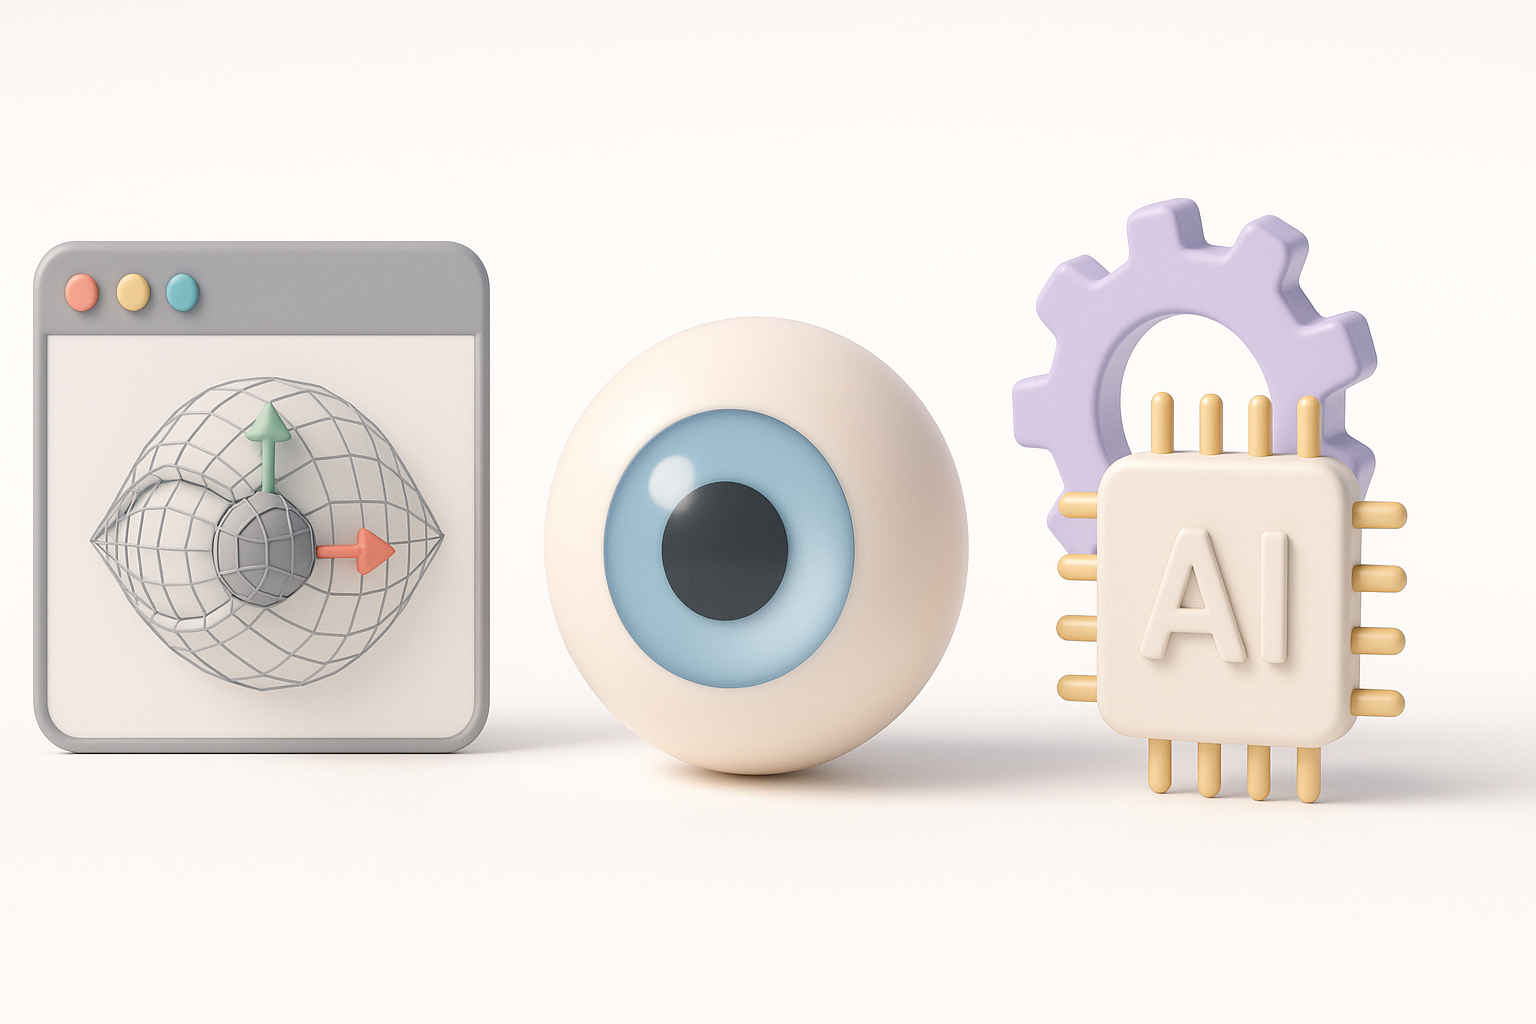
Tools and AI Solutions for Efficient Eye Modeling
How I use Tripo AI for rapid eye creation
Tripo AI streamlines my workflow by:
- Generating base eye meshes and textures from text or image prompts.
- Providing quick retopology and UVs, which I can refine further.
- Suggesting color and shading presets that are production-ready.
This lets me focus on creative tweaks rather than repetitive setup, especially for background or NPC characters.
Comparing manual and AI-assisted workflows
- Manual: Offers full control, but is time-consuming—best for hero assets.
- AI-assisted: Much faster for prototyping or populating scenes with variations.
When I use each:
- AI for rapid iteration, manual for final polish or unique characters.
- I always review and adjust AI outputs to match my project’s style.
Troubleshooting and Optimization Tips
Solving common rendering issues
- Eye popping: If eyes look detached, check cornea transparency and shadow settings.
- Unnatural highlights: Tweak reflection maps and shader glossiness.
- Artifacts: Ensure normals are consistent and UVs are clean.
Quick fixes:
- Use backface culling to avoid rendering inside geometry.
- Adjust shader subsurface settings for a softer look.
Optimizing eye models for real-time use
- Reduce polycount: Retopologize and bake details into normal maps.
- Texture resolution: Use 1K–2K maps for eyes unless close-ups demand more.
- Shader simplification: Limit transparency and refraction for game engines.
My workflow:
- Test eyes in the target engine early.
- Profile performance and adjust LODs as needed.
By understanding anatomy, refining your workflow, and leveraging smart tools like Tripo AI, you can create 3D eyes that are both believable and efficient—ready for any production.


