Mastering 3D Modeling in Blender: Expert Workflows & Tips
Blender has been my go-to for 3D modeling, thanks to its versatility and robust toolset. Over years of practice, I’ve refined workflows that balance creativity and efficiency, leveraging both manual techniques and AI-powered platforms like Tripo to streamline production. This article distills my best practices for building, optimizing, and exporting models—ideal for artists, game devs, and XR designers aiming for production-ready assets. Whether you’re new to Blender or looking to sharpen your pipeline, these actionable tips will help you avoid common pitfalls and achieve professional results.
Key takeaways:
- Efficient navigation and interface mastery are crucial for speed and precision in Blender.
- Structured workflows minimize errors and maximize creative output.
- Proper UV mapping, retopology, and optimization ensure models are ready for real-world use.
- Integrating AI tools like Tripo accelerates asset creation and reduces repetitive tasks.
- Export settings and asset management are vital for seamless collaboration and deployment.
Getting Started with 3D Modeling in Blender
Why I Chose Blender for My 3D Projects
Blender stands out for its open-source flexibility, powerful modeling tools, and active community. I appreciate the freedom to customize my workflow and the constant stream of updates. For projects ranging from game assets to XR prototypes, Blender offers everything I need without licensing headaches.
Practical reasons I stick with Blender:
- No upfront cost or restrictions on commercial use.
- Integrated sculpting, modeling, and animation tools.
- Strong add-on ecosystem for specialized tasks.
Essential Blender Interface and Navigation Tips
Mastering Blender’s interface saves hours. I always start by customizing my workspace—splitting windows for viewport, UV editor, and outliner. Keyboard shortcuts are essential; I use Tab for mode switching, G, R, and S for quick transforms, and Shift+A for adding objects.
My navigation checklist:
- Set up custom workspaces for modeling, texturing, and animation.
- Use the pie menus (enabled via add-ons) for rapid tool access.
- Keep the outliner organized—rename objects as you go.
Core 3D Modeling Techniques and Best Practices
My Step-by-Step Workflow for Building Models
I follow a structured approach to minimize mistakes and keep models clean:
- Block out shapes: Start with basic forms using primitives.
- Refine topology: Use edge loops and modifiers (like Mirror) for symmetry.
- Detailing: Add geometry only where needed—avoid overcomplicating.
- Check scale: Regularly verify dimensions against reference.
Tip: I often use reference images in the background to maintain proportions.
Common Pitfalls and How I Avoid Them
Blender’s flexibility can lead to messy projects if you’re not careful. Early on, I wasted time fixing topology and chasing artifacts.
Pitfalls I’ve learned to avoid:
- Overlapping geometry and hidden faces—use
Select > Select Non-Manifoldto catch issues. - Forgetting to apply modifiers before export.
- Neglecting object naming and organization.
My prevention steps:
- Regularly use
Ctrl+Ato apply transforms and modifiers. - Keep the scene tidy—group related objects and use collections.
- Run mesh cleanup tools before moving to texturing.
Texturing, Retopology, and Optimization
How I Approach UV Mapping and Texturing
UV mapping is critical for clean textures. I start with smart projections, then manually tweak seams for minimal stretching. For texturing, I use Blender’s node-based editor for flexibility, but often rely on external tools for complex maps.
UV mapping steps I follow:
- Mark seams thoughtfully—hide them along natural edges.
- Use
UV > Average Islands Scalefor uniform texel density. - Check for stretching using the UV grid texture.
Texture tips:
- Bake maps for efficiency (AO, normals, etc.).
- Use high-res textures only where necessary—optimize for target platform.
Retopology and Keeping Models Production-Ready
Retopology is vital for animation and performance. I either use Blender’s built-in tools or, for complex assets, AI platforms like Tripo to automate the process and generate clean, quad-based meshes.
My retopology workflow:
- Start with the Decimate modifier for quick reduction.
- Switch to manual retopo for animation-critical areas (face, joints).
- Use AI tools for batch processing and cleanup.
Optimization checklist:
- Target polygon counts based on platform (mobile, desktop, XR).
- Remove hidden geometry and unused vertices.
- Test model in-engine for performance.
Integrating AI Tools and Automation in Blender
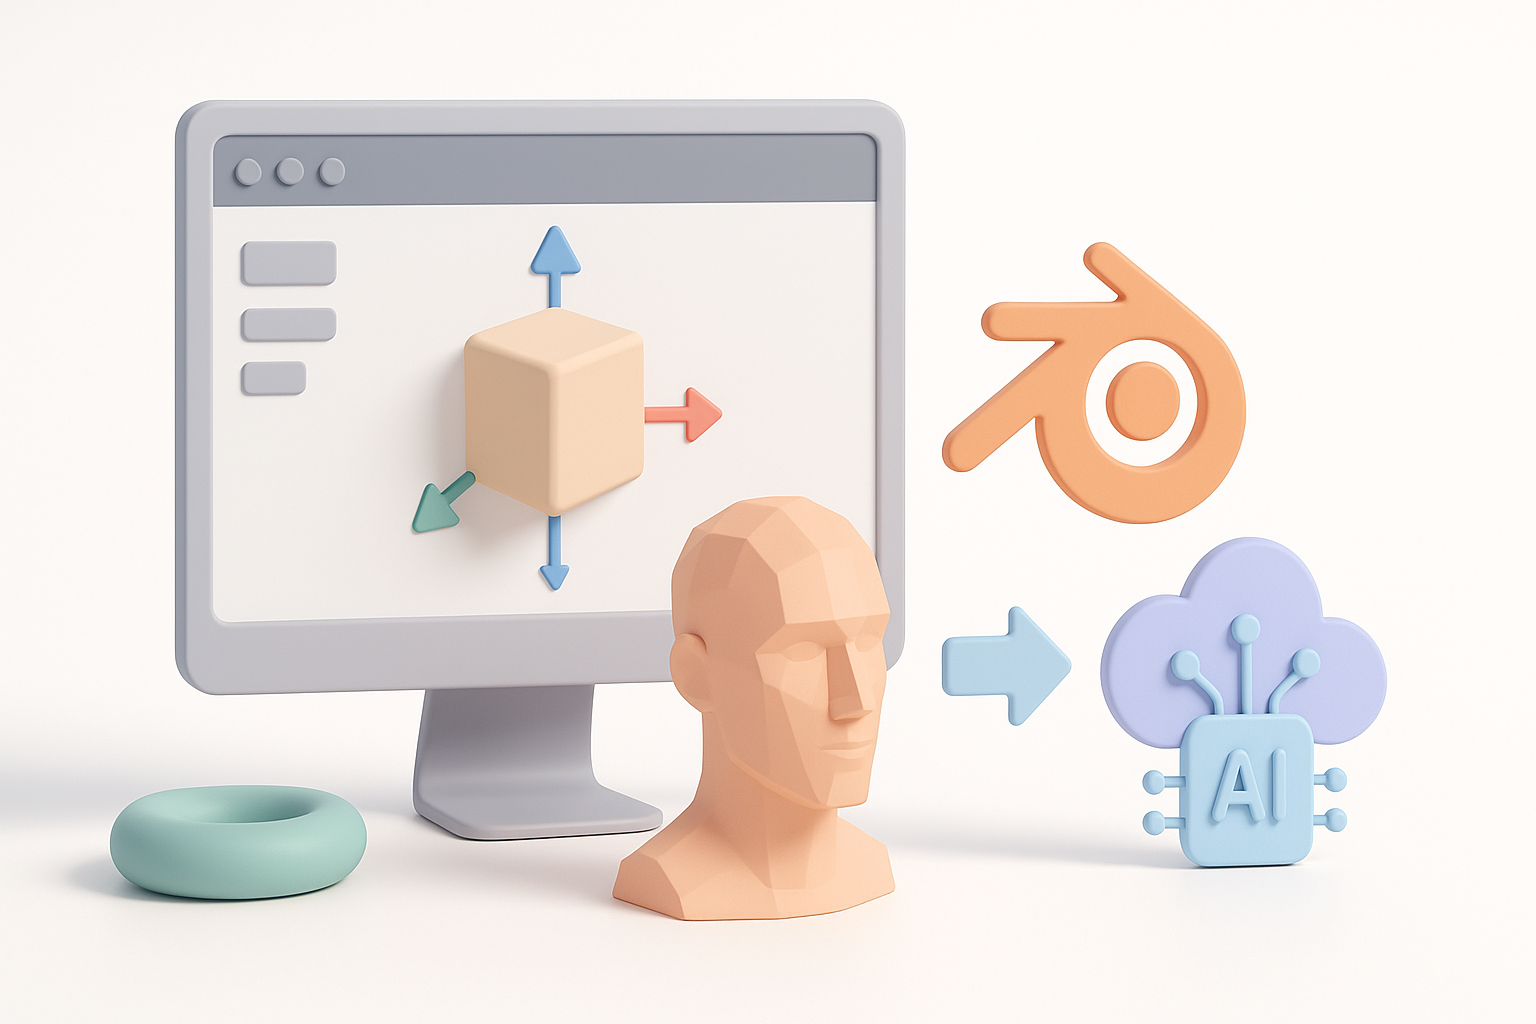
How I Use AI Platforms Like Tripo in My Workflow
AI tools have transformed my workflow, especially for rapid prototyping and batch asset creation. With Tripo, I generate base meshes from sketches or text prompts, then import into Blender for refinement and detailing.
Typical AI-assisted steps:
- Input concept art or text description into Tripo.
- Receive segmented, textured models ready for Blender.
- Fine-tune topology, UVs, and materials as needed.
Benefits I’ve noticed:
- Significant reduction in manual modeling time.
- Consistent results for repetitive asset types.
Comparing Manual and AI-Assisted Modeling Approaches
Manual modeling gives me full control and is ideal for hero assets or unique shapes. AI-assisted methods excel for background props, variations, or when speed is key.
When I choose manual:
- High-detail, custom assets.
- Complex rigging or animation requirements.
When I use AI:
- Fast iteration, large asset libraries.
- Standardized props or environments.
Hybrid workflow tips:
- Start with AI-generated base, then polish manually.
- Use AI for retopology and texturing, but double-check outputs.
Exporting, Sharing, and Using Your Blender Models
Best Export Settings for Games, XR, and Film
Exporting correctly is crucial for seamless integration. I use FBX for most game engines, GLTF for web/XR, and OBJ for general interchange.
My export checklist:
- Apply all transforms (
Ctrl+A). - Check scale and orientation—match engine settings.
- Embed textures or export separately as needed.
- Test exported file in target environment.
Settings I tweak:
- Limit polygon count for real-time platforms.
- Use “Selected Only” to avoid exporting clutter.
- Ensure animations and rigs are baked.
Tips for Collaboration and Asset Management
Efficient asset management prevents headaches. I keep a structured folder system and share models via cloud storage or asset management tools.
Collaboration tips:
- Name files and objects descriptively.
- Package assets with textures and documentation.
- Use version control for larger projects.
Asset management checklist:
- Maintain backups of key milestones.
- Document changes for easy handoff.
- Standardize file formats across the team.
Final thoughts:
Mastering Blender means blending manual skill with smart automation. By structuring workflows, leveraging AI tools like Tripo, and staying vigilant about optimization and export, I consistently deliver production-ready models—no matter the industry or platform.


