Best 3D Modeling Apps for iPad: My Workflow & Tips
скачать 3d модель для chicken gun
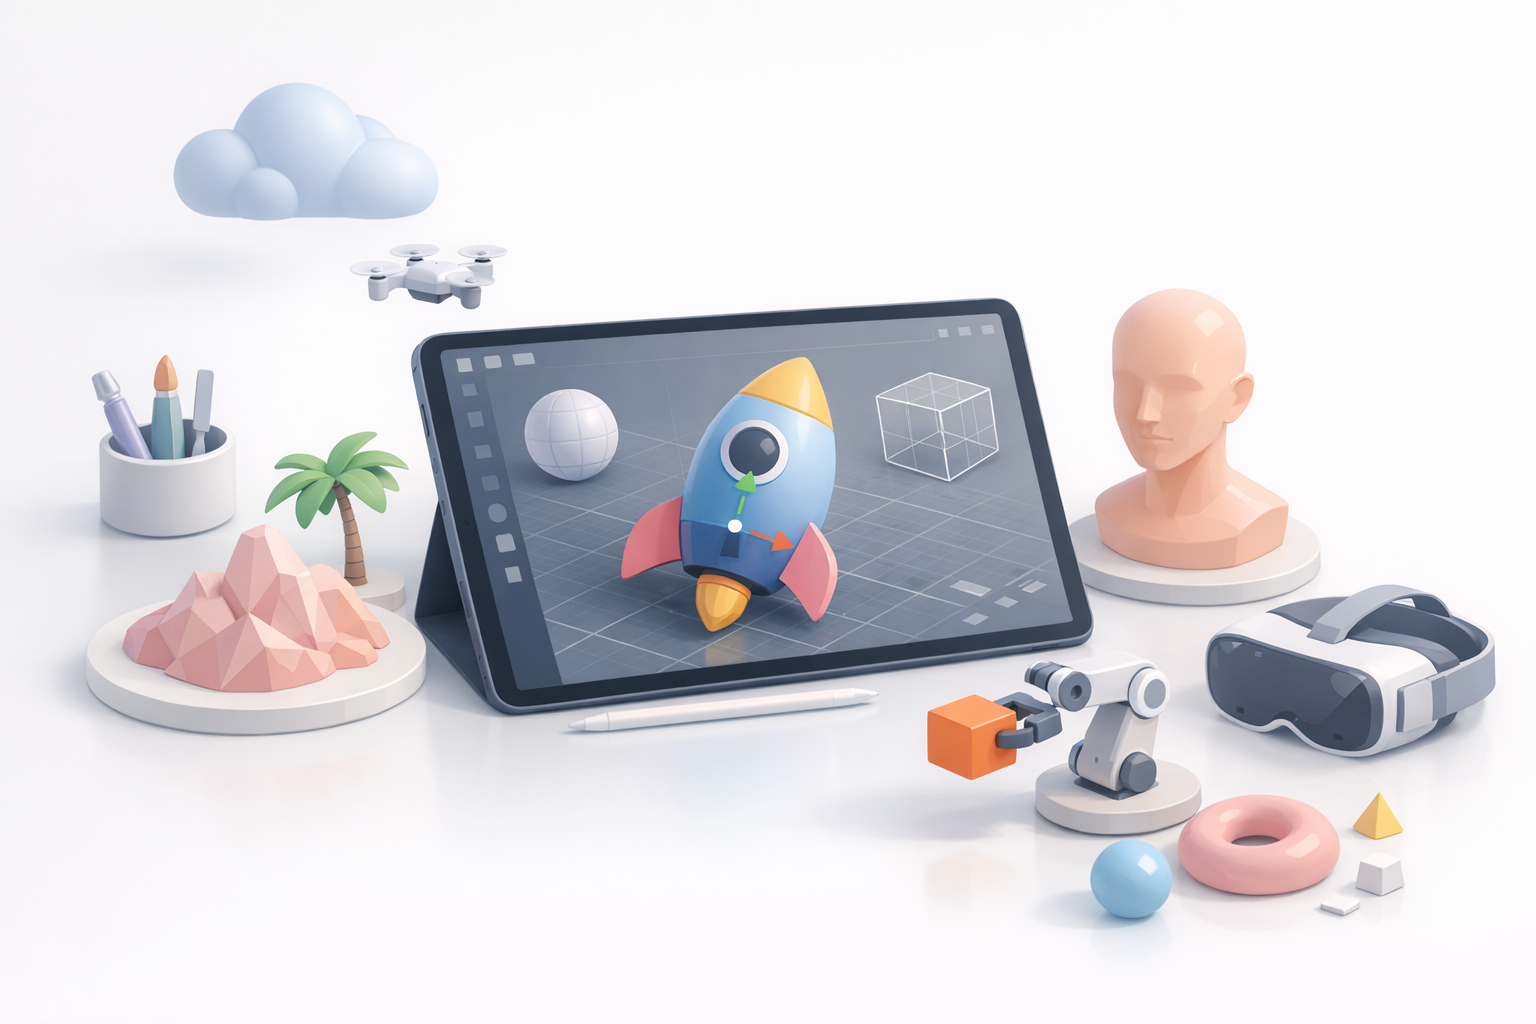
As someone who creates 3D assets for games, XR, and design, I’ve tested nearly every major 3D modeling app on iPad. The iPad’s portability and touch-first interface have changed how I sketch, block out, and even finish production-ready models. In this article, I’ll share my favorite iPad 3D modeling apps, my actual workflow, and how I integrate AI-powered tools for speed and quality. If you’re a designer, artist, or developer looking to streamline your 3D process, this guide is for you.
Key takeaways:
- iPad 3D modeling apps are powerful for concepting, sculpting, and asset creation on the go.
- Touch controls and Apple Pencil support make modeling more intuitive and hands-on.
- For production work, optimizing topology and textures is essential—some tasks are best finished on desktop or with AI tools.
- AI platforms like Tripo accelerate asset generation, retopology, and texturing.
- Choose apps based on your workflow stage—no single app does it all.
Why Use an iPad for 3D Modeling?
Portability and Touch Controls
The iPad lets me model anywhere—on the couch, in the studio, or while traveling. The combination of portability and the Apple Pencil makes sculpting and blocking out forms feel as natural as drawing. I can quickly capture ideas before they slip away. For roughing out shapes or making quick edits, nothing beats the immediacy of touch controls.
Tips:
- Use the Apple Pencil for precise sculpting and selection.
- Leverage gestures (pinch, rotate, tap) for faster viewport navigation.
How I Integrate iPad into My 3D Workflow
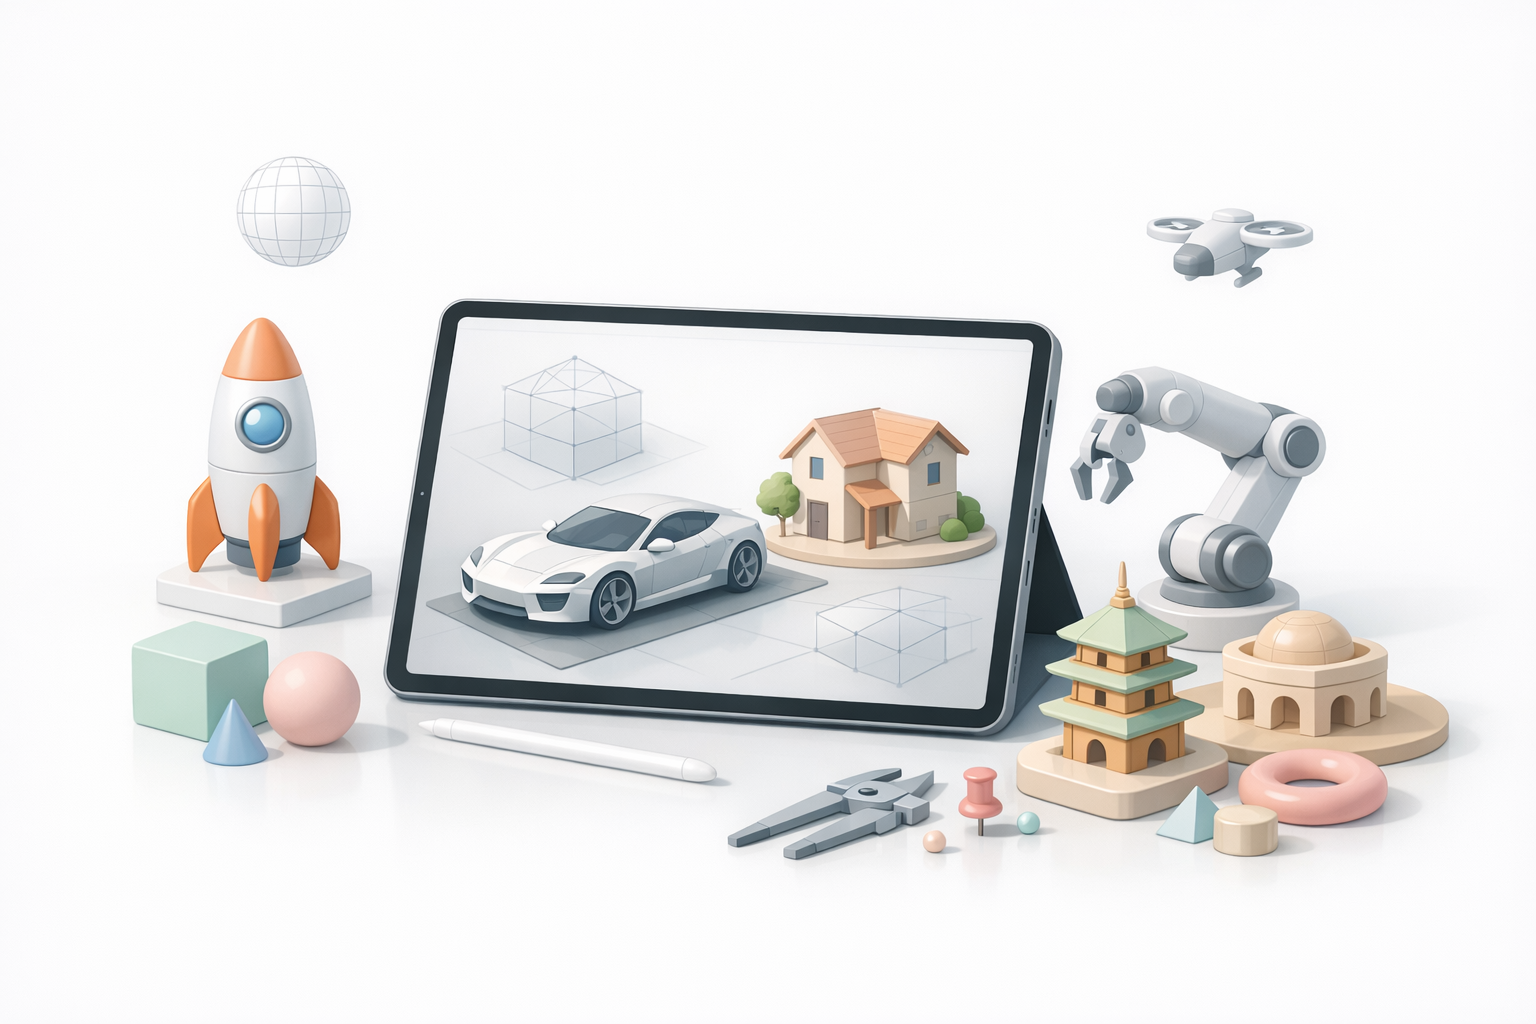
I rarely use the iPad for every step, but it’s perfect for early ideation, sculpting, and quick edits. I usually start with sketches, move to basic forms in a modeling app, then export to desktop or AI tools for finishing. For client feedback sessions, I use the iPad to make live tweaks.
My workflow:
- Sketch concepts in a drawing app or directly in a 3D app.
- Block out the model with basic shapes.
- Export for retopology, UVs, and advanced texturing using desktop or AI platforms.
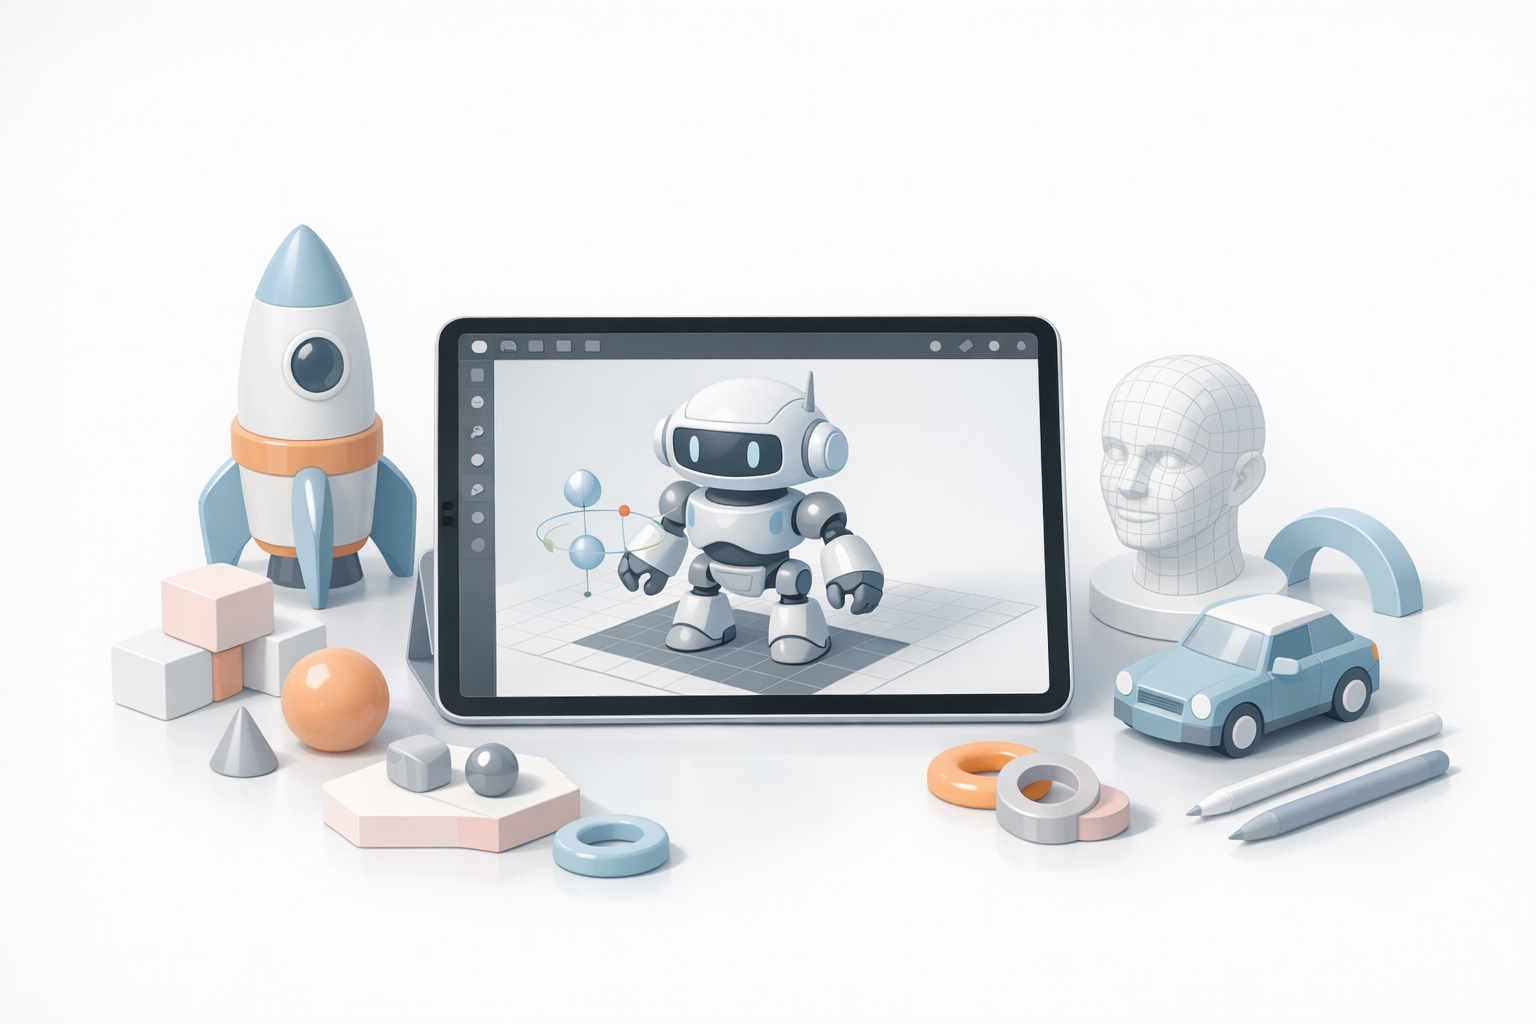
Top 3D Modeling Apps for iPad: My Hands-On Experience
Key Features I Look For
Not every 3D app is created equal. I look for:
- Intuitive UI with Apple Pencil support
- Import/export options (OBJ, FBX, GLTF, USDZ)
- Sculpting and poly modeling tools
- Layers, symmetry, and masking
- Texture painting or material support
Checklist:
- Can I export to my main pipeline?
- Does it support high-res meshes and texture maps?
- Is the interface fast, or does it get in the way?
Strengths and Limitations of Each App
Some apps excel at sculpting and concept work, while others are better for hard-surface modeling. Most iPad apps have limitations in retopology, UV unwrapping, and advanced material setups. For production-ready assets, I often need to finish models with AI tools or desktop software.
Pitfalls to avoid:
- Don’t expect desktop-level features in every app.
- Watch for polygon limits on complex scenes.
- Texture export can be hit-or-miss; always test your pipeline.
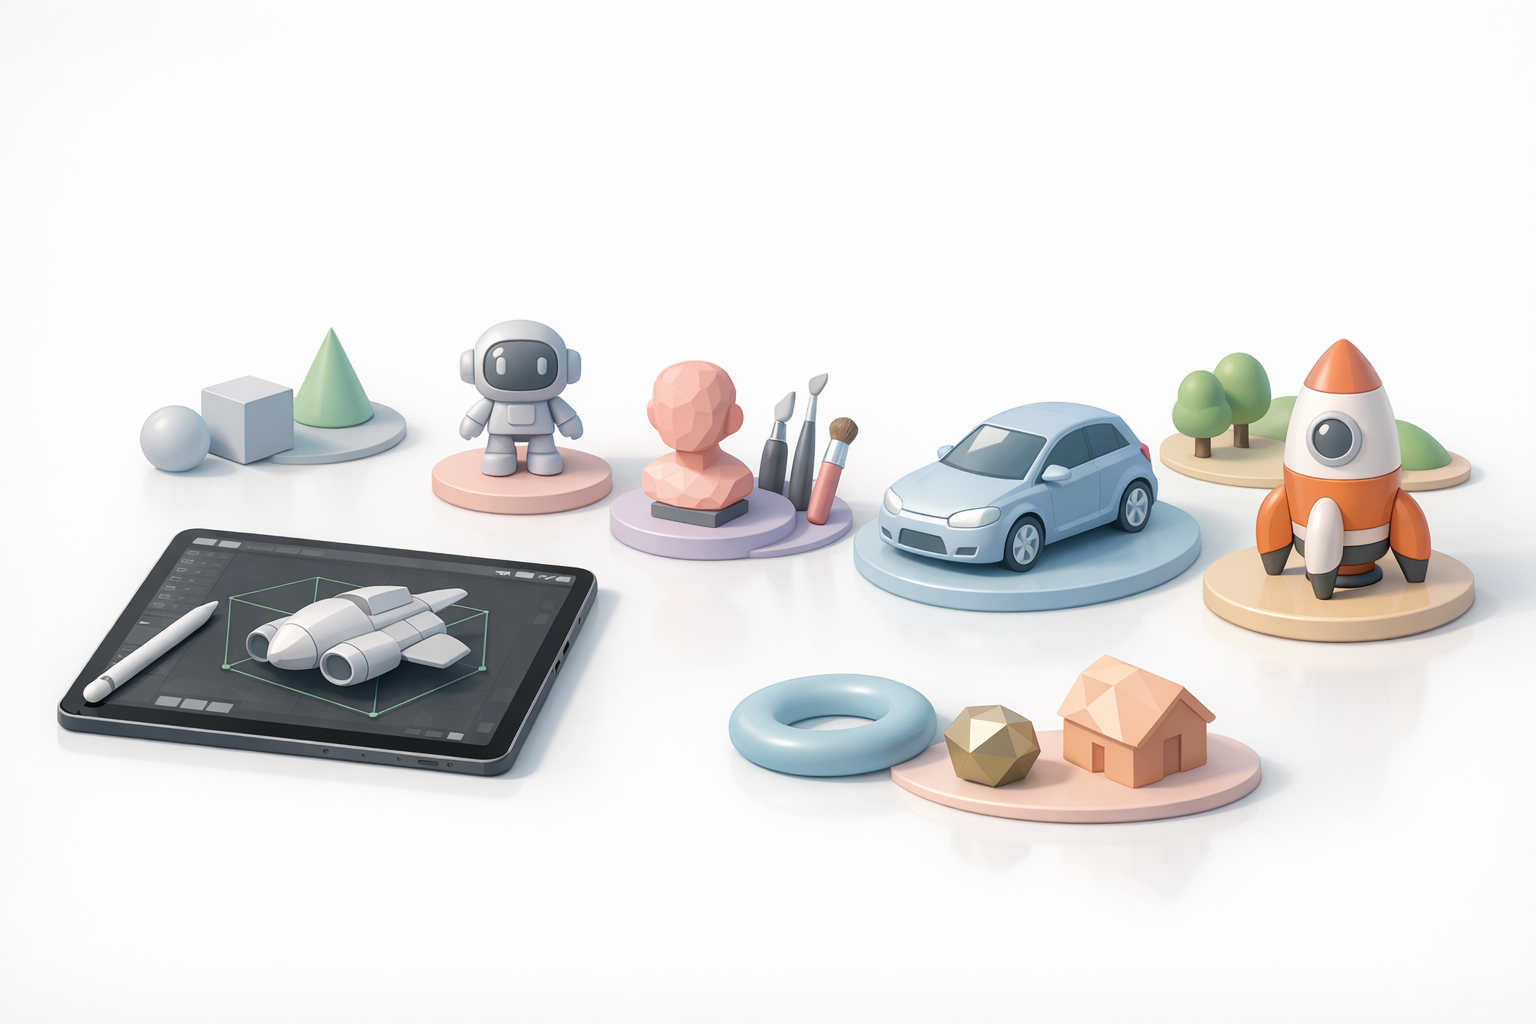
Step-by-Step: My 3D Modeling Process on iPad
From Concept to Model: My Typical Workflow
- Sketch or Reference Gathering: I start by importing reference images or sketching ideas.
- Blocking Out Forms: Using a sculpting app, I quickly shape the main volumes.
- Refining: I add secondary details, keeping geometry manageable.
- Exporting: I export the mesh (OBJ or GLTF) for further processing.
Pro tip: Keep each stage lightweight—high-res details and textures are best handled later.
Tips for Efficient Asset Creation
- Use symmetry and mirroring to speed up modeling.
- Save incremental versions—apps can crash.
- For repetitive details, use stamp or brush features.
- Export often, and check compatibility with your next tool (AI or desktop).
Best Practices for Production-Ready 3D Models on iPad
Optimizing Geometry and Topology
On iPad, it’s easy to end up with dense meshes. I keep an eye on polycount and clean up geometry before export. For game or XR assets, I use AI tools like Tripo for automated retopology and mesh optimization.
Mini-checklist:
- Remove hidden or unused geometry.
- Check for non-manifold edges or holes.
- Export in a format supported by your next tool.
Texturing, Rigging, and Exporting
While some iPad apps offer basic texture painting, detailed UV mapping and rigging are usually better handled elsewhere. I often export the mesh to Tripo for intelligent segmentation, UVs, and texturing.
Tips:
- Use simple materials on iPad, then bake or paint textures with AI tools.
- For animation, rig in a desktop app or with AI-assisted rigging.
- Always verify export settings—scale and orientation can shift between platforms.
Comparing iPad Apps with Desktop and AI-Powered Tools

When I Prefer iPad vs. Desktop
I choose iPad for:
- Concept sculpting and ideation
- Quick edits during client reviews
- Modeling on the go
I switch to desktop or AI platforms for:
- Detailed retopology, UVs, and baking
- High-res texture painting
- Final asset prep for production
Integrating AI Platforms Like Tripo into My Pipeline
After blocking out models on iPad, I use Tripo to automate tedious tasks—retopology, UV unwrapping, and texturing. This lets me focus on creative work and meet deadlines faster. Tripo’s ability to handle exports from iPad apps makes the transition smooth.
Workflow tip:
Export your iPad model in a compatible format (OBJ, FBX), upload to Tripo, and let the platform handle optimization and texturing. Review results, make tweaks, and export for your target engine or renderer.
My Recommendations and Final Thoughts

Choosing the Right App for Your Needs
- For sculpting and concept work: Pick an app with robust brush and symmetry tools.
- For asset prep: Prioritize export options and compatibility.
- For production: Use AI tools to fill in the gaps—retopology, UVs, and textures.
No single app does it all; combine strengths for best results.
What I’ve Learned from Real Projects
iPad modeling is fast and intuitive, but production assets still require careful optimization. AI-powered tools have become essential in my pipeline for automating the technical steps, letting me focus on creativity. Test your workflow end-to-end before committing to a new app, and always keep backups of your work.
In summary:
The iPad is a powerful tool for 3D artists when paired with the right apps and AI platforms. With the right workflow, you can create production-ready models efficiently—no matter where you are.


