How to 3D Model The Tick: Expert Workflow & Tips
Modeling The Tick—a stylized, muscular superhero with exaggerated proportions—presents unique challenges that reward a thoughtful, streamlined workflow. In this guide, I break down my end-to-end process for creating production-ready 3D models of The Tick, from concept and reference gathering to texturing, rigging, and export. Whether you’re a game artist, animator, or hobbyist, you’ll find practical tips for leveraging AI-powered tools, avoiding common pitfalls, and achieving a comic-accurate result efficiently.
Key takeaways:
- Start with strong references and a clear plan for style and pose
- Block out proportions early; focus on silhouette before details
- Use AI-powered platforms for rapid base mesh and intelligent segmentation
- Prioritize clean topology and segmentation for animation-readiness
- Apply comic-style textures and materials for authenticity
- Rig and export with your target platform in mind
Executive Summary: Key Takeaways for Modeling The Tick
What Makes The Tick Unique in 3D Modeling
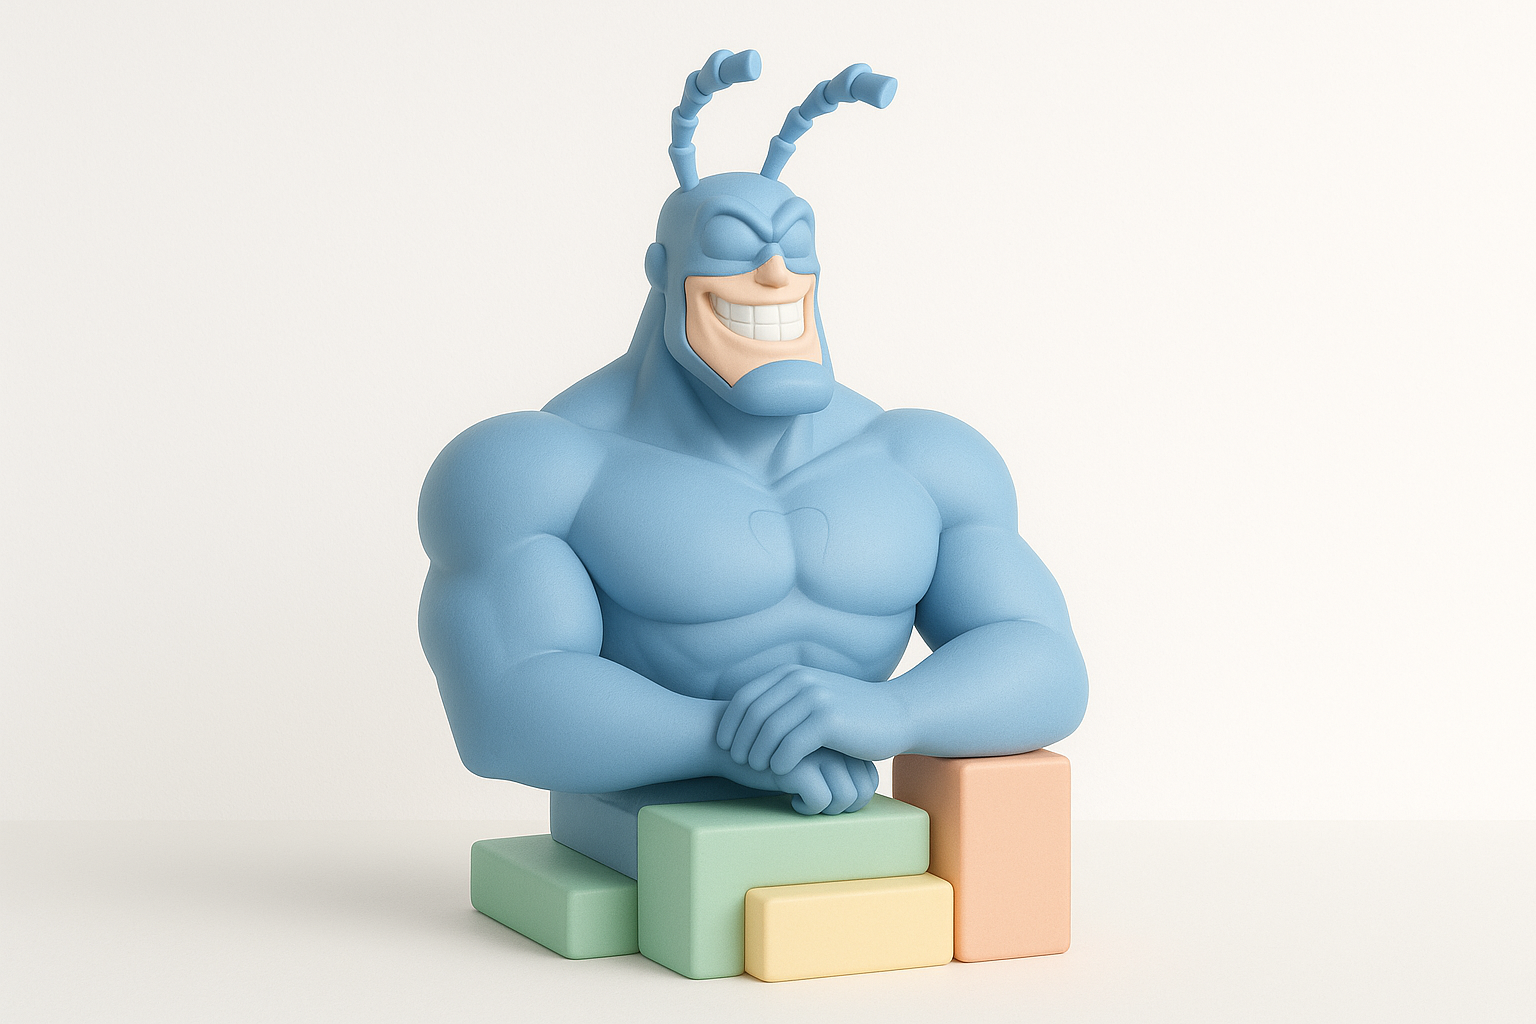
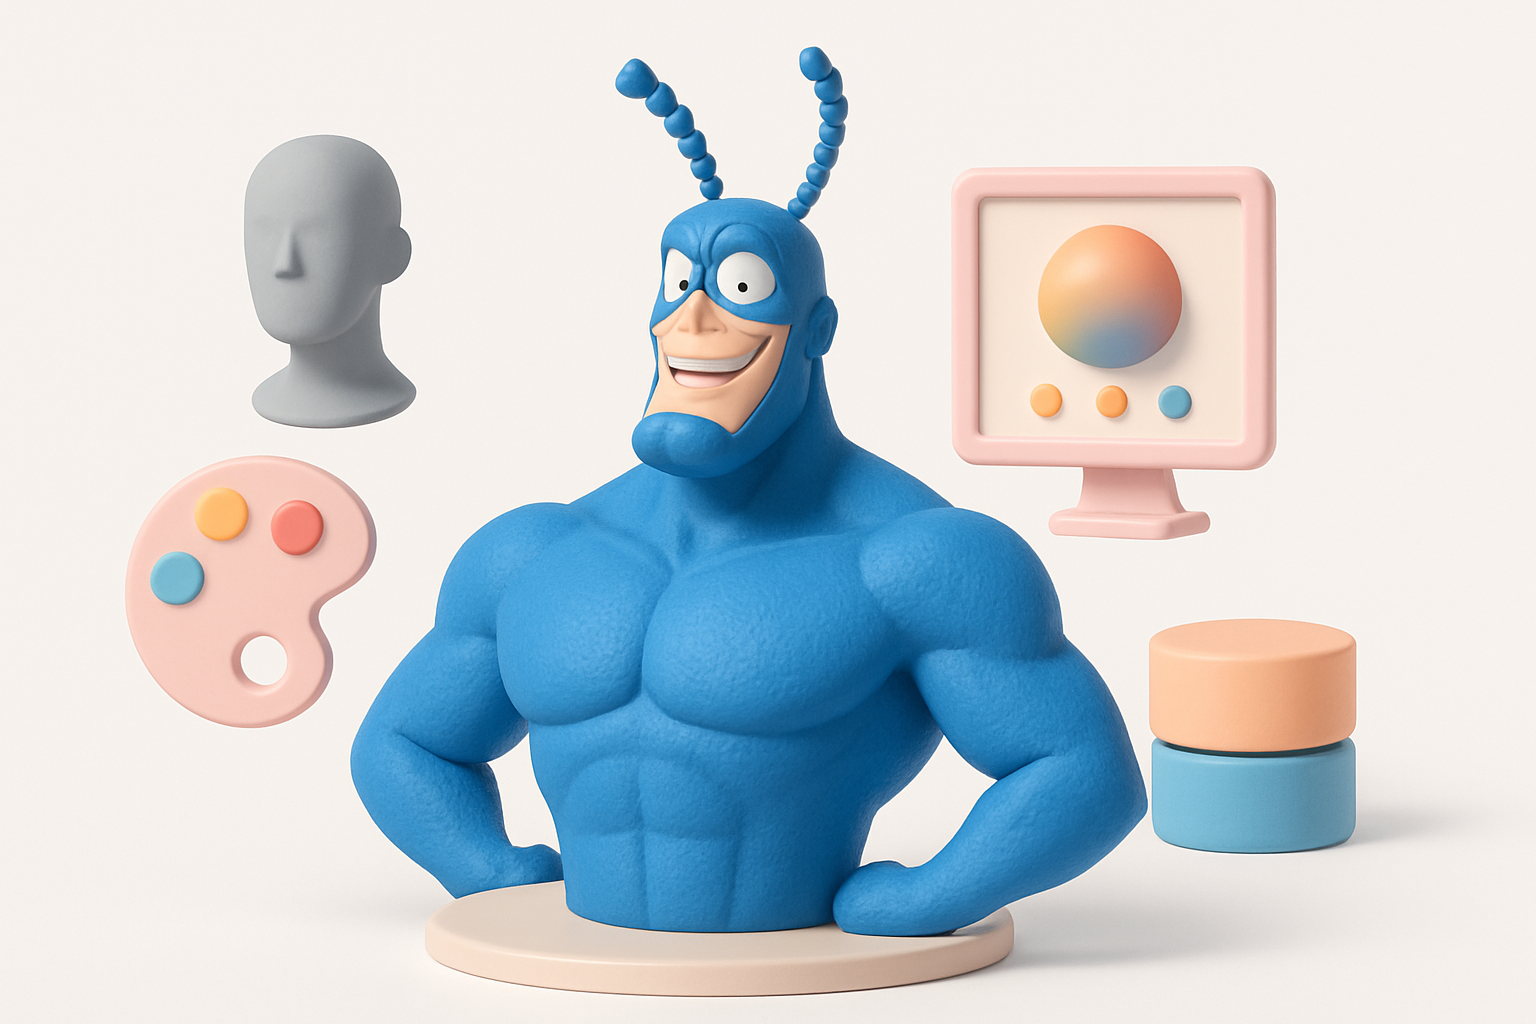
The Tick’s design is all about exaggerated anatomy: a barrel chest, tiny waist, broad jaw, and those iconic antennae. Capturing his comic-book proportions and dynamic presence requires a stylized approach, not strict realism. I focus on silhouette, bold forms, and clean geometry, ensuring the model reads instantly as The Tick from any angle.
Summary of Workflow and Best Practices
My workflow starts with collecting references and defining the intended use (game, film, print, etc.). I use AI-powered modeling platforms to accelerate the base mesh stage, then refine proportions and details manually. Retopology and segmentation are crucial for animation, so I leverage tools with intelligent geometry optimization. Texturing is where The Tick comes to life, using bold, comic-style materials. Finally, I rig, animate, and export with platform-specific settings.
Conceptualizing The Tick: Reference Gathering & Planning
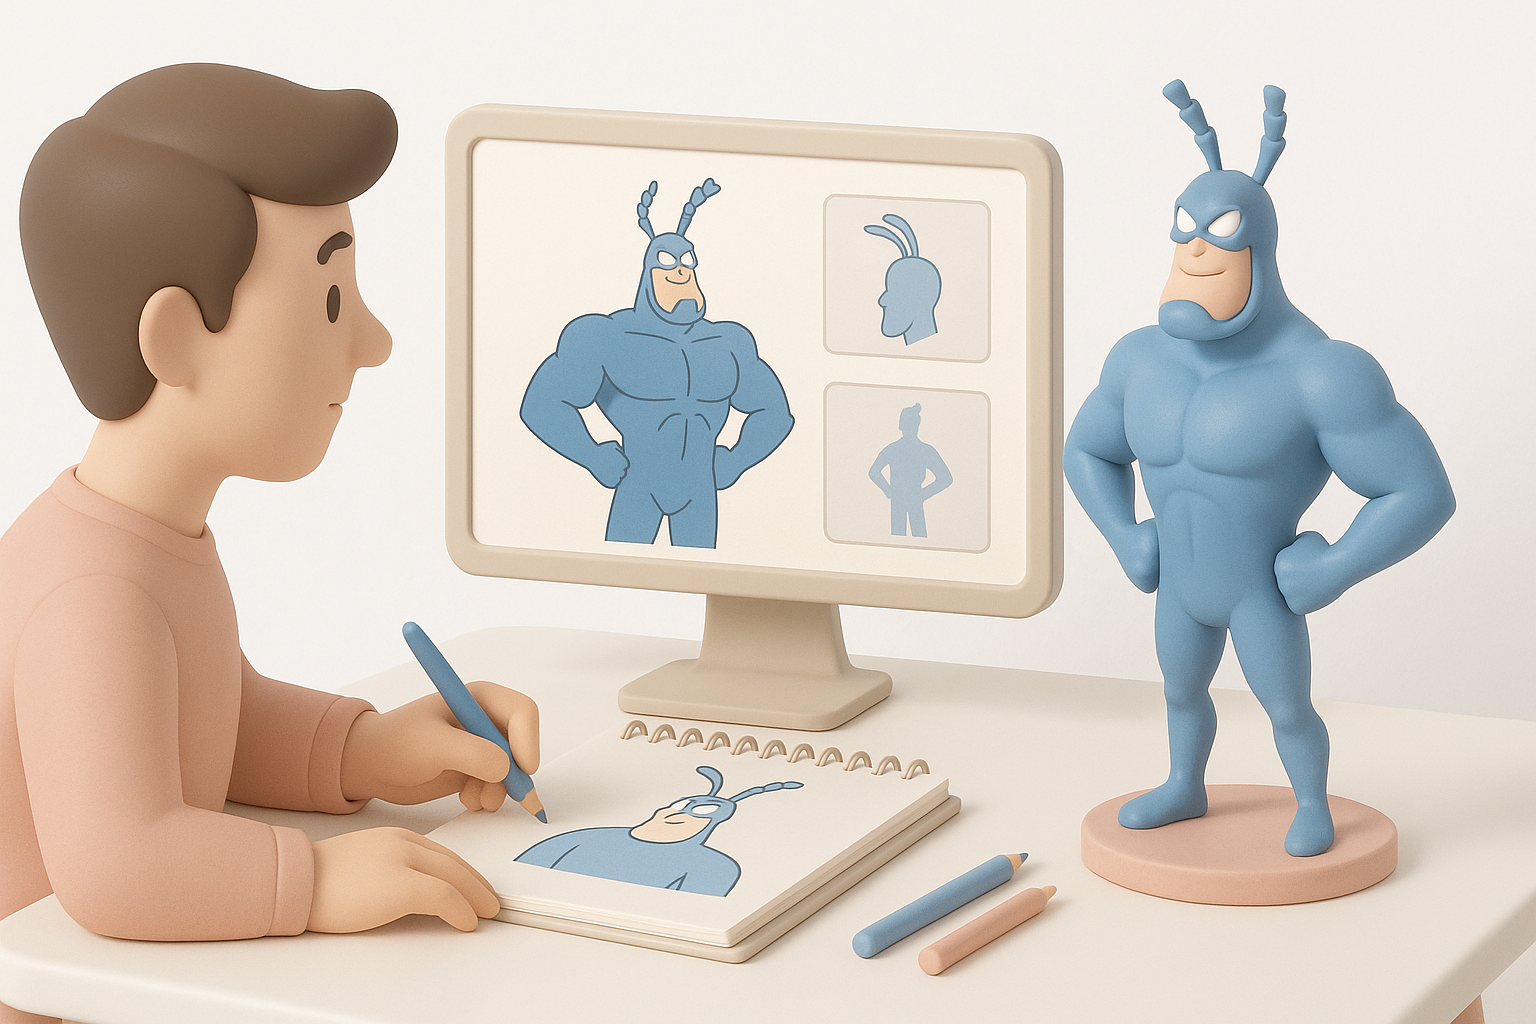
Collecting Visual References and Sketches
I always begin by gathering as many references as possible—comic panels, animated series frames, and fan art. This helps me lock down The Tick’s proportions and signature features. I also create or source orthographic sketches (front, side, back) to guide modeling.
Checklist:
- Gather high-res comic pages and character sheets
- Collect multiple angles and poses
- Sketch or trace over references for clarity
Defining Style, Pose, and Intended Use
Before modeling, I decide on the style: classic comic, animated, or a hybrid. The intended use (static render, game asset, animation) determines polygon budget and rigging complexity. For The Tick, a heroic pose with flexed muscles often works best.
Tips:
- Define the target platform early (game, film, print)
- Plan for dynamic posing if animation is needed
- Keep style consistent with the project’s visual direction
Choosing Tools and Platforms for Efficient 3D Creation
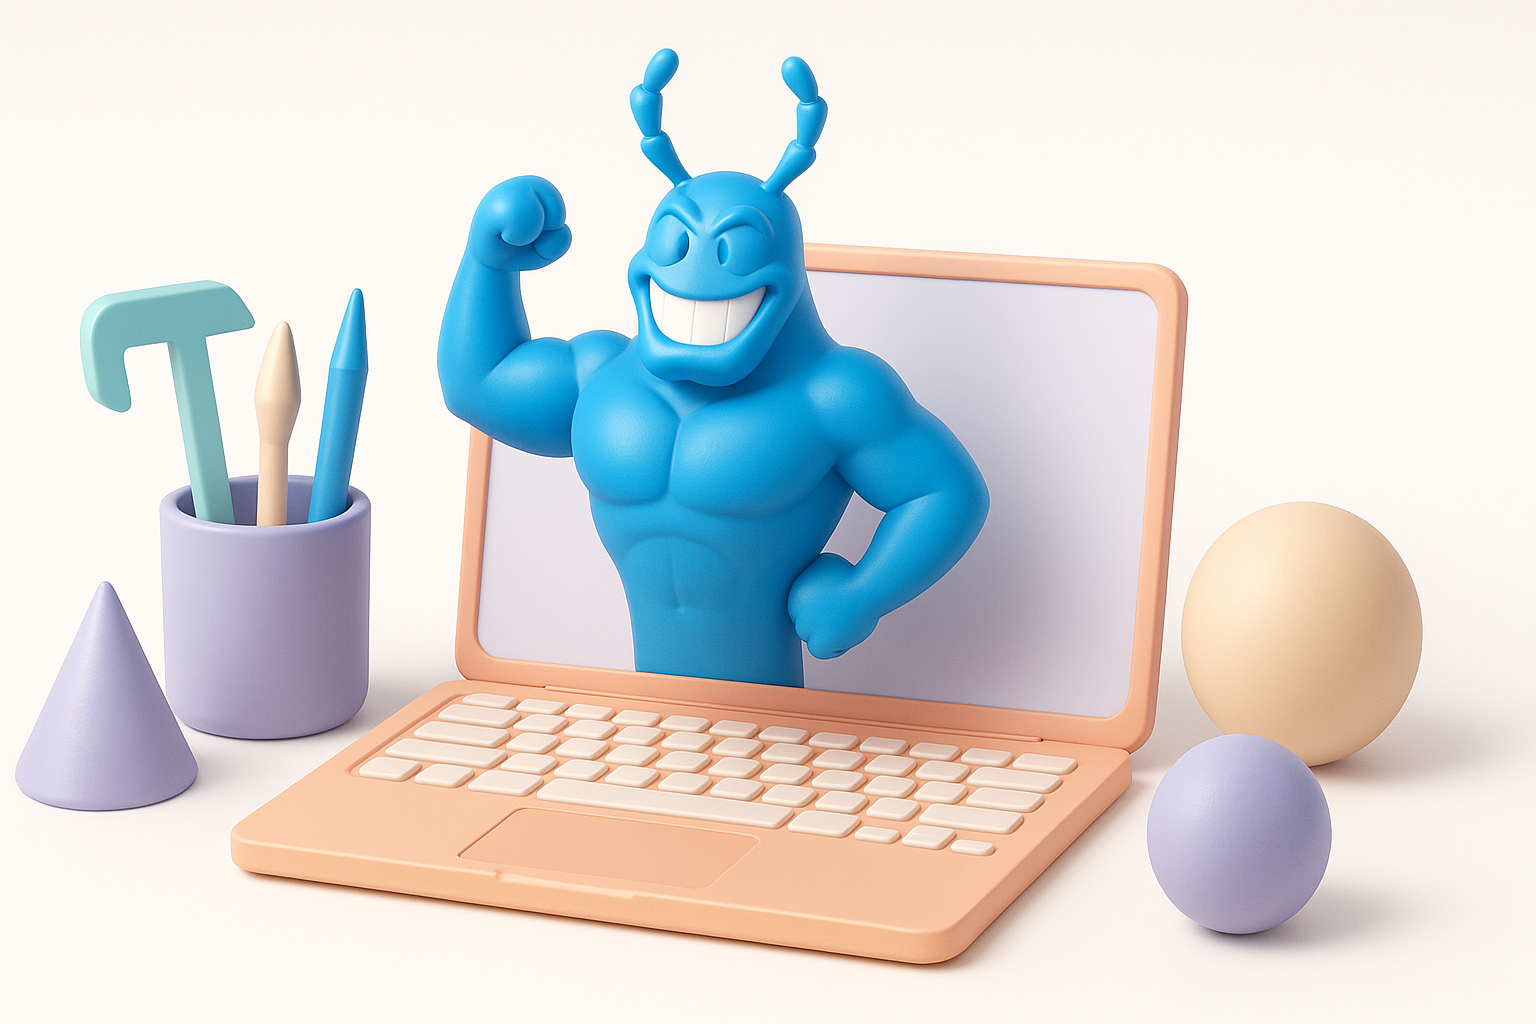
AI-Powered Solutions for Rapid Model Generation
AI-based platforms like Tripo have become my go-to for quickly generating a base mesh from sketches or text prompts. This lets me skip repetitive blocking and focus on artistic refinement. These tools also offer segmentation and retopology features, saving hours in the workflow.
How I use AI tools:
- Input sketches or text descriptions to generate a base
- Use built-in segmentation for separating body parts
- Quickly iterate on proportions before moving to manual sculpting
Comparing Traditional and Modern 3D Workflows
Traditional workflows (manual box modeling or sculpting from scratch) offer control but are time-consuming. Modern AI-driven platforms speed up the process and reduce technical barriers, especially for complex characters like The Tick.
My approach:
- Use AI for the base mesh and segmentation
- Switch to manual tools for sculpting details and refining anatomy
- Rely on automated retopology to ensure clean, animation-ready geometry
Step-by-Step Modeling Process: From Base Mesh to Details
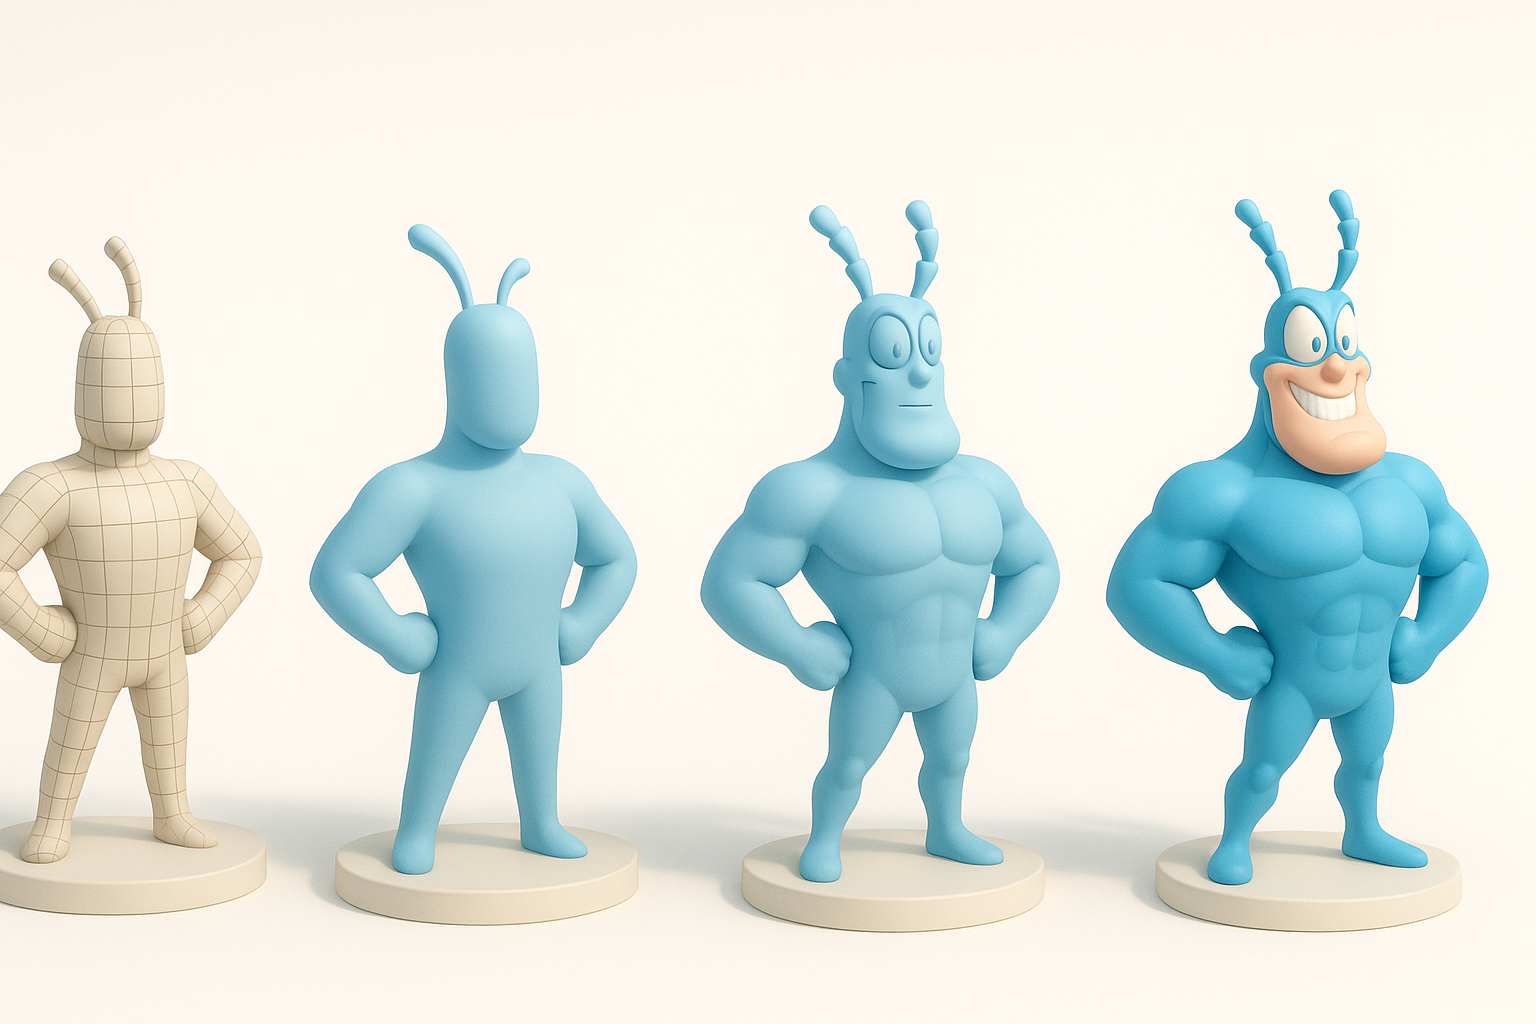
Blocking Out The Tick’s Silhouette and Proportions
I start with a rough blockout, focusing on The Tick’s iconic silhouette—broad chest, narrow waist, and large limbs. At this stage, I ignore details and prioritize the overall shape.
Steps:
- Generate or sculpt a base mesh matching reference proportions
- Adjust major forms: chest, waist, limbs, head, antennae
- Check silhouette from multiple angles
Adding Anatomical Features and Signature Elements
Once the silhouette is locked, I move to secondary forms: facial structure, muscle groups, and The Tick’s signature antennae. Exaggeration is key—don’t be afraid to push proportions.
Tips:
- Use reference overlays to check accuracy
- Model antennae as separate, riggable meshes
- Keep facial features bold and stylized
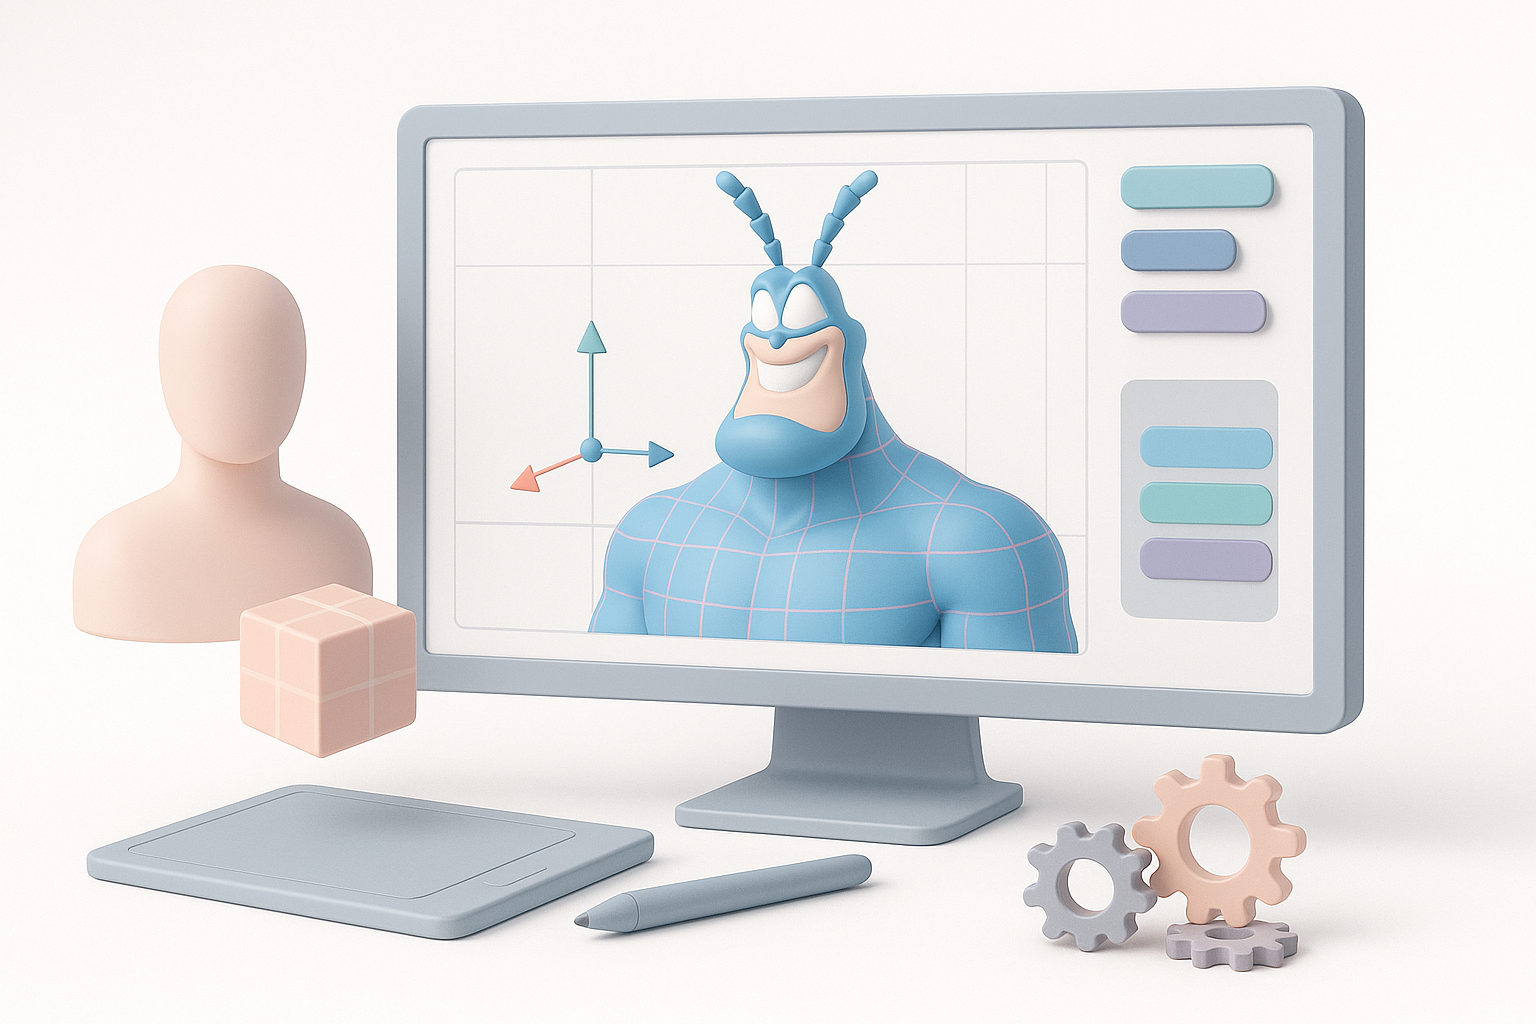
Retopology, Segmentation, and Optimizing for Production
Intelligent Retopology for Clean Geometry
Clean topology is crucial for animation and texturing. I use automated retopology tools to generate quads and even edge flow, especially around joints and facial features.
Checklist:
- Run automated retopology after blocking and detailing
- Manually tweak edge flow in deformation-critical areas
- Aim for even polygon density
Segmenting Parts for Rigging and Animation
Segmenting The Tick’s body (head, limbs, antennae) makes rigging and animation much easier. Many AI platforms offer automatic segmentation, which I refine manually as needed.
Steps:
- Separate major body parts for easier weighting
- Ensure antennae are separate for independent animation
- Name and organize parts for downstream workflow
Texturing and Material Workflow: Bringing The Tick to Life
UV Mapping and Texture Painting Techniques
Good UVs are essential for crisp, comic-style textures. I rely on automatic UV unwrapping, then manually adjust seams in visible areas. For The Tick, I use bold, hand-painted textures with clear highlights and shadows.
Tips:
- Prioritize clean UVs on the face and chest
- Use 3D painting tools for stylized effects
- Test textures under different lighting conditions
Applying Materials for Comic-Style Effects
To capture The Tick’s comic feel, I use cel-shading materials, bold outlines, and simple color palettes. Layering subtle gradients and rim lights adds depth without realism.
Checklist:
- Apply cel-shader or stylized materials
- Add black outlines (in shader or as geometry)
- Use flat colors with strong highlights
Rigging, Animation, and Exporting for Game or Film
Rigging The Tick for Dynamic Poses
I rig The Tick with a standard biped skeleton, adding extra controls for antennae and facial expressions. Weight painting is critical—his exaggerated muscles need smooth deformation.
Steps:
- Use auto-rigging tools for initial skeleton
- Add custom controls for antennae
- Test extreme poses to check deformations
Export Settings for Different Platforms
Export requirements differ by platform. For games, I optimize mesh and textures for performance. For film or print, I keep higher detail and resolution.
Tips:
- Export in FBX or OBJ for most engines
- Bake textures to standard PBR maps
- Verify scale and axis orientation
Best Practices, Common Pitfalls, and Expert Tips
What I’ve Learned from Modeling Stylized Characters
Stylized characters like The Tick demand bold choices and clean execution. Over-detailing can ruin the comic feel, while sloppy topology causes animation headaches. I always prioritize silhouette, readability, and clean geometry.
My best practices:
- Focus on big shapes before small details
- Regularly check silhouette and proportions
- Keep topology clean and organized
Troubleshooting and Quality Assurance
Common pitfalls include uneven topology, UV stretching, and poor rig deformation. I recommend frequent test renders and pose checks. Automated QA tools can catch errors early.
Checklist:
- Test model in target engine or renderer
- Check for flipped normals, non-manifold edges
- Validate rig and skin weights with extreme poses
By following this workflow and leveraging AI-powered tools, I consistently achieve production-ready models of The Tick that are ready for animation, games, or print. The key is to combine the speed of modern platforms with classic artistic fundamentals—always keeping the character’s iconic look front and center.


