3D Model Printer: Workflow, Best Practices, and Expert Tips
скачать 3d модели для chicken gun
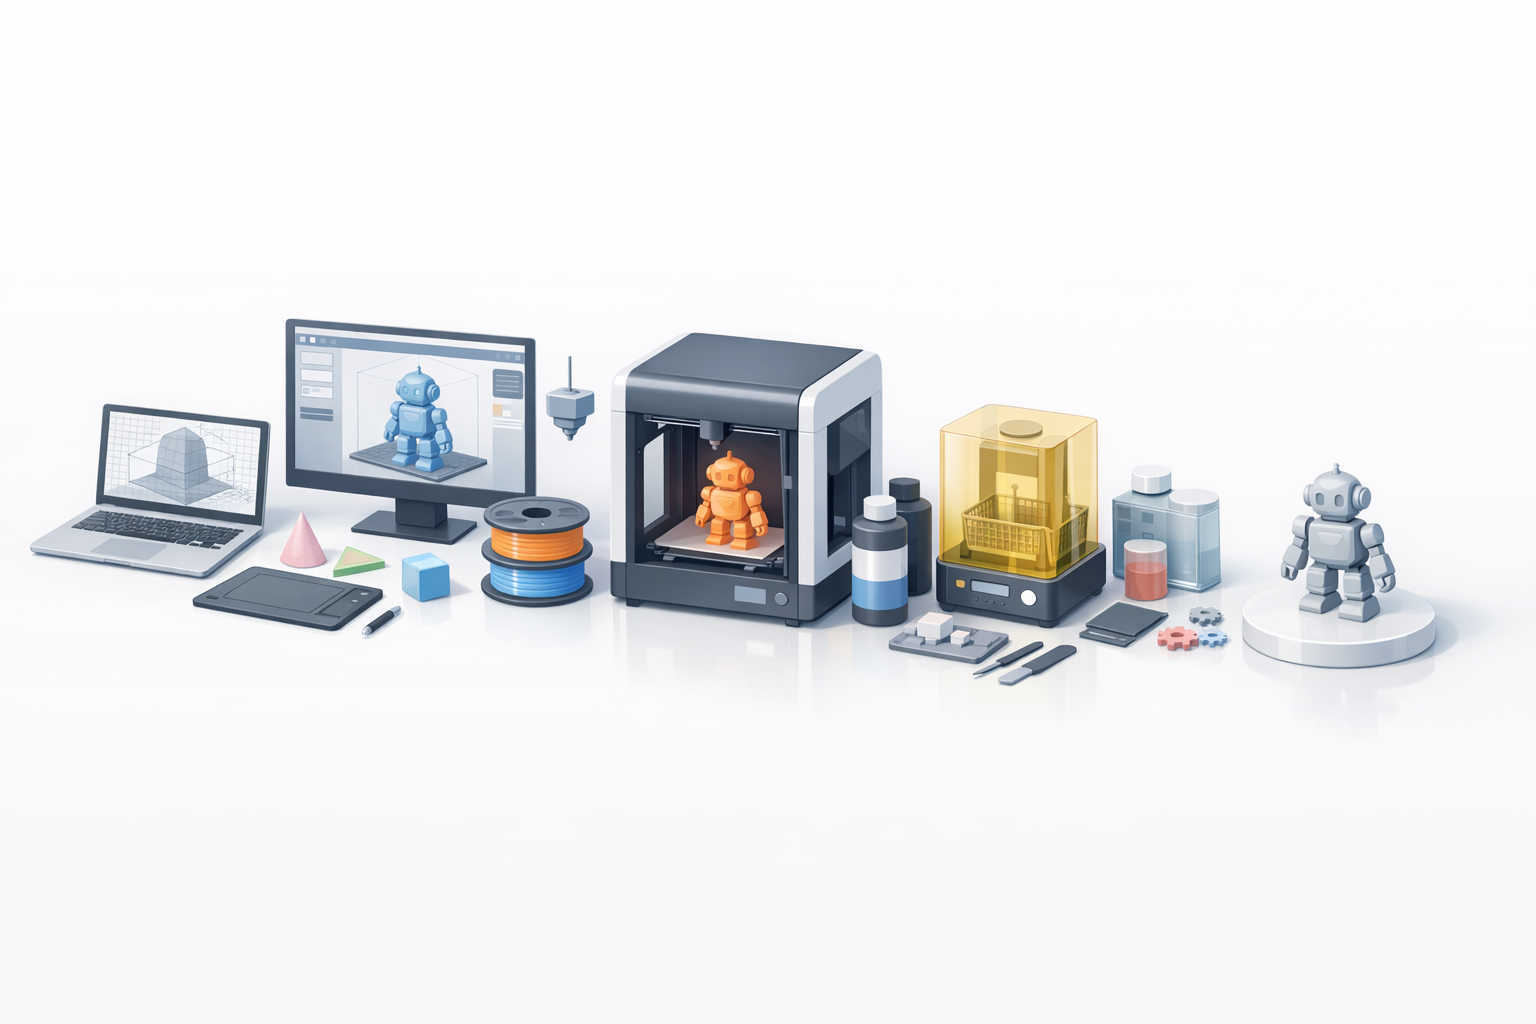
Getting a 3D model from concept to physical print can be daunting, but with the right workflow and tools, it becomes an efficient creative process. In my experience, success hinges on careful model preparation, understanding printer/material options, and leveraging AI-powered platforms like Tripo to streamline the pipeline. Whether you’re a designer, game developer, or hobbyist, following a structured approach minimizes errors and maximizes print quality. Below, I’ll break down each stage, share practical tips, and highlight expert insights I’ve learned along the way.
Key Takeaways
- Proper model prep—especially retopology and mesh cleanup—is crucial for print success.
- Material and printer choices directly impact quality, durability, and cost.
- AI-powered tools like Tripo can automate segmentation, retopology, and texturing, saving hours.
- Slicing and support settings are critical to avoid print failures.
- Post-processing (cleaning, sanding, painting) elevates your final results.
- Knowing when to use AI tools versus manual methods improves efficiency and outcome.
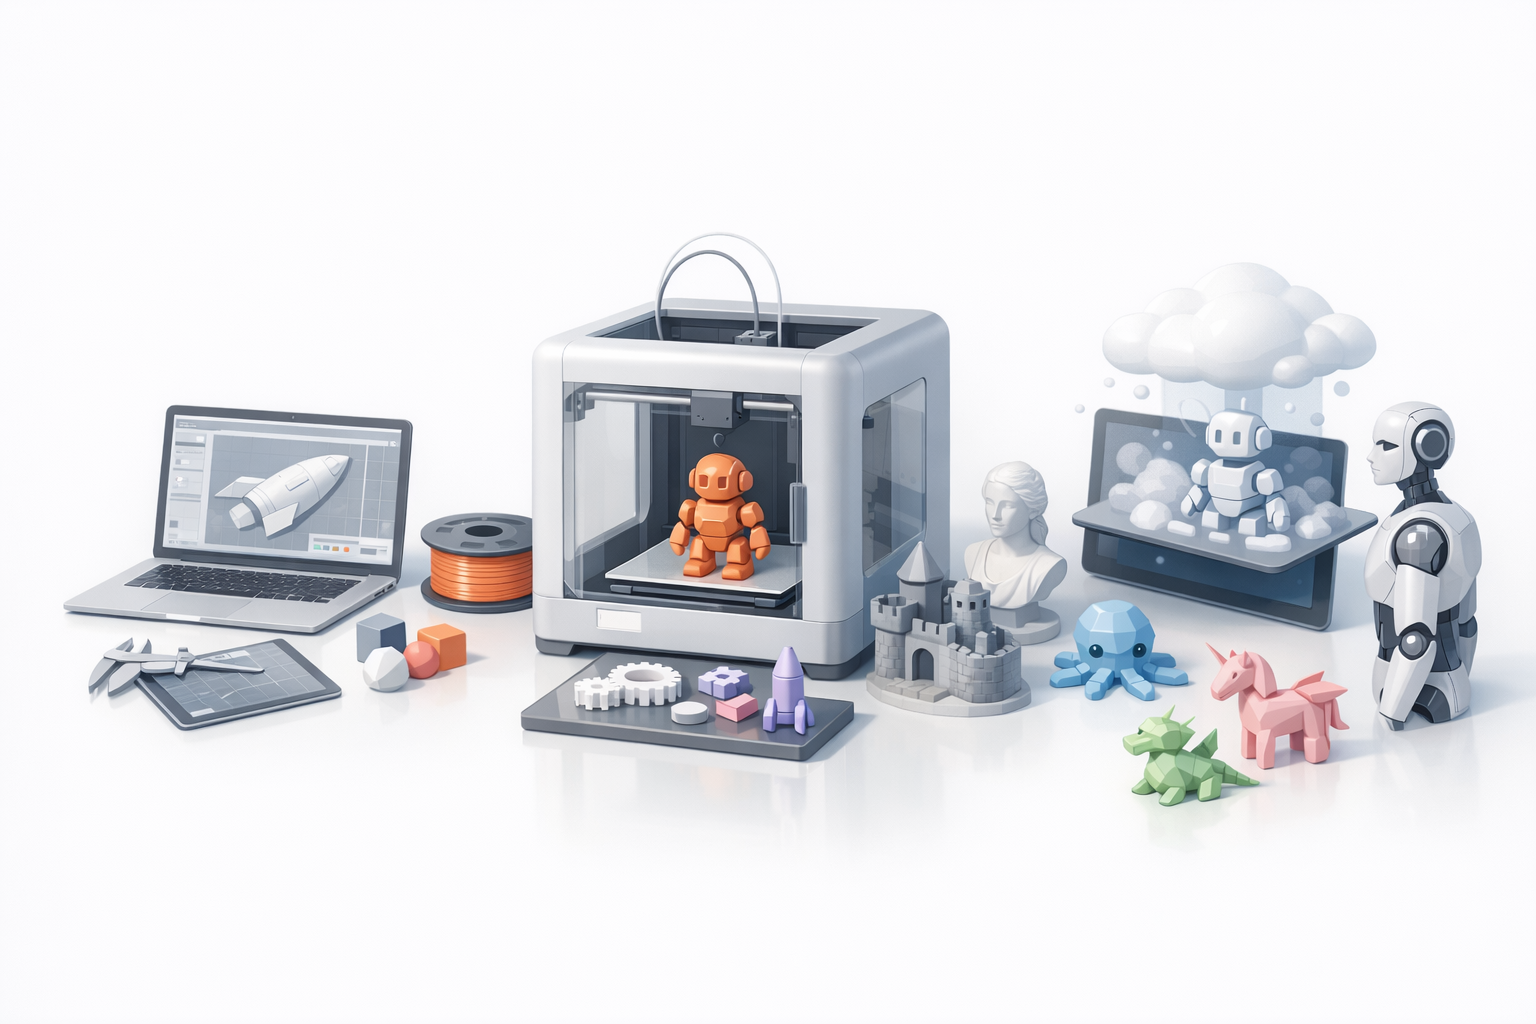
Understanding 3D Model Printing: The Complete Workflow
What is 3D Model Printing?
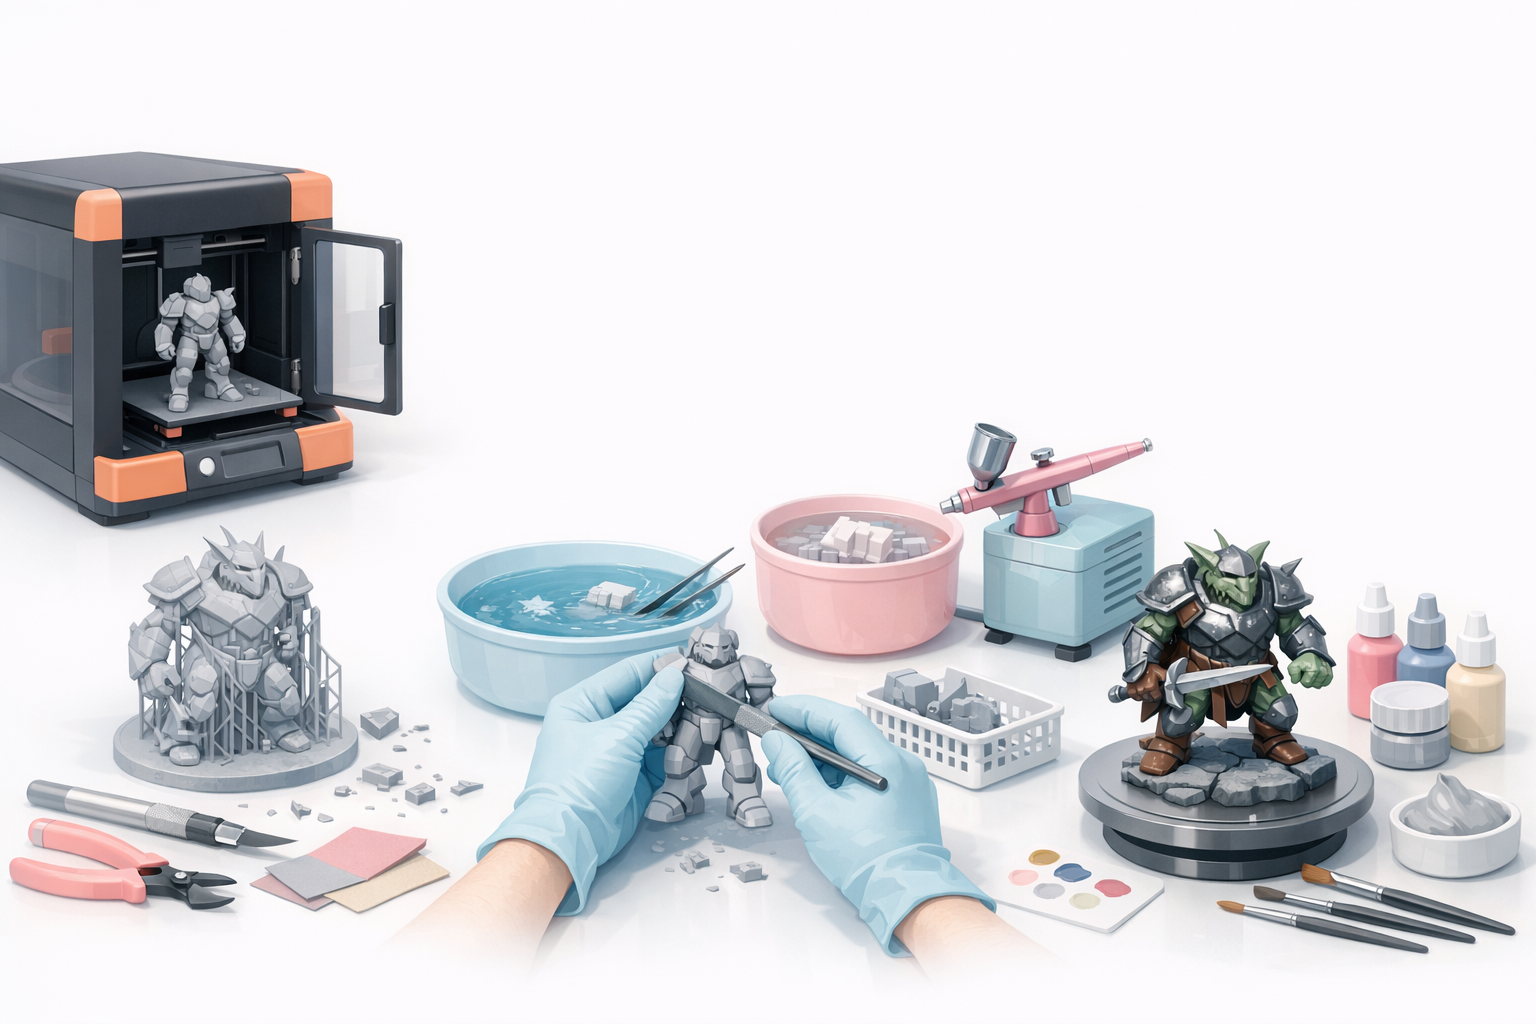
3D model printing translates digital designs into physical objects using additive manufacturing. In my workflow, I start with a digital model—created or sourced—then optimize it for printing. The process involves preparing the mesh, exporting compatible files, slicing for the printer, and post-processing the print. Each step matters; overlooking details early on often leads to wasted time and materials later.
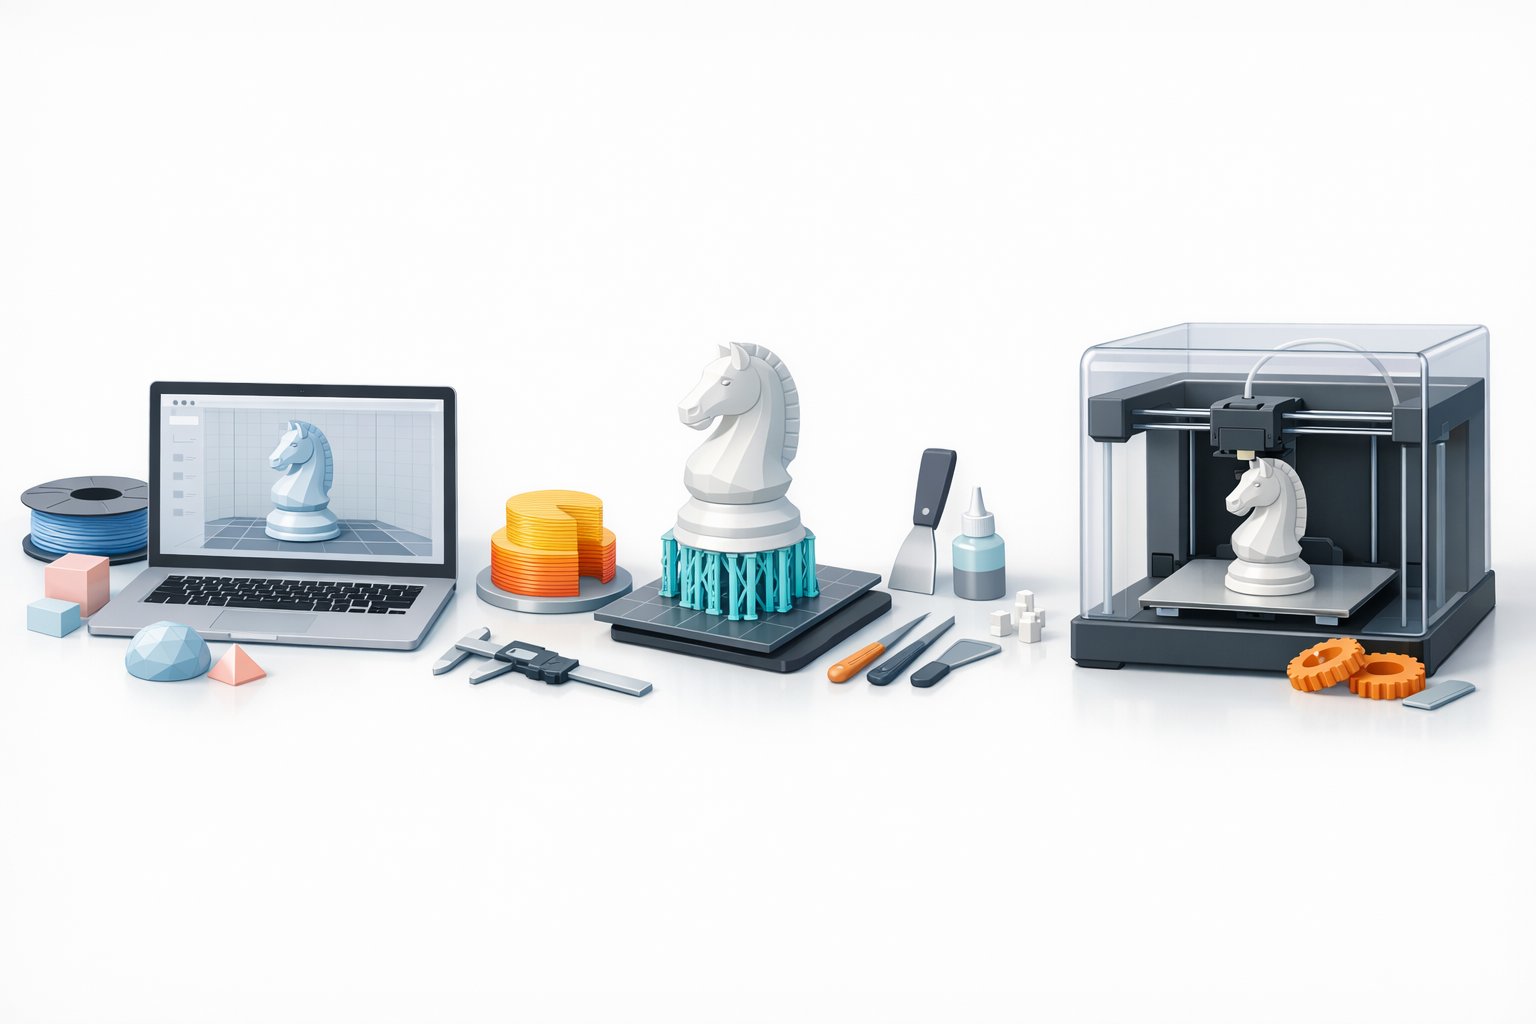
How I Prepare Models for Printing
I always begin with a clean, watertight mesh. Non-manifold edges or intersecting geometry can cause print failures. I use Tripo AI for initial segmentation and retopology, then manually inspect the mesh for errors. Scaling the model to my intended print size and ensuring wall thickness meets printer/material requirements is essential.
Checklist:
- Run auto-retopology, then check for non-manifold geometry.
- Scale model and check wall thickness.
- Export in STL or OBJ format for slicing.
Choosing the Right 3D Printer and Materials
Printer Types and Their Use Cases
I’ve worked with FDM (Fused Deposition Modeling) and SLA (Stereolithography) printers the most. FDM is great for functional prototypes and larger models—affordable and robust. SLA offers finer details, making it my choice for miniatures or highly detailed parts.
Quick guide:
- FDM: Prototypes, mechanical parts, larger prints.
- SLA: Detailed figurines, jewelry, small intricate models.
Material Selection: What I’ve Learned
Material choice affects strength, flexibility, finish, and cost. PLA is my go-to for ease of use and reliability. ABS is tougher but trickier to print. For SLA, I use standard or tough resins depending on the application.
Tips:
- For beginners, start with PLA (FDM) or standard resin (SLA).
- Check compatibility between your model’s geometry and material properties.
- Consider post-processing requirements—some materials sand and paint better than others.
Optimizing 3D Models for Print Success
Retopology and Mesh Cleanup Steps
Clean topology prevents print issues. I rely on Tripo AI for automated retopology, then manually inspect for stray vertices, holes, or overlapping faces. Removing internal geometry and ensuring all normals face outward is a must.
Steps:
- Auto-retopologize, then inspect mesh.
- Delete hidden/internal faces.
- Run mesh analysis tools to check for errors.
Texturing and File Export Best Practices
While textures aren’t printed on most FDM/SLA printers, I still apply basic coloring for reference and visualization. For color 3D printing, I ensure UVs are unwrapped and textures are baked. I always export in STL for most printers, OBJ/VRML for full-color jobs.
Export checklist:
- Triple-check scale and orientation.
- Remove unnecessary textures for standard printing.
- Export in the format your slicer supports.
From Digital to Physical: Slicing, Supports, and Printing
Slicing Software: My Workflow
I import the model into my slicer, adjust orientation to minimize supports, and set layer height based on desired detail. I use default profiles as a starting point, then tweak speed and temperature based on material.
Pitfalls:
- Ignoring orientation can lead to weak prints.
- Too-high layer height sacrifices detail.
Support Structures and Troubleshooting
Overhangs need supports. I let the slicer auto-generate, but often manually add or remove supports for easier cleanup. If prints fail, I check for insufficient supports, bed adhesion, or incorrect temperatures.
Tips:
- Use minimal supports for easier post-processing.
- Always preview supports before printing.
- If prints fail, review slicer preview and adjust settings.
Post-Processing and Finishing Techniques
Cleaning, Sanding, and Painting
After printing, I remove supports with flush cutters, then sand rough areas starting with coarse, then fine grits. For SLA, I rinse prints in isopropyl alcohol and cure with UV. Painting starts with a primer coat, followed by acrylics or airbrushing.
Steps:
- Remove supports.
- Sand progressively.
- Wash and cure (for resin prints).
- Prime and paint.
Tips for Professional Results
- Take your time with sanding—surface prep makes or breaks the paint job.
- Use filler primer for visible layer lines.
- Thin coats of paint yield a smoother finish.
- Seal with a clear coat for durability.
Comparing Tools and AI Solutions for 3D Model Printing
How I Use AI Platforms in My Workflow
AI-powered platforms like Tripo have streamlined my process, especially for segmentation, retopology, and generating printable meshes from rough concepts or sketches. This automation lets me focus on creative decisions rather than technical cleanup.
Benefits:
- Drastically reduces manual mesh prep time.
- Handles complex segmentation for multipart prints.
- Integrates with traditional slicers and printers.
Alternative Methods and When to Use Them
For simple models or when I need full manual control, I still use traditional modeling tools. For highly customized geometry, manual retopology is sometimes necessary. I switch between AI and manual methods based on project complexity and deadlines.
Guidelines:
- Use AI for rapid iteration and cleanup.
- Go manual for fine-tuning, custom supports, or unique requirements.
- Always inspect AI-generated results before sending to print.
By following this workflow and leveraging both AI and manual techniques, I consistently achieve reliable, high-quality 3D prints—saving time and reducing frustration at every stage.


