How I Create a 3D Model of a Plane: Workflow & Best Practices
Creating a 3D model of a plane—from concept to production-ready asset—requires careful planning, solid reference gathering, and efficient use of modern tools. Over multiple projects, I’ve refined a workflow that balances creativity with technical precision, leveraging AI-powered platforms like Tripo to accelerate and simplify the process. This guide is for artists, developers, and hobbyists looking to produce high-quality 3D plane models for games, XR, or visualization, with practical, experience-driven insights at every stage.
Key takeaways:
- Reference gathering and planning are critical for accuracy and efficiency.
- Blocking out major forms first prevents proportion issues later.
- AI-powered tools like Tripo can drastically reduce modeling and texturing time.
- Clean topology and proper UVs are non-negotiable for animation/game use.
- Export settings and rigging should match your target platform’s requirements.
- Common pitfalls include rushing details and neglecting reference consistency.
Executive Summary: Key Steps in 3D Plane Modeling
What to Expect from This Guide
In this article, I break down my full workflow for creating a 3D plane model, from initial concept and reference collection to final export and animation. I’ll cover practical tips, checklists, and the role of AI tools in my process. Whether you’re aiming for a stylized or realistic plane, the steps remain similar—just the level of detail and references change.
My Main Takeaways After Multiple Projects
After modeling several planes for various industries, I’ve learned that preparation saves time, and that iterative refinement beats perfectionism in early stages. AI-powered platforms have become invaluable for accelerating tedious steps, but foundational modeling skills still matter for quality and flexibility.
Planning and Reference Gathering for Plane Models
Choosing the Right Plane Type and Style
I always start by defining the purpose and style of the plane—civilian, military, stylized, or realistic. This informs everything from proportions to detailing. If it’s for a game, I consider polycount and texture size early on.
Checklist:
- Define plane type (e.g., WWII fighter, commercial jet, sci-fi).
- Set style: realistic, semi-realistic, or stylized.
- Note platform constraints (game engine, XR, film).
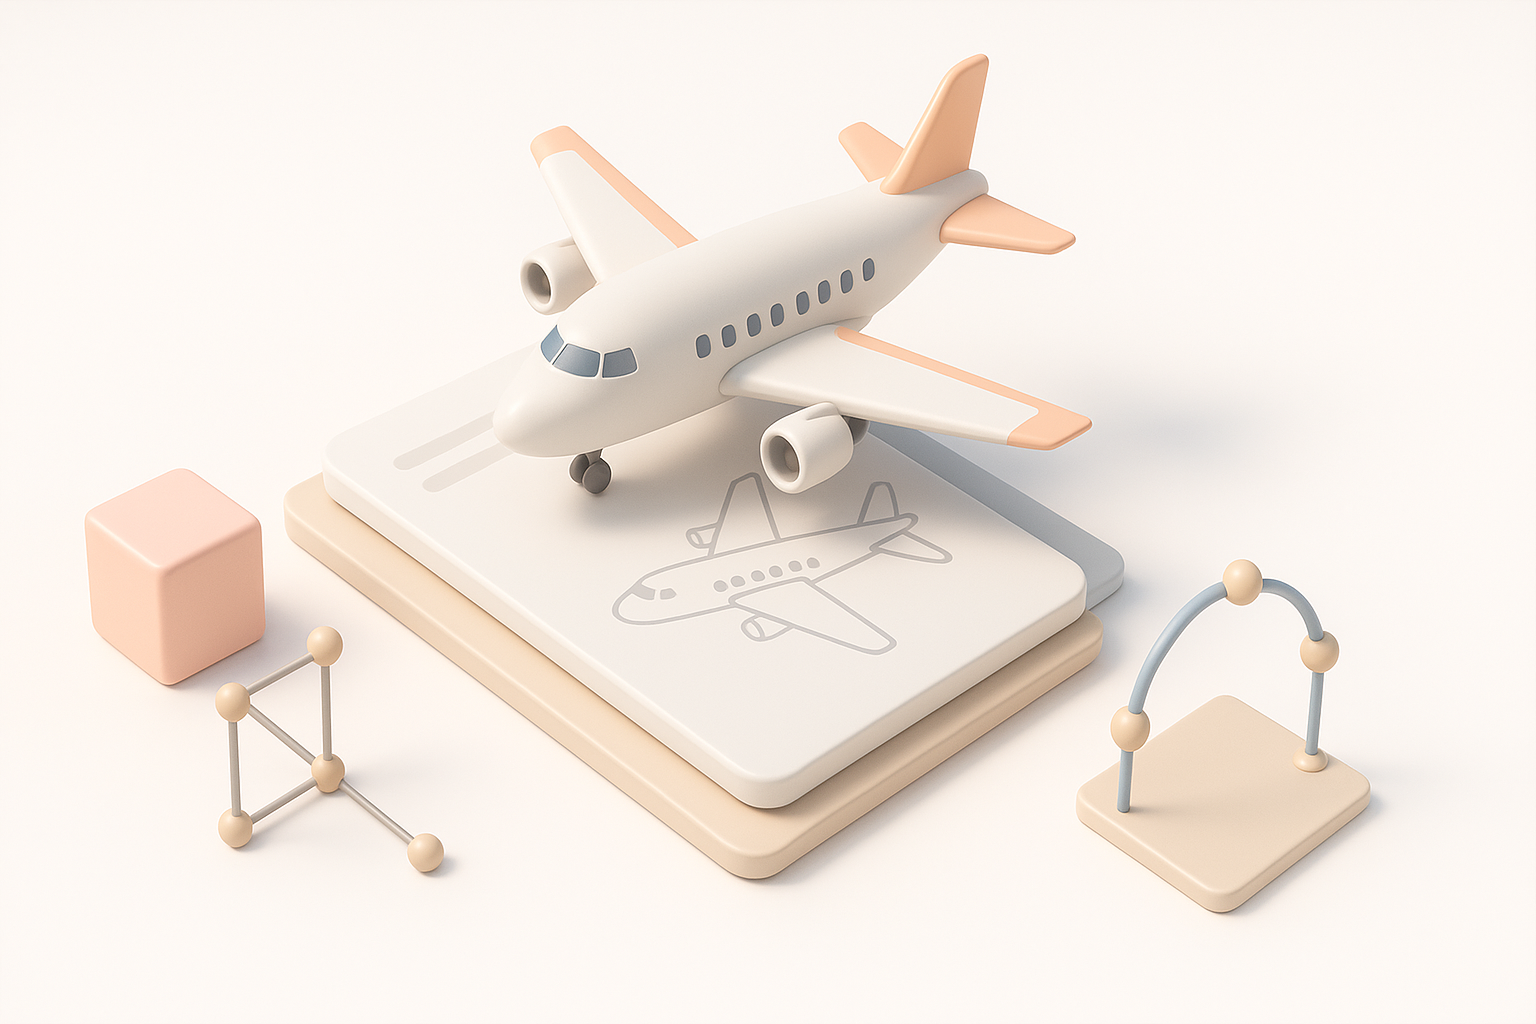
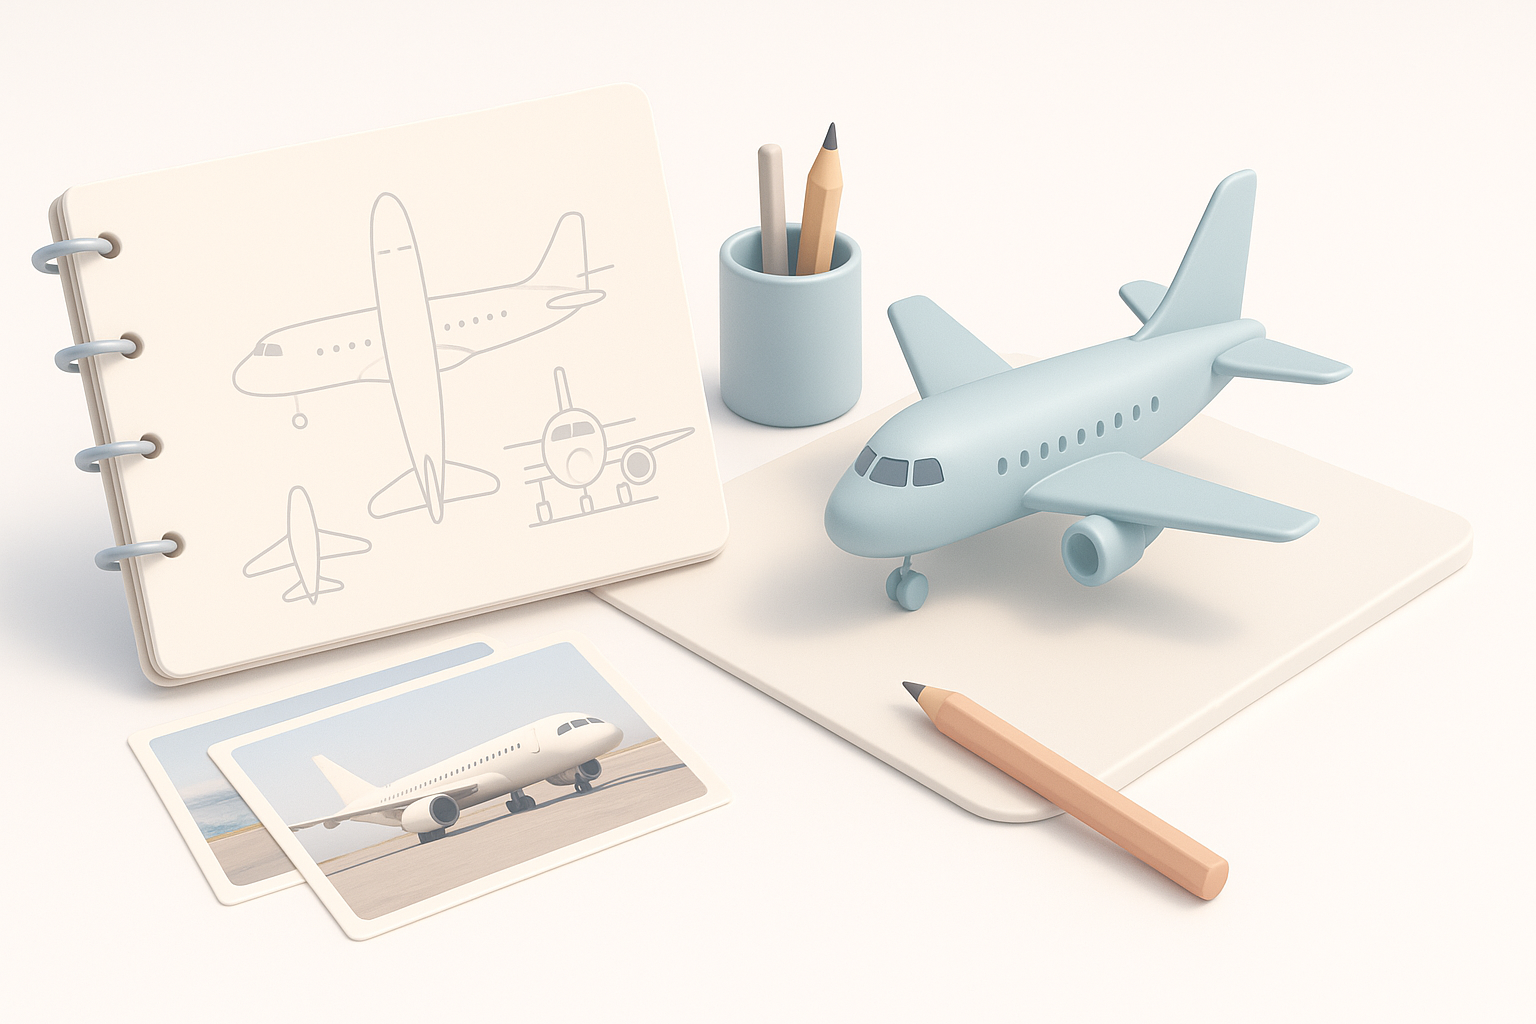
Collecting and Organizing Reference Images
I gather high-resolution blueprints, side/front/top views, and detailed photos. Consistency is key—mismatched references cause headaches later. I organize references in folders by angle and feature for quick access during modeling.
Tips:
- Use orthographic blueprints as modeling backdrops.
- Supplement with close-ups of landing gear, cockpits, and surface details.
- Keep a moodboard for material and weathering inspiration.
Blocking Out the Plane: My Approach to Base Mesh Creation
Setting Up the Workspace and Scale
Before modeling, I set my scene units to match the real-world scale of the plane. This avoids scaling issues later, especially if the model will be animated or used in AR/VR. I import blueprints or reference images into the 3D viewport as guides.
Steps:
- Set units (meters, centimeters) in your 3D app.
- Align blueprint images to orthographic views.
- Create basic camera and light setup for previewing forms.
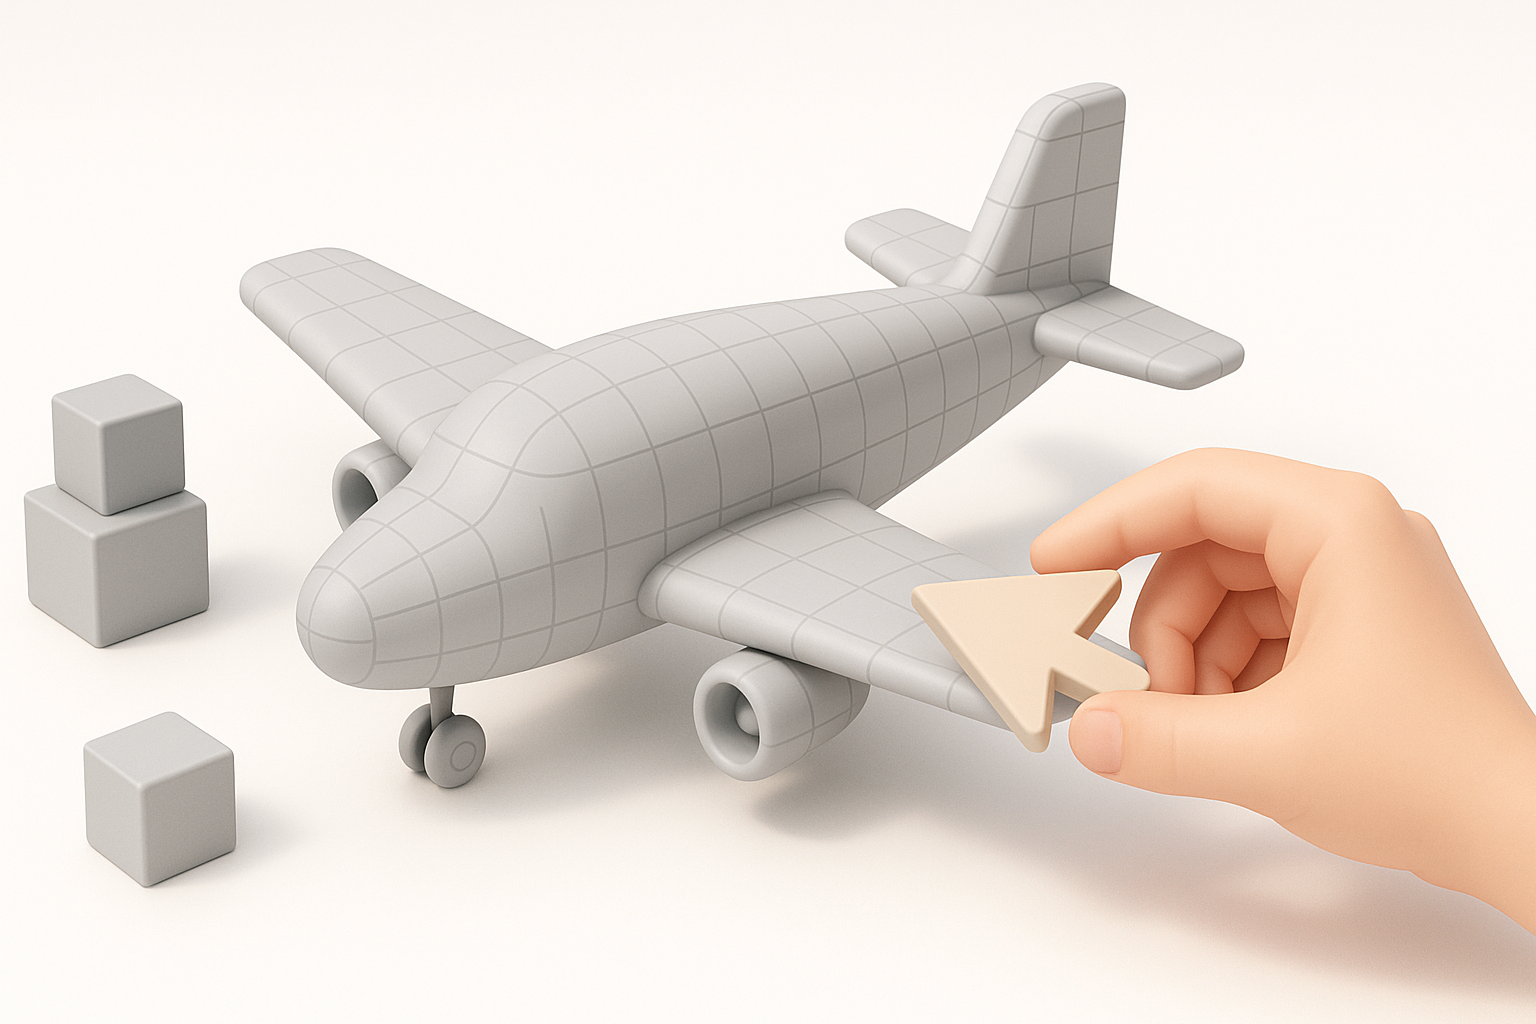
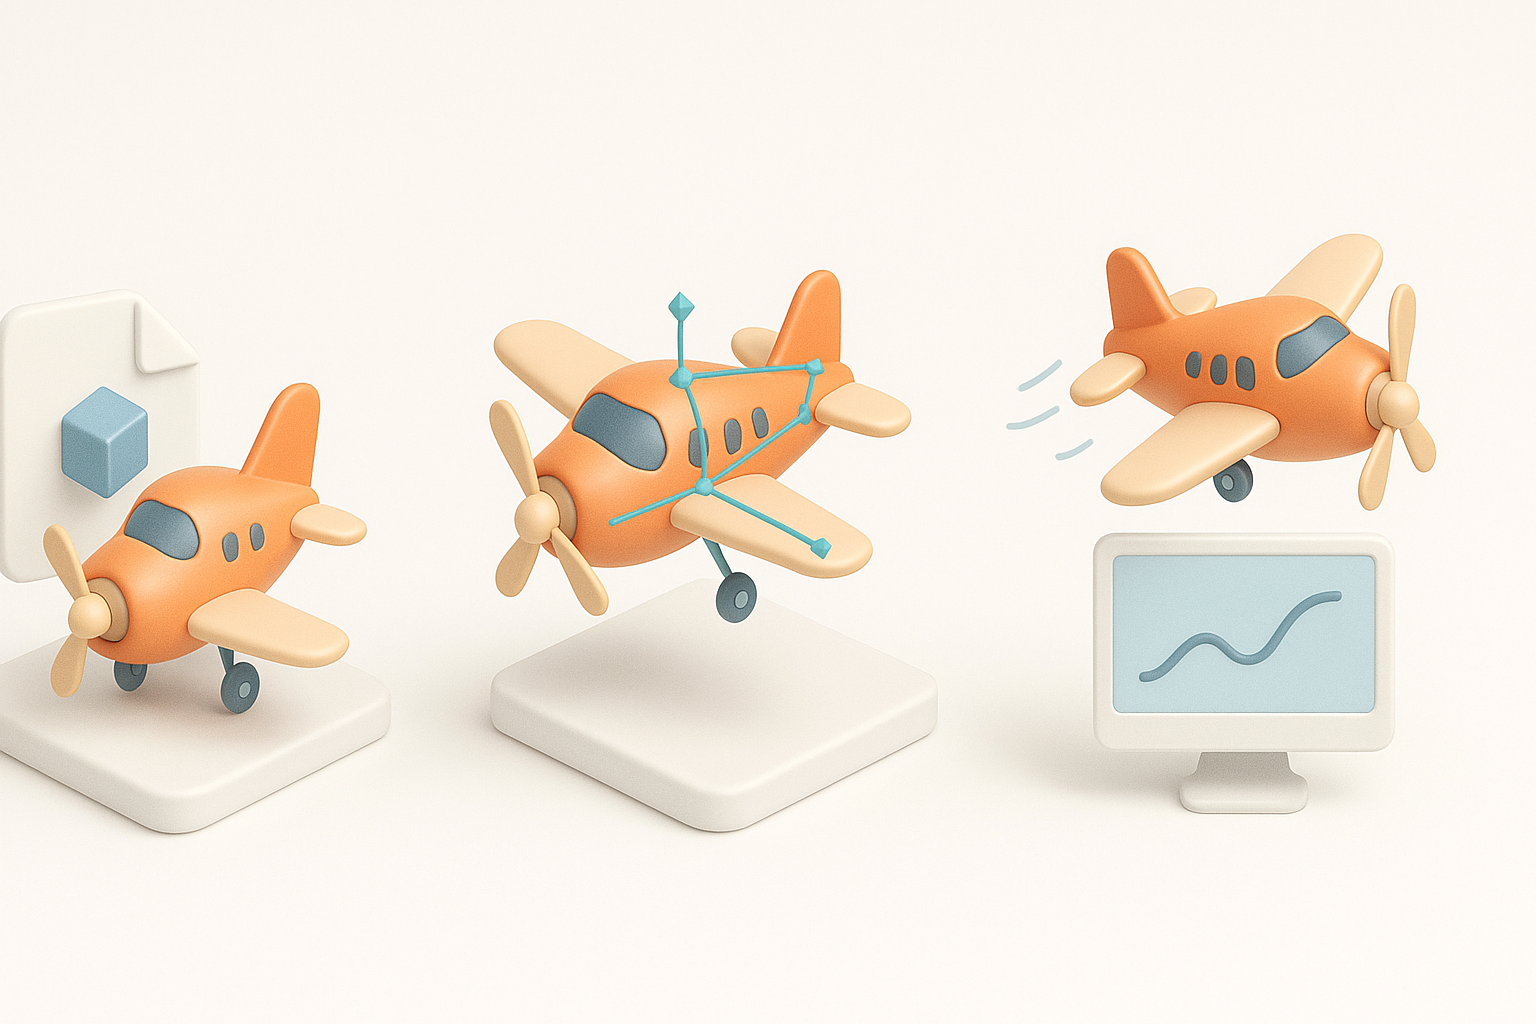
Blocking Out Major Shapes and Proportions
I start with simple primitives—cylinders for the fuselage, cubes for wings—and block out the rough proportions. Getting the silhouette right at this stage is more important than details.
Workflow:
- Model fuselage, wings, and tail as separate objects.
- Adjust proportions to match references.
- Merge or join meshes only after major shapes are correct.
Detailing and Refining the 3D Plane Model
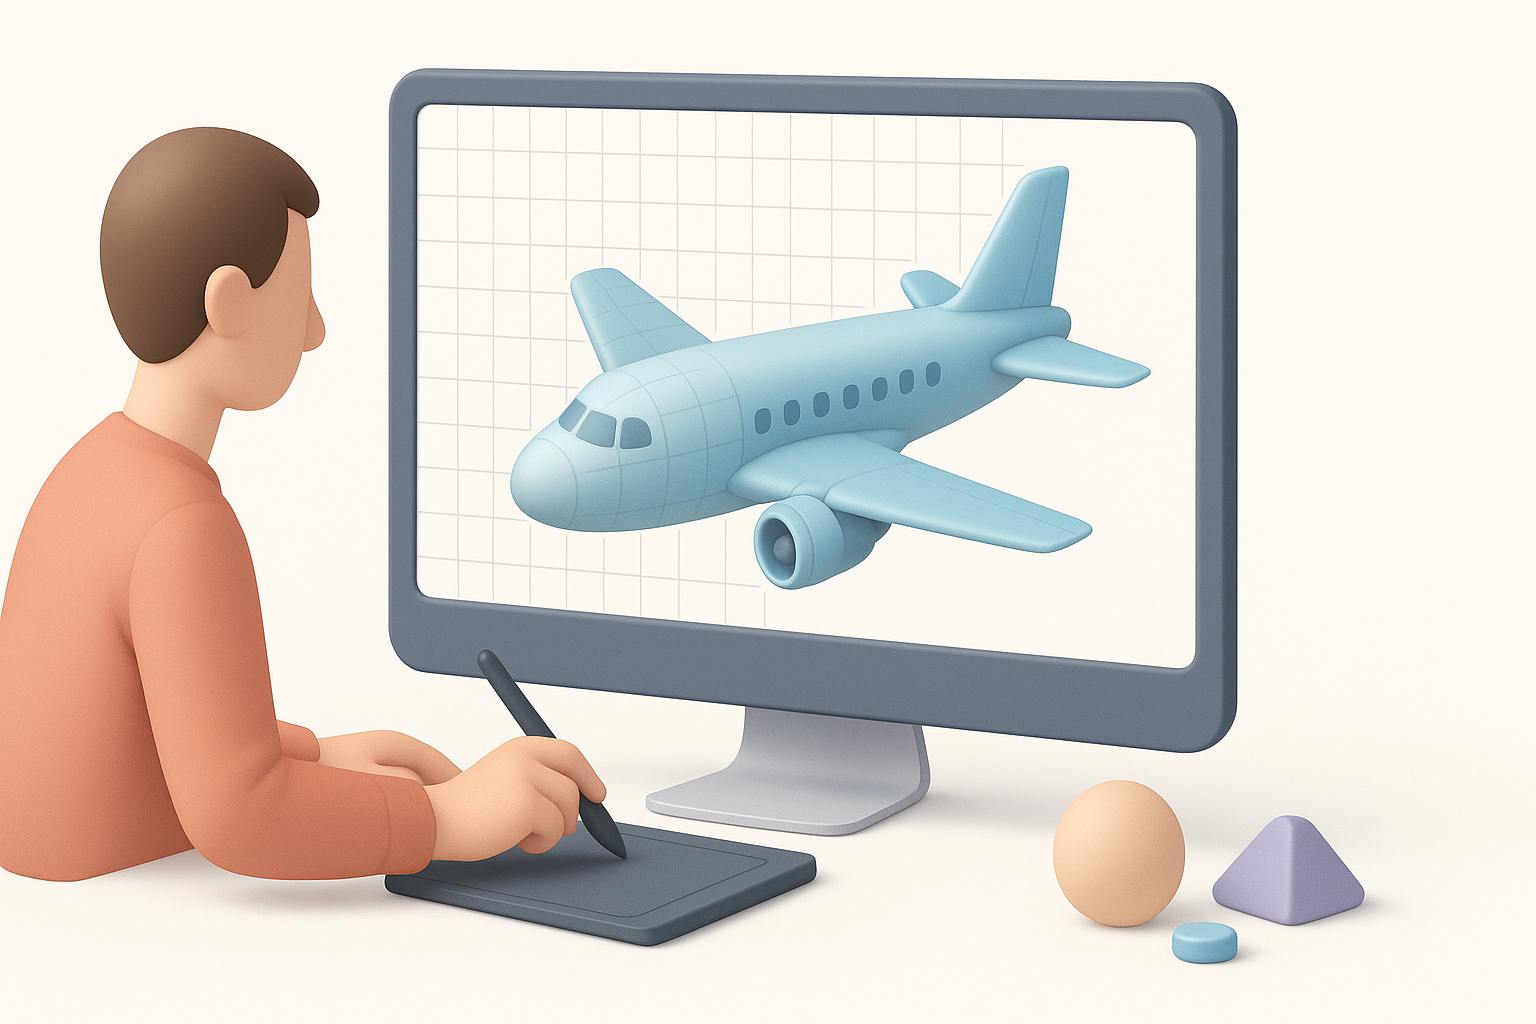
Adding Surface Details and Features
Once the base mesh is solid, I add secondary shapes: engine nacelles, cockpit canopy, landing gear, and control surfaces. I use edge loops and bevels to sharpen or soften features as needed. For complex details, I sometimes generate geometry with AI tools and integrate it into my mesh.
Pitfalls to avoid:
- Over-modeling details that could be handled with normal maps.
- Ignoring symmetry—work on one half, then mirror.
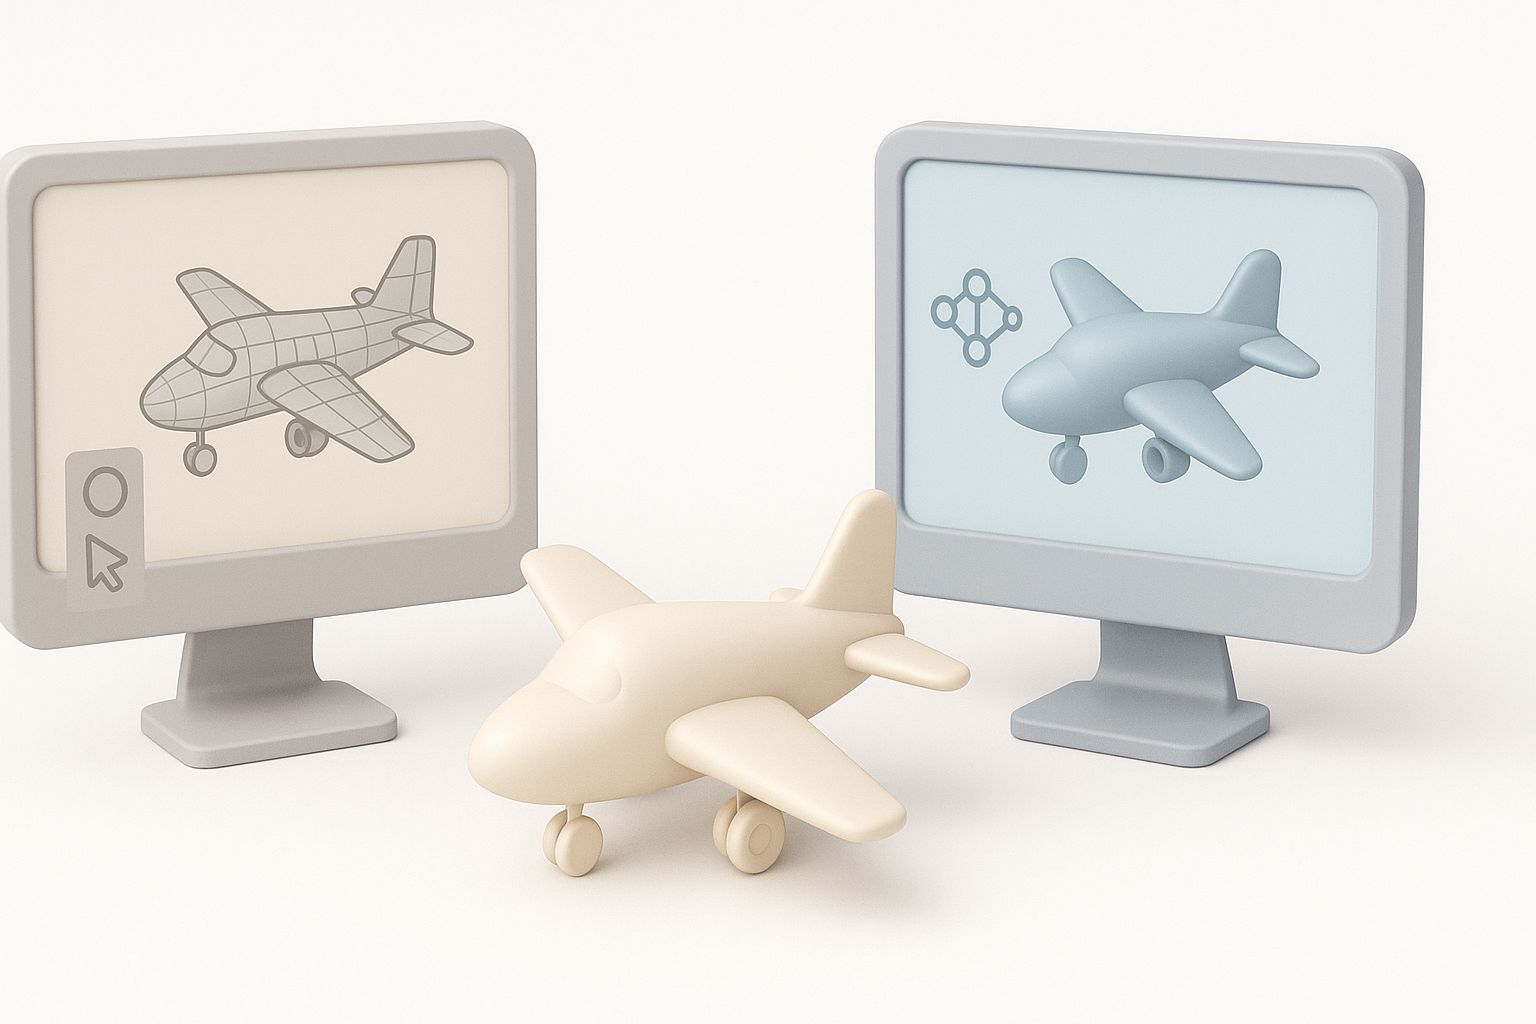
Optimizing Topology for Animation or Game Use
Good topology is crucial for animation and efficient rendering. I retopologize manually or use built-in AI retopology tools to ensure clean, quad-based geometry. For game assets, I keep polycount reasonable and bake high-res details to normal maps.
Best practices:
- Maintain edge flow around moving parts (flaps, landing gear).
- Remove hidden faces and unnecessary vertices.
- Test deformations if the plane will be animated.
Texturing and Materials: Bringing the Plane to Life
UV Unwrapping and Texture Mapping Tips
I unwrap UVs early, before adding tiny details. I aim for minimal distortion and logical seams (along panel lines or under the fuselage). Tripo’s auto-unwrap and segmentation features can speed this up, but I always check the result manually.
Checklist:
- Unwrap major parts separately (fuselage, wings, tail).
- Pack UVs efficiently to maximize texture resolution.
- Test with checker textures for stretching.
Choosing Materials and Painting Techniques
For realistic planes, I use PBR materials with metalness/roughness maps. I bake ambient occlusion and curvature maps to help with weathering. For stylized planes, I hand-paint details in a 2D or 3D painting app.
Tips:
- Use reference photos for panel lines, rivets, and decals.
- Layer dirt, scratches, and wear for realism.
- Preview materials under different lighting conditions.
Exporting, Rigging, and Animating the Plane
Export Settings for Different Platforms
I export in formats compatible with the target engine (FBX, GLTF, OBJ). I double-check scale, orientation, and texture paths. Tripo’s export options cover most common needs, but I always verify in the destination app.
Steps:
- Freeze transforms and apply scale.
- Export with embedded or separate textures as needed.
- Test import in engine or viewer.
Basic Rigging and Animation Workflow
For planes with moving parts (propellers, flaps), I add simple bones and constraints. I keep rigging light unless complex animation is required. AI-assisted rigging can speed up the process, but manual tweaks are often needed for precision.
Workflow:
- Add bones for propellers, ailerons, landing gear.
- Set up basic control handles.
- Animate simple cycles (propeller spin, gear retract).
Best Practices and Lessons Learned from My Experience
Common Pitfalls and How I Avoid Them
- Rushing reference gathering: Leads to inaccurate proportions.
- Neglecting topology: Causes shading and animation issues.
- Forgetting about scale: Results in mismatched assets.
- Skipping UV checks: Leads to texture stretching and wasted space.
How I avoid them:
- Spend extra time on references and planning.
- Use checklists before moving to the next stage.
- Regularly preview the model in the target environment.
Tips for Faster, Higher-Quality Results
- Leverage AI tools for blocking, retopology, and texturing—then refine by hand.
- Use symmetry and instancing for repetitive elements (wheels, rivets).
- Save incremental versions to backtrack if needed.
- Solicit feedback early, especially on proportions and silhouette.
Comparing AI-Powered and Traditional 3D Modeling Tools
Where AI Tools Like Tripo Excel
In my workflow, AI-powered platforms shine at rapid prototyping, auto-segmentation, retopology, and generating base textures. They’re especially useful when deadlines are tight or when I need to explore multiple design variations quickly.
Strengths:
- Fast base mesh and texture generation.
- Automated UVs and material assignment.
- Useful for concepting and iteration.
When to Use Alternative Methods
For highly customized, stylized, or technical models, traditional manual modeling still offers the most control. I often combine both approaches: starting with an AI-generated base, then refining and detailing by hand for the final asset.
Best use cases for manual methods:
- Unique silhouettes or complex mechanical details.
- Custom topology for advanced rigging.
- Hand-painted textures or stylized art directions.
By combining thoughtful planning, efficient use of AI tools like Tripo, and classic modeling techniques, I consistently produce high-quality 3D plane models ready for any pipeline.


