How to Create a 3D Model of a Dog: Expert Workflow & Tips
Creating a production-ready 3D dog model is easier than ever, thanks to AI-powered tools and refined workflows. After years of modeling animals for games and XR, I’ve distilled the process into clear steps that balance speed, quality, and creativity. Whether you’re a beginner or a seasoned artist, this guide covers everything—from choosing the right references to exporting for your target platform. My focus is on practical, actionable advice, including how I leverage Tripo AI for rapid iteration and efficient texturing.
Key takeaways:
- Start with accurate references for anatomy and pose.
- Use AI tools to block out base shapes and automate tedious steps.
- Refine proportions manually for realism.
- Apply smart texturing workflows for believable fur and skin.
- Optimize topology and rigging for animation.
- Export with settings tuned to your end use (game, XR, film).
Executive Summary: Key Steps to Modeling a 3D Dog
What I’ve Learned from Years of 3D Dog Modeling
Over the years, I’ve modeled dozens of dogs for production projects. The most important lesson: a strong foundation is everything. Good references, a clean base mesh, and precise anatomy save hours later. AI-powered platforms like Tripo AI have transformed my workflow, allowing me to iterate quickly and focus more on creative decisions than technical hurdles.
Top Takeaways for Fast, Quality Results
- Begin with clear references and concept art.
- Use AI tools for fast blocking and segmentation.
- Manually refine anatomy and proportions for realism.
- Automate retopology and texturing, but always check results.
- Rig and animate with clean, optimized topology.
Choosing the Right Reference and Concept
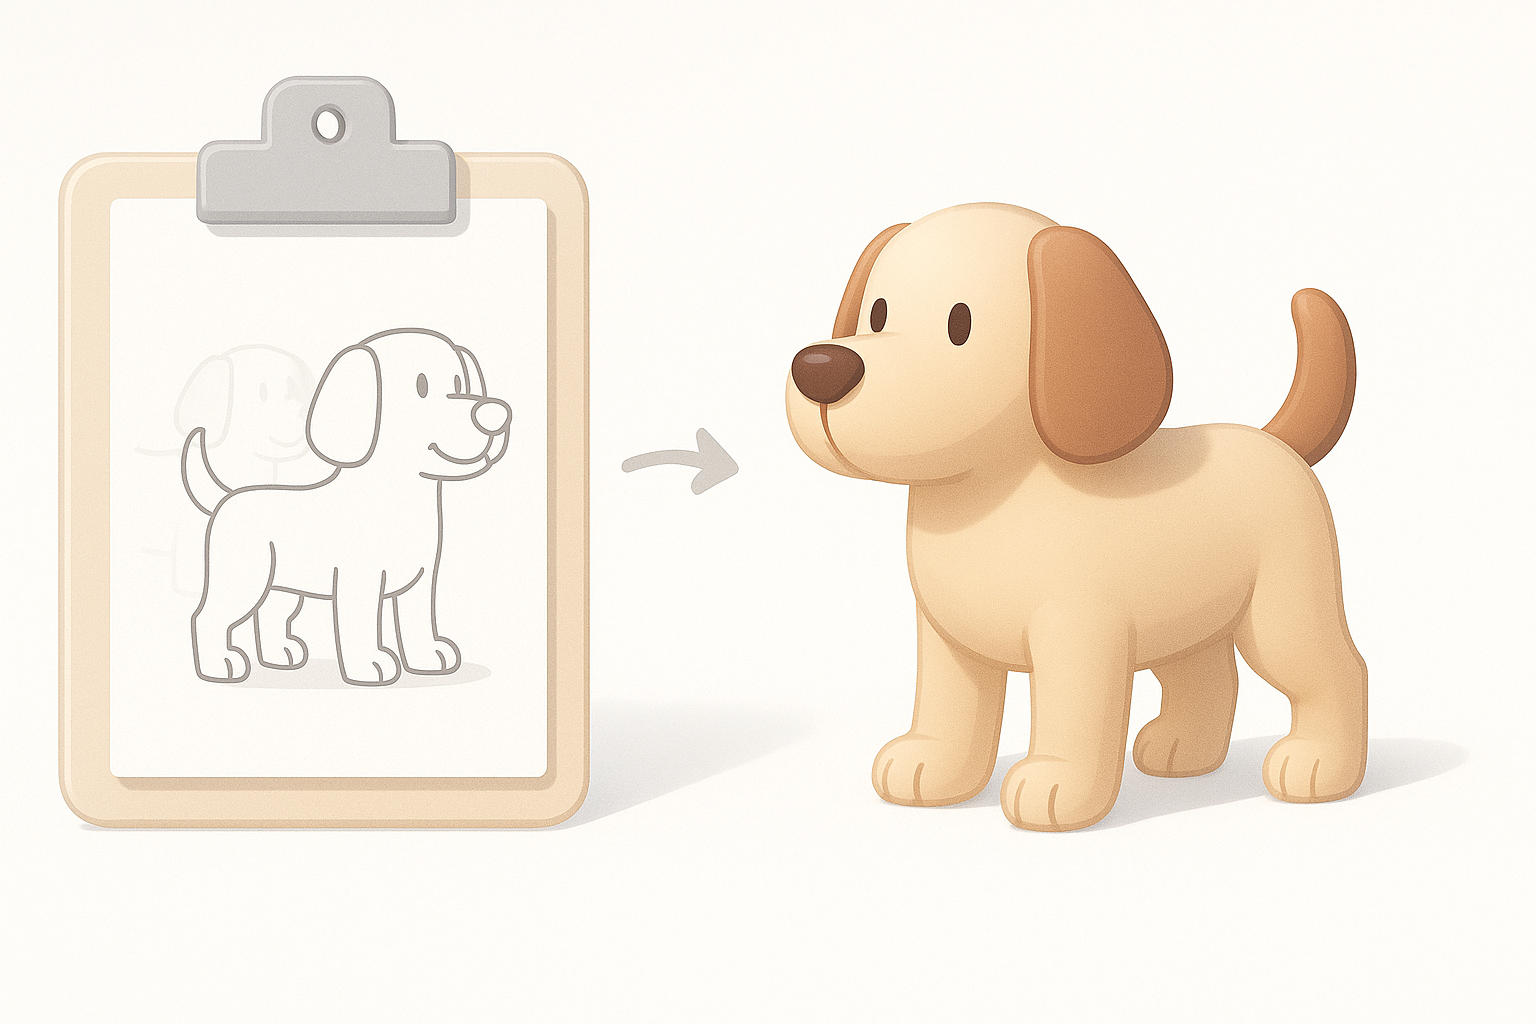
Selecting Images, Sketches, or Text Prompts
I always start with high-quality references—photos from multiple angles, sketches, or even descriptive text prompts. Tripo AI lets me input images or text directly, which speeds up concept exploration. For stylized dogs, sketches are useful; for realistic models, photos are essential.
Checklist:
- Gather front, side, and top images.
- Use breed-specific references for accuracy.
- Translate text prompts into visual sketches if needed.
Tips for Accurate Canine Anatomy
Understanding canine anatomy is crucial. I study muscle groups, bone structure, and typical poses. Even with AI-generated bases, I check leg proportions, head shape, and tail placement.
Pitfalls to avoid:
- Overlooking breed-specific features.
- Ignoring reference images during detailing.
- Misplacing joints, leading to awkward animation.
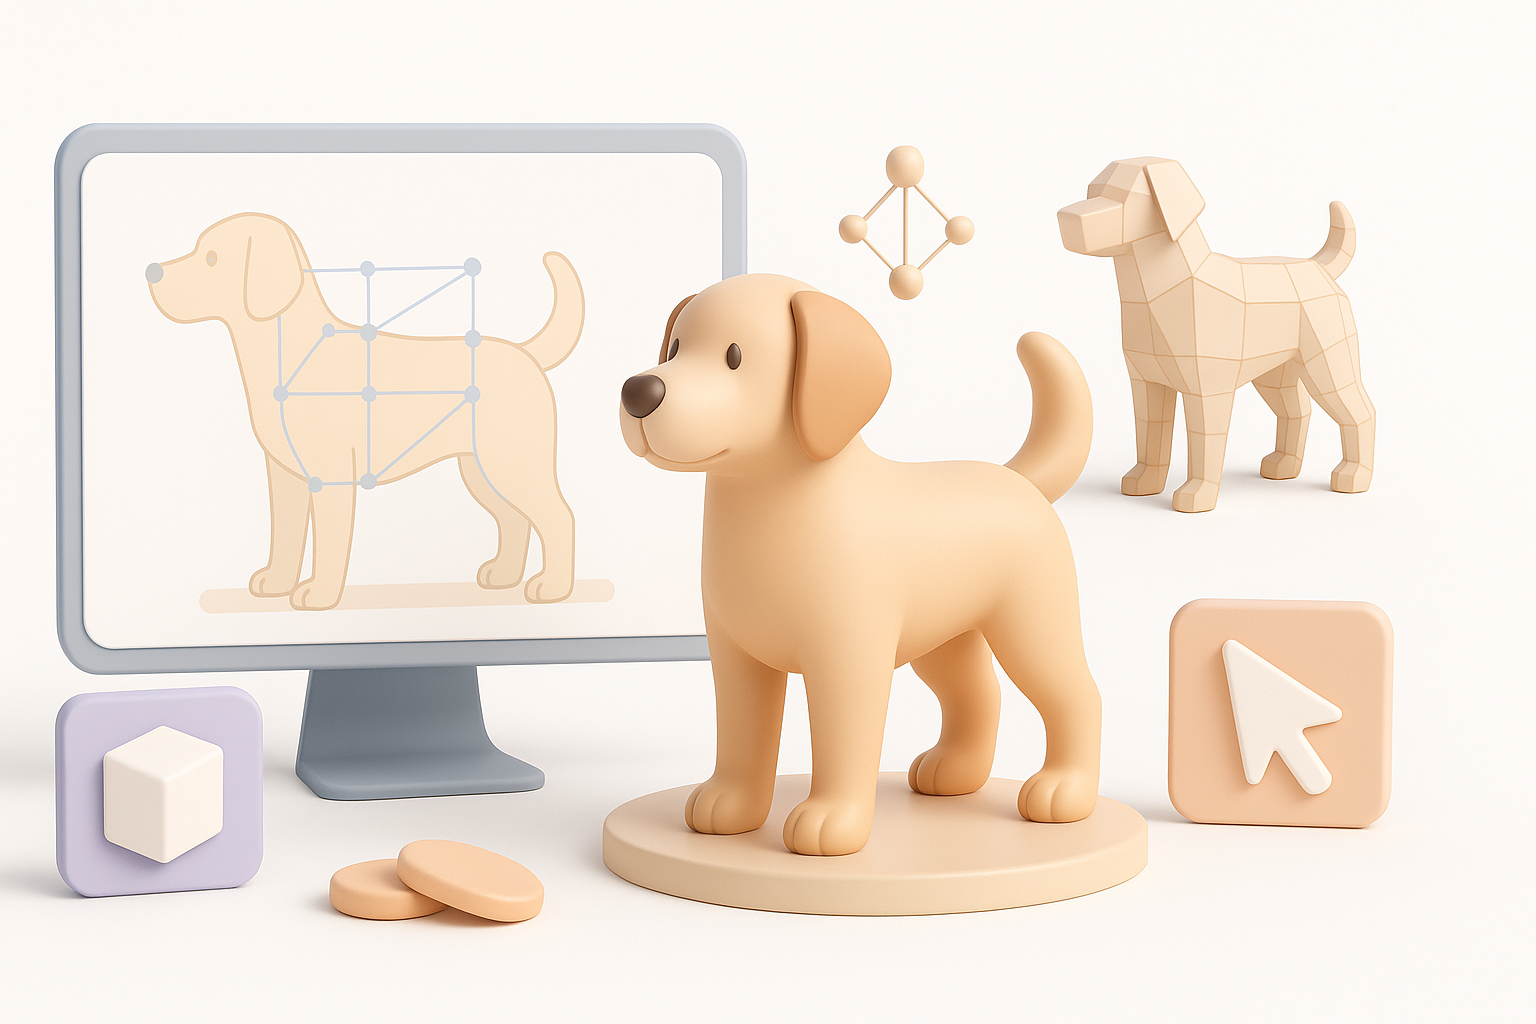
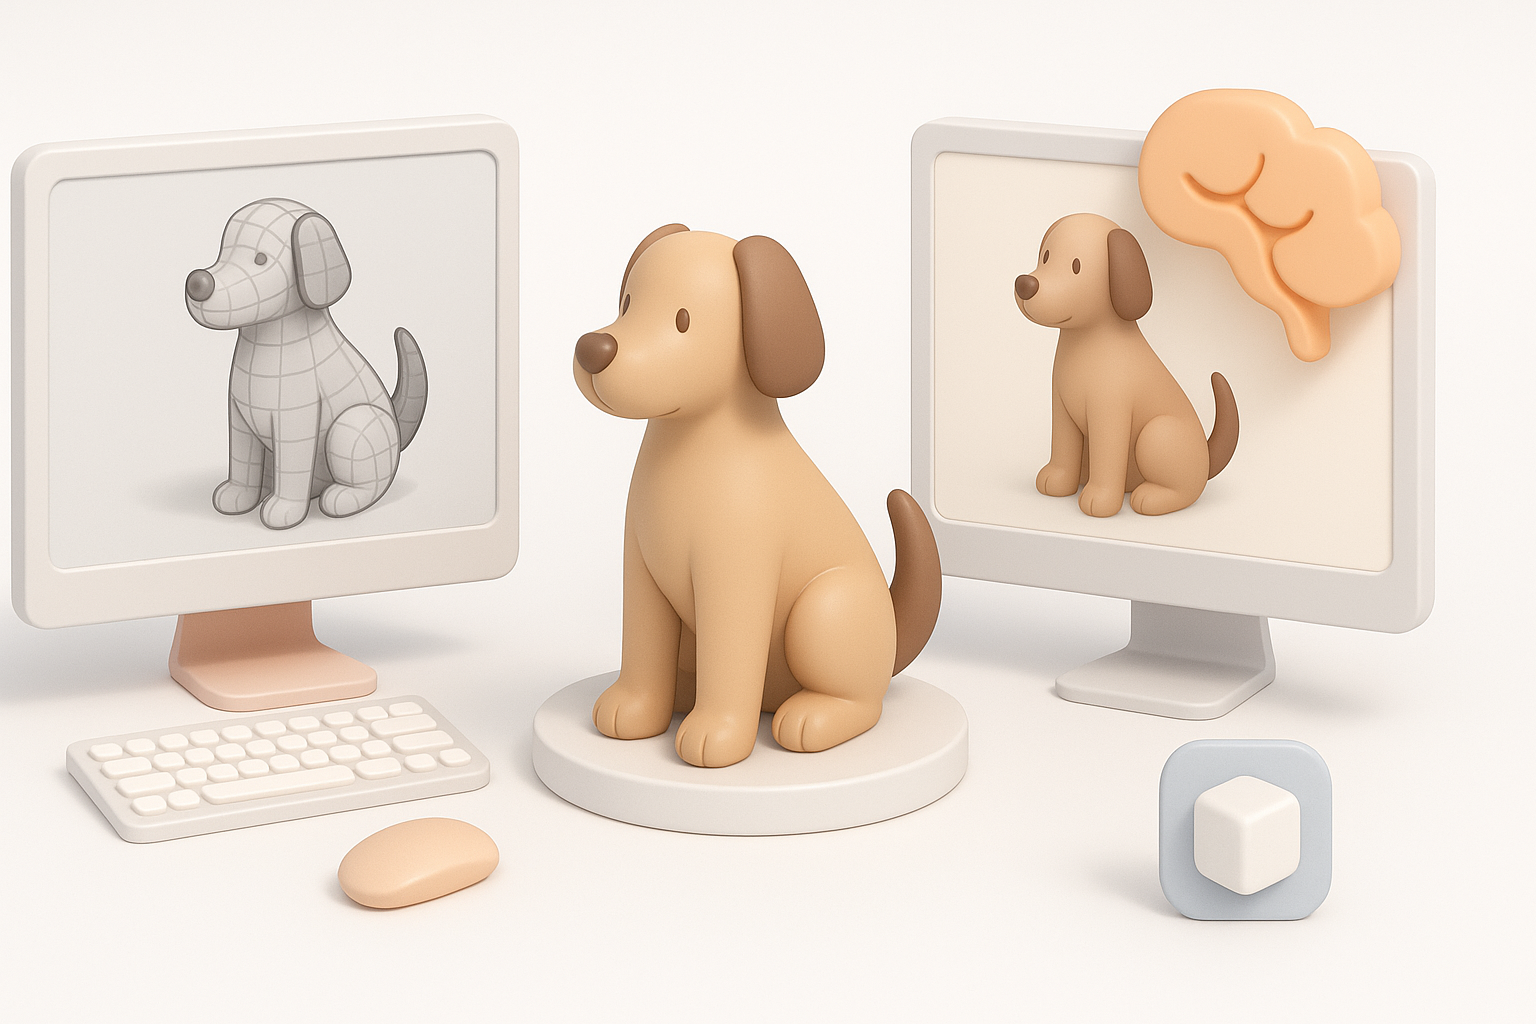
3D Model Creation: My Step-by-Step Workflow
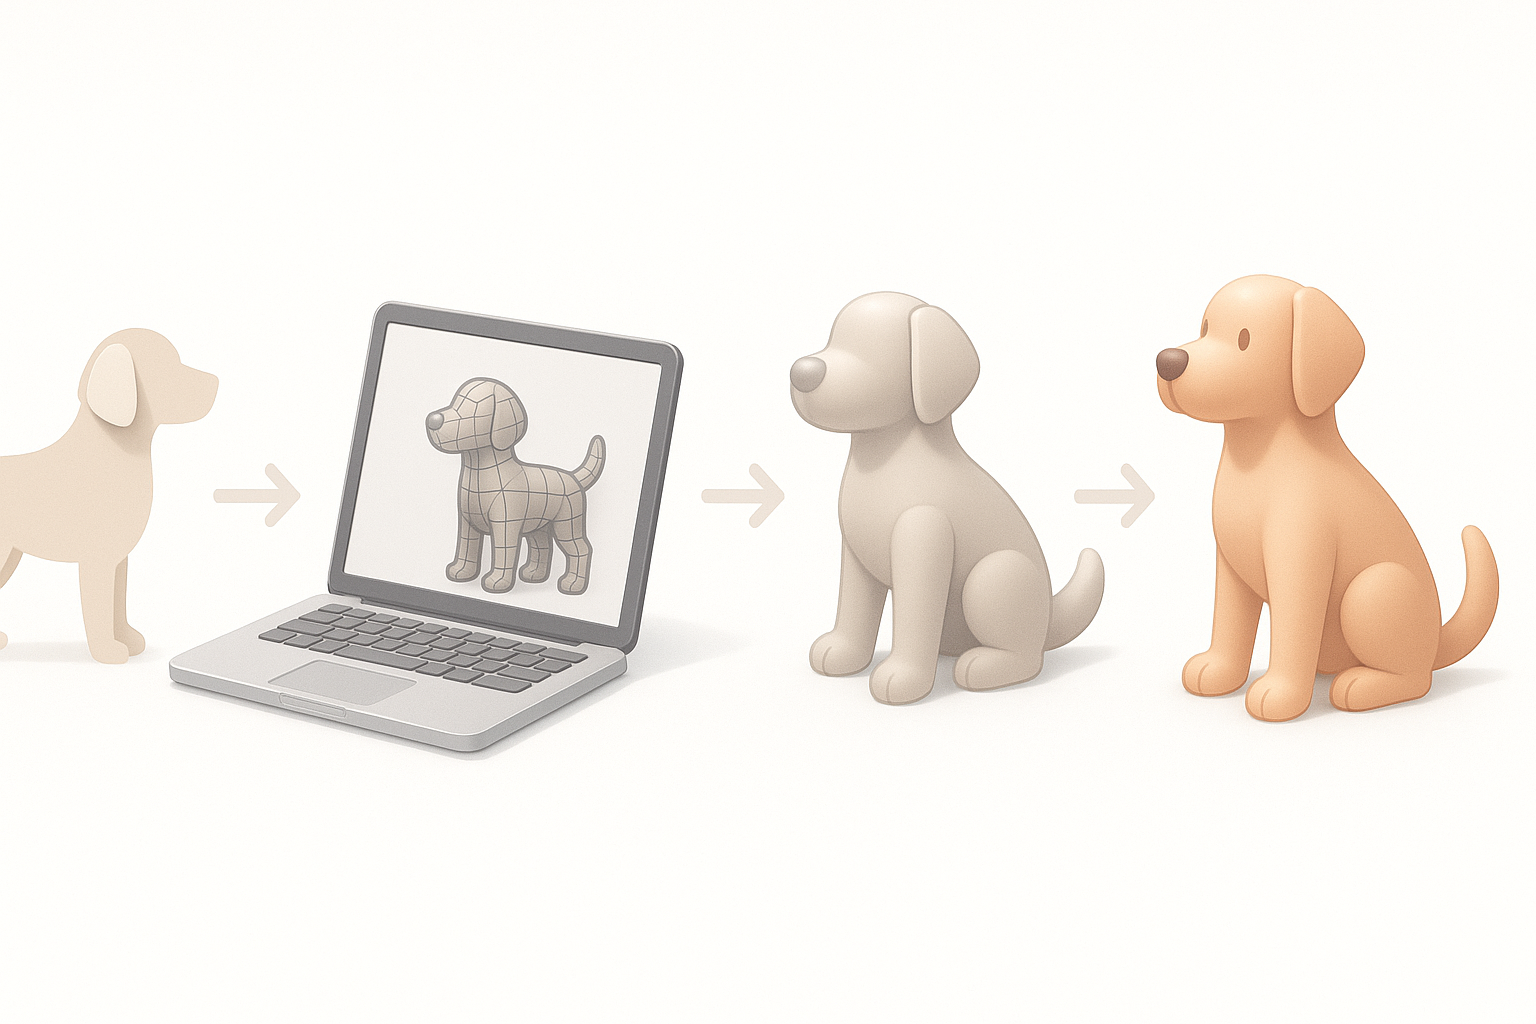
Blocking Out the Base Shape
Using Tripo AI, I generate a rough base mesh from images or text. If working manually, I block out forms with simple shapes (spheres, cylinders) and merge them. The goal is to capture the silhouette and main volumes quickly.
Steps:
- Input references into Tripo AI for auto-generated base.
- Adjust proportions and silhouette for accuracy.
- Keep geometry simple at this stage.
Refining Details and Proportions
Once the base is set, I sculpt anatomical details—muscle definition, paws, facial features. Even with AI-generated meshes, I always fine-tune topology and correct any anatomical errors.
Tips:
- Use symmetry tools for efficiency.
- Regularly check against reference images.
- Avoid adding fine details before the main forms are correct.
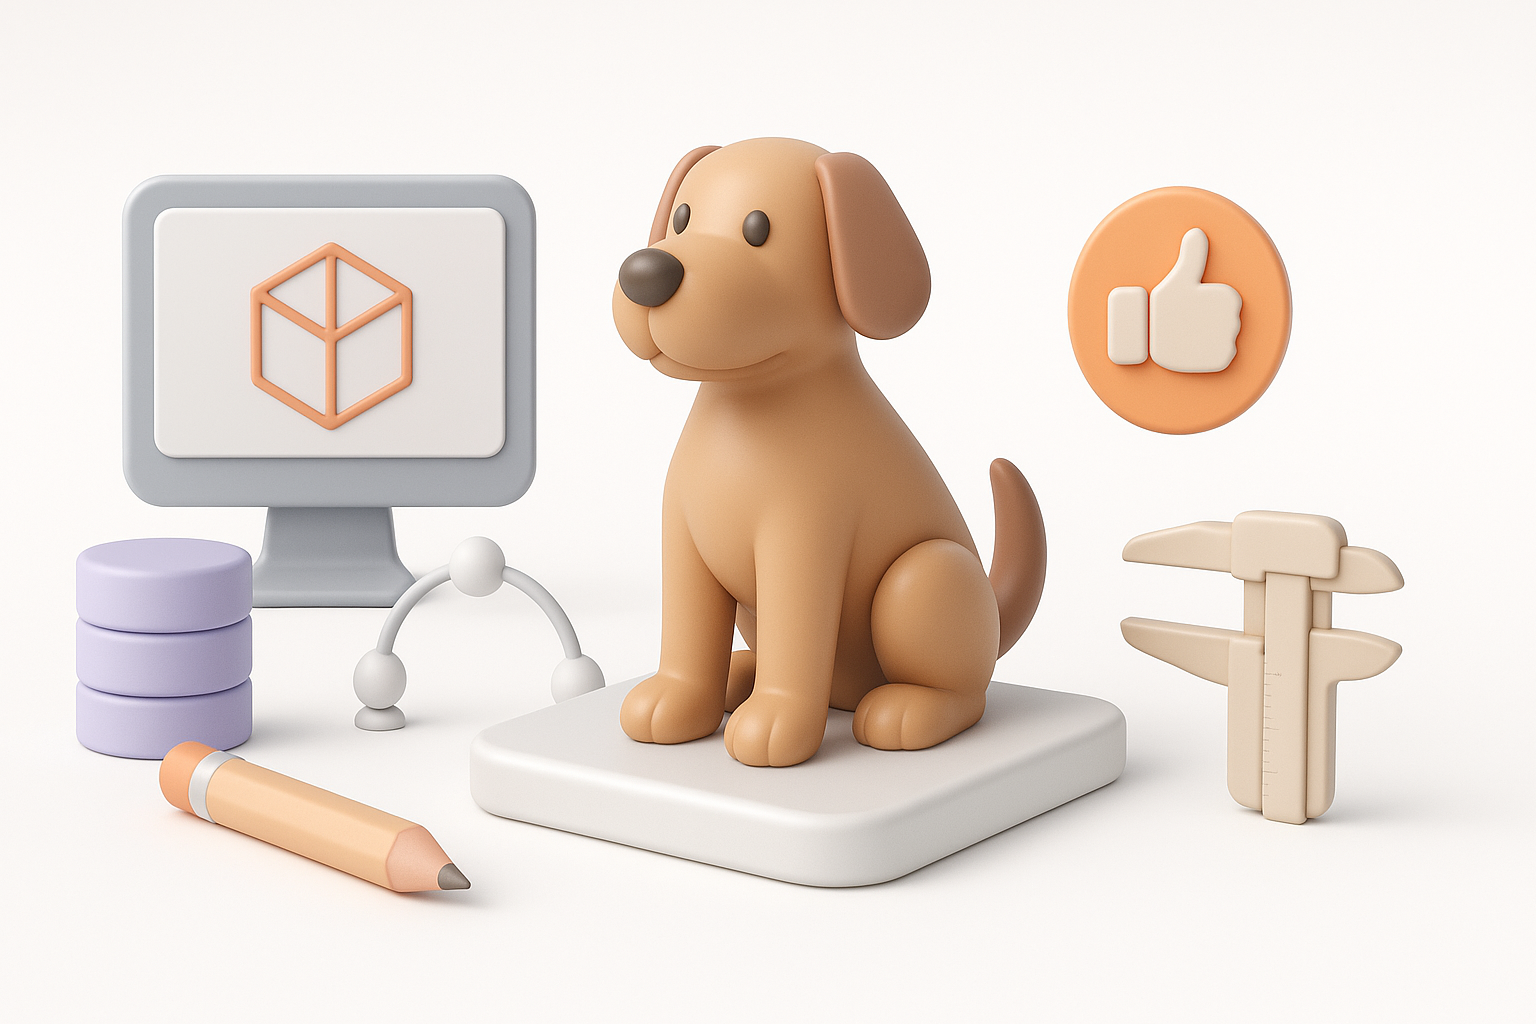
Texturing and Materials: Bringing the Dog to Life
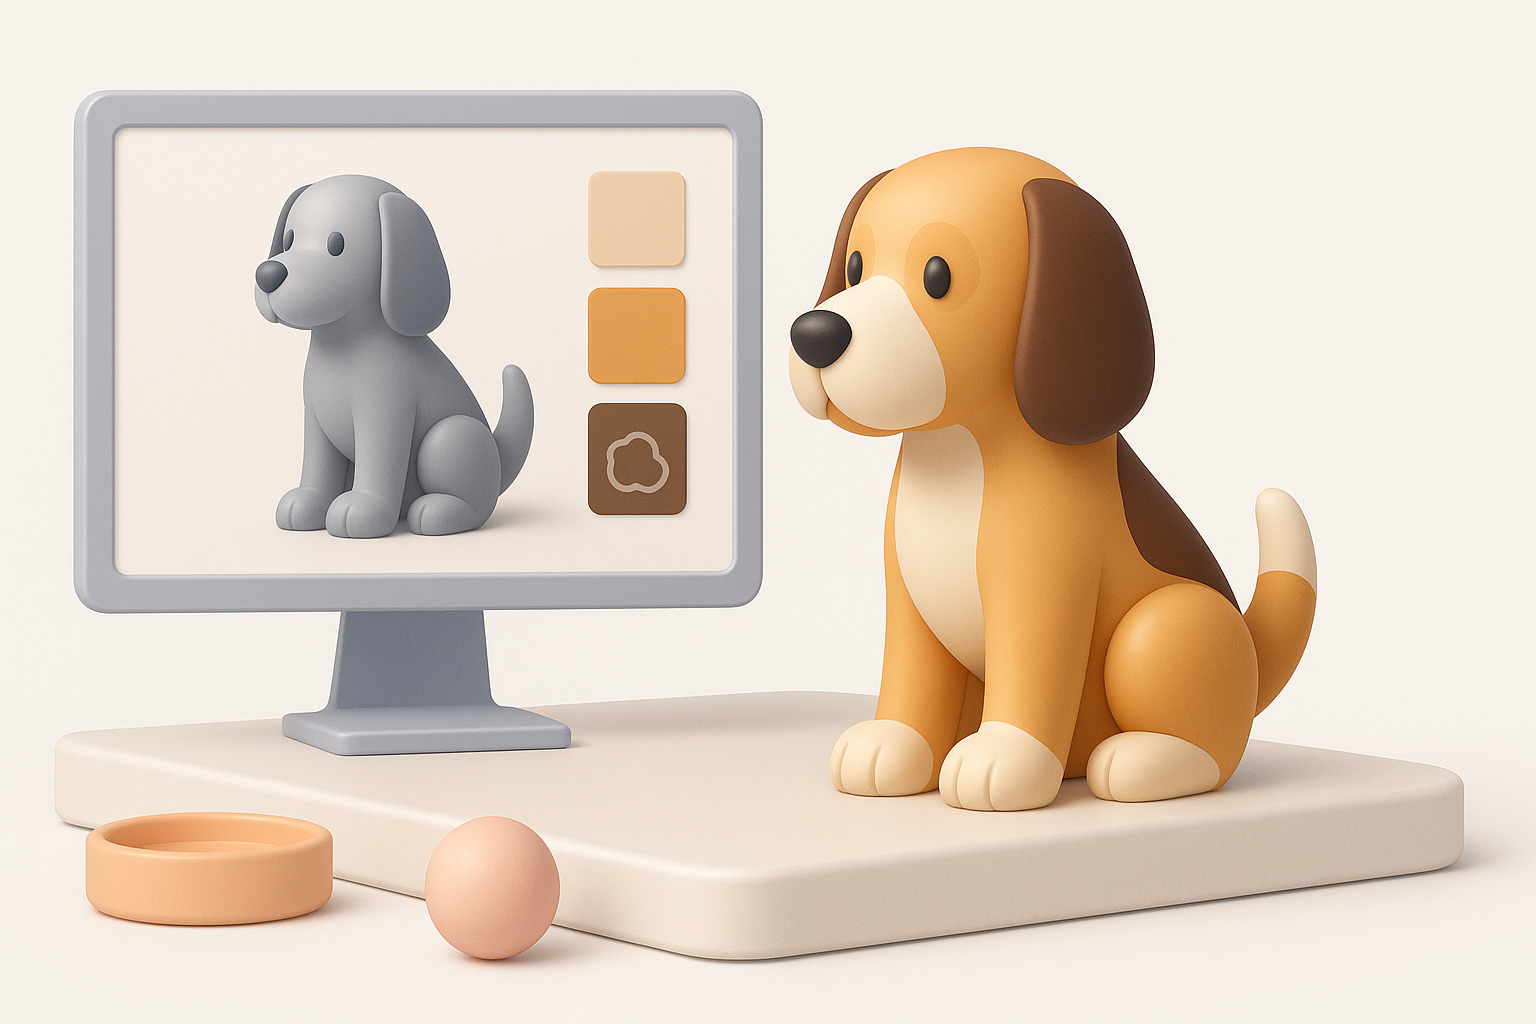
Best Practices for Fur and Skin Textures
For realistic dogs, fur texture is key. I use high-res photo textures or paint maps in layers (base color, roughness, normal). Tripo AI’s smart texturing lets me preview and tweak materials quickly.
Tips:
- Layer base color, highlights, and subtle patterns.
- Use procedural fur brushes for stylized looks.
- Adjust roughness and gloss for wet noses, paw pads.
Using AI Tools for Efficient Texturing
AI-powered texturing automates UV mapping and material assignment. I usually review the generated maps and make manual adjustments where needed—especially around the face and joints.
Checklist:
- Preview AI-generated textures for artifacts.
- Edit maps manually for problem areas.
- Export textures in formats compatible with your engine.
Retopology, Rigging, and Animation Essentials
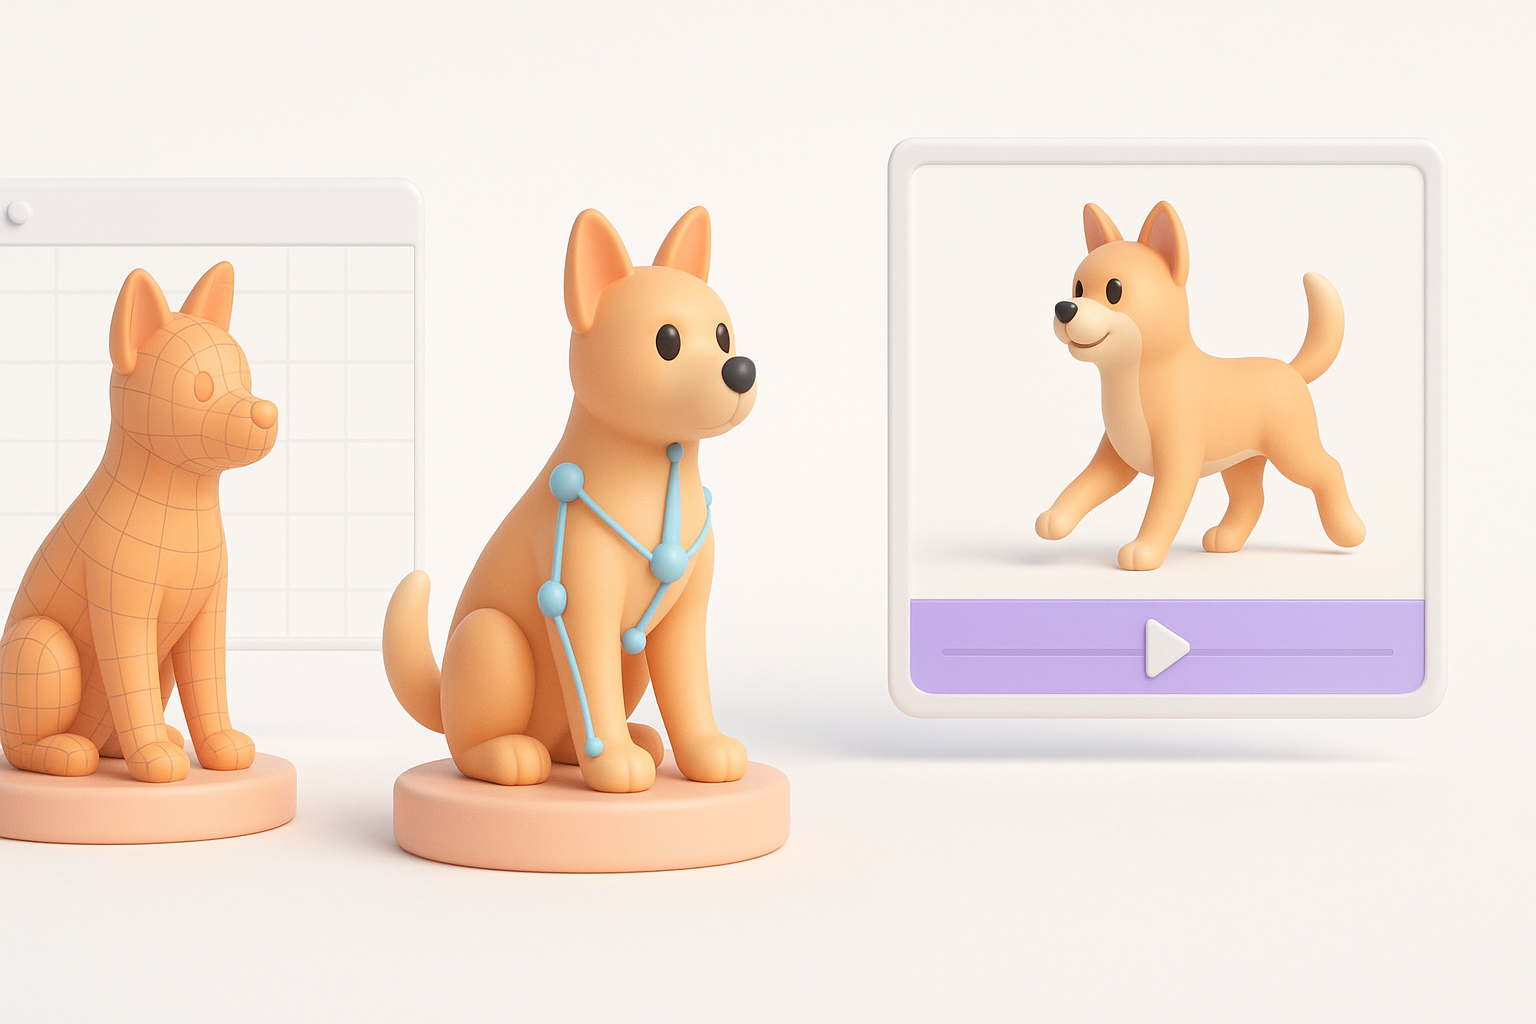
Optimizing Topology for Animation
Good topology is vital for smooth animation. I use Tripo AI’s retopology tools to generate clean, quad-based meshes. For manual work, I retopologize around joints (shoulders, hips) and face.
Pitfalls:
- Dense, messy topology near joints causes deformation issues.
- Ignoring edge flow around the mouth and eyes.
Adding Bones and Simple Animations
Rigging starts with a basic skeleton—spine, legs, tail, head. Tripo AI can auto-rig simple dogs; I manually tweak bone placement for complex poses. For animation, I test walk cycles and idle poses.
Steps:
- Use auto-rig tools for standard quadrupeds.
- Manually adjust bone weights as needed.
- Test basic animations for deformation issues.
Exporting and Integrating Your 3D Dog Model
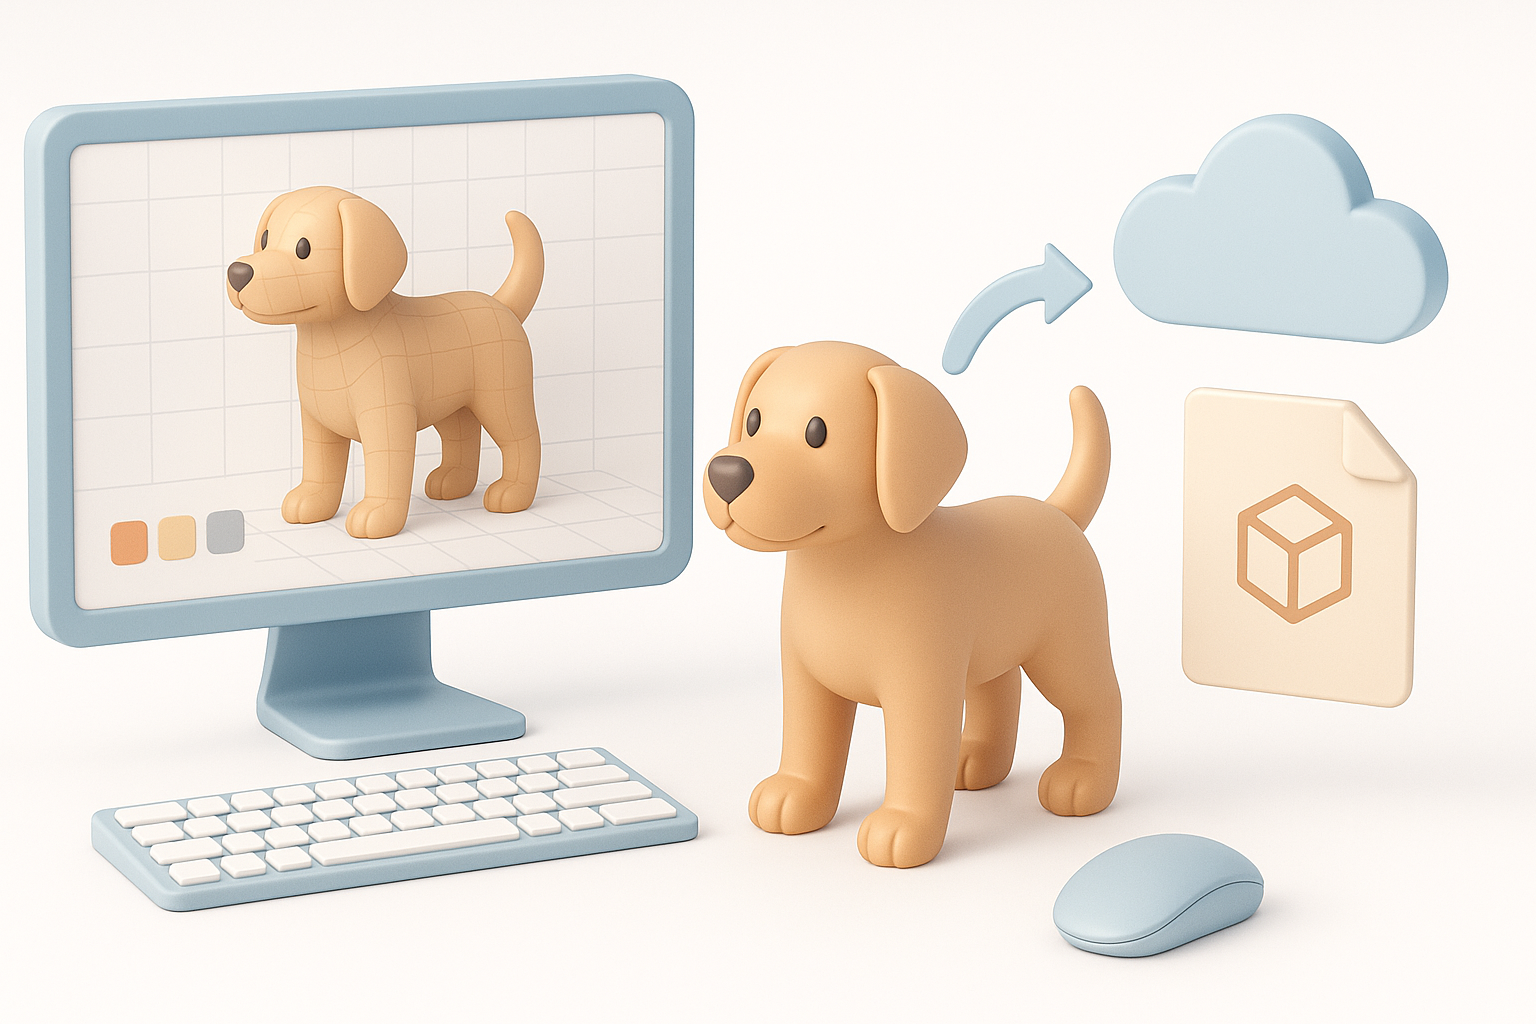
Export Settings for Games, XR, and Film
Export settings depend on your target platform. For games, I use FBX or GLTF with optimized textures. For XR, lightweight meshes are crucial. For film, higher poly and 4K textures are acceptable.
Checklist:
- Choose export format based on engine requirements.
- Bake textures and normals if needed.
- Double-check scale and orientation.
Testing and Troubleshooting Common Issues
I always test exports in the target environment. Common issues include flipped normals, missing textures, and rig errors.
Pitfalls:
- Forgetting to check scale in engine.
- Overlooking texture compression artifacts.
- Rigging errors causing mesh distortion.
Comparing AI-Powered and Traditional 3D Workflows
Where AI Tools Excel in Dog Modeling
AI tools like Tripo AI shine in blocking out base meshes, automating segmentation, and rapid texturing. They’re ideal for tight deadlines and prototyping. I use them to iterate quickly, then refine manually.
Advantages:
- Speed in generating base shapes and UVs.
- Automated retopology and rigging.
- Easy integration of text/image prompts.
When to Use Manual Techniques
Manual modeling is still best for stylized or highly detailed dogs. I switch to manual sculpting for custom anatomy, unique fur patterns, or complex poses.
When manual wins:
- Custom stylization or exaggerated features.
- High-detail sculpting for close-up shots.
- Unique animations or complex rigs.
Pro Tips and Lessons Learned from Real Projects
What I Do Differently Now
I rely on AI tools for repetitive tasks but always review results. Early anatomy checks and reference alignment prevent costly fixes later. I also test exports early, not just at the end.
Tips:
- Use AI for rough work, manual for refinement.
- Check anatomy before detailing.
- Test exports in engine throughout the process.
Common Pitfalls and How to Avoid Them
- Skipping reference checks leads to off-model anatomy.
- Over-relying on auto-texturing results in generic looks.
- Ignoring topology causes animation headaches.
Avoid by:
- Regularly comparing to references.
- Editing AI-generated maps for personality.
- Retopologizing manually around key joints.
If you follow these steps and stay mindful of common pitfalls, you’ll achieve fast, production-ready 3D dog models suitable for any industry. AI-powered workflows like Tripo AI are a game-changer, but a practiced eye and careful refinement still make all the difference.


