How to Create a 3D Model of Captain Klutz: Expert Workflow & Tips
Creating a 3D model of Captain Klutz—an iconic, quirky character—requires a blend of artistic interpretation, technical skill, and the right tools. In my experience, the process is dramatically streamlined when I combine a solid manual workflow with AI-powered platforms like Tripo. This guide walks through my practical, step-by-step approach: from gathering references and blocking out forms, to texturing, rigging, and preparing the model for animation or game engines. Whether you’re a seasoned artist or a newcomer, you’ll find actionable tips and pitfalls to avoid at every stage.
Key takeaways:
- Reference gathering and planning are critical for capturing character essence.
- Blocking and proportioning the base mesh sets the foundation for a successful model.
- Smart UV mapping and texturing make the character pop and feel authentic.
- Rigging and optimization are essential for animation-readiness.
- AI-powered tools like Tripo can accelerate workflows, but manual refinement remains important.
- Export settings and feedback loops ensure your model is ready for real-world use.
Understanding the Character: Captain Klutz in 3D
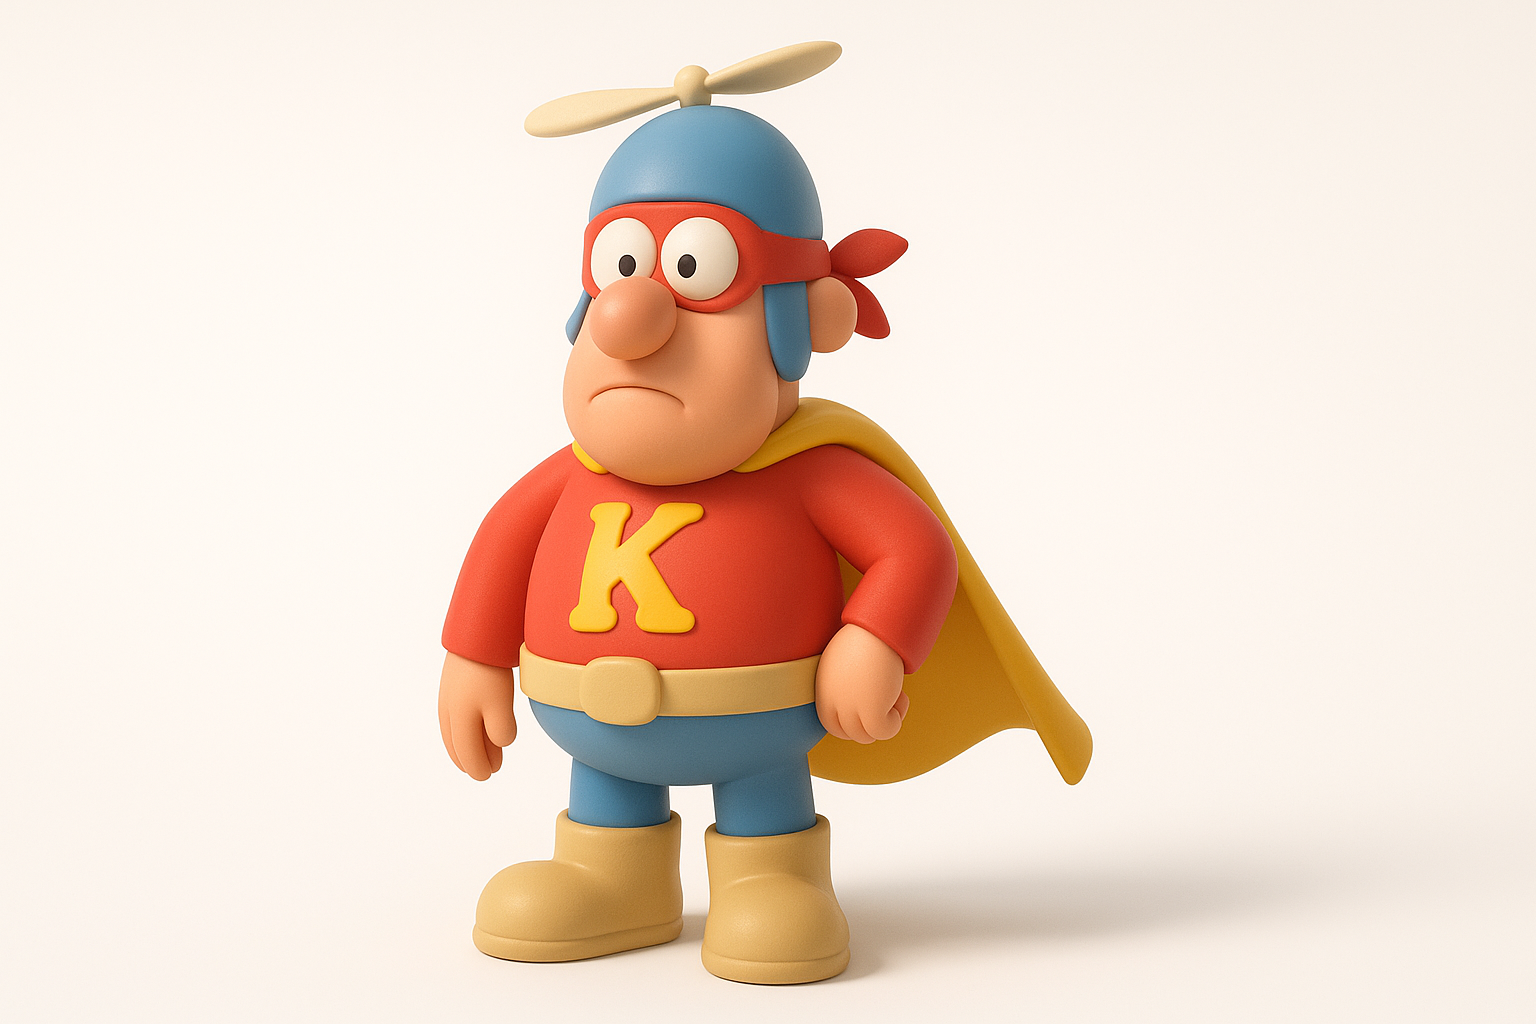
Key Visual Traits and Style References
When modeling a stylized character like Captain Klutz, I always start by analyzing key visual traits: exaggerated features, unique costume elements, and signature poses. For Captain Klutz, this means focusing on his oversized glasses, floppy cape, and mismatched outfit. I collect references from comics, fan art, and any available turnarounds to ensure consistency.
Checklist:
- Collect front, side, and back views if possible
- Note color palettes and fabric types
- Identify signature props (e.g., gadgets, emblems)
Translating 2D Concepts into 3D Forms
Translating 2D art into 3D requires thoughtful interpretation. I pay close attention to how flat shapes might read in three dimensions—sometimes exaggerating or simplifying forms for clarity. I sketch quick orthographic views or use digital sculpting to experiment with volume and silhouette.
Tips:
- Maintain the character’s essence, even if proportions shift in 3D
- Test silhouettes early—recognizability is key
- Don’t be afraid to iterate; what works in 2D might need adjustment in 3D
My Step-by-Step Workflow for Modeling Captain Klutz
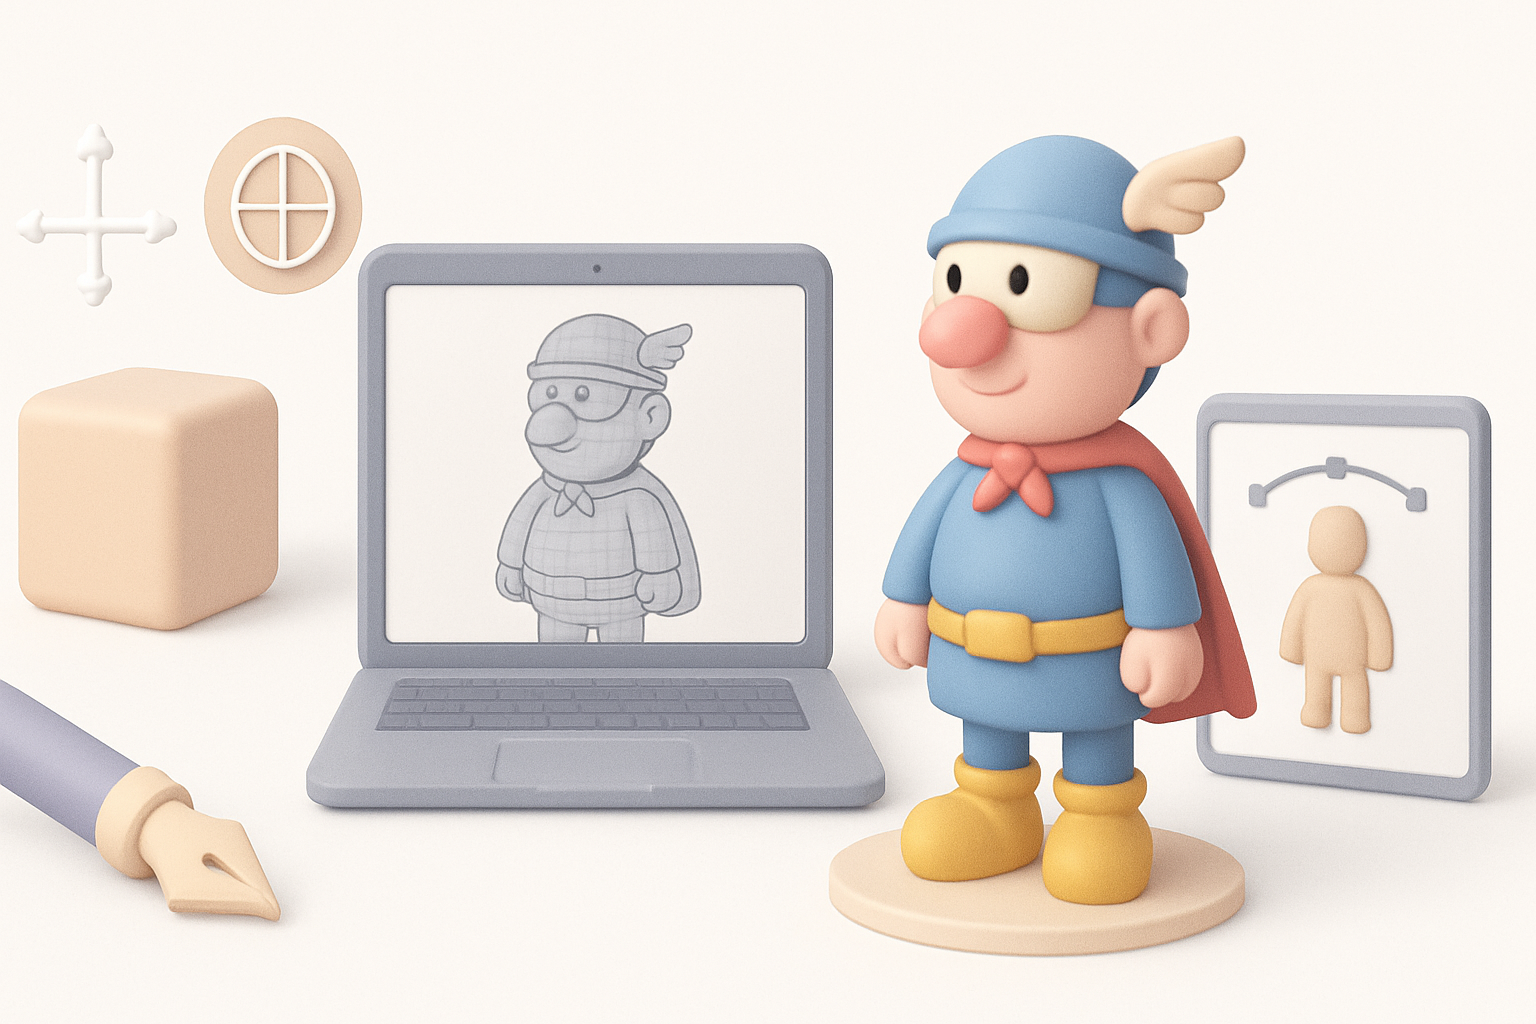
Gathering References and Planning the Model
Before touching any 3D software, I compile a reference board. This includes official artwork, fan interpretations, and real-world material references (like fabric folds or shoe types). I jot down notes on pose, personality, and any technical requirements (e.g., animation needs).
Workflow:
- Reference board in PureRef or similar
- Quick sketches or notes on unique features
- List out all required assets (main body, accessories, props)
Blocking Out the Base Mesh and Proportions
I start with basic shapes—cubes, spheres, and cylinders—to establish the overall proportions. This stage is about speed and iteration, not detail. I use symmetry tools to keep the model balanced, and constantly check the silhouette from multiple angles.
Steps:
- Rough out head, torso, limbs with primitives
- Adjust proportions to match references
- Use mirror/symmetry modifiers for efficiency
Pitfall:
Don’t get bogged down in details at this stage; focus on the “big picture” proportions.
Texturing and Detailing: Bringing Captain Klutz to Life
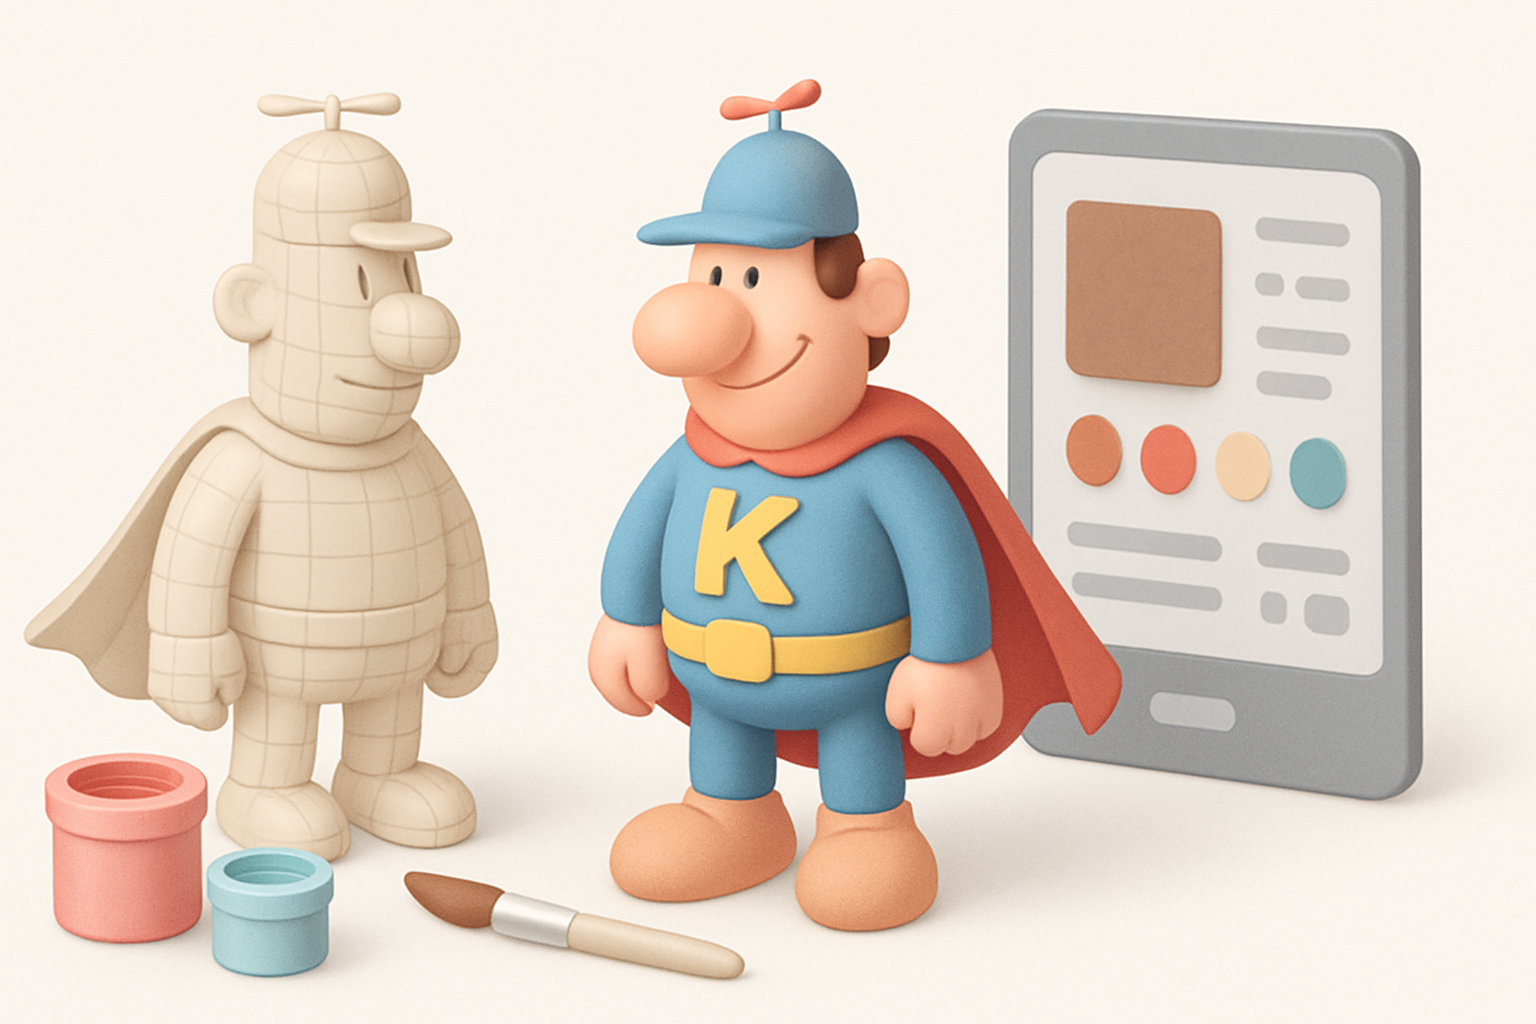
Best Practices for UV Mapping and Texture Painting
Once the high-poly sculpt is done, I move to UV unwrapping. Clean UVs are crucial for good texture painting. I prefer to keep seams in less visible areas and avoid stretching on key features like the face and emblem.
Best practices:
- Lay out UVs logically (group by material: skin, cloth, accessories)
- Use checker patterns to spot stretching
- Export UV templates for hand-painting or procedural texturing
Adding Character Details and Accessories
With UVs in place, I paint textures or use procedural materials for fabrics, skin, and metals. Details like stitches, dirt, or wear add realism and personality. For accessories, I model them as separate objects for easier tweaking and texturing.
Checklist:
- Layer details: base color, roughness, normal/bump maps
- Add subtle imperfections—avoid “too clean” look
- Model and texture props (like glasses) separately for flexibility
Optimizing, Rigging, and Preparing for Animation
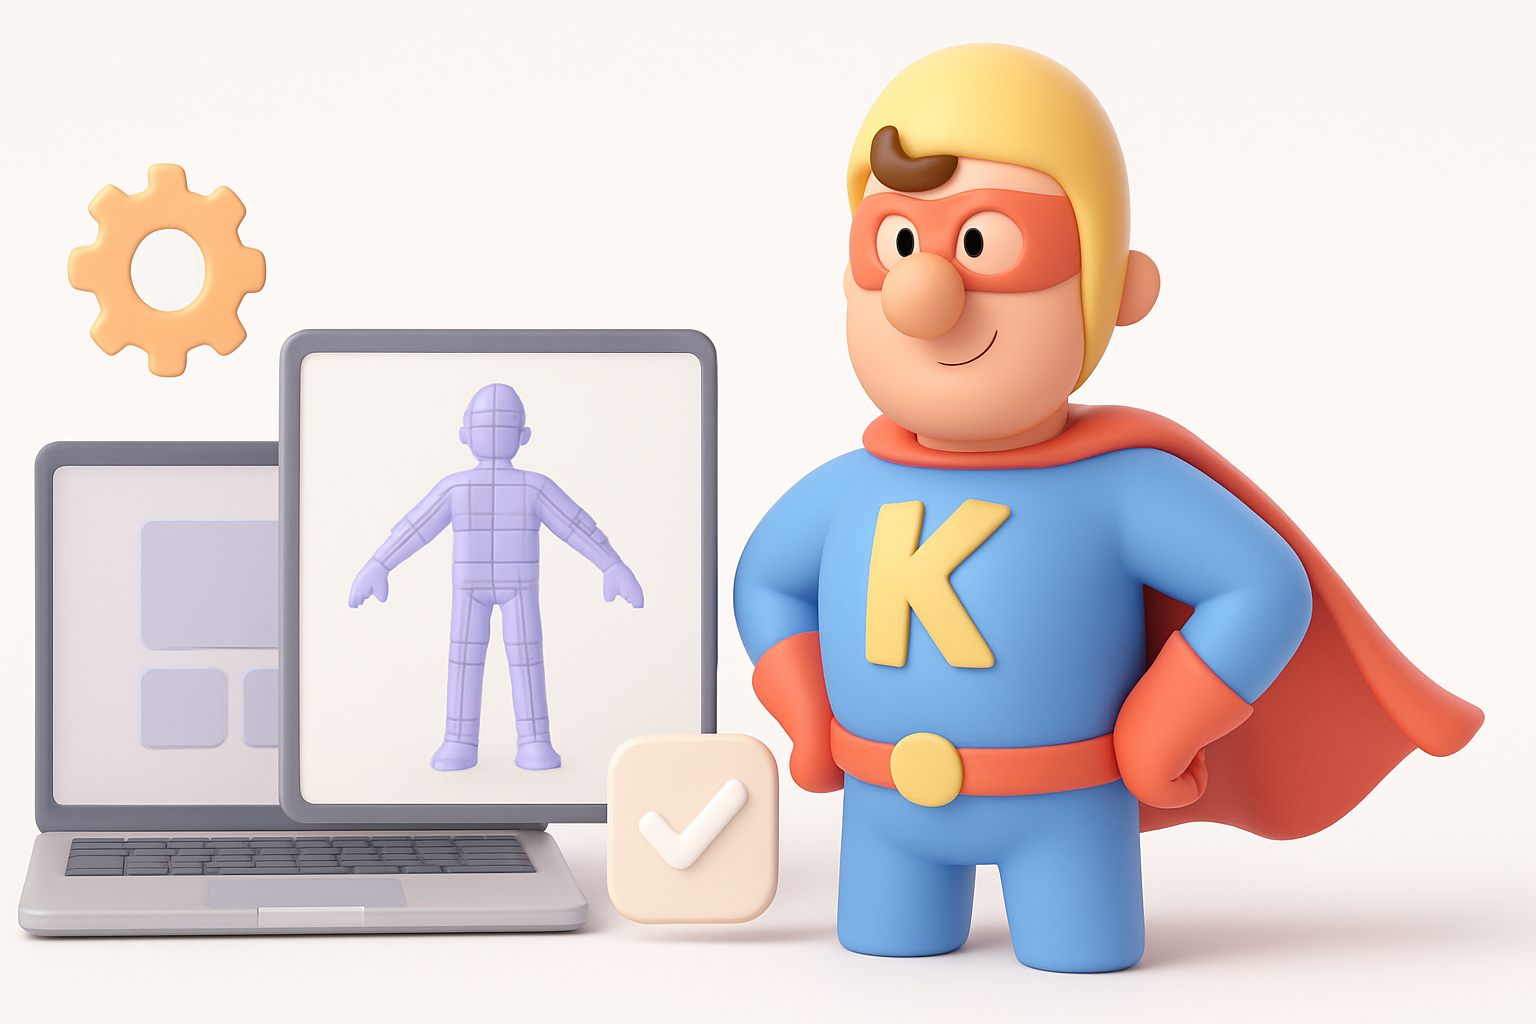
Retopology and Mesh Optimization Tips
For animation or game use, I always retopologize the model to create a clean, efficient mesh. I focus on edge flow around joints (elbows, knees) and keep polycount within target limits.
Tips:
- Use automatic retopology tools for speed, but always check results
- Manually tweak edge loops in high-deformation areas
- Remove hidden or unnecessary geometry
Rigging Essentials for Expressive Poses
Rigging brings the character to life. I build a simple skeleton, paying extra attention to facial rigging for expressiveness. Weight painting is key—smooth transitions prevent unwanted deformations.
Checklist:
- Place joints at natural pivot points
- Test with basic poses to catch issues early
- Add simple facial controls for key expressions
AI-Powered Tools and Alternative Methods
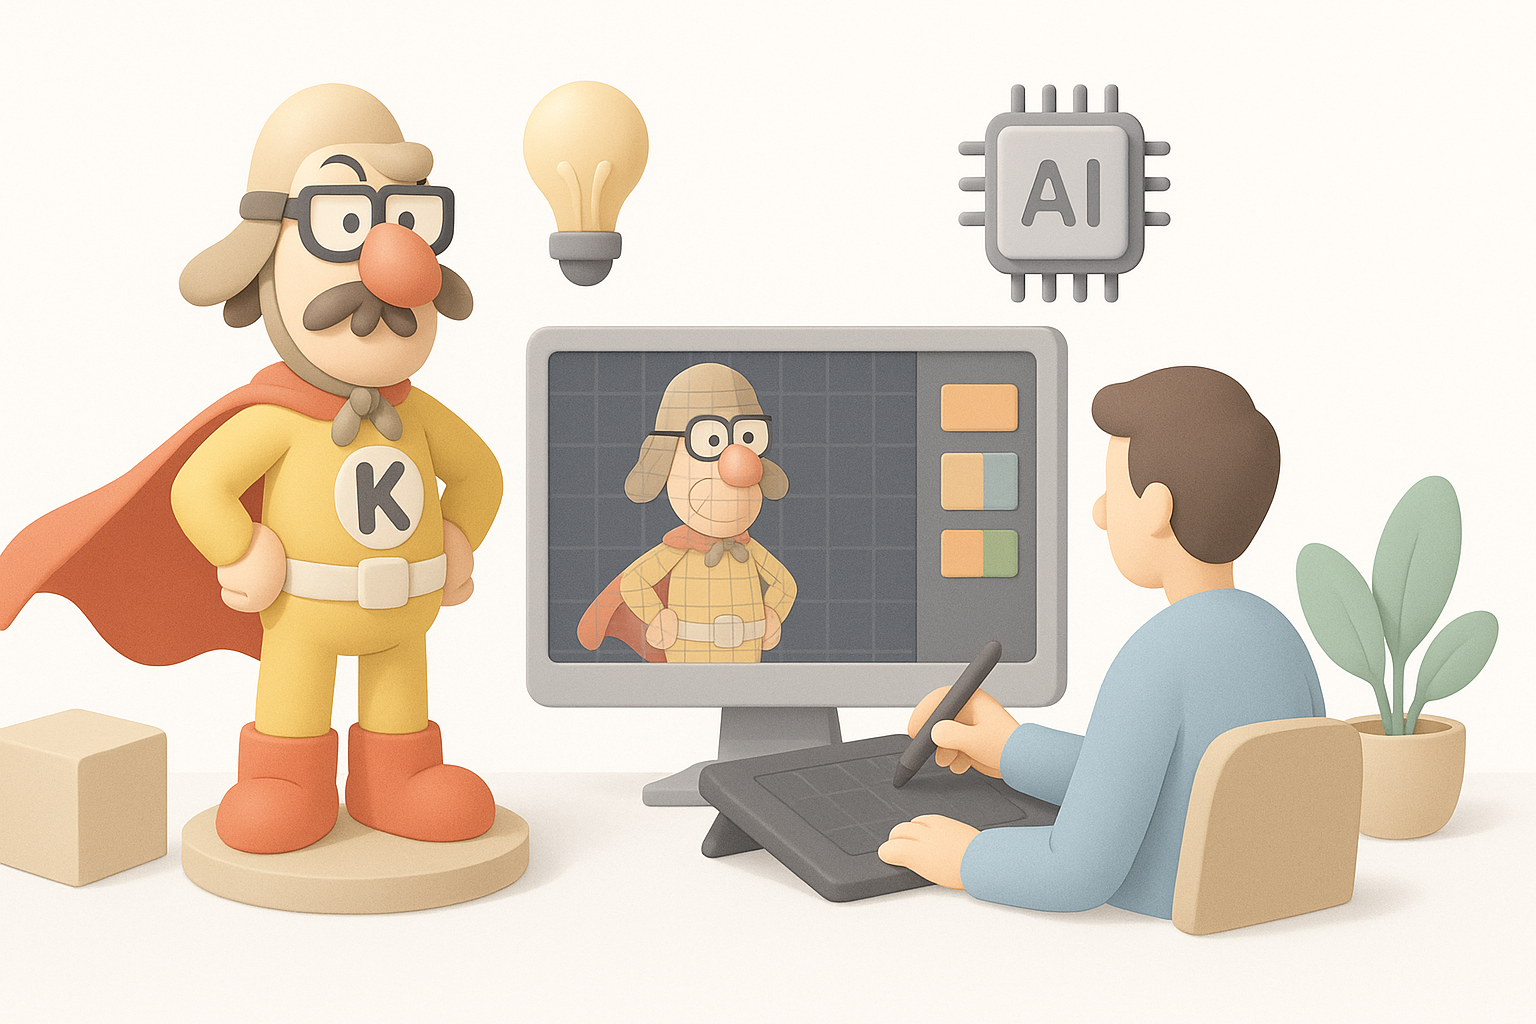
How I Use Tripo for Fast, Production-Ready Results
Tripo’s AI capabilities let me generate base meshes and textured models from concept art or descriptions in seconds. I often use Tripo for the initial blockout or to create variants, then refine manually for polish.
Workflow:
- Input reference images or sketches into Tripo
- Let AI generate base mesh and textures
- Import into my DCC for cleanup, detailing, and rigging
Tip:
Always review and refine AI-generated results—automation saves time, but manual passes ensure quality.
Comparing Manual and AI-Assisted Workflows
Manual modeling offers full control and customization, while AI tools accelerate repetitive or technical steps. In my experience, the best results come from blending both: AI for speed, manual work for artistry.
Pitfalls to avoid:
- Relying solely on AI can result in generic or off-model results
- Skipping manual cleanup can create issues in animation or rendering
Exporting, Sharing, and Using Your Captain Klutz Model
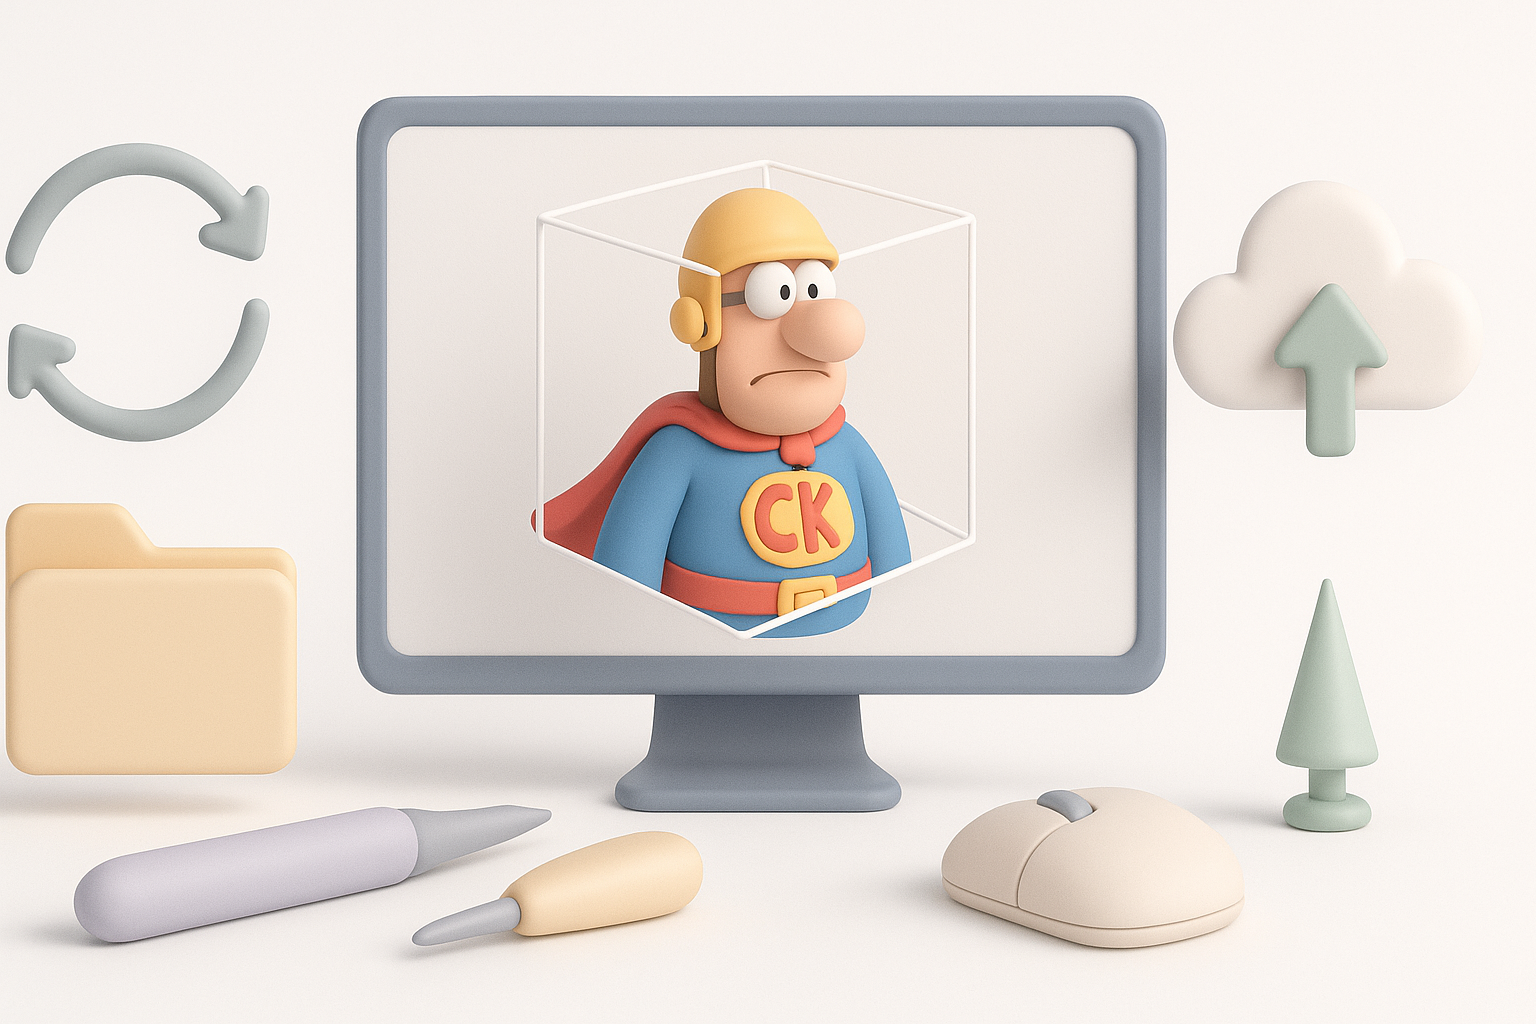
Export Settings for Games, Film, and XR
Export settings depend on the target platform. For games, I use FBX or glTF with baked textures and optimized meshes. For film, higher-res formats and separate passes are common. XR projects may require specific polygon limits or file types.
Checklist:
- Check scale and orientation before export
- Bake all textures (diffuse, normal, roughness)
- Test in the target engine or viewer
Showcasing and Iterating Based on Feedback
I always share test renders or interactive viewers with collaborators for feedback. Quick iterations based on notes help polish the final result. Platforms like Sketchfab or Marmoset Viewer are great for showcasing.
Tips:
- Prepare clean turntables and wireframe shots
- Collect feedback early to avoid costly rework
- Keep source files organized for easy updates
By following this workflow—combining solid fundamentals with smart use of AI tools like Tripo—you can create a production-ready 3D Captain Klutz efficiently, without sacrificing creativity or quality.


