3D Metal Model Kits: Expert Insights and Best Practices
As someone who’s assembled dozens of 3D metal model kits, I’ve learned what separates a smooth, rewarding build from a frustrating mess. In this article, I’ll share my hands-on approach to choosing, preparing, and assembling metal kits, plus how I leverage digital tools like Tripo AI for design and planning. Whether you’re a beginner or a seasoned builder, you’ll find actionable tips on assembly, finishing, and display. I’ll also compare metal kits to other materials, highlight mistakes to avoid, and provide my best practices for standout results.
Key Takeaways
- Quality materials and thoughtful preparation make assembly much easier.
- The right tools and workspace setup are critical for precision and enjoyment.
- Digital platforms like Tripo AI can streamline design and planning for custom projects.
- Metal kits differ significantly from plastic and wood—choose based on your goals and experience.
- Attention to finishing and display elevates your final model from good to great.
- Learning from common mistakes accelerates skill development.
What Are 3D Metal Model Kits?
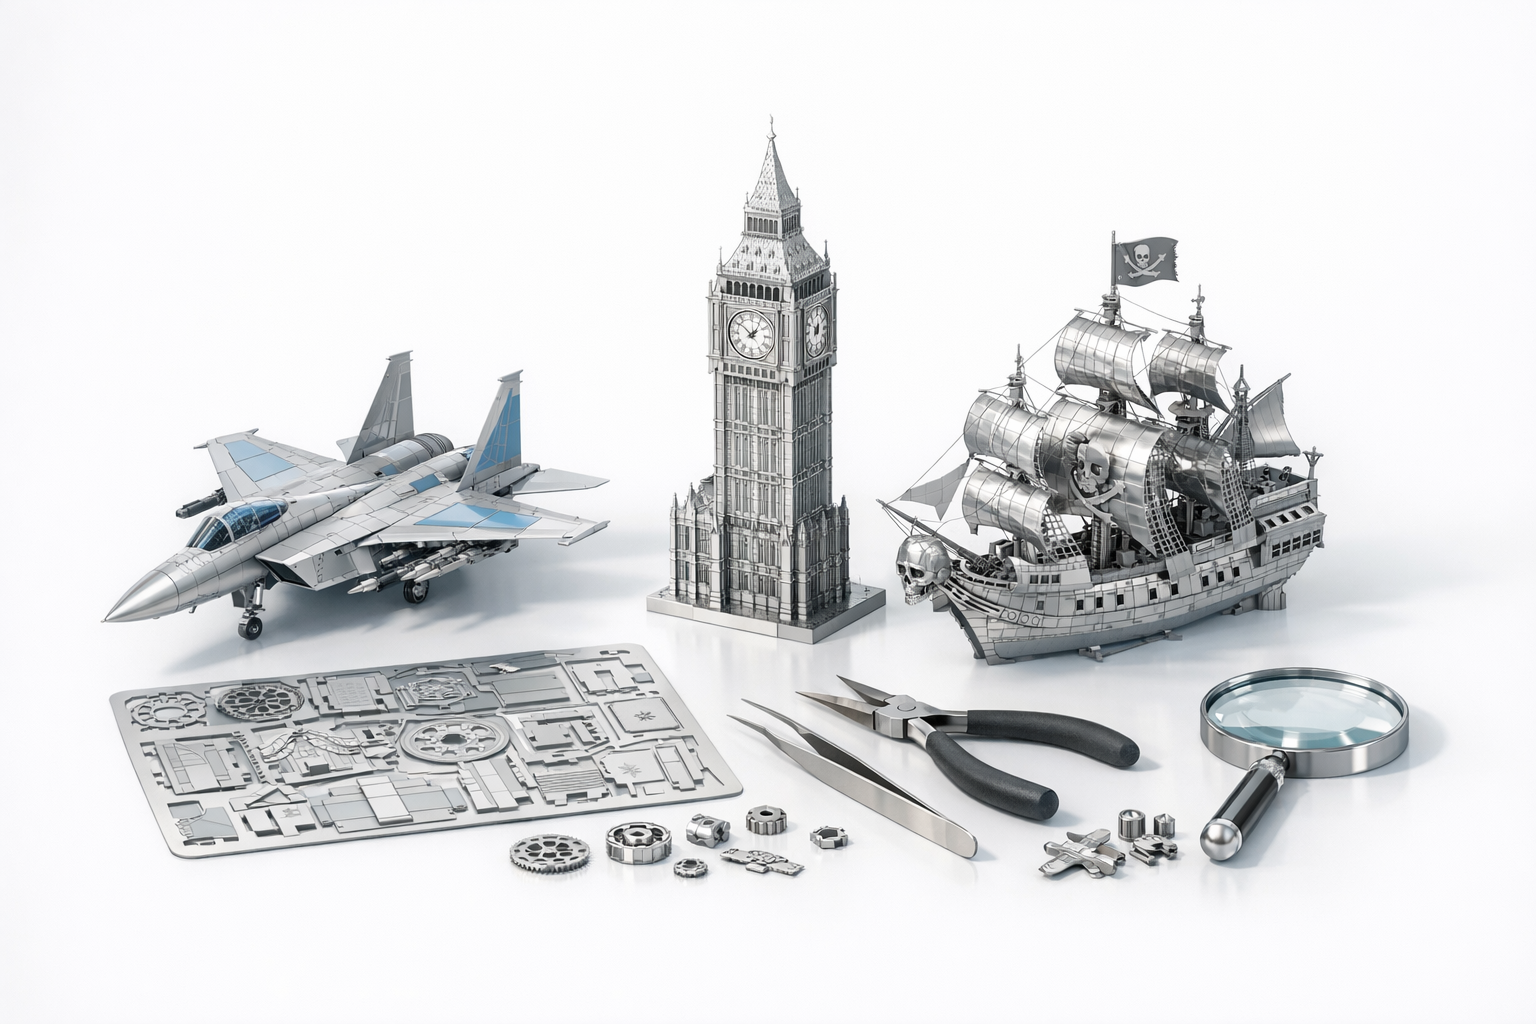
3D metal model kits are precision-engineered sheets of metal that you cut, bend, and assemble into intricate scale models. They’re popular among hobbyists who appreciate detail, durability, and the tactile challenge of working with metal.
Types of 3D Metal Model Kits
From my experience, kits generally fall into these categories:
- Laser-cut sheets: Most common—parts are etched and pre-cut for easy removal.
- Snap-fit or tab-and-slot: No glue required; tabs are bent to secure parts.
- Hybrid kits: Occasionally, you’ll find kits combining metal with plastic or wood accents.
Each type has its own assembly quirks. I recommend starting with pure metal, tab-and-slot kits for the best introduction.
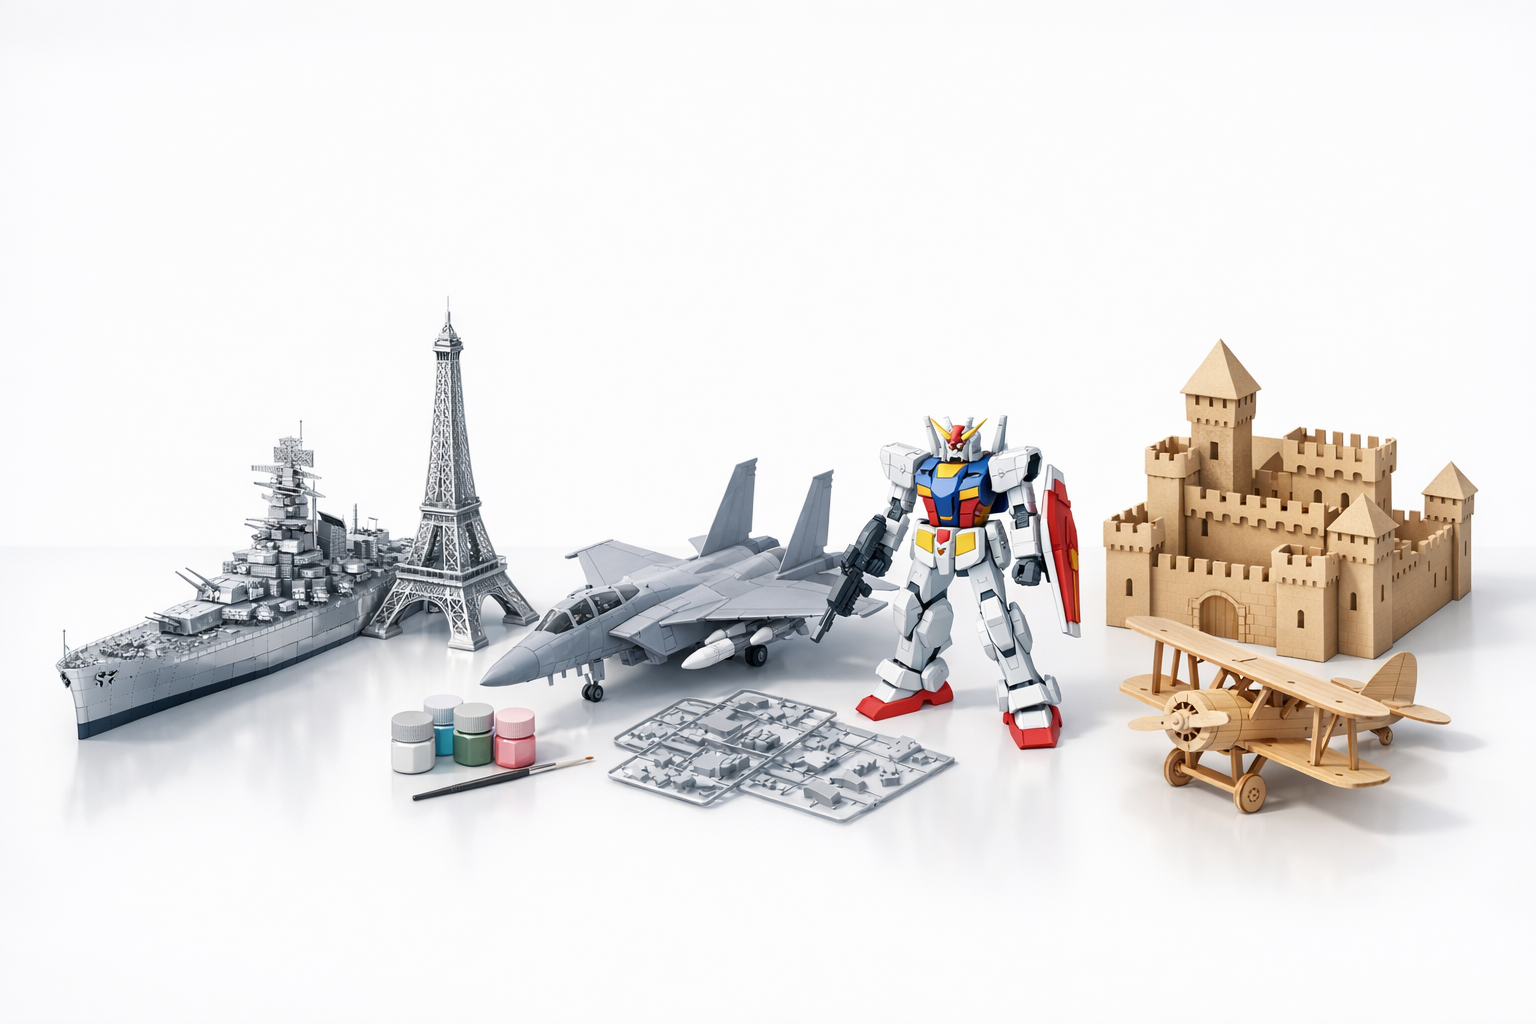
Popular Themes and Difficulty Levels
Themes range widely—iconic landmarks, vehicles, sci-fi ships, and animals are all common. Difficulty is usually rated from beginner to expert. I suggest:
- Beginners: Start with simple architectural models or vehicles with fewer parts.
- Intermediate/Advanced: Move up to complex ships, aircraft, or mechanical contraptions.
Check the piece count and part size—smaller, more numerous pieces mean higher difficulty.
How I Choose and Prepare a 3D Metal Model Kit
Evaluating Kit Quality and Materials
I always check:
- Metal thickness: Thicker sheets (0.2–0.3mm) are sturdier and less prone to bending errors.
- Etching detail: Crisp, clean lines indicate quality manufacturing.
- Instructions: Clear diagrams and part labeling are essential—vague instructions add hours to the build.
- Brand reputation: I read reviews and look for consistent quality feedback.
A quick checklist before buying:
- Are the sheets sturdy?
- Are instructions clear?
- Is the theme something I’ll enjoy?
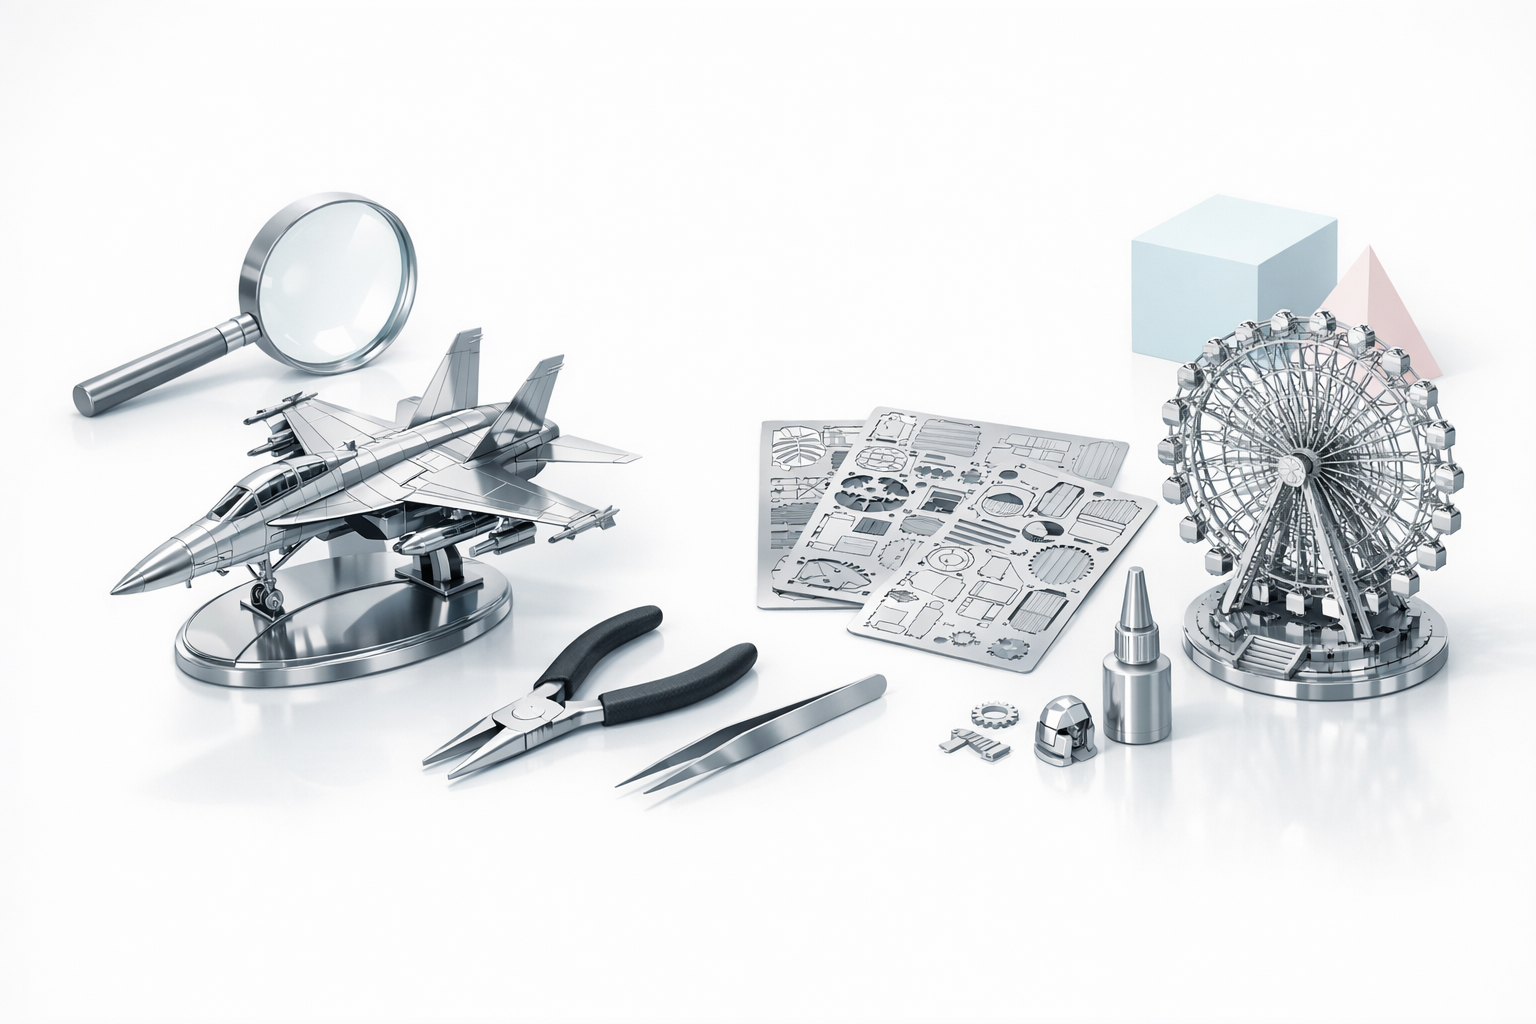
Essential Tools and Workspace Setup
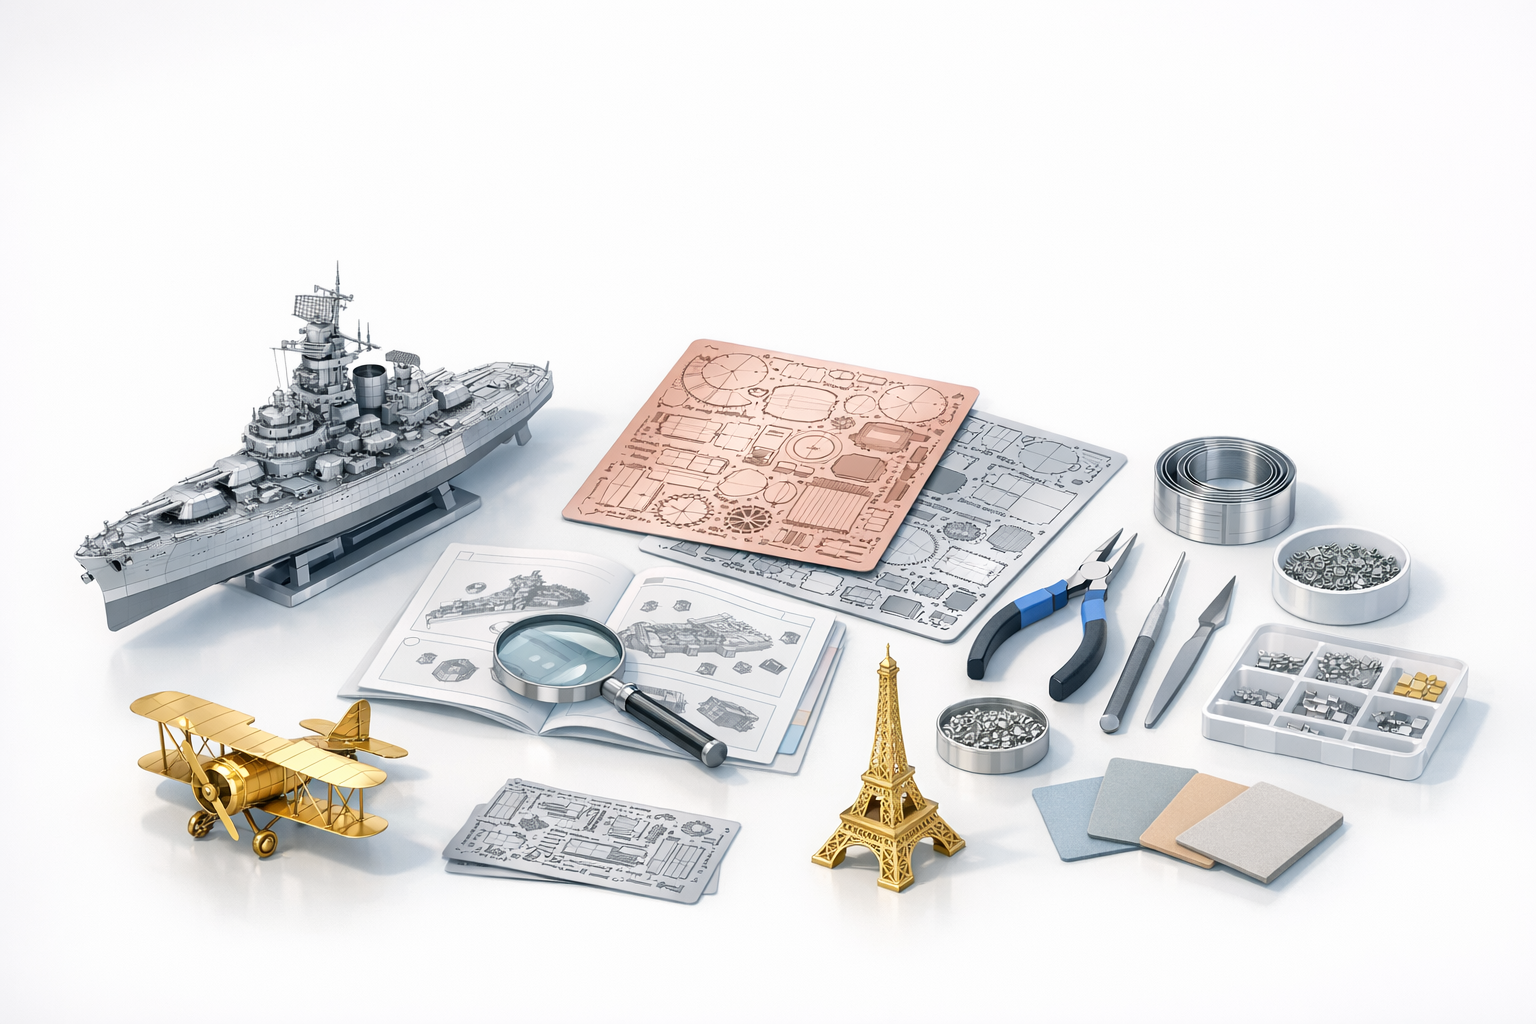
My must-have tools:
- Needle-nose pliers (2 pairs)
- Fine tweezers
- Side cutters for part removal
- Metal file or sanding stick for burrs
- Magnifier (for tiny parts)
- Soft mat or towel (to prevent scratches)
Workspace tips:
- Good lighting is non-negotiable.
- I keep parts in labeled trays or cups.
- I always have the instructions and a digital reference (sometimes a 3D model on screen) handy.
Step-by-Step Assembly Workflow
My Assembly Process: Tips and Tricks
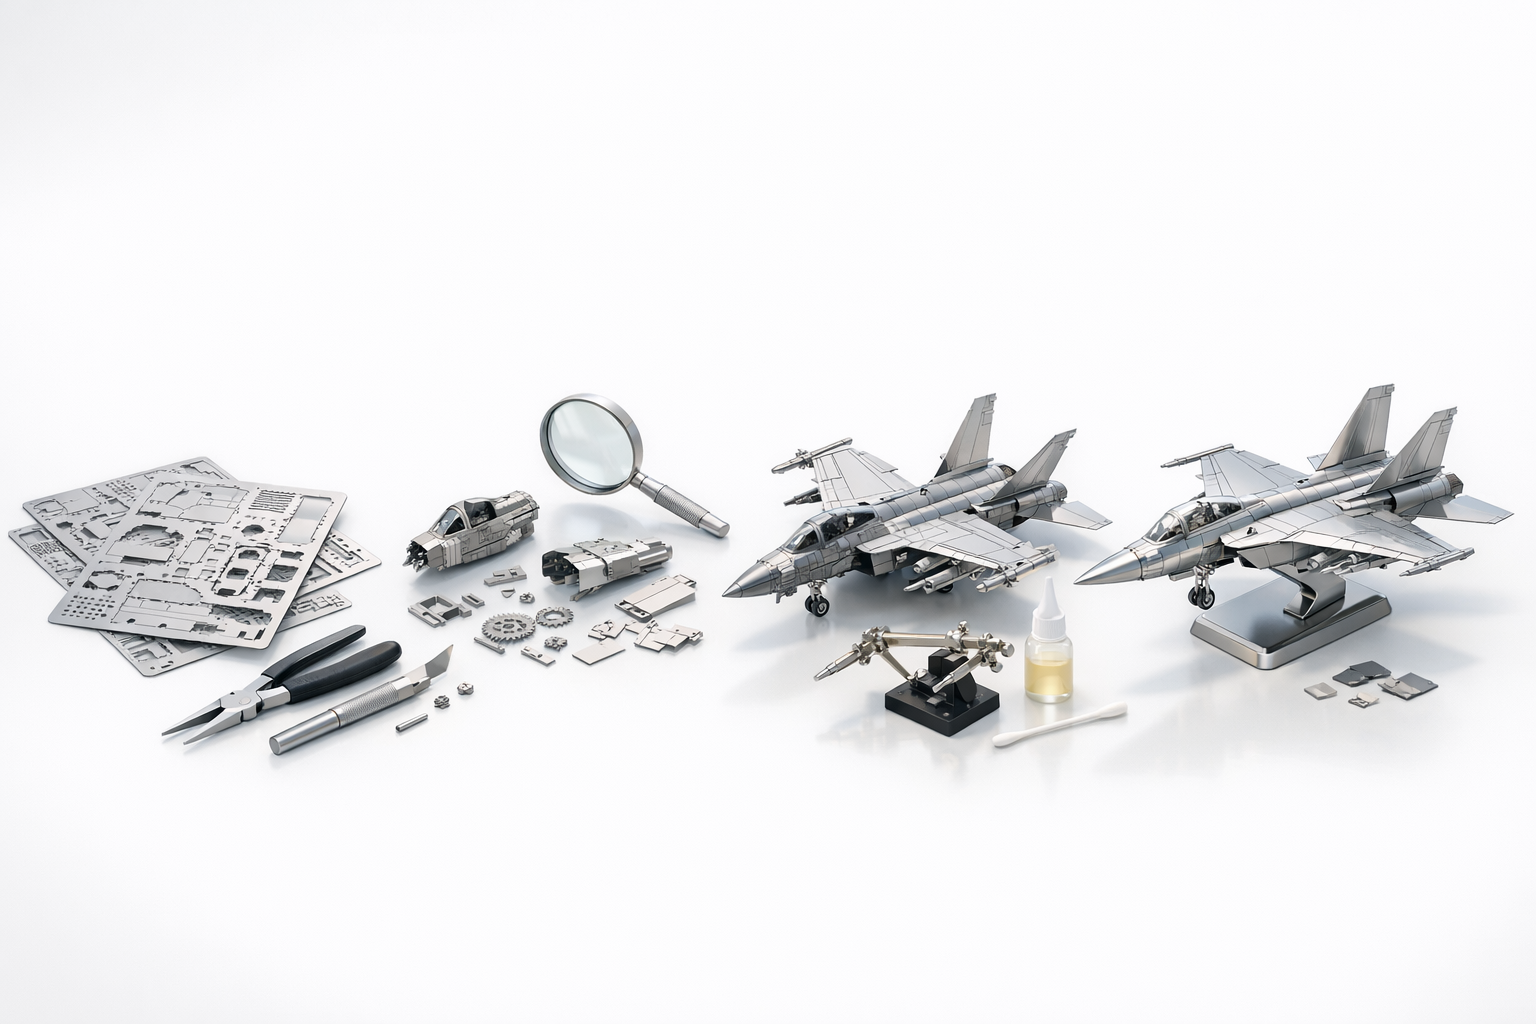
Here’s my typical workflow:
- Study the instructions—I read through the entire guide before starting.
- Organize parts—I separate and label all pieces.
- Dry fit—I test-fit tricky assemblies before final bending or locking.
- Assemble in subgroups—I build modules (e.g., cockpit, wings) separately, then combine.
- Final assembly—I join subassemblies, making small adjustments as needed.
Tips:
- Always bend tabs in the direction shown (usually 90° or twisted).
- Use minimal force—metal can fatigue and snap.
- If a part is stubborn, gently reshape with pliers rather than forcing.
Common Challenges and How I Overcome Them
Frequent issues:
- Bent or warped parts: I straighten with flat pliers and gentle pressure.
- Misaligned tabs: I pre-bend or slightly widen slots with a file.
- Missing pieces: I contact the manufacturer or improvise with spare metal if possible.
- Tiny parts: I use a magnifier and tweezers, and work slowly.
Patience and the right tool make all the difference. Rushing usually leads to mistakes or damage.
Finishing, Detailing, and Displaying
Polishing and Painting Techniques
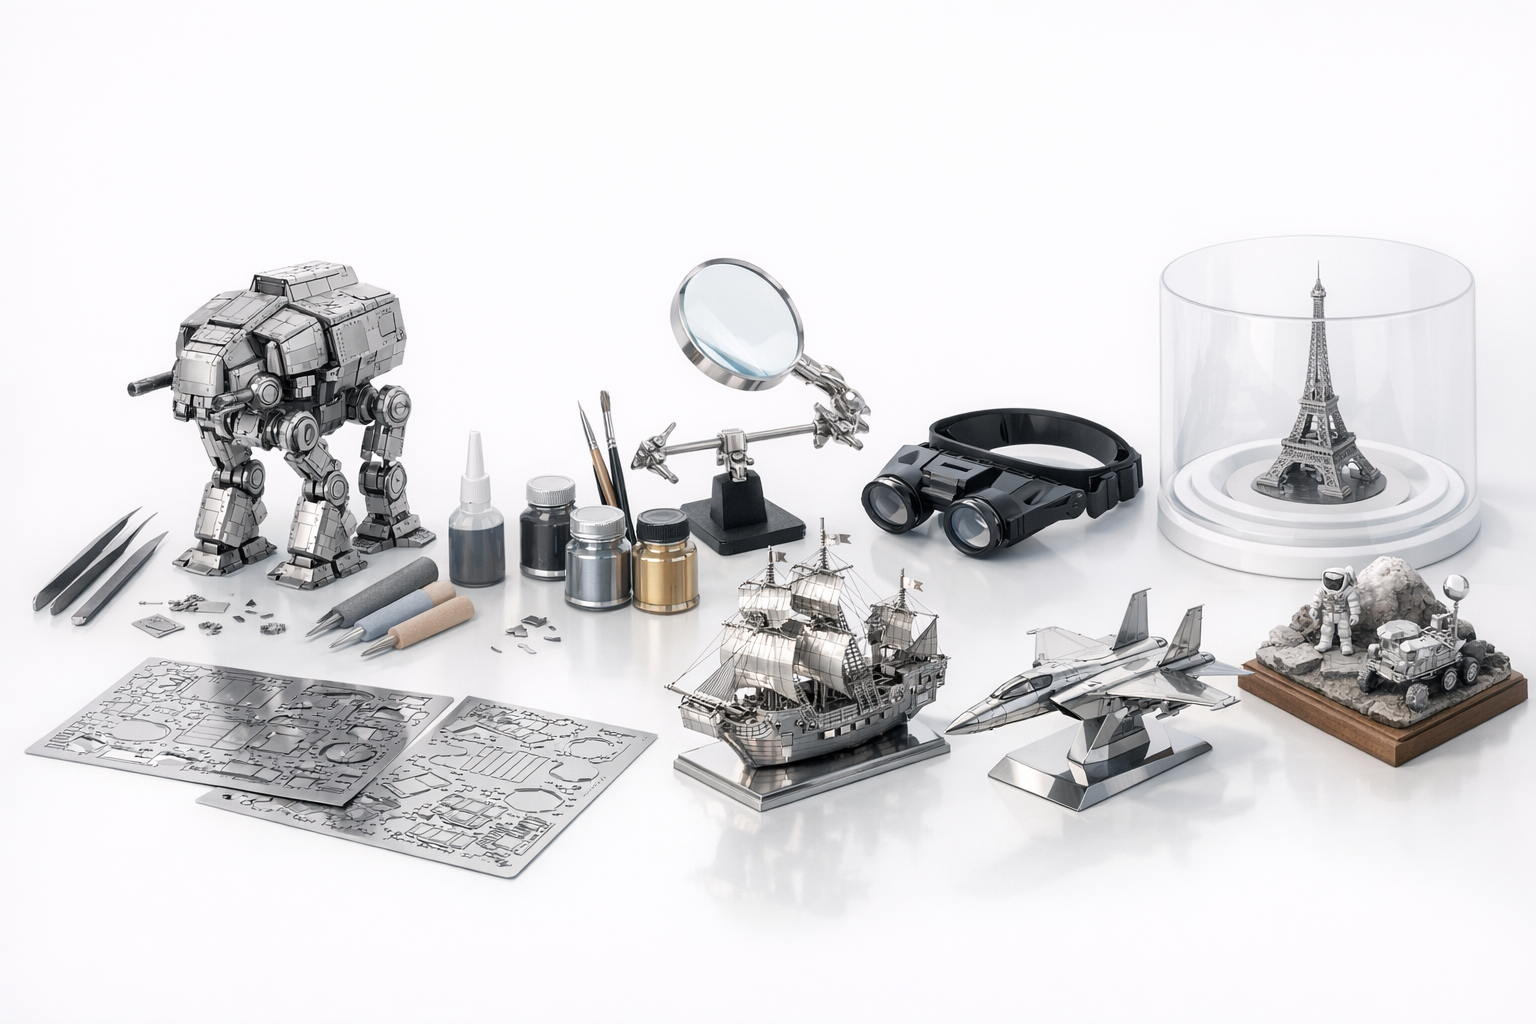
Metal models look great raw, but sometimes I enhance them:
- Polishing: I use a microfiber cloth and metal polish for shine.
- Painting: I apply enamel or lacquer paints with a fine brush or airbrush for color accents.
- Sealing: For painted models, I use a clear coat to protect the finish.
Steps:
- Clean parts with isopropyl alcohol before painting.
- Mask areas you want to keep metallic.
- Apply thin layers—let each dry fully.
Creative Display Ideas
Displaying is half the fun. Some of my favorite approaches:
- Acrylic cases: Protect models from dust and curious hands.
- Custom bases: I 3D print or craft bases for support and context.
- LED lighting: Backlighting or spotlights highlight metallic surfaces.
- Dioramas: For advanced builds, I create small scenes or backgrounds.
Rotate your display occasionally to avoid sun fade on painted areas.
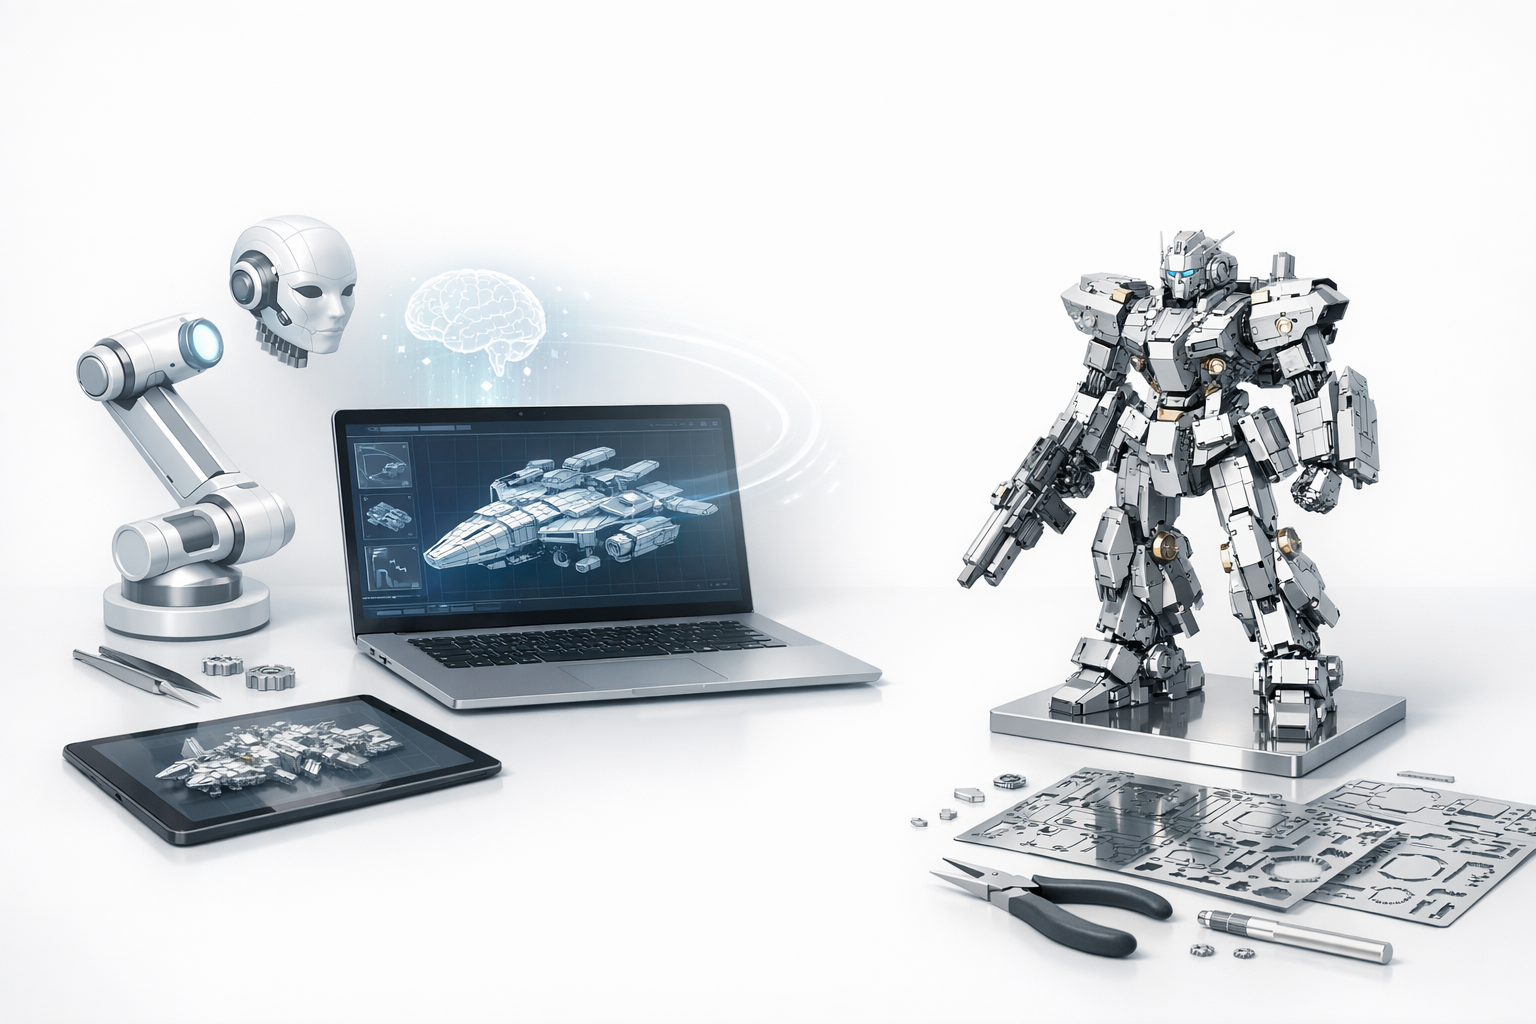
Digital Tools and AI for 3D Metal Model Kits
How I Use AI Platforms for Design and Planning
For custom or modified builds, I use platforms like Tripo AI to:
- Generate concept art or 3D previews from sketches or text prompts.
- Plan color schemes and part layouts before assembly.
- Simulate how modifications might look, catching issues early.
This digital-first approach saves time and reduces mistakes, especially for unique or kitbashed projects.
Integrating Digital Models with Physical Builds
I often:
- Print out exploded views or reference models for tricky assemblies.
- Use digital measurements to ensure scale accuracy when scratch-building parts.
- Export designs for laser-cutting custom metal sheets if needed.
Digital tools bridge the gap between imagination and physical build, especially for advanced or custom projects.
Comparing 3D Metal Model Kits to Other Model Types
Metal vs. Plastic and Wood Kits: My Experience
Metal kits:
- Pros: Durable, detailed, no glue needed, striking finish.
- Cons: Less forgiving—metal can kink or snap, harder to modify.
Plastic kits:
- Pros: Easier to cut and glue, more variety, great for painting.
- Cons: Can feel less substantial, glue can be messy.
Wood kits:
- Pros: Warm look, easy to sand and modify, forgiving material.
- Cons: Less detail, can warp with humidity.
When to Choose Each Type
- Metal: When I want a challenge, a display piece, or a long-lasting model.
- Plastic: For vehicles, figures, or when I want to paint and customize heavily.
- Wood: For architectural models or when I want a natural aesthetic.
Match the kit type to your skill level, patience, and display intentions.
Best Practices and Lessons Learned
My Top Tips for Success
- Read the instructions fully before starting.
- Organize your workspace and tools.
- Work slowly—precision matters more than speed.
- Use digital tools for planning and visualization.
- Take breaks to avoid frustration and mistakes.
Mistakes to Avoid
- Forcing parts—metal will snap.
- Ignoring instructions—leads to irreversible errors.
- Skipping prep—results in lost or damaged pieces.
- Painting before assembly—paint can chip during bending.
Patience, preparation, and the right tools are the keys to stunning 3D metal models.


