How to Create a High-Quality 3D Horse Model: Expert Workflow
Creating a production-ready 3D horse model requires a blend of artistic skill, technical know-how, and efficient workflow choices. Over years of working in game, film, and XR projects, I’ve refined a process that balances anatomical accuracy, realistic texturing, and rigging for animation. Modern AI-powered platforms like Tripo have streamlined many steps, letting me focus more on creativity and less on manual grunt work. This guide is for artists, designers, and developers seeking a practical, step-by-step workflow to produce high-quality 3D horse assets—whether for games, cinematic shots, or AR/VR experiences.
Key takeaways:
- Reference gathering and anatomical study are crucial for realism.
- Efficient base mesh blocking and detail sculpting save time downstream.
- Proper UV mapping and material selection elevate visual quality.
- Rigging and animation require planning for natural movement.
- AI tools like Tripo accelerate modeling, texturing, and rigging.
- Export settings and mesh optimization are essential for platform compatibility.
Executive Summary and Key Takeaways
What to Expect from This Guide
I break down the entire 3D horse modeling workflow, from reference gathering to final export. You’ll get actionable steps, practical checklists, and tips for integrating AI-powered solutions into traditional pipelines.
Summary of Best Practices
- Start with strong references and anatomical understanding.
- Block out forms before detailing.
- Use intelligent tools for UVs, texturing, and rigging.
- Validate proportions and movement early.
- Optimize mesh and textures for your target platform.
Planning and Reference Gathering for a 3D Horse Model
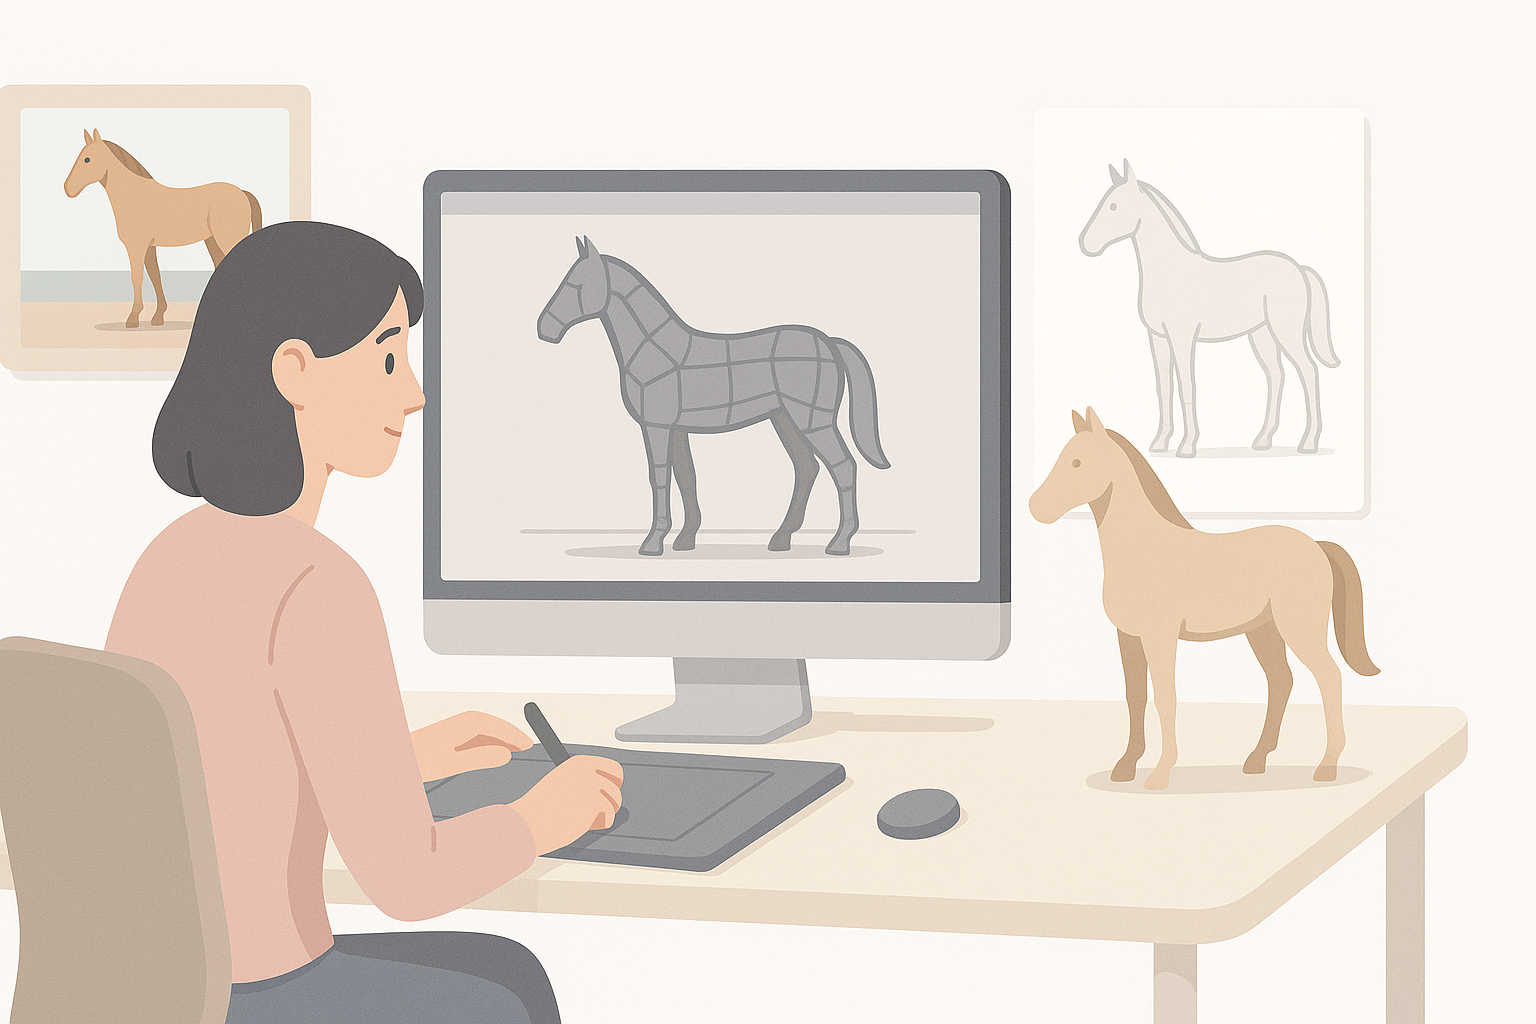
Choosing the Right References
I always start by collecting high-quality images from multiple angles—side, front, back, and top. Horse breed selection matters: a racing thoroughbred differs from a draft horse in muscle definition and proportions. Sketches, anatomical diagrams, and even video clips showing movement are invaluable.
Checklist:
- Gather 10–20 reference images (different breeds, poses).
- Include anatomical diagrams for muscle/bone structure.
- Use video clips for gait and movement study.
Understanding Anatomy and Proportions
A realistic horse model depends on accurate anatomy. I pay close attention to limb length, joint placement, and muscle groups. Overlooking hoof shape or neck curvature is a common pitfall.
Tips:
- Study skeletal landmarks: withers, hock, fetlock, etc.
- Compare proportions against real-world measurements.
- Use overlays or guides in your modeling software.
Step-by-Step 3D Horse Modeling Workflow
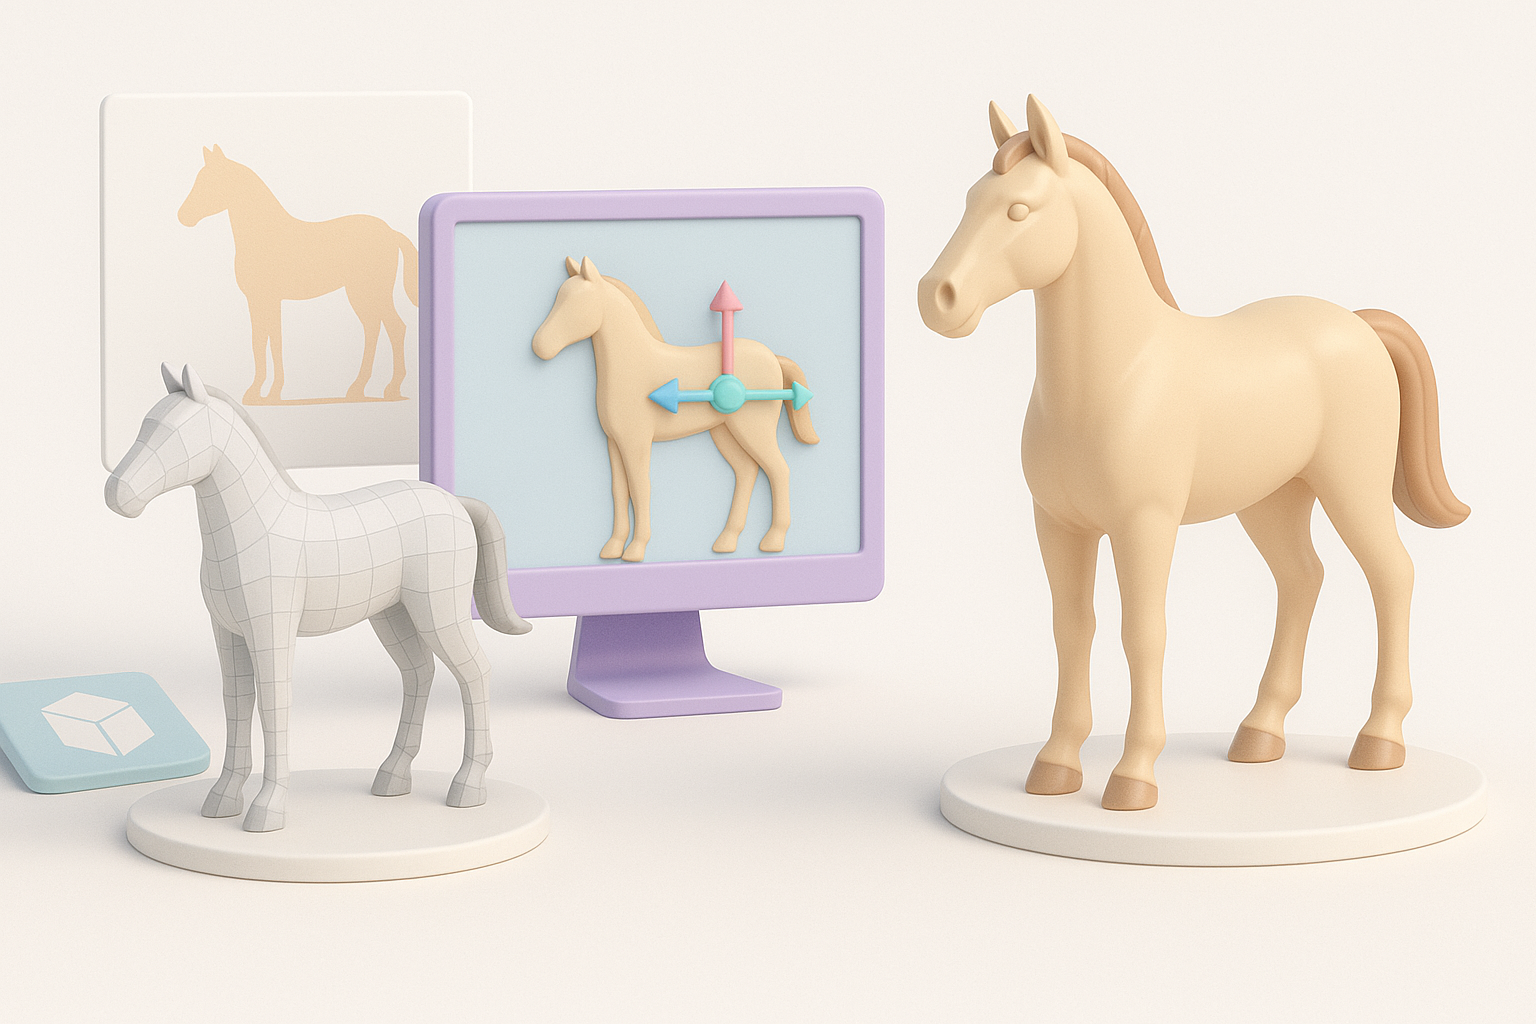
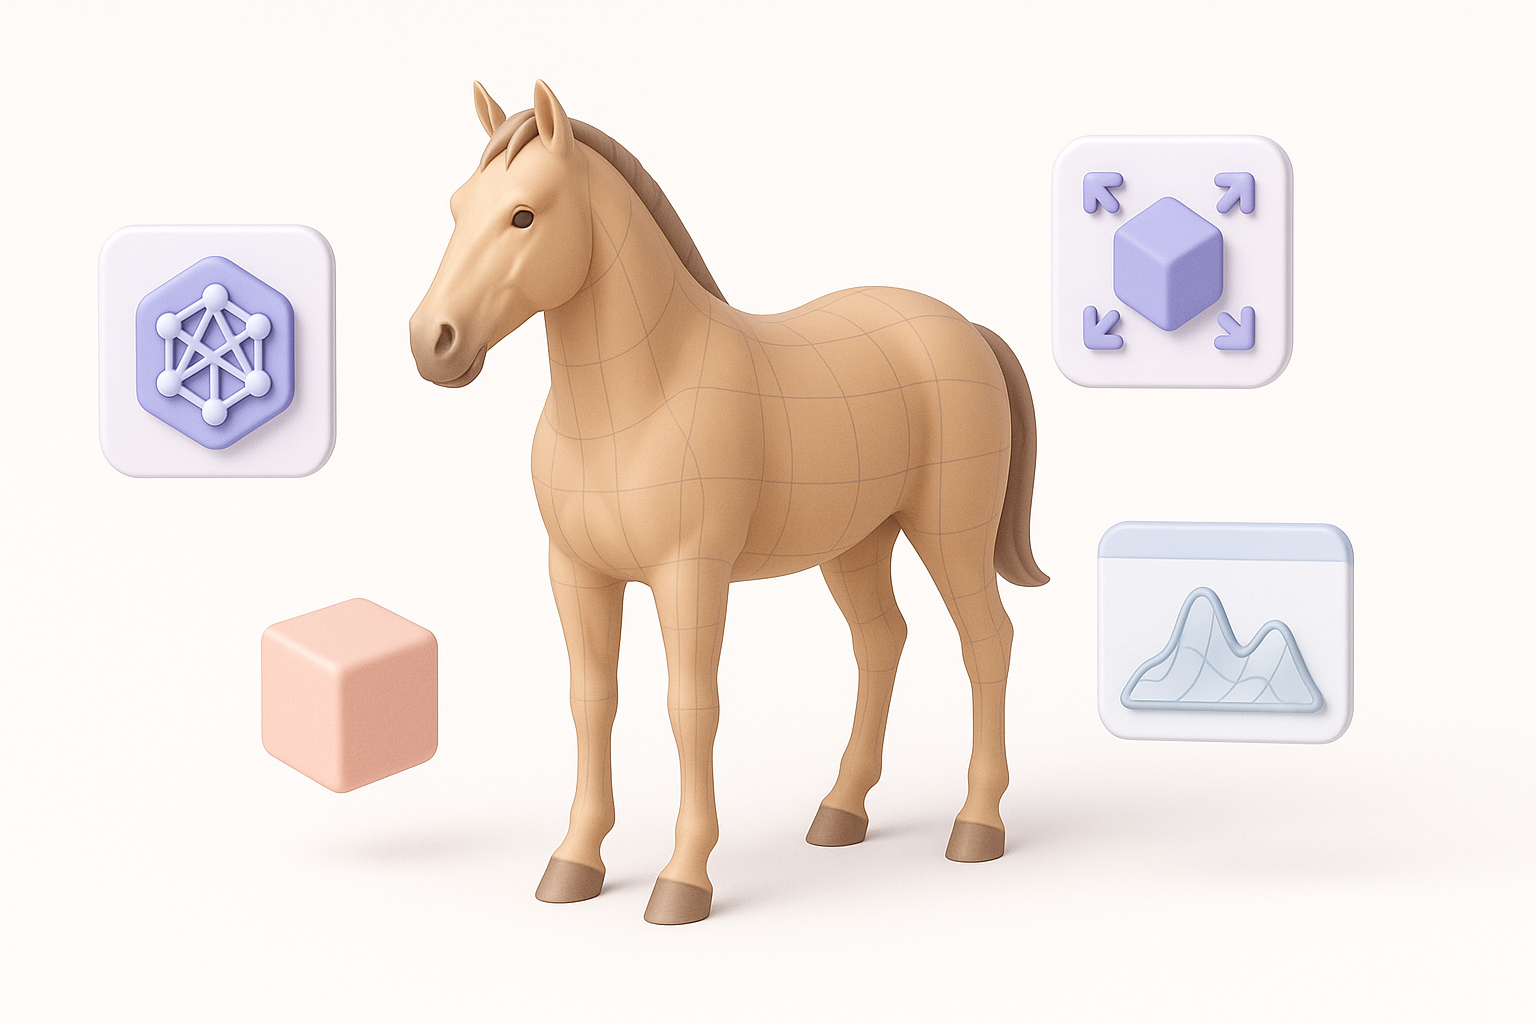
Blocking Out the Base Mesh
I begin with simple shapes—cylinders for legs, spheres for joints, and a rough body form. This stage is about capturing silhouette and proportion, not detail. AI-powered platforms like Tripo can generate a solid base mesh from text or sketches, which I refine further.
Steps:
- Block main body, head, legs, tail with primitives.
- Adjust proportions before adding detail.
- Use symmetry tools for efficiency.
Refining Details and Anatomy
Once the base mesh is solid, I sculpt muscle definition, facial features, and finer anatomical details. Reference images guide me in shaping nostrils, ears, and hooves. Tripo’s segmentation tools help isolate regions for focused sculpting.
Pitfalls:
- Over-detailing too early—always refine form first.
- Neglecting subtle muscle transitions and skin folds.
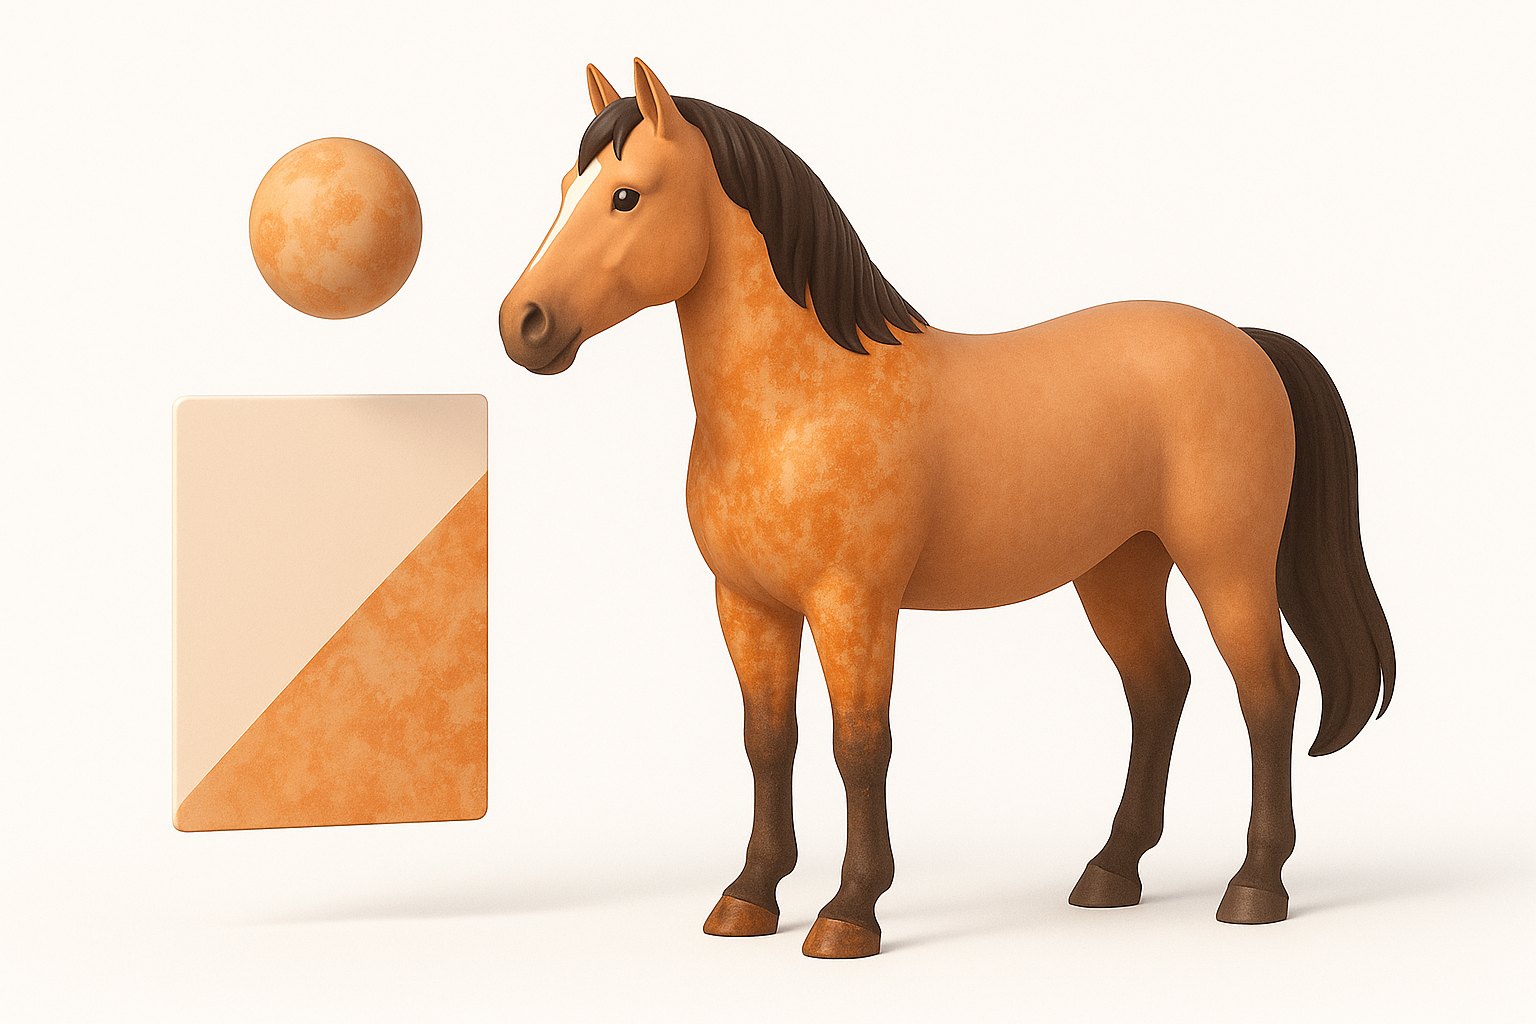
Texturing and Materials: Bringing the Horse to Life
UV Unwrapping and Texture Painting
UV mapping is critical for seamless textures. I unwrap the mesh, ensuring minimal distortion in high-detail areas like the face and legs. Tripo’s intelligent UV tools speed up this process, letting me focus on painting realistic skin, fur, and markings.
Steps:
- Unwrap UVs with minimal stretching.
- Paint base color, add layers for fur, scars, or markings.
- Use reference photos to match color patterns.
Selecting and Applying Materials
Material choices impact realism—horses have glossy eyes, matte skin, and subtle sheen on fur. I use physically-based shaders and tweak roughness/specularity for each region. AI-assisted texturing can quickly generate plausible materials, which I then fine-tune.
Tips:
- Separate materials for eyes, hooves, mane/tail.
- Adjust shader settings for realism (subsurface scattering for skin).
Rigging and Animation Considerations
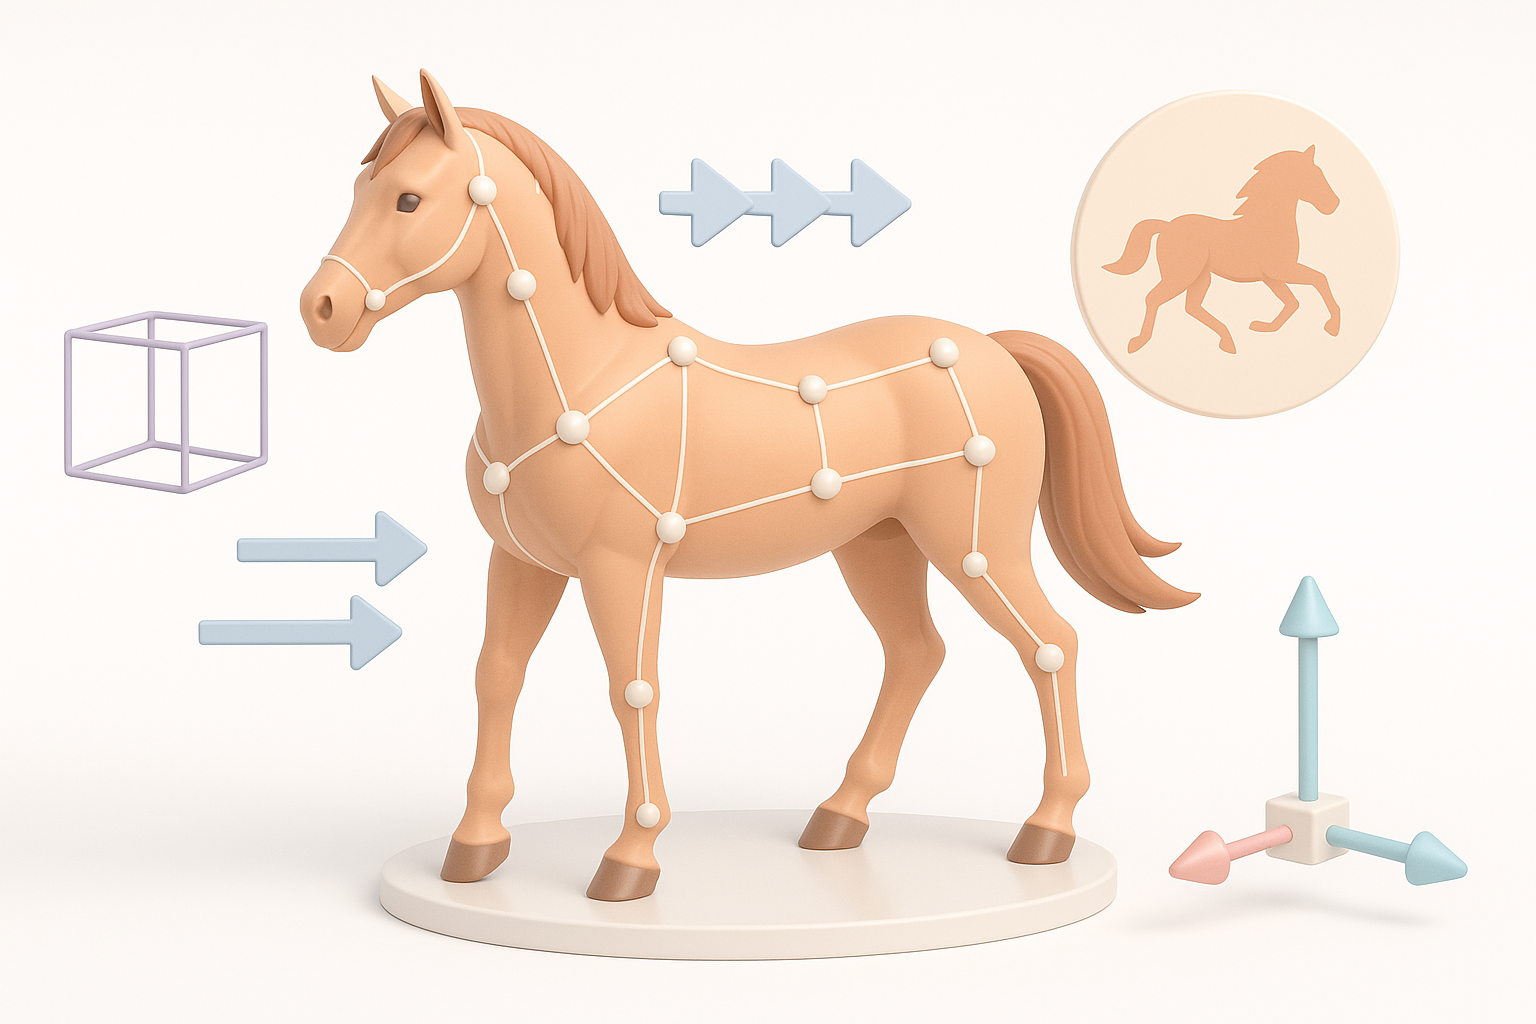
Setting Up a Basic Rig
Rigging enables animation. I set up a skeletal structure with bones for legs, neck, tail, and jaw. Automated rigging in Tripo speeds up this step, but I always check joint placement and weight painting.
Checklist:
- Place bones at anatomical pivot points.
- Test basic poses (walk, trot, gallop).
- Refine skin weights to avoid deformation.
Animating Natural Horse Movement
Animating a horse is complex—gait cycles, tail swishes, ear flicks. I reference real motion clips and use AI-generated animations as a base, refining keyframes for authenticity.
Pitfalls:
- Robotic movement; always add subtle secondary motion.
- Overlooking tail and mane dynamics.
Using AI-Powered Tools for 3D Horse Model Creation
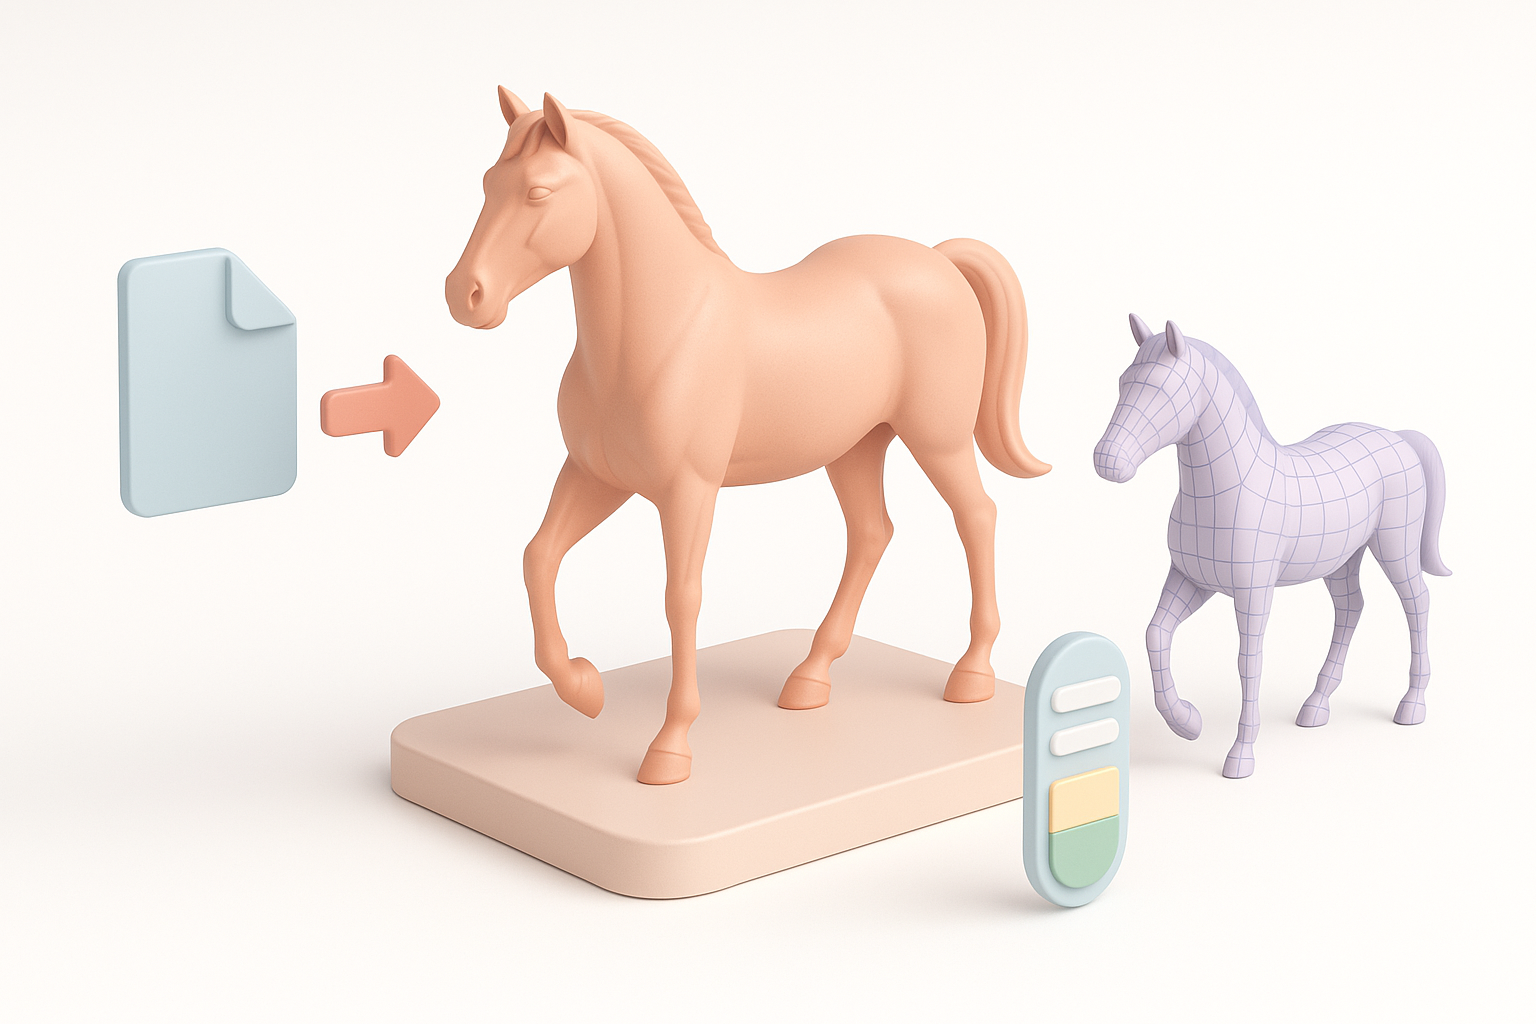
Accelerating Workflow with AI Solutions
AI tools like Tripo automate base mesh creation, segmentation, texturing, and rigging. I input descriptive prompts or sketches and get a production-ready model in minutes, which I then polish.
Practical steps:
- Use text/image prompts for initial mesh.
- Leverage auto-segmentation for anatomy isolation.
- Apply AI-generated textures, then hand-tweak for accuracy.
Tips for Integrating AI with Traditional Methods
I combine AI outputs with manual refinement for best results. AI handles repetitive tasks, while I focus on creative adjustments and detail work.
Tips:
- Use AI for starting points, not final assets.
- Always check topology and anatomy before proceeding.
- Blend AI textures with hand-painting for uniqueness.
Exporting, Optimization, and Final Touches
Retopology and Mesh Cleanup
Clean topology ensures performance and animation stability. I retopologize dense meshes, optimize edge loops, and remove artifacts. Tripo’s retopology tools help, but manual checks are essential.
Checklist:
- Optimize mesh for target poly count.
- Clean up non-manifold geometry.
- Test deformation in key poses.
Export Settings for Various Platforms
Export settings differ: games need low-poly, AR/VR needs lightweight assets, film can handle higher detail. I select appropriate formats (FBX, OBJ, GLTF) and test in target engines.
Tips:
- Bake textures and normals for performance.
- Check scale and orientation before export.
- Validate model in game or XR engine.
Comparing Manual and AI-Assisted 3D Horse Modeling
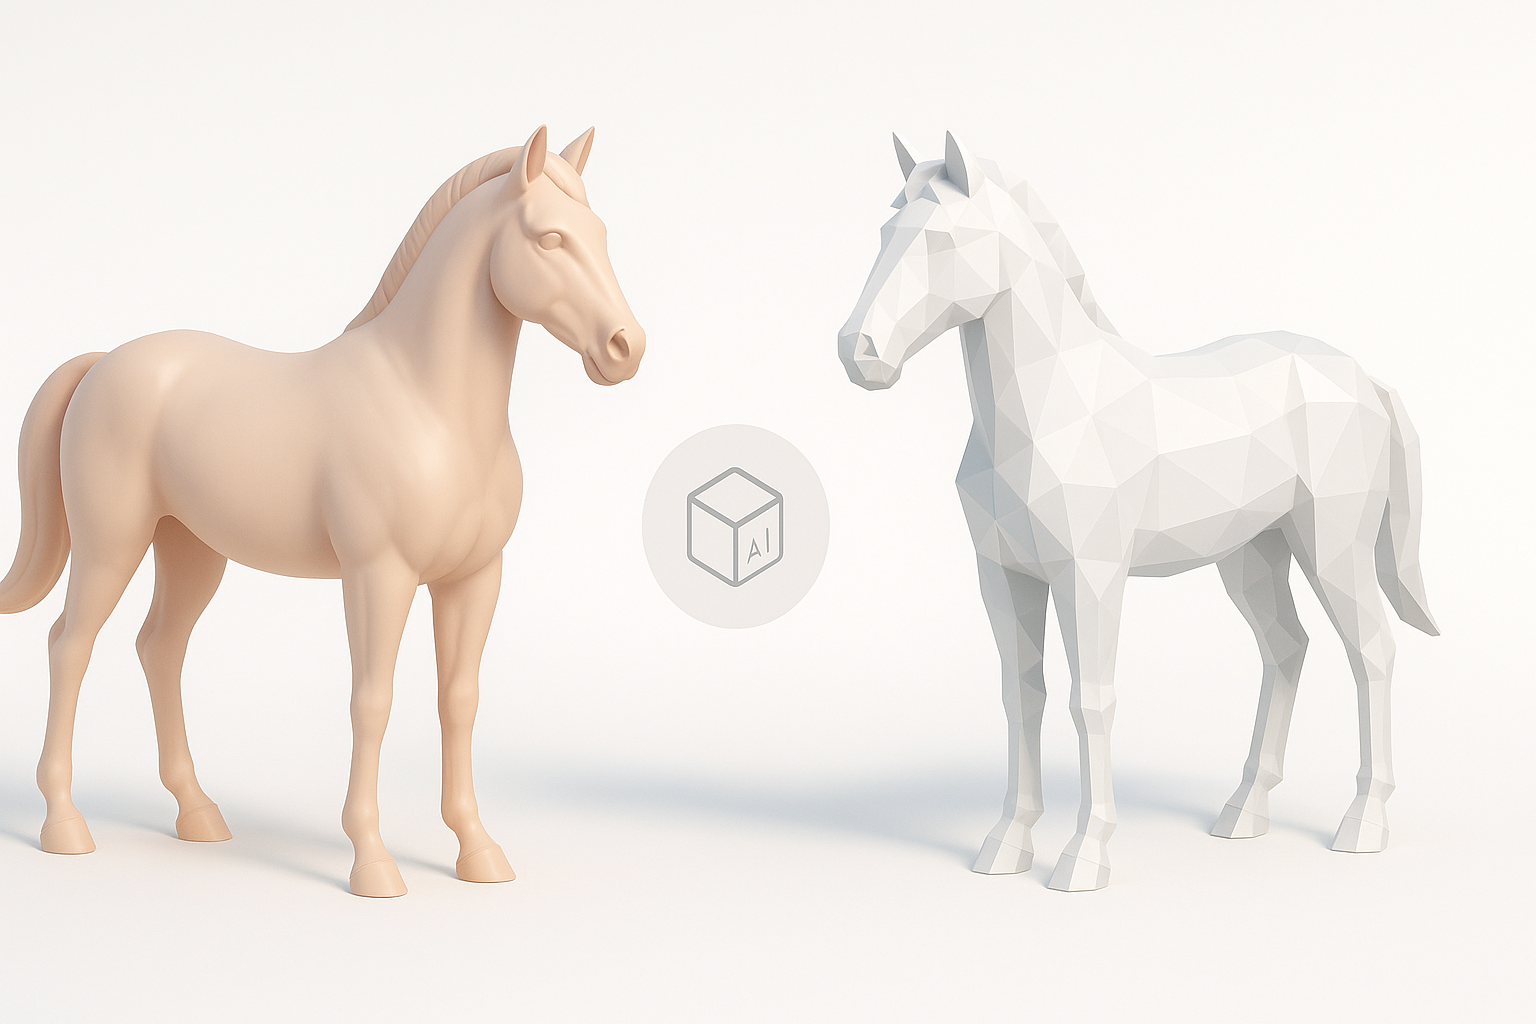
Pros and Cons of Each Approach
Manual modeling offers full artistic control but is time-intensive. AI-assisted workflows are fast and accessible, but require careful refinement for professional quality.
Pros (AI):
- Speed and automation
- Lower technical barrier
Cons (AI):
- Generic outputs without refinement
- Anatomy or topology may need correction
When to Use AI vs. Traditional Methods
I use AI for rapid prototyping, concept iterations, and when deadlines are tight. For hero assets or highly stylized models, manual methods offer more control.
Decision points:
- Use AI for background or mid-detail assets.
- Manual approach for main characters or close-up shots.
Common Challenges and Expert Tips
Troubleshooting Anatomy and Proportions
Misplaced joints, incorrect muscle flow, or odd proportions can ruin realism. I always cross-check with references and use overlays to validate anatomy.
Tips:
- Compare model with side-by-side reference images.
- Use guides for bone/joint placement.
- Iterate proportions before detailing.
What I’ve Learned from Real Projects
Real-world projects taught me to iterate quickly, validate often, and never skip reference gathering. AI tools save time, but manual polish is still essential for professional results.
Takeaways:
- Always plan before modeling.
- Combine AI speed with human artistry.
- Test models in context (animation, engine) before final delivery.
Meta Description:
Learn how to create a production-ready 3D horse model with expert tips, best practices, and AI-powered workflows for modeling, texturing, and animation.
Keywords:
3d horse model, horse modeling workflow, ai 3d tools, texturing horses, rigging horse models, tripo ai


