3D Game Models: Expert Workflows, Tips, and Best Practices
Creating 3D game models is a blend of art, technical skill, and increasingly, smart use of AI. In my hands-on experience, the fastest path to high-quality, game-ready assets is a focused workflow: start with clear concepts, leverage the right tools (including AI-powered platforms like Tripo), and follow best practices for optimization and integration. This article is for artists, game devs, and technical leads looking to streamline 3D asset creation, avoid common pitfalls, and make the most of new AI-driven methods.
Key takeaways
- Start with clear concepts and reference before modeling—this saves time downstream.
- Use AI tools for rapid prototyping, but always review geometry and topology for game-readiness.
- Optimize models early with proper topology, UVs, and efficient textures.
- Always verify export settings and test models in the target game engine.
- Balance traditional and AI-driven workflows based on project needs and deadlines.
What Are 3D Game Models? Core Concepts and Uses
Defining 3D Game Models in Modern Development
3D game models are digital representations of objects, characters, or environments used in interactive applications. In my workflow, these models are built from polygons and enhanced with textures, materials, and sometimes rigs for animation. The goal is to create assets that look great and run smoothly in real-time engines.
Modern 3D models must balance visual fidelity with performance. I always keep in mind polygon count, efficient UV layouts, and texture resolution, especially for games targeting multiple platforms.
Where and How 3D Models Are Used in Games
3D models are everywhere in games—characters, props, vehicles, architecture, and even environmental effects. I typically create assets based on their role: hero models (main characters or objects) get the most detail, while background assets are optimized for performance.
Placement in the game engine determines further requirements. For example, models for VR need tighter optimization, while cinematic sequences might allow higher detail. Understanding the end use informs every step of my modeling process.
My Workflow: Creating High-Quality 3D Game Models
From Concept to Model: My Step-by-Step Process
- Concept & Reference: I always start with sketches, mood boards, or reference images. This keeps the vision clear and avoids rework.
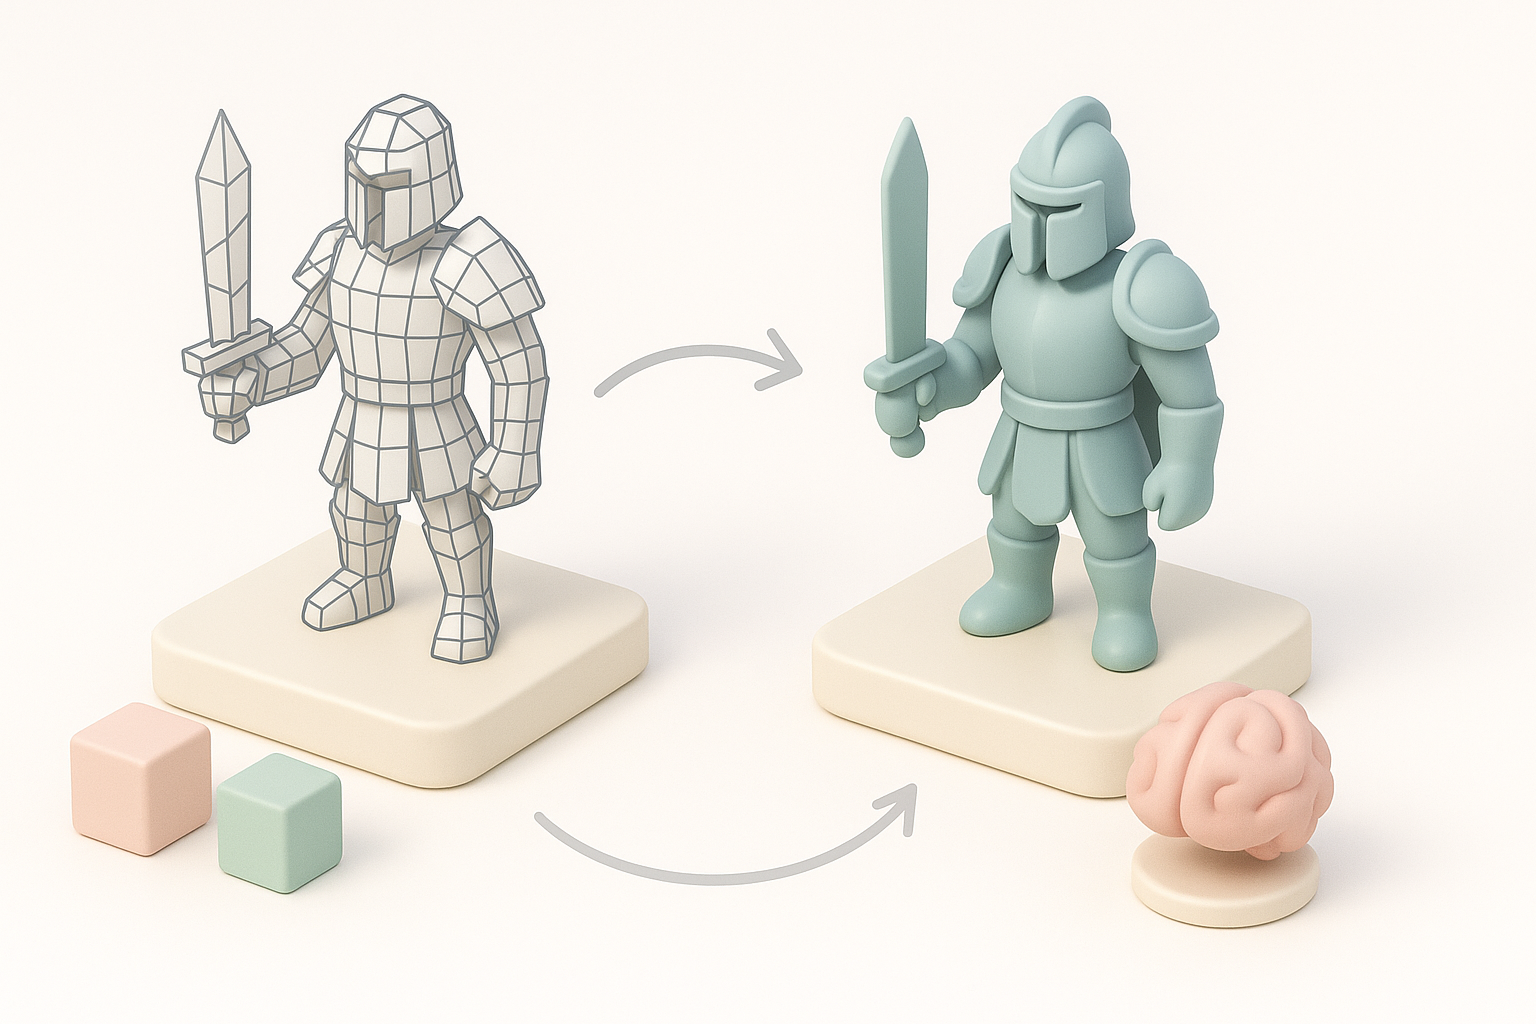
- Blockout: I quickly block out the basic shapes, either manually or using AI tools like Tripo for rapid prototyping.
- High-Poly Sculpting: For hero assets, I sculpt details in a DCC tool before retopology.
- Retopology & UV Unwrapping: Clean topology is essential—I use built-in retopology tools to create game-ready meshes.
- Texturing: I bake maps and paint textures, focusing on efficient UV space usage.
- Rigging & Animation (if needed): For characters, I rig and test basic animations.
- Export & Integration: Finally, I export using game engine-compatible settings.
Checklist:
- Gather references before modeling
- Block out shapes before details
- Always retopologize for games
- Test in-engine early
Choosing the Right Tools and Platforms
Tool choice depends on the asset and pipeline. For fast iterations, I often use Tripo for initial model generation, then refine in a traditional DCC (Digital Content Creation) tool. For texturing, I rely on dedicated painting software.
Pitfalls to avoid:
- Relying solely on AI output without cleanup
- Neglecting UVs or topology early in the process
Best Practices for Game-Ready Models
Optimizing Geometry and Topology
Clean topology is non-negotiable. I keep edge loops logical, avoid n-gons, and minimize triangle count without sacrificing silhouette. Automated retopology (like in Tripo) speeds this up, but I always inspect and tweak the mesh for animation or deformation.
Tips:
- Use quads for deformable models (characters)
- Collapse edge loops in static props
- Limit polycount for mobile or VR targets
Texturing, UV Mapping, and Material Tips
UV mapping is where many models fall short. I lay out UVs to maximize texture space and minimize seams. For texturing, I stick to PBR (Physically Based Rendering) standards—using albedo, normal, roughness, and metallic maps.
Mini-checklist:
- No overlapping UVs unless intentional (e.g., mirrored parts)
- Consistent texel density
- Bake normal/AO maps for detail without extra geometry
AI-Powered 3D Model Creation: My Experience
How I Use AI Tools for Faster Model Generation
AI-powered platforms like Tripo have changed my workflow. For prototyping, I input a prompt or reference image and get a usable base mesh in seconds. This is a huge time-saver for concept validation or mass asset generation.
However, I always review the output for geometry issues and adjust details as needed. AI is a starting point, not a replacement for hands-on refinement.
Integrating AI Models into Game Pipelines
Once I generate a base model with AI, I import it into my DCC tool for retopology, UV mapping, and texturing. Tripo’s built-in features for segmentation and retopology help, but integration into the game engine still requires manual checks.
Workflow tip:
- Use AI for rapid iteration, then refine and optimize before export
- Always test AI-generated models in your target engine early
Comparing Traditional and AI-Driven Workflows
Pros and Cons from My Hands-On Perspective
Traditional workflows offer control and predictability—ideal for hero assets or when quality is paramount. The downside is time investment.
AI-driven workflows (like those using Tripo) are unmatched for speed and ideation. They’re perfect for background assets, quick prototypes, or when deadlines are tight. The trade-off is that AI models often need manual cleanup and optimization.
When to Use Each Approach
- Use traditional modeling for main characters, unique props, or when animation/deformation is critical.
- Use AI-driven tools for rapid prototyping, background objects, or when you need to generate many assets quickly.
Pitfall: Don’t skip manual review—AI output can have hidden issues that affect game performance or visuals.
Exporting, Testing, and Implementing Models in Games
Export Settings and Game Engine Compatibility
Exporting models correctly is crucial. I always match export settings (FBX or OBJ, correct axis orientation, scale, and material assignments) to my target engine. Tripo and similar platforms often have presets for major engines, which helps streamline this step.
Checklist:
- Apply transforms before export
- Use engine-compatible formats (FBX, GLTF)
- Check material assignments and texture paths
Quality Assurance and In-Game Testing
After import, I test models in the game environment. I look for shading errors, animation glitches, and performance impacts. Iterative testing is key—catching issues early saves time.
Tips:
- Test LODs (Levels of Detail) for performance
- Check lighting and material response in-engine
- Profile performance if targeting lower-end hardware
By combining traditional skills with smart use of AI tools like Tripo, I’ve streamlined my 3D game asset workflow, improved quality, and reduced turnaround times. The key is to stay hands-on, review every step, and tailor your approach to the needs of your project.


