Mastering 3D Architecture Models: Techniques and Workflows
Creating 3D architecture models has become dramatically more efficient and accessible, thanks to advances in both traditional and AI-powered tools. In my experience, mastering these workflows means balancing creativity with technical precision—whether you’re visualizing buildings for clients, preparing assets for games, or developing XR environments. This article breaks down my end-to-end process, from initial concepting to final production-ready models, and offers practical tips for leveraging the latest AI tools like Tripo AI. If you’re an architect, designer, or 3D artist looking to streamline your workflow and deliver high-quality results, these insights will help you get there faster.
Key takeaways
- Start with clear references and a structured plan before modeling.
- Choose software and platforms that fit your project scope and export needs.
- Use AI-powered tools to accelerate blocking, segmentation, and texturing.
- Prioritize retopology and optimization for production-ready assets.
- Present your work in compatible formats and compelling visuals for clients or portfolios.
- Know when to blend manual and AI-driven techniques for best results.
What Are 3D Architecture Models?
Definition and Core Concepts
3D architecture models are digital representations of built environments—ranging from single buildings to entire urban layouts. At their core, these models capture geometry, spatial relationships, and sometimes materials, lighting, and landscaping details. In my workflow, I treat these models as both design tools and communication assets, ensuring they’re accurate enough for technical use and visually compelling for presentations.
Key concepts include:
- Geometry: The fundamental shapes and structures.
- Topology: How surfaces are organized and connected.
- Materials & Textures: Surface properties for realism.
- Lighting: Simulating real-world illumination.
Common Use Cases in Industry
I regularly see 3D architecture models used for:
- Client presentations and approvals (interactive walkthroughs, renders)
- Pre-visualization in film and XR (virtual sets, AR previews)
- Construction documentation (plans, sections, and details)
- Marketing and sales (visualizations, flythroughs)
Understanding the intended use case shapes the level of detail and technical requirements for each model.
My Workflow for Creating 3D Architecture Models
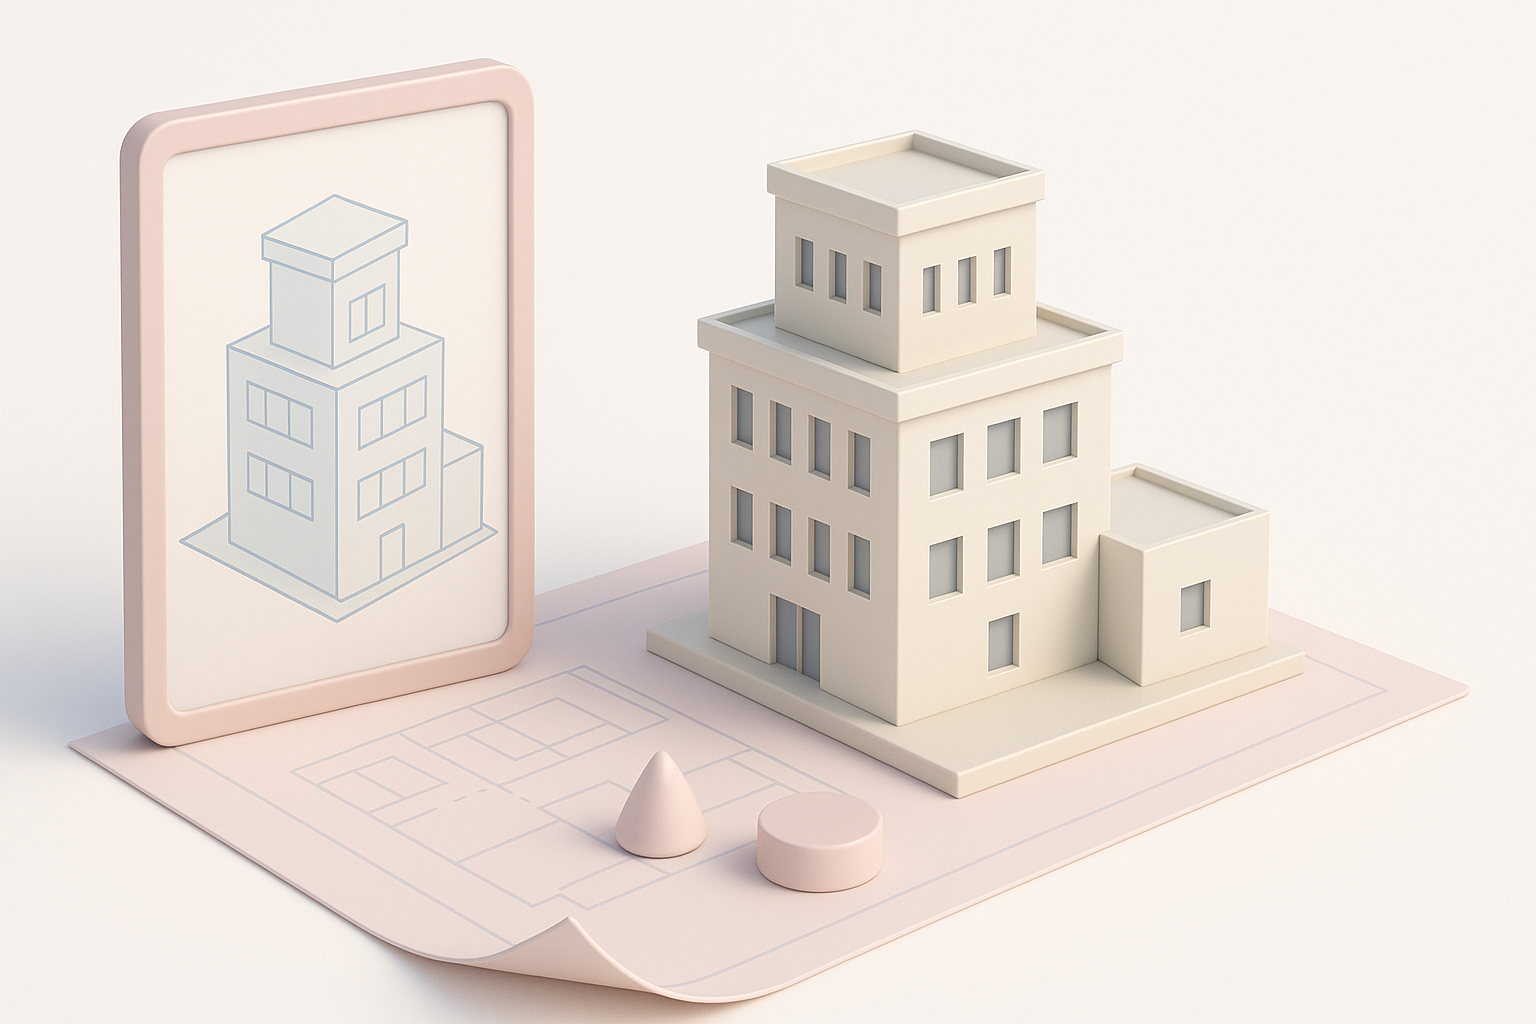
Initial Concept and Reference Gathering
Every successful project I’ve worked on starts with strong references. I collect:
- Architectural drawings (plans, elevations, sections)
- Photographs (site, materials, context)
- Mood boards (style, lighting, atmosphere)
I also sketch out key forms or annotate reference images directly. This step clarifies the scope and sets a visual direction.
Checklist:
- Gather all available reference material
- Define the project’s scale and level of detail
- Identify unique architectural features
Choosing the Right Tools and Platforms
Tool selection depends on project needs and output requirements. For architecture, I often use a combination of:
- CAD or BIM software for precise layouts
- 3D modeling suites for freeform detailing
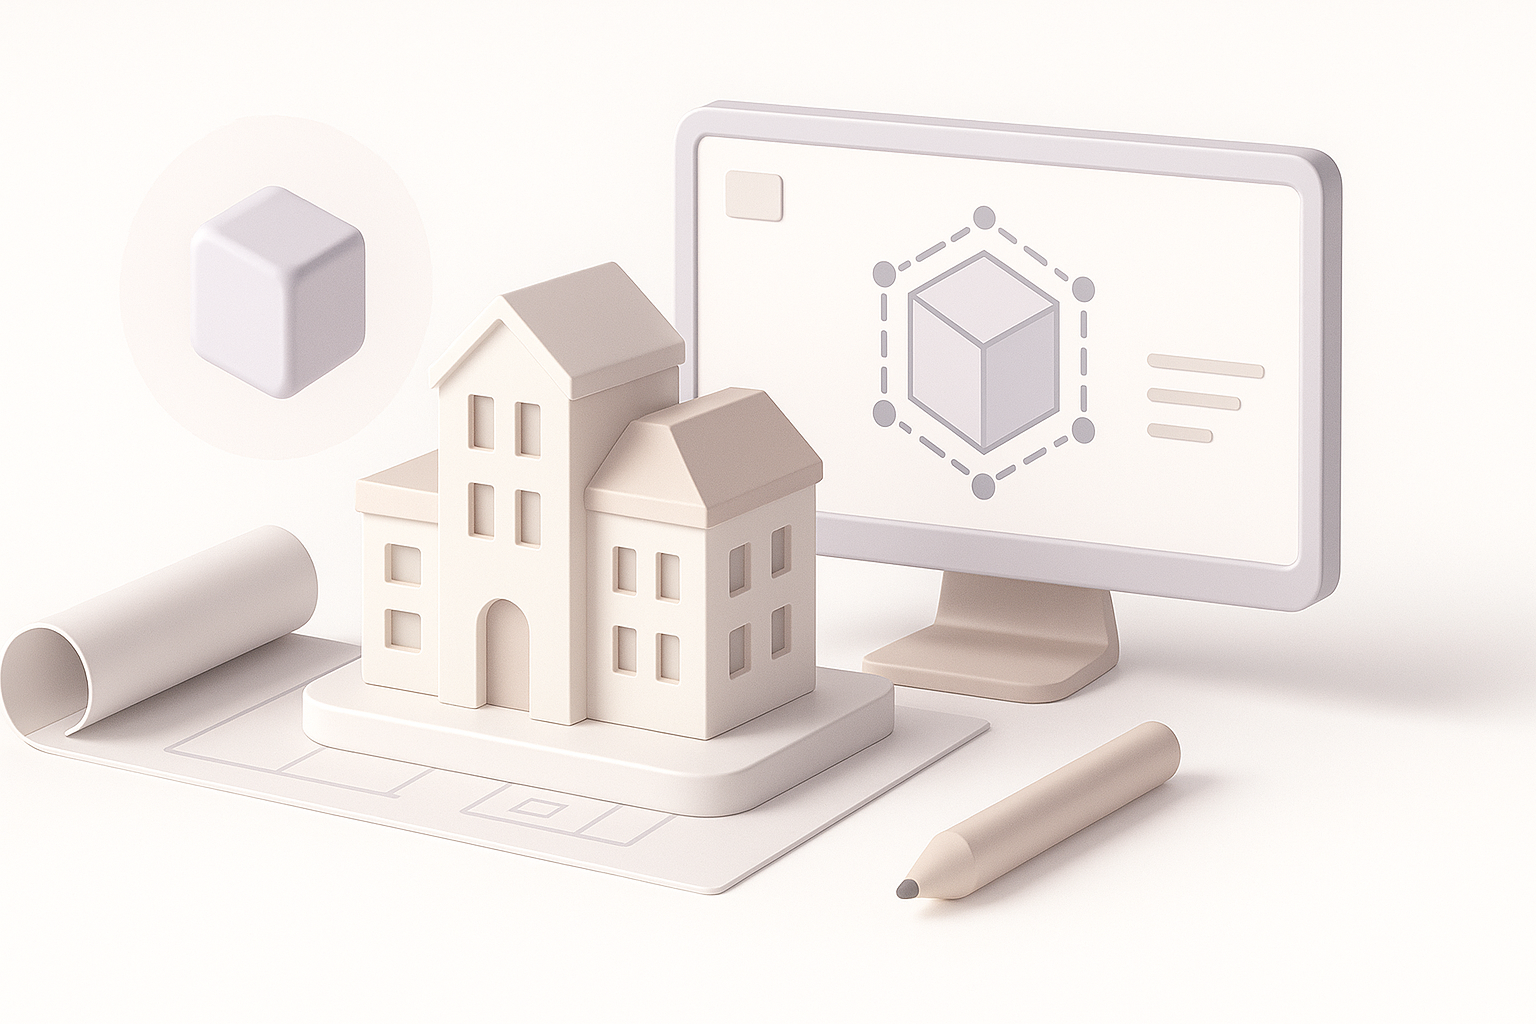
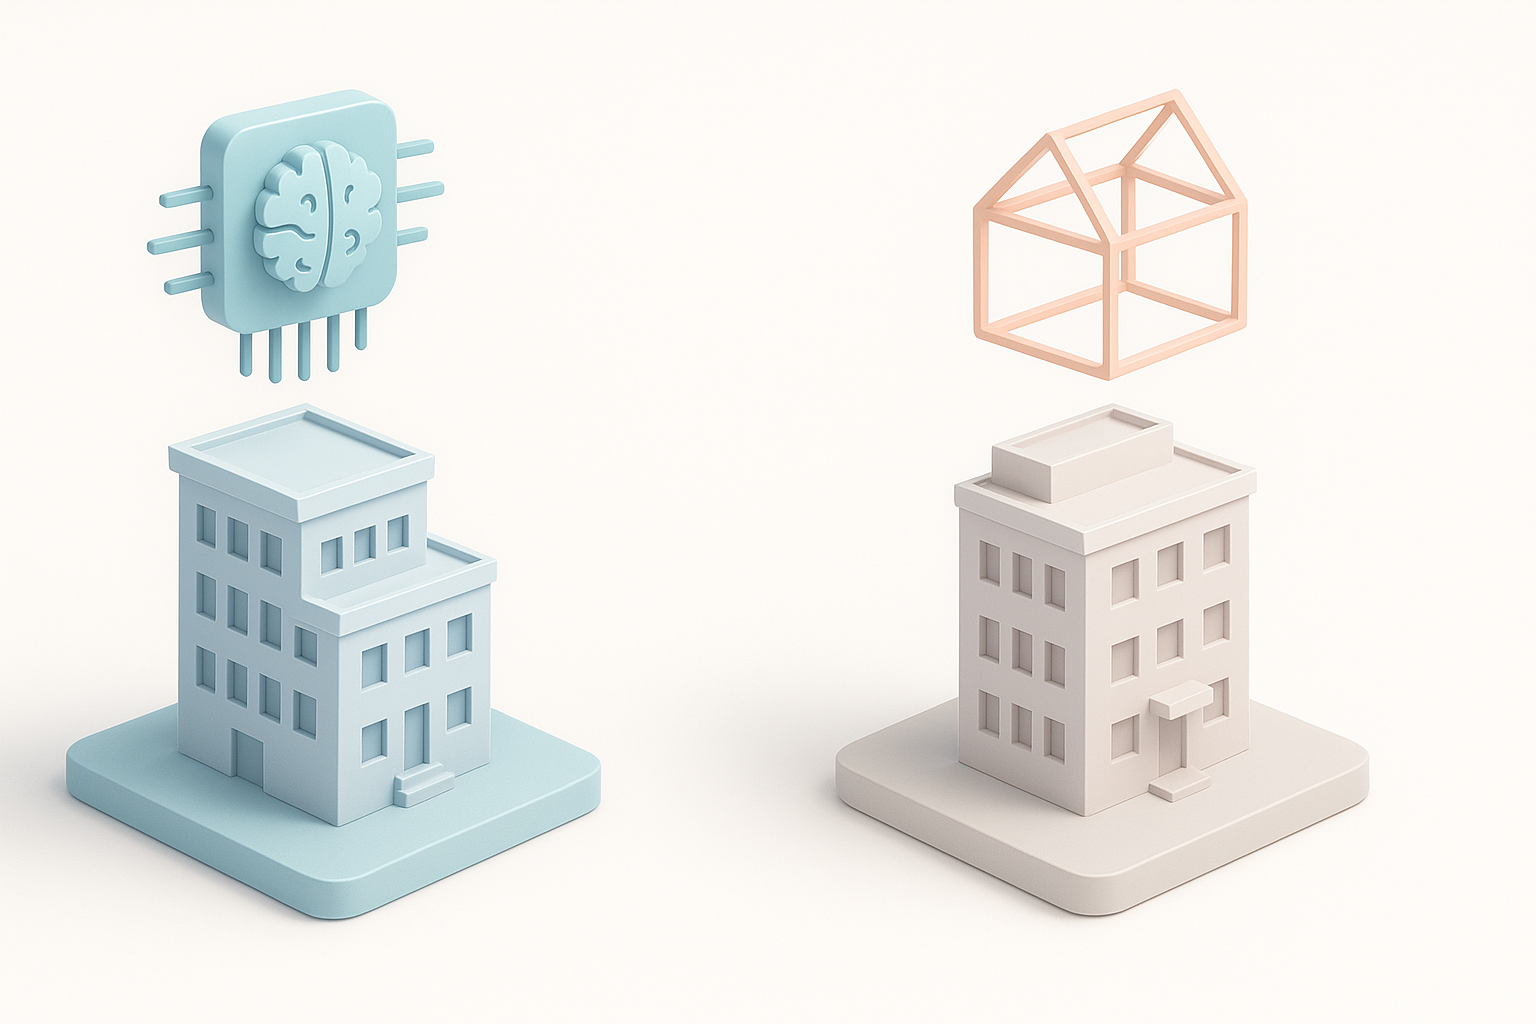
- AI-powered tools like Tripo AI for rapid prototyping, segmentation, and texturing
When speed is critical or when I need to turn sketches or photos into 3D quickly, I leverage AI tools to generate base meshes and textures, then refine them in my primary 3D suite.
Pitfalls to avoid:
- Overcomplicating the toolchain
- Ignoring export compatibility with downstream applications
Step-by-Step Guide: From Sketch to Finished Model
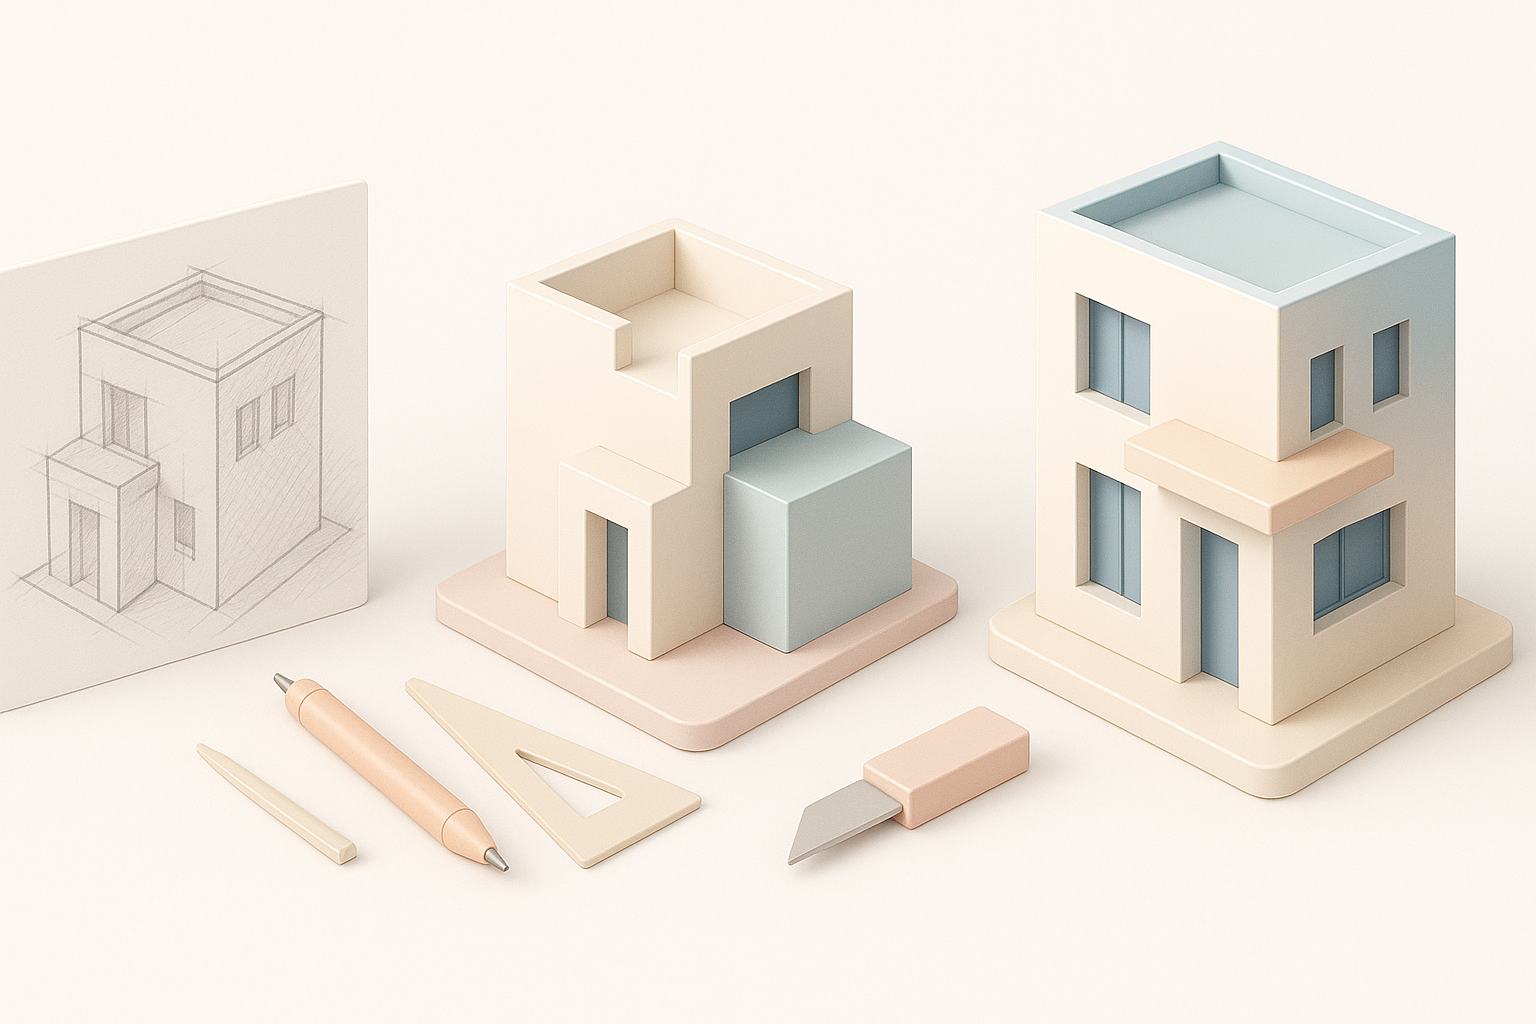
Blocking Out the Structure
I always start with a rough blockout to establish proportions and major volumes. This phase is about speed and accuracy, not detail.
Steps:
- Import or create base reference (plan or sketch)
- Use primitives (cubes, planes) to define main masses
- Adjust proportions and relationships
- Check scale early to avoid rework
Using AI-powered tools, I can sometimes generate a rough blockout from a sketch or image, which accelerates this step.
Detailing, Texturing, and Lighting
Once the structure feels right, I move to detailing:
- Add architectural features: windows, doors, trims
- Apply materials and textures: Use photo references and procedural maps for realism
- Set up lighting: Simulate natural and artificial sources for accurate shadows and mood
I use AI-driven texturing tools when I need quick, context-aware materials, but I always review and tweak for realism.
Tips:
- Work from large forms to small details
- Use modular components for repeated elements
- Test lighting setups early to catch issues
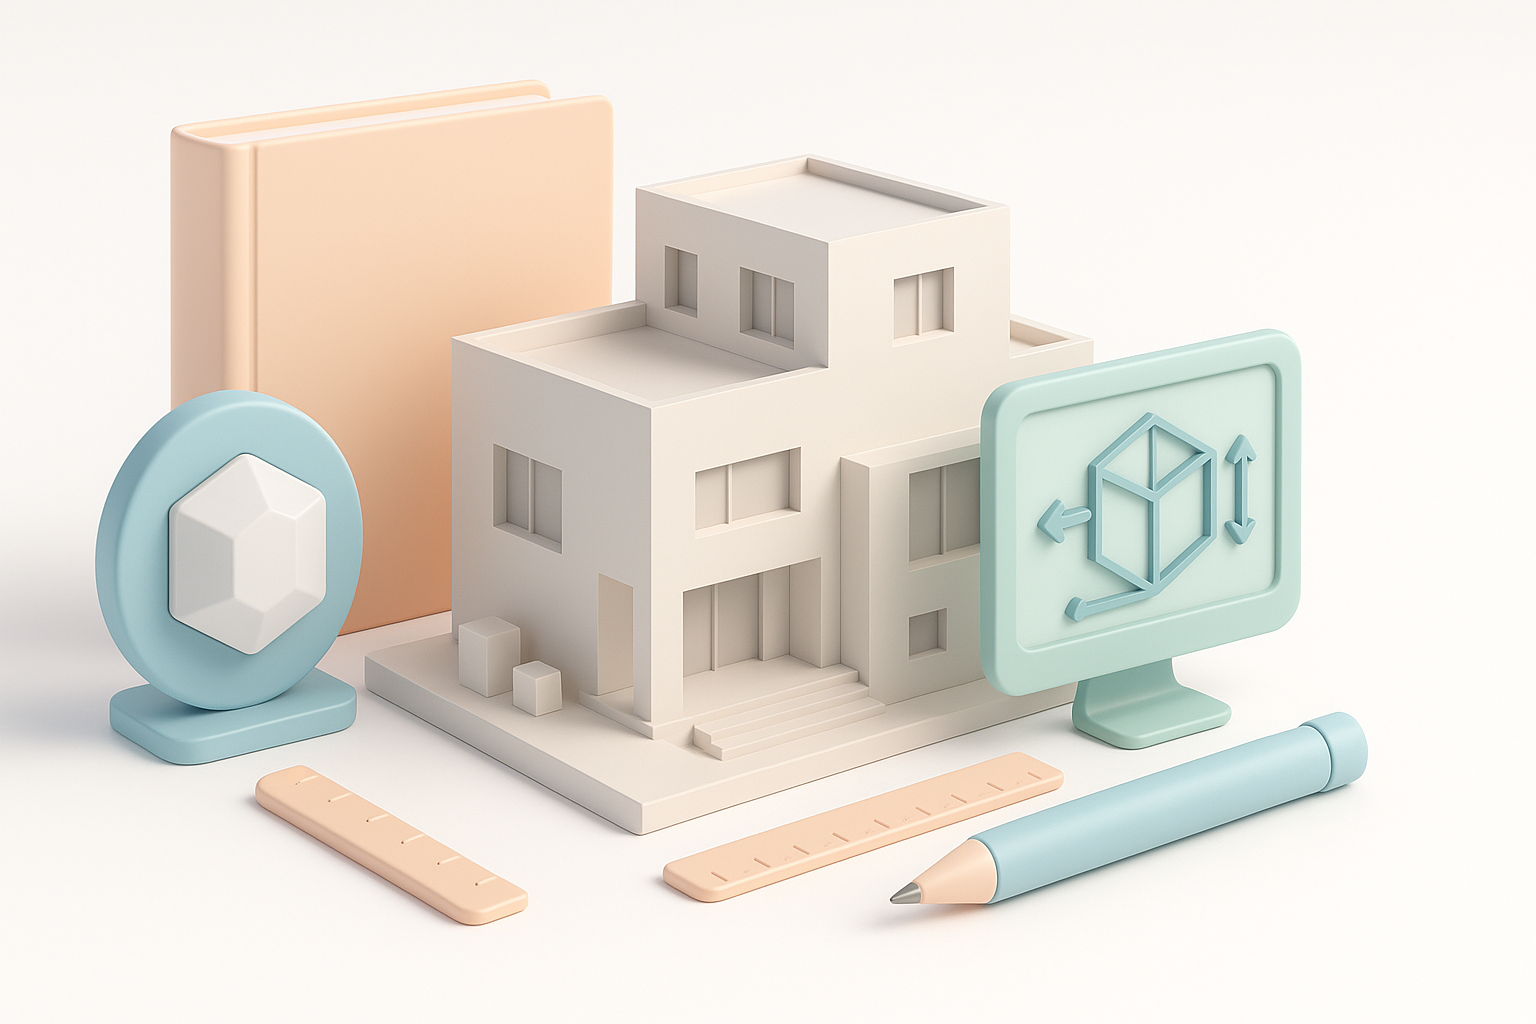
Best Practices for Production-Ready Results
Retopology and Optimization Tips
For models intended for real-time or XR, I focus on clean topology and efficient geometry. My process:
- Retopologize high-density meshes (manually or with AI tools)
- Remove unnecessary faces and hidden geometry
- Bake details into normal maps for low-poly assets
Mini-checklist:
- Check for non-manifold edges and flipped normals
- Keep polycount within project limits
- Use instancing for repeated elements
Ensuring Realism and Accuracy
Accuracy is critical for architectural models. I always:
- Cross-check dimensions with reference drawings
- Align materials and colors with real-world samples
- Validate lighting against real site conditions if possible
Pitfalls:
- Overlooking scale mismatches
- Using generic materials that break immersion
Comparing AI-Powered and Traditional 3D Modeling Methods
Speed, Quality, and Flexibility
In my experience, AI-powered tools excel at:
- Rapid prototyping from sketches or photos
- Automatic segmentation and texturing
- Speeding up repetitive or technical tasks
Traditional modeling still wins for:
- Precise control over geometry
- Custom, highly detailed work
- Specialized workflows (e.g., BIM compliance)
Summary: I blend both approaches—using AI for speed and blocking, then refining manually for quality.
When to Use AI Tools vs. Manual Techniques
I use AI tools when:
- Time is limited
- Input is a rough sketch or photo
- The model is for concept or visualization
I switch to manual techniques when:
- Precision and custom detail are required
- The asset is for construction or manufacturing
- The project needs unique, non-standard features
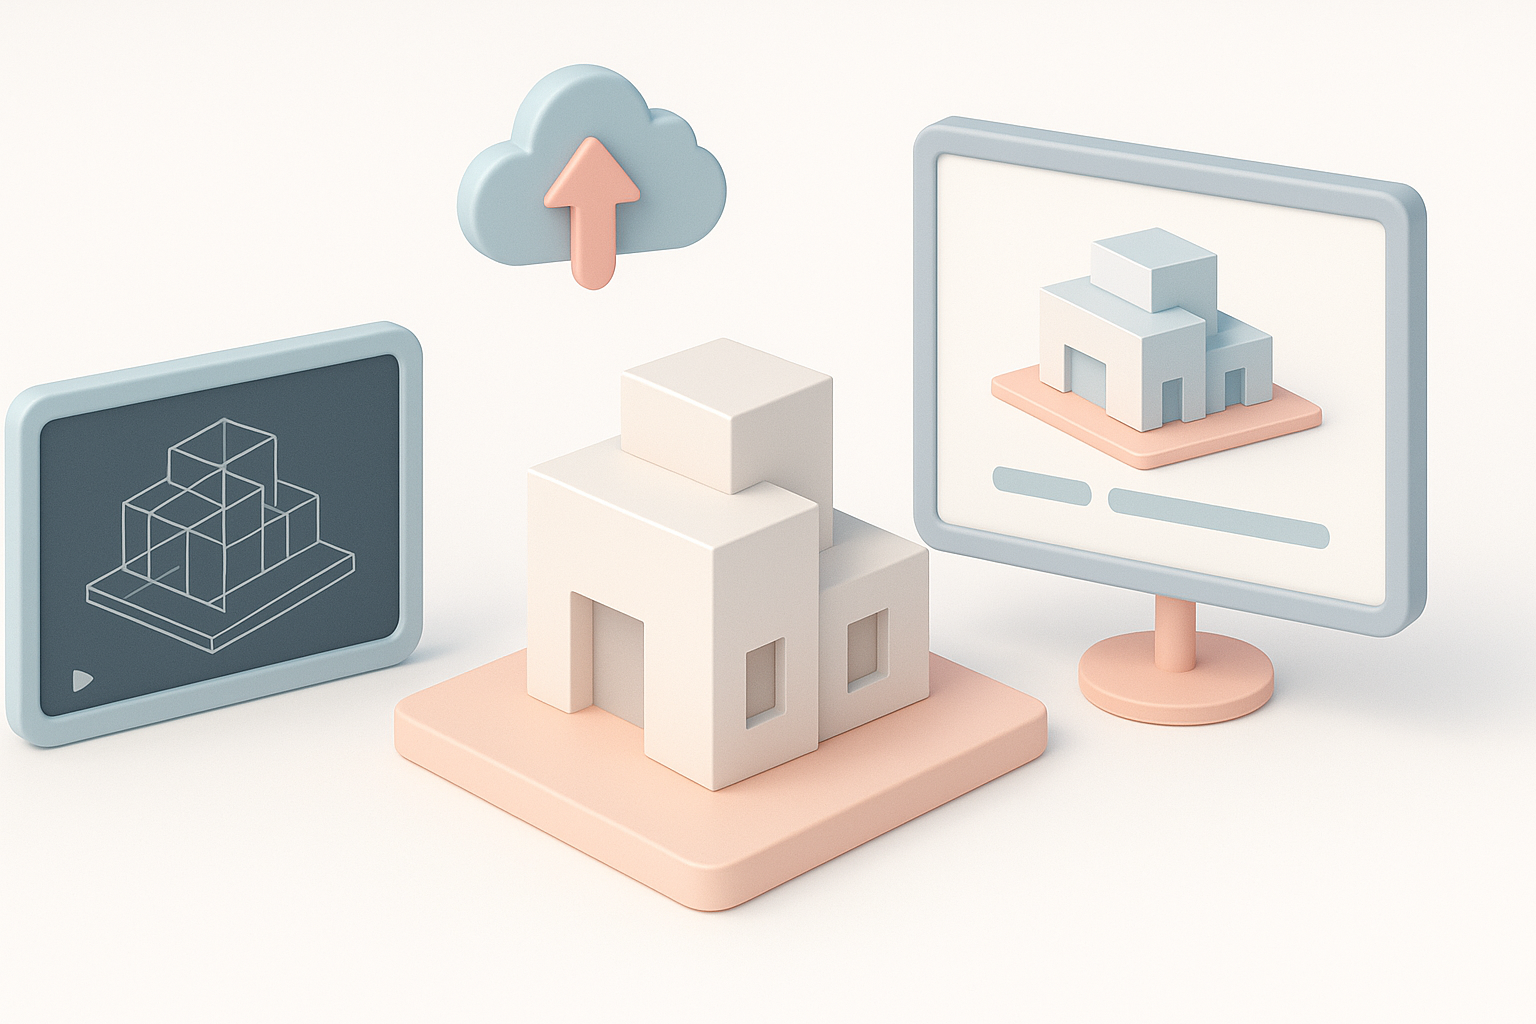
Exporting, Sharing, and Presenting 3D Architecture Models
File Formats and Compatibility
Exporting in the right format is crucial. I typically use:
- .FBX or .OBJ for general 3D workflows
- .GLTF/.GLB for web and XR
- .STL for 3D printing
I always check compatibility with client or downstream software before finalizing exports.
Checklist:
- Ensure proper scale and units
- Include textures and materials in export
- Test imports in target platforms
Showcasing Work for Clients or Portfolios
Presentation matters. I prepare:
- High-resolution renders (interior/exterior views)
- Interactive walkthroughs (using real-time engines)
- Annotated screenshots highlighting features
For portfolio pieces, I focus on clean visuals and concise descriptions of my process. When sharing with clients, I provide both static images and interactive files if possible.
By following these structured workflows and integrating the right mix of AI-driven and manual techniques, I’m able to deliver 3D architecture models that meet both creative and technical demands—on time and at production quality.


