Chicken Gun 3D-Modell: Kostenlose Downloads & Design-Leitfaden
Chicken Gun ist ein beliebtes Multiplayer-Shooter-Spiel, in dem Spieler bewaffnete Hühner in schnellen, chaotischen Kämpfen steuern. Aufgrund seines lustigen Charakterdesigns, der Cartoon-Waffen und der wiedererkennbaren Hühner-Avatare suchen viele Spieler und Kreative nach Chicken Gun 3D-Modellen für Fan-Art, 3D-Druck, Animation, Inspiration für Game-Mods oder persönliche kreative Projekte.
Allerdings ist es nicht immer einfach, ein sofort einsatzbereites Chicken Gun 3D-Modell zu finden. Einige kostenlose Modelle sind von geringer Qualität, einige sind nicht für den Druck optimiert, und andere entsprechen möglicherweise nicht dem tatsächlichen Stil im Spiel. Deshalb suchen viele Kreative entweder nach herunterladbaren Assets oder verwenden AI 3D-Tools wie Tripo Studio, um ihre eigenen von Chicken Gun inspirierten 3D-Modelle aus Referenzbildern zu erstellen.
In diesem Leitfaden behandeln wir, wo man kostenlose Chicken Gun 3D-Modell-Downloads findet, wie man Dateiformate und Lizenzen prüft und wie man mit Tripo Studio sein eigenes stilisiertes Chicken Gun-Modell erstellt.
Kostenlose Chicken Gun 3D-Modelle herunterladen
Die besten Websites für kostenlose Modelle
Wenn du nach kostenlosen Chicken Gun 3D-Modellen suchst, beginne mit communitybasierten 3D-Asset-Plattformen wie Thingiverse, Cults 3D, MyMiniFactory und Sketchfab. Exakte Chicken Gun-Modelle sind möglicherweise begrenzt, daher lohnt es sich auch, nach verwandten Begriffen wie „cartoon chicken model“, „armed chicken“, „game chicken character“ oder „chicken soldier 3D model“ zu suchen. Diese Ergebnisse können als Referenzen, Remix-Grundlagen oder Inspiration für die Erstellung eines Chicken Gun-ähnlichen Modells in Tripo Studio verwendet werden.
Wichtige Auswahlkriterien:
- Prüfe Download-Zahlen und Nutzerbewertungen
- Verifiziere die Vollständigkeit des Modells (einige könnten unfertige Arbeiten sein)
- Bestätige, dass die enthaltenen Dateiformate deinen Anforderungen entsprechen
- Beurteile die erforderlichen Stützstrukturen für den Druck
Dateiformate erklärt
STL bleibt der universelle Standard für 3D-Druck und enthält Oberflächengeometrie ohne Farb- oder Materialdaten. Für die Bearbeitung oder Game-Engines bewahrt das OBJ-Format Texture-Mappings und ist weitgehend kompatibel. Fortgeschrittene Nutzer bevorzugen möglicherweise STEP-Dateien für parametrisches Modellieren oder FBX für animationsbereite Assets mit Rigging-Daten.
Wichtige Überlegungen:
- STL: Universell für den Druck, aber nicht bearbeitbares Mesh
- OBJ: Bewahrt UV-Maps für Texturierung
- FBX: Behält Animationen und Hierarchien bei
- Prüfe vor dem Druck immer den Einheitenskalierung (mm/Zoll)
Lizenzierung & Nutzungsrechte
Die meisten kostenlosen Modelle verwenden Creative-Commons-Lizenzen, die in der Regel eine Namensnennung erfordern. Für die kommerzielle Nutzung ist oft eine spezielle Erlaubnis oder eine kostenpflichtige Lizenz erforderlich. Prüfe immer die Lizenzbedingungen, bevor du Modelle für Streams, Videos oder Produkte verwendest. Einige Ersteller verbieten Remixing oder kommerzielle Anwendungen selbst bei „kostenlosen“ Downloads.
Wesentliche Lizenzprüfungen:
- CC0: Public Domain, keine Einschränkungen
- CC BY: Namensnennung erforderlich
- NC: Nur nicht-kommerzielle Nutzung
- ND: Keine Bearbeitungen erlaubt
- SA: Weitergabe unter gleichen Bedingungen erforderlich
So entwirfst du ein Chicken Gun 3D-Modell
Schritt-für-Schritt-Modellierungsanleitung mit Tripo Studio
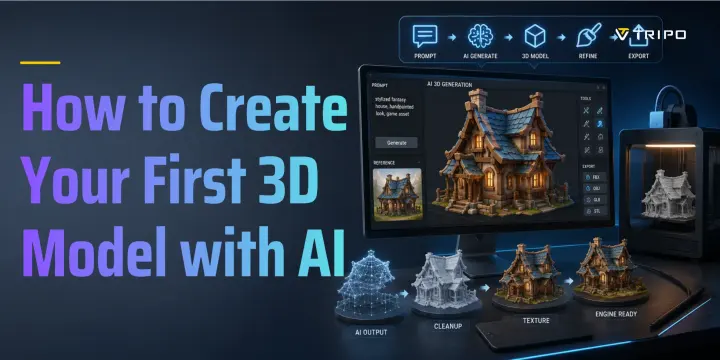
Beginne damit, Referenzbilder deines Chicken Gun aus mehreren Perspektiven hochzuladen, wobei du Bilder aus verschiedenen Winkeln hervorhebst und dich auf die markanten Merkmale des Chicken Gun konzentrierst, wie Federdetails und den Abzugsmechanismus. Verwende Smart Mesh, um ein Basismodell zu erzeugen, das automatisch die Hauptkomponenten mit primitiven Formen blockt, und verfeinere es dann mit dem integrierten Pro Refine-Service, um die Glätte der Geometrie und organische Kurven zu verbessern. Wende Texturdetails wie Federmuster und Oberflächenunregelmäßigkeiten über das Texture-Tool an oder exportiere das Modell in Sculpting-Software für weitere Veredelungen.
Modellierungs-Workflow:
Schritt 1: Beginne mit einem Bild oder mehreren Ansichten. Tripo unterstützt gängige Formate wie JPG, PNG, WEBP und mehr.
Schritt 2: Erstelle ein hochwertiges 3D-Modell in Tripo Studio mit der Funktion „image to 3d model“.

Schritt 3: Verfeinere dein Ergebnis mit Texturen, Rigging, Animation oder Teiletrennung, je nach deinem Workflow.
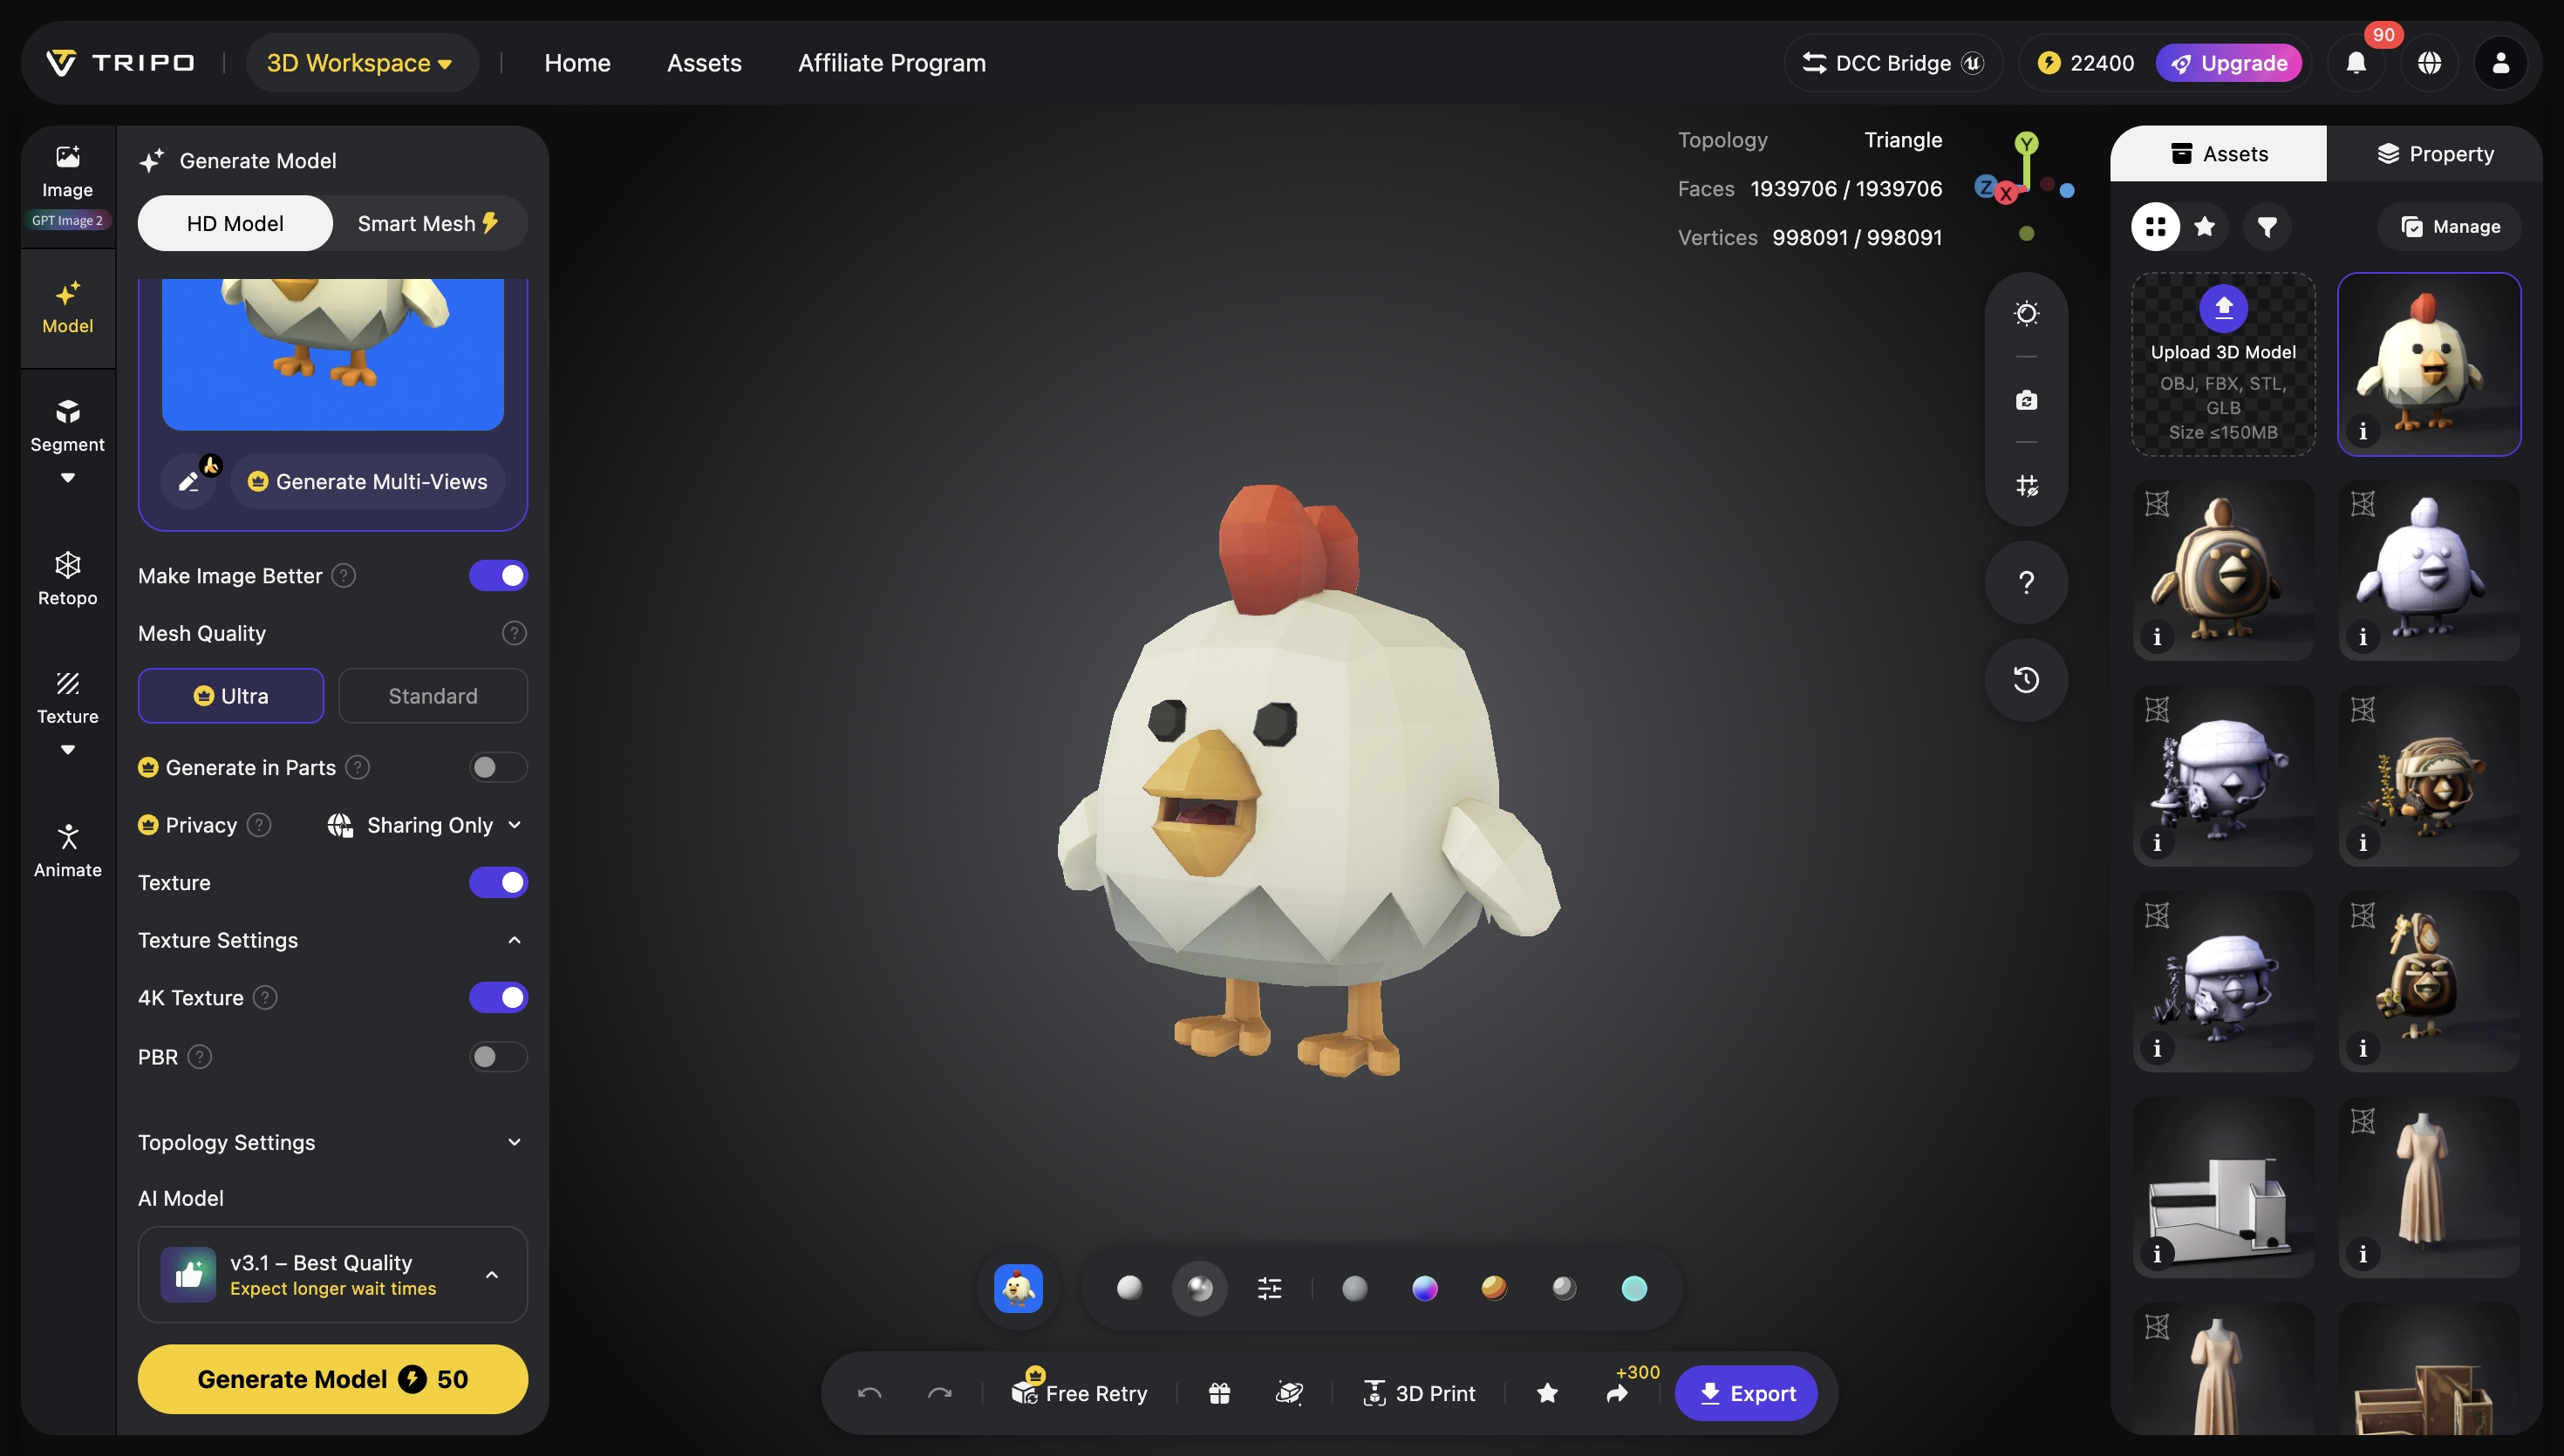
Schritt 4: Exportiere dein 3D-Modell in Formaten wie STL, OBJ und FBX zur Verwendung in Design, Spielen, Prototyping und mehr.
Software-Empfehlungen
Blender bietet die umfassendste kostenlose Lösung mit vollständigen Werkzeugen für Modellierung, Sculpting und UV-Unwrapping. Für Einsteiger bietet Tinkercad vereinfachte browserbasierte Modellierung mit intuitiver Steuerung. Professionelle Nutzer bevorzugen möglicherweise ZBrush für hochdetailliertes Sculpting oder Fusion 360 für präzise mechanische Komponenten.
Leitfaden zur Tool-Auswahl:
- Blender: Vollständige Pipeline, steile Lernkurve
- Tinkercad: Einsteigerfreundlich, begrenzte Details
- ZBrush: Überlegenes Sculpting, teuer
- Fusion 360: Präzisionstechnik, Abonnementmodell
Optimierung für den 3D-Druck
Stelle sicher, dass die Wandstärke die Mindestanforderungen deines Druckers erfüllt (typischerweise 1–2 mm für FDM). Richte das Modell so aus, dass Stützstrukturen unter kritischen Details minimiert und die Schichthaftung maximiert werden. Füge beim Resin-Druck Entwässerungslöcher zu hohlen Modellen hinzu, um Sog und Harzeinschlüsse zu verhindern. Prüfe vor dem Export immer auf nicht-manifold Geometrie und Selbstüberschneidungen.
Checkliste zur Druckvorbereitung:
- Verifiziere Wandstärke und strukturelle Integrität
- Richte das Modell so aus, dass Stützen auf sichtbaren Flächen reduziert werden
- Hohle Modelle für Resin-Druck mit Entwässerung versehen
- Führe Mesh-Reparatur-Tools vor dem Slicing aus
- Drucke zuerst kleine Abschnitte als Test
Vergleich von Chicken Gun 3D-Modellen
Realistische vs. stilisierte Designs
Realistische Chicken Gun-Modelle betonen genaue Proportionen, detaillierte Federtexturen und glaubwürdige Mechanismen, was fortgeschrittene Modellierungsfähigkeiten und höhere Polygonzahlen erfordert. Stilisierte Designs priorisieren Lesbarkeit und Charakter und verwenden übertriebene Merkmale und vereinfachte Formen, die sich oft zuverlässiger drucken lassen. Wähle je nach Projektbedarf: Realismus für Ausstellungsstücke, stilisiert für Spiele oder Spielzeug.
Überlegungen zum Designansatz:
- Realistisch: Mehr Details, Herausforderungen beim Drucken, längere Modellierungszeit
- Stilisert: Bessere Druckbarkeit, schnellere Modellierung, stärkere visuelle Wirkung
- Hybrid: Realistische Basis mit stilisierten Details für Ausgewogenheit
Analyse von Druckbarkeit & Detailgrad
Modelle mit vielen Details, feinen Federn und komplexen Mechanismen erfordern oft Resin-Druck für akzeptable Ergebnisse. FDM-Druck funktioniert besser bei vereinfachten Designs mit dickeren Merkmalen und minimalen Überhängen. Bewerte die Modellkomplexität im Verhältnis zu den Fähigkeiten deines Druckers — feine Details unter 0,4 mm werden auf standardmäßigen FDM-Düsen möglicherweise nicht korrekt dargestellt.
Bewertung der Druckbarkeit:
- FDM: Am besten für strukturelle Designs, minimale feine Details
- Resin: Erfasst komplizierte Merkmale, erfordert mehr Nachbearbeitung
- Detailverlust: Merkmale kleiner als der Düsendurchmesser werden nicht gedruckt
- Stützspuren: Berücksichtige die Ausrichtung, um Artefakte zu verbergen
Die besten Community-Kreationen
Zu den führenden Community-Modellen gehören „Cluckinator“ mit seiner detaillierten Federartikulation und „Poultrygeist“ mit geisterhaften transparenten Elementen. Der „Eggsecutor“ sticht durch seinen integrierten Ei-Lademechanismus hervor, während „Hen-Hem“ ein kompaktes Print-in-Place-Design bietet. Diese Modelle zeigen verschiedene Ansätze, von hochdetaillierten Ausstellungsstücken bis hin zu funktionalen, druckbaren Designs.
Bemerkenswerte Beispiele:
- Cluckinator: Artikulierte Federn, mehrere Druckausrichtungen
- Poultrygeist: Für transparentes Resin optimiert, Glow-in-the-dark-Optionen
- Eggsecutor: Funktionaler Lademechanismus, bewegliche Teile
- Hen-Hem: Minimale Stützen, Montage in einem Druck
👉 Probiere Tripo noch heute aus und beginne damit, deine nächste Idee in 3D zu verwandeln.