Creating a Rouge the Bat 3D Model: Expert Workflow & Tips
Executive Summary and Key Takeaways
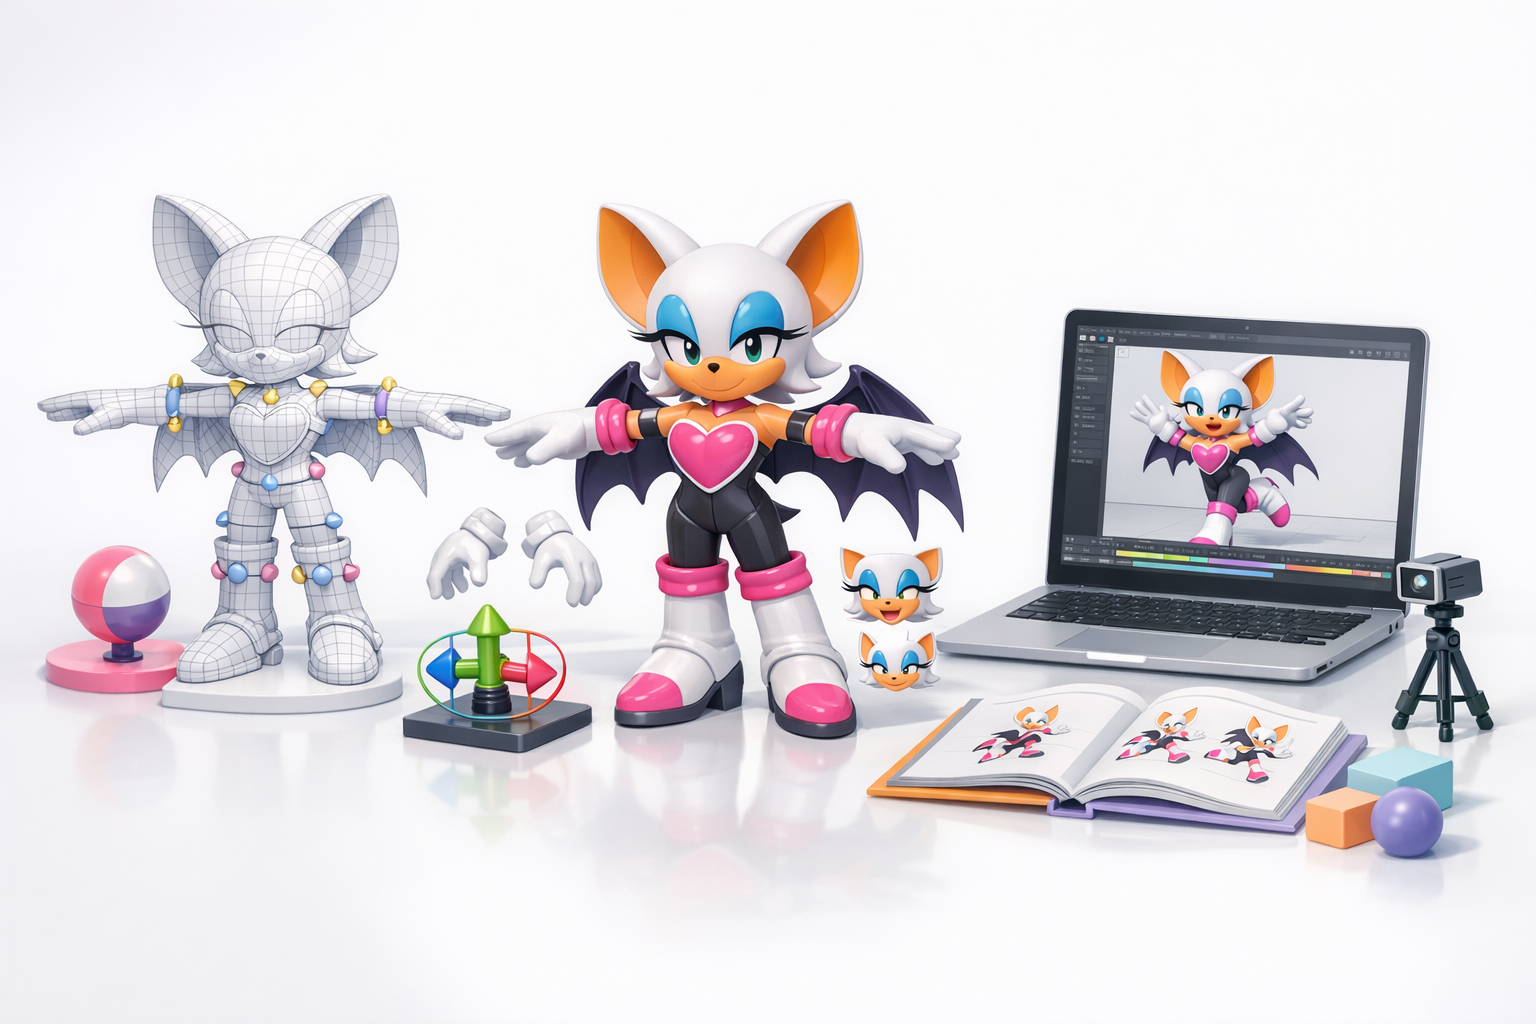
Creating a production-ready 3D model of Rouge the Bat requires a blend of solid fundamentals, efficient workflow choices, and the smart use of AI tools. In my experience, gathering strong references, nailing the character’s unique proportions, and leveraging AI-powered platforms like Tripo can dramatically speed up the process without sacrificing quality. This guide is for 3D artists, game developers, and designers aiming to produce a stylized, animation-ready Rouge model for games, XR, or fan projects. I’ll walk through my practical workflow, highlight pitfalls to avoid, and share expert tips for each stage.
Key takeaways:
- Start with clear references and style goals before modeling.
- Block out the silhouette before refining anatomy.
- Use UV mapping and custom textures to bring character to life.
- AI tools can accelerate modeling and texturing—integrate them wisely.
- Clean rigging and careful export settings are essential for animation/game-readiness.
- Watch for common pitfalls like messy topology and inconsistent proportions.
Planning and Reference Gathering for Rouge the Bat
Collecting High-Quality References
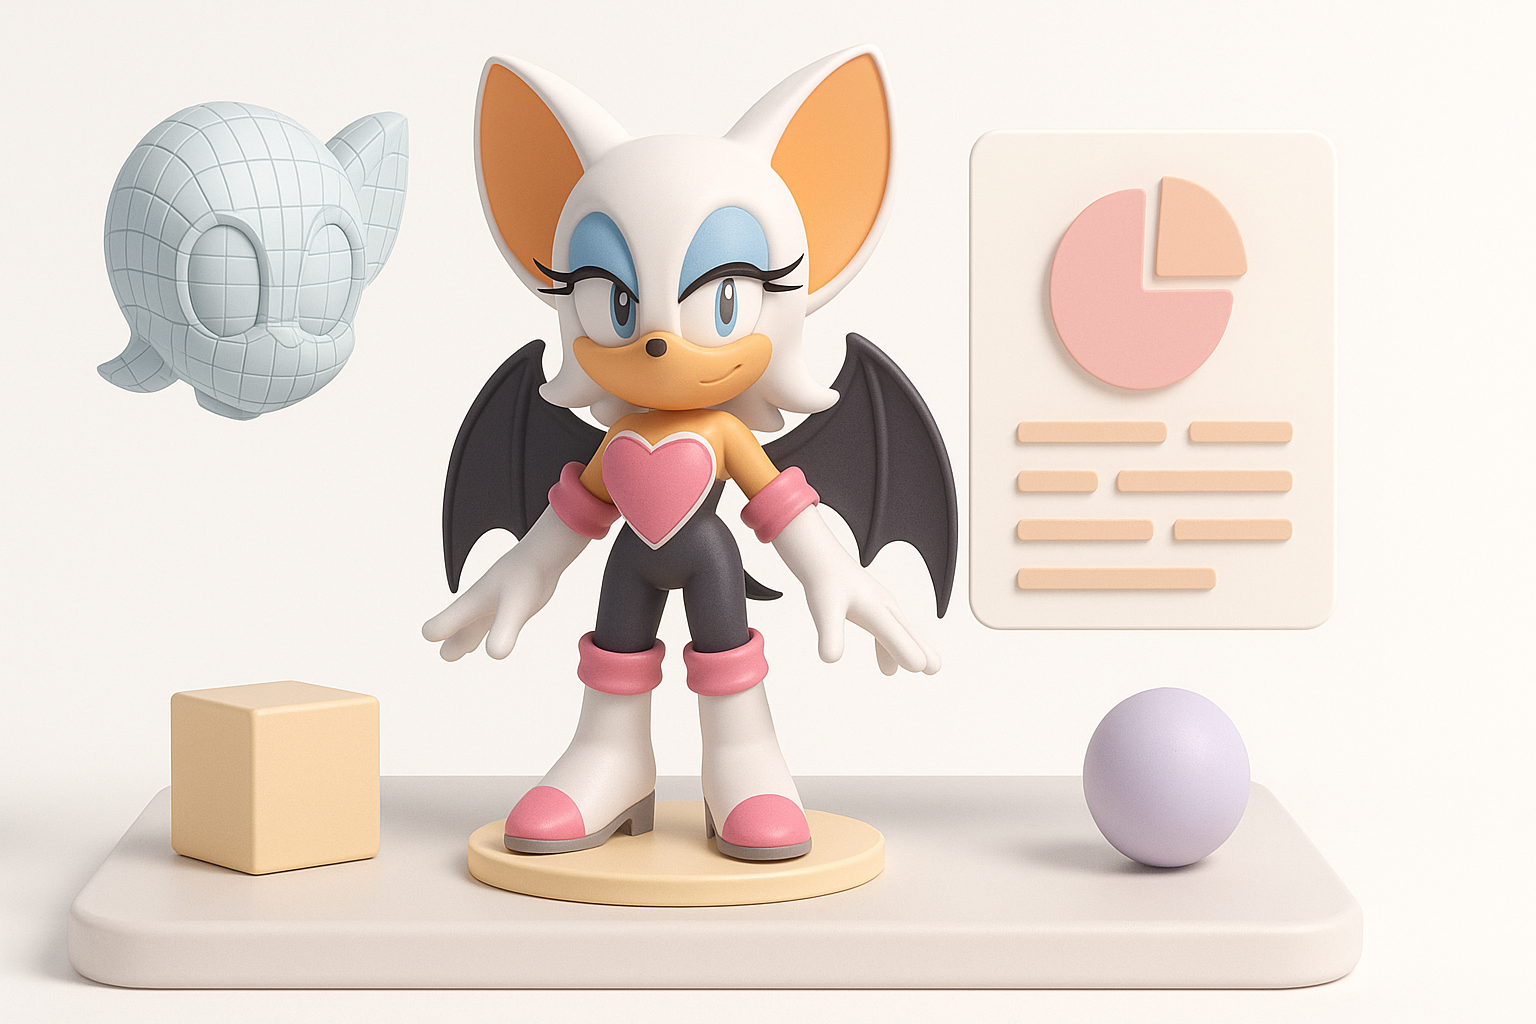
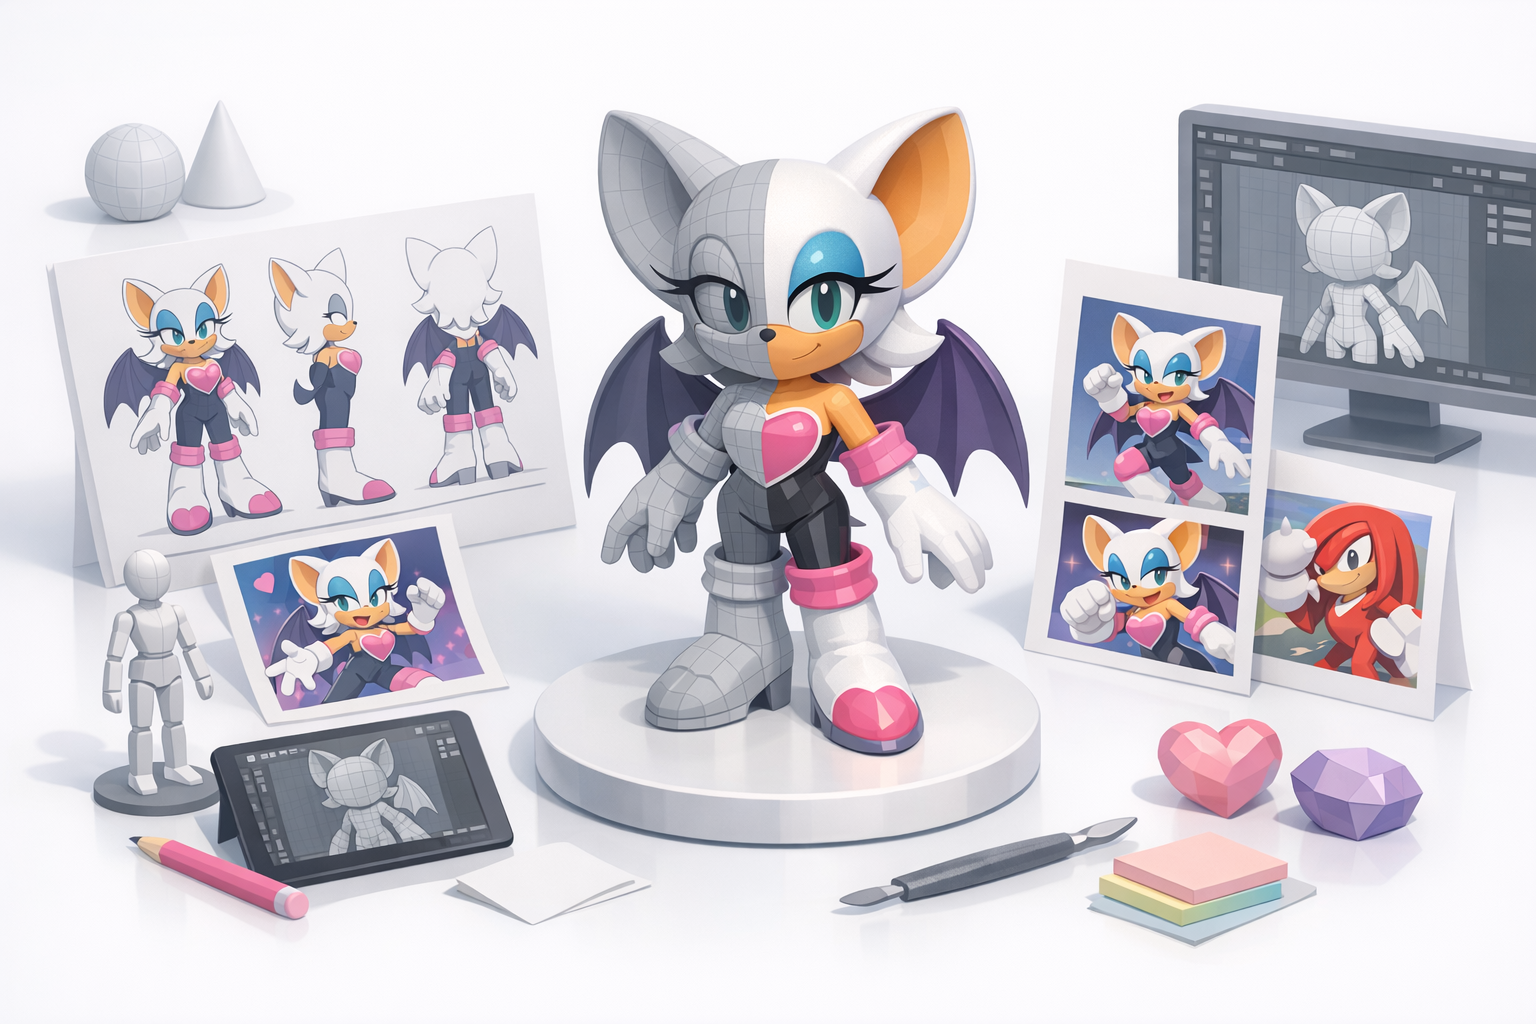
In my workflow, I always begin by gathering a comprehensive set of references. For Rouge the Bat, I look for official character sheets, in-game screenshots, fan art (for stylization ideas), and even 3D turnarounds if available. I organize these into folders—front, side, and back views are especially helpful.
Checklist:
- Official artwork (front, side, back)
- Screenshots from different games
- Close-ups of face, hands, wings, boots, and accessories
- Style inspiration (cartoon, semi-realistic, etc.)
Defining Style and Intended Use
Before modeling, I clarify the intended style and use case. Is this for a real-time game, a cinematic, or VR? For Rouge, I decide on a stylized look with clean topology suitable for animation. I also define the polygon budget and texture resolution early, which prevents unnecessary rework later.
Tips:
- Write down style notes and technical constraints.
- Decide on polygon and texture limits before starting.
- Consider animation needs (facial expressions, wing movement).
3D Modeling Workflow: From Concept to Base Mesh
Blocking Out the Silhouette
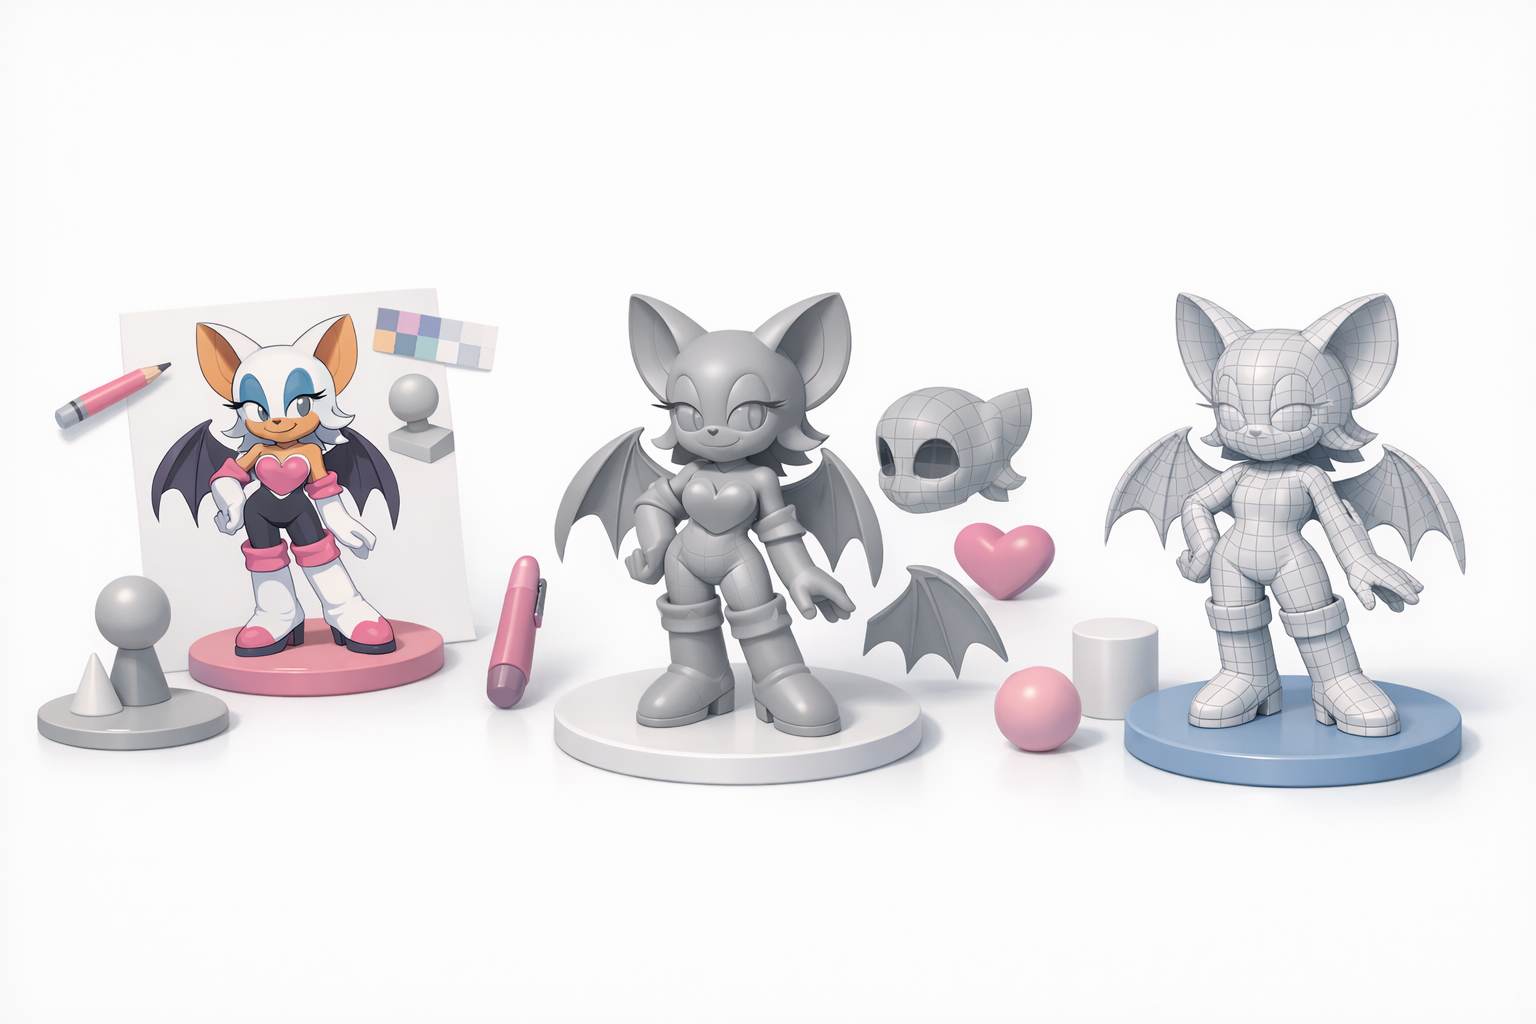
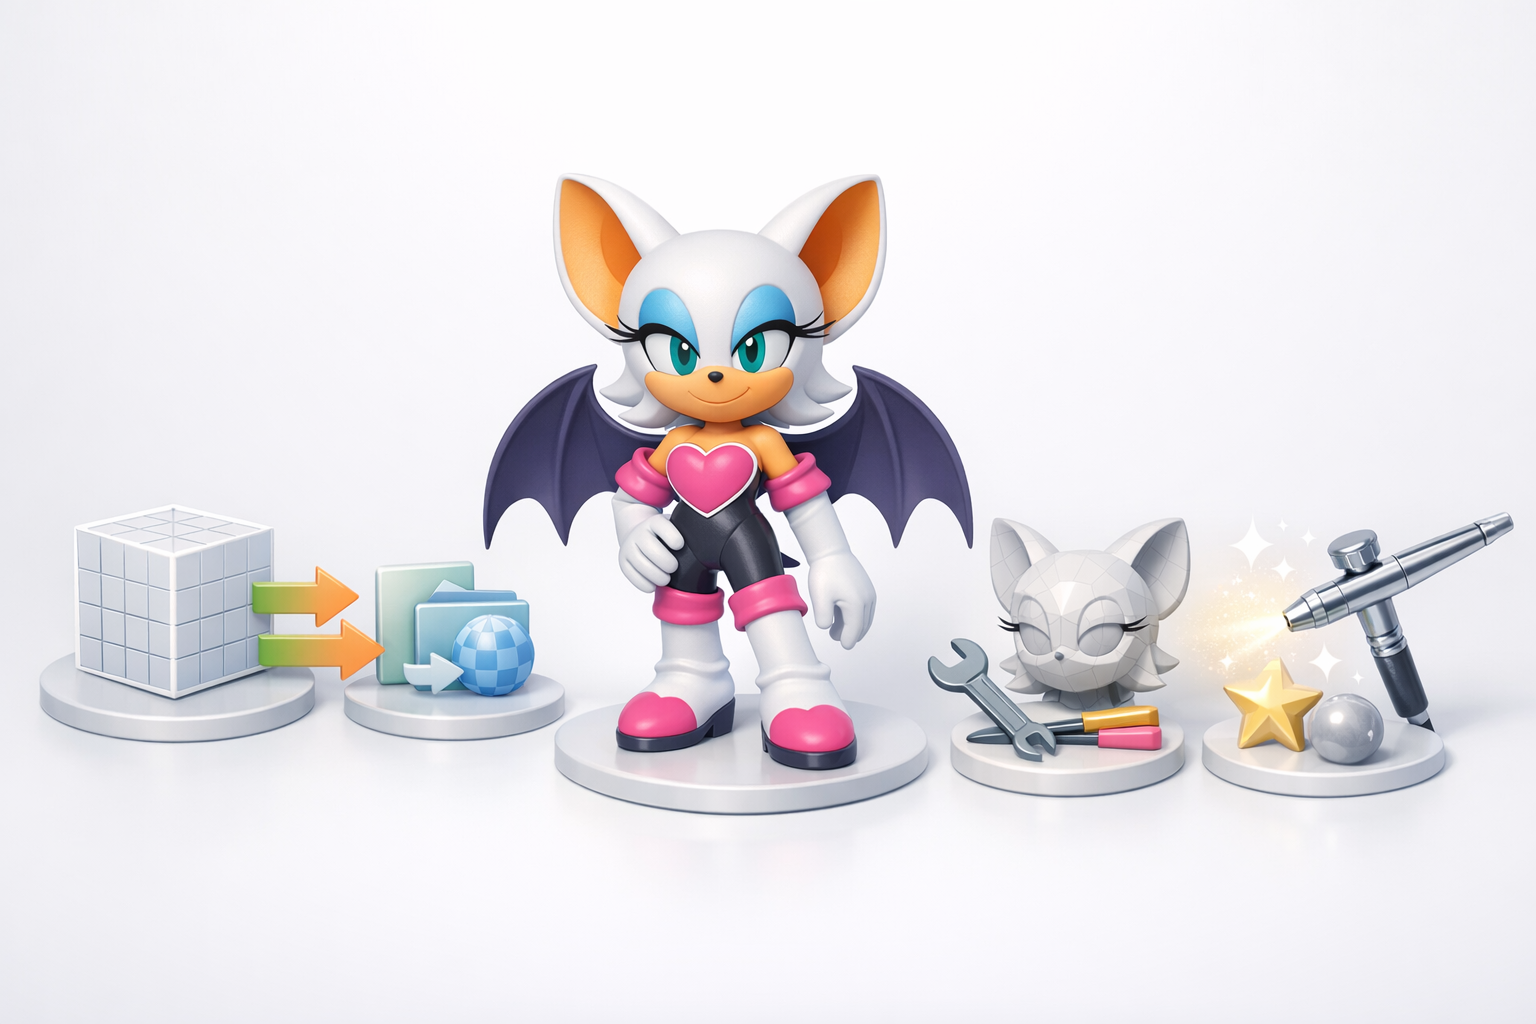
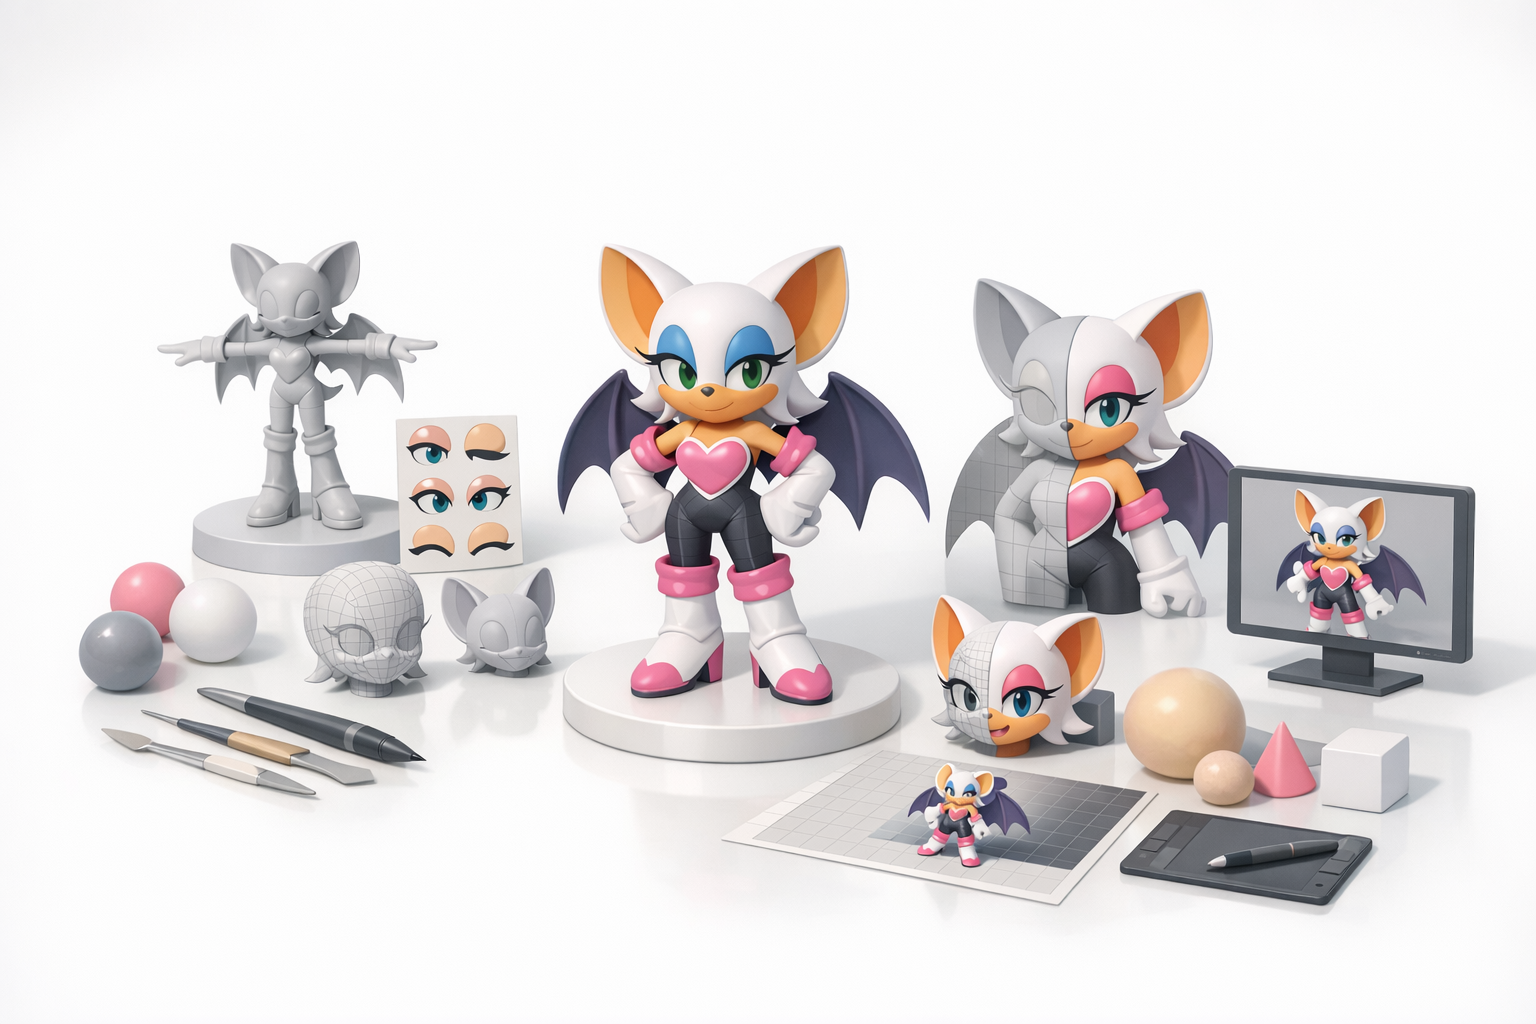
I start by blocking out the major forms using simple shapes—spheres and cylinders for the head, body, limbs, and wings. This stage is about matching the iconic silhouette, not details. I constantly check the model against my reference images.
Steps:
- Lay out base shapes in your 3D software.
- Adjust proportions until the silhouette matches references.
- Don’t worry about details—focus on the overall shape.
Refining Anatomy and Proportions
Once the silhouette feels right, I move on to refining the anatomy. For Rouge, features like her head, ears, and wings require special attention to maintain her character. I use subdivision modeling for smooth forms and keep edge loops clean for later rigging.
Pitfalls to avoid:
- Overcomplicating the model too soon.
- Ignoring anatomy—wings and hands are easy to misproportion.
- Not keeping topology clean (makes rigging harder).
Texturing and Materials: Bringing Rouge to Life
UV Mapping and Texture Painting
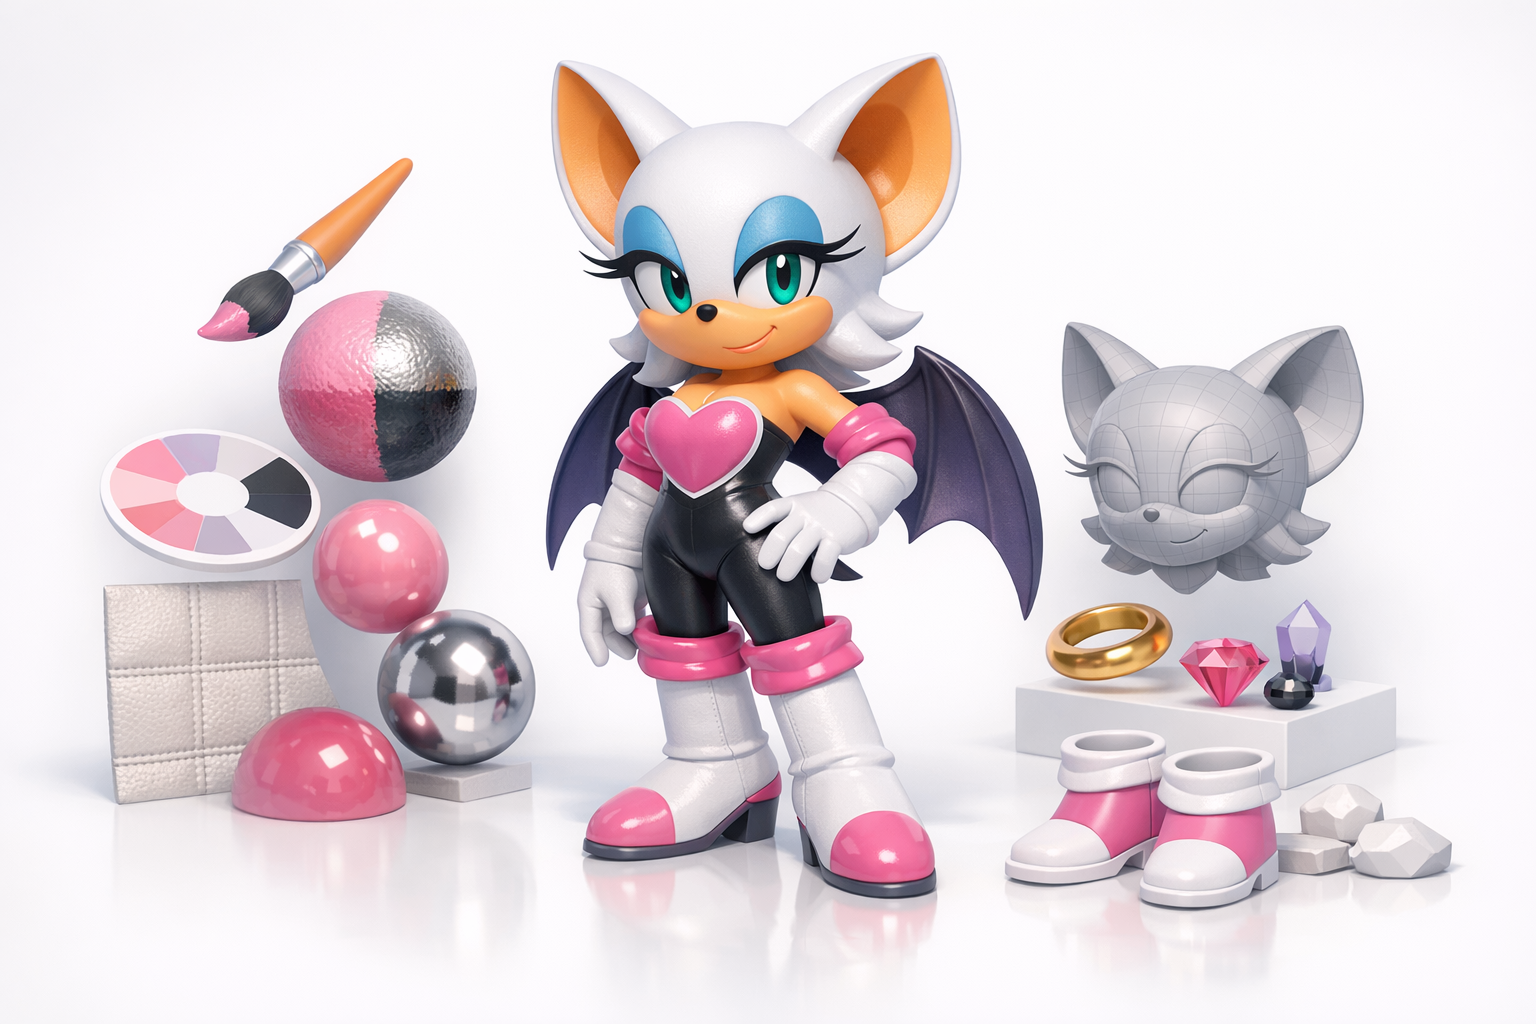
After the base mesh is done, I unwrap UVs carefully to minimize stretching and seams, especially on the face and wings. For painting, I use a combination of hand-painted textures and AI-powered texture suggestions from Tripo, which can generate quick base maps that I refine manually.
Checklist:
- Ensure symmetrical UVs for mirrored details.
- Paint base colors, then add highlights, shadows, and subtle details.
- Use Tripo or similar tools for fast base textures—always refine by hand.
Choosing and Applying Materials
I assign materials based on the character’s design—skin, fabric, leather, and metallic accents. For stylized models, I keep shaders simple (diffuse, slight specular) unless the project requires PBR. Consistent material naming helps during export and engine integration.
Tips:
- Preview materials under different lighting.
- Use reference images to match color and gloss.
- Keep material count reasonable for game-ready assets.
Rigging and Animation Preparation
Setting Up a Clean Rig
A clean rig is essential for animation. I create a basic skeleton with joints for the body, head, wings, and fingers. For Rouge, wing articulation is key—I add extra controls for folding and flapping. I test the rig with simple poses to catch issues early.
Tips:
- Place joints carefully to avoid deformation problems.
- Add controllers for facial expressions if needed.
- Keep the rig lightweight for real-time use.
Testing Poses and Deformations
I pose the model in extreme positions to check for mesh stretching or collapsing. For wings and hands, I test folding, spreading, and grasping. If I spot deformation issues, I adjust skin weights or tweak topology as needed.
Mini-checklist:
- Test all major joints (shoulders, elbows, knees, wings).
- Check facial expressions if animated.
- Fix any visible mesh artifacts before moving on.
Using AI-Powered Tools for Faster 3D Creation
How I Integrate Tripo AI in My Workflow
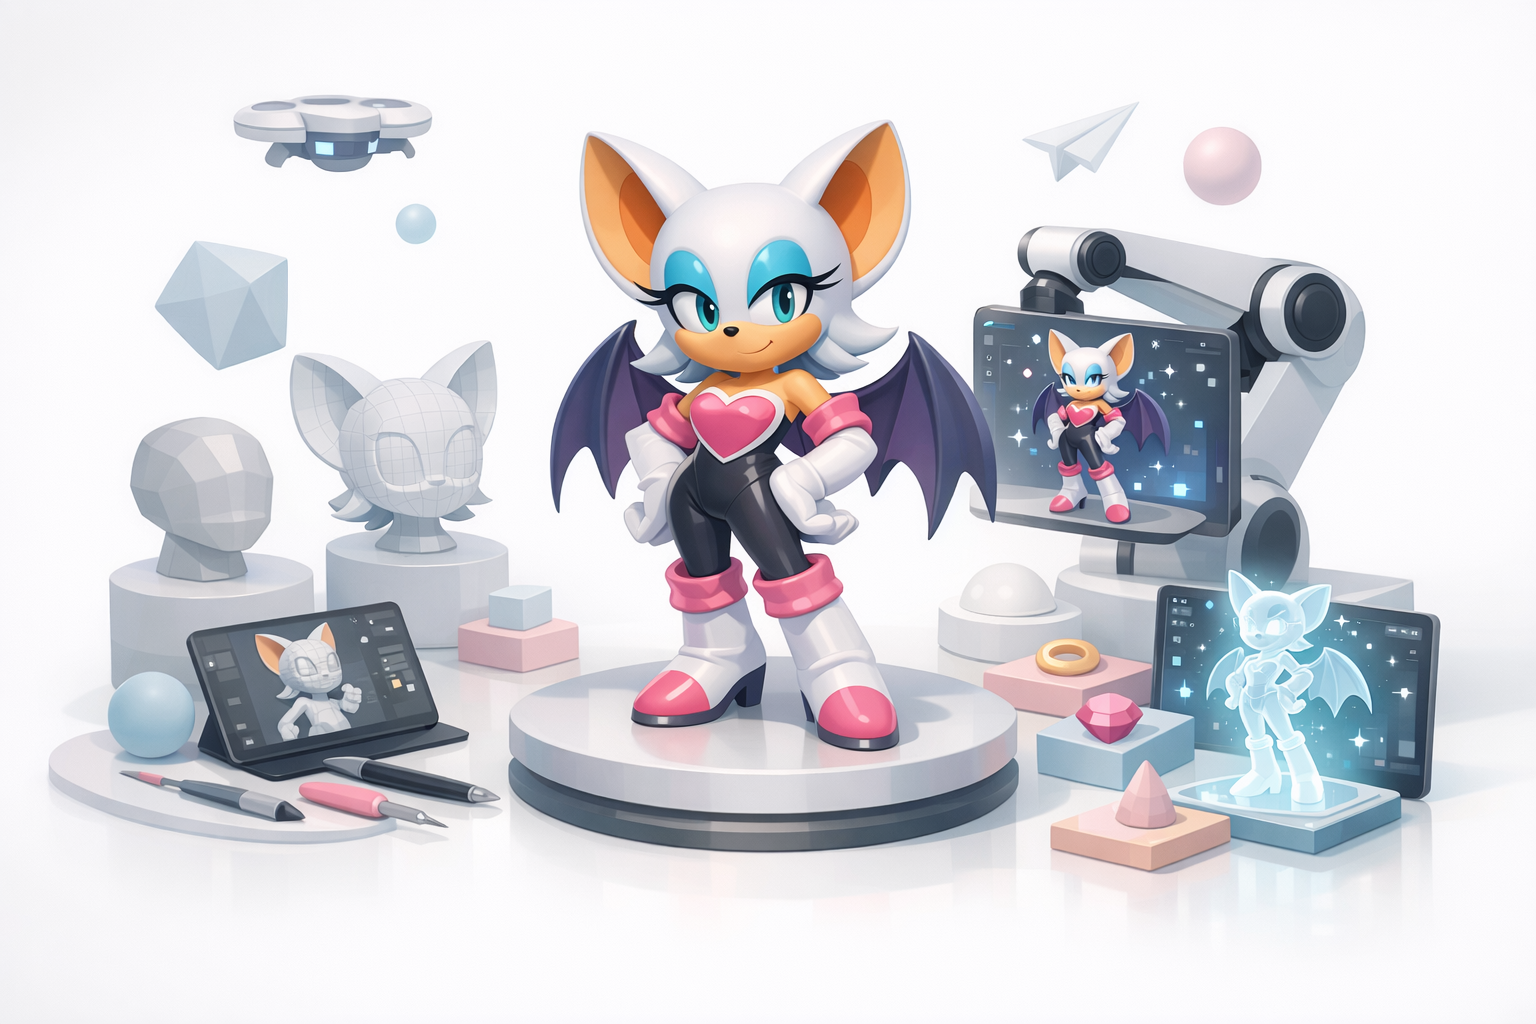
I use Tripo AI to accelerate concept-to-base mesh creation, especially when time is tight. By inputting a sketch or rough blockout, I get a production-ready base that I refine by hand. Tripo’s segmentation and retopology tools help clean up topology and generate UVs quickly.
Practical uses:
- Generate base meshes from sketches or text prompts.
- Auto-segment and retopologize complex parts (like wings).
- Quickly create and apply base textures, then polish manually.
Comparing AI Tools and Manual Methods
While AI tools speed up repetitive tasks, I still rely on manual modeling and texturing for character-defining details. For Rouge, I use AI for the initial pass, then switch to traditional sculpting and painting for personality and polish.
What I’ve found:
- AI is great for blocking and cleanup, but not for final touches.
- Manual refinement is crucial for stylized characters.
- Integrate AI where it saves time, but don’t skip quality checks.
Exporting, Optimization, and Final Touches
Retopology and Mesh Cleanup
Before export, I retopologize the mesh for clean, efficient geometry—especially around joints and facial features. Tripo’s auto-retopology helps here, but I always inspect and fix problem areas manually.
Checklist:
- Remove stray verts and non-manifold geometry.
- Optimize edge loops for animation.
- Ensure UVs are clean and non-overlapping.
Export Settings for Games and XR
I export the model in the required format (FBX, OBJ, GLTF), using settings that preserve animation data and material assignments. For games and XR, I keep texture sizes and polygon counts within engine limits.
Tips:
- Double-check scale and orientation.
- Use naming conventions for meshes and materials.
- Test import in the target engine before final delivery.
Lessons Learned and Expert Tips
Common Pitfalls and How to Avoid Them
Over the years, I’ve seen artists struggle with messy topology, inconsistent proportions, and rushed rigging. Skipping reference gathering or ignoring technical constraints leads to rework. Always plan, review, and iterate.
Pitfalls to watch for:
- Starting details too early—always block first.
- Ignoring UV and topology quality.
- Overcomplicating rigs for simple projects.
My Favorite Shortcuts and Techniques
- Use symmetry tools for faster modeling and UV mapping.
- Leverage AI tools for base meshes, but always refine by hand.
- Create reusable material presets for stylized characters.
- Regularly test the model in the target environment (game engine, XR viewer).
By following this workflow, integrating AI tools like Tripo where they add value, and staying disciplined with fundamentals, I consistently produce production-ready 3D characters like Rouge the Bat—ready for animation, games, or XR experiences.
