Creating and Using Valheim 3D Models: Expert Workflow Guide
скачать 3d модель для chicken gun
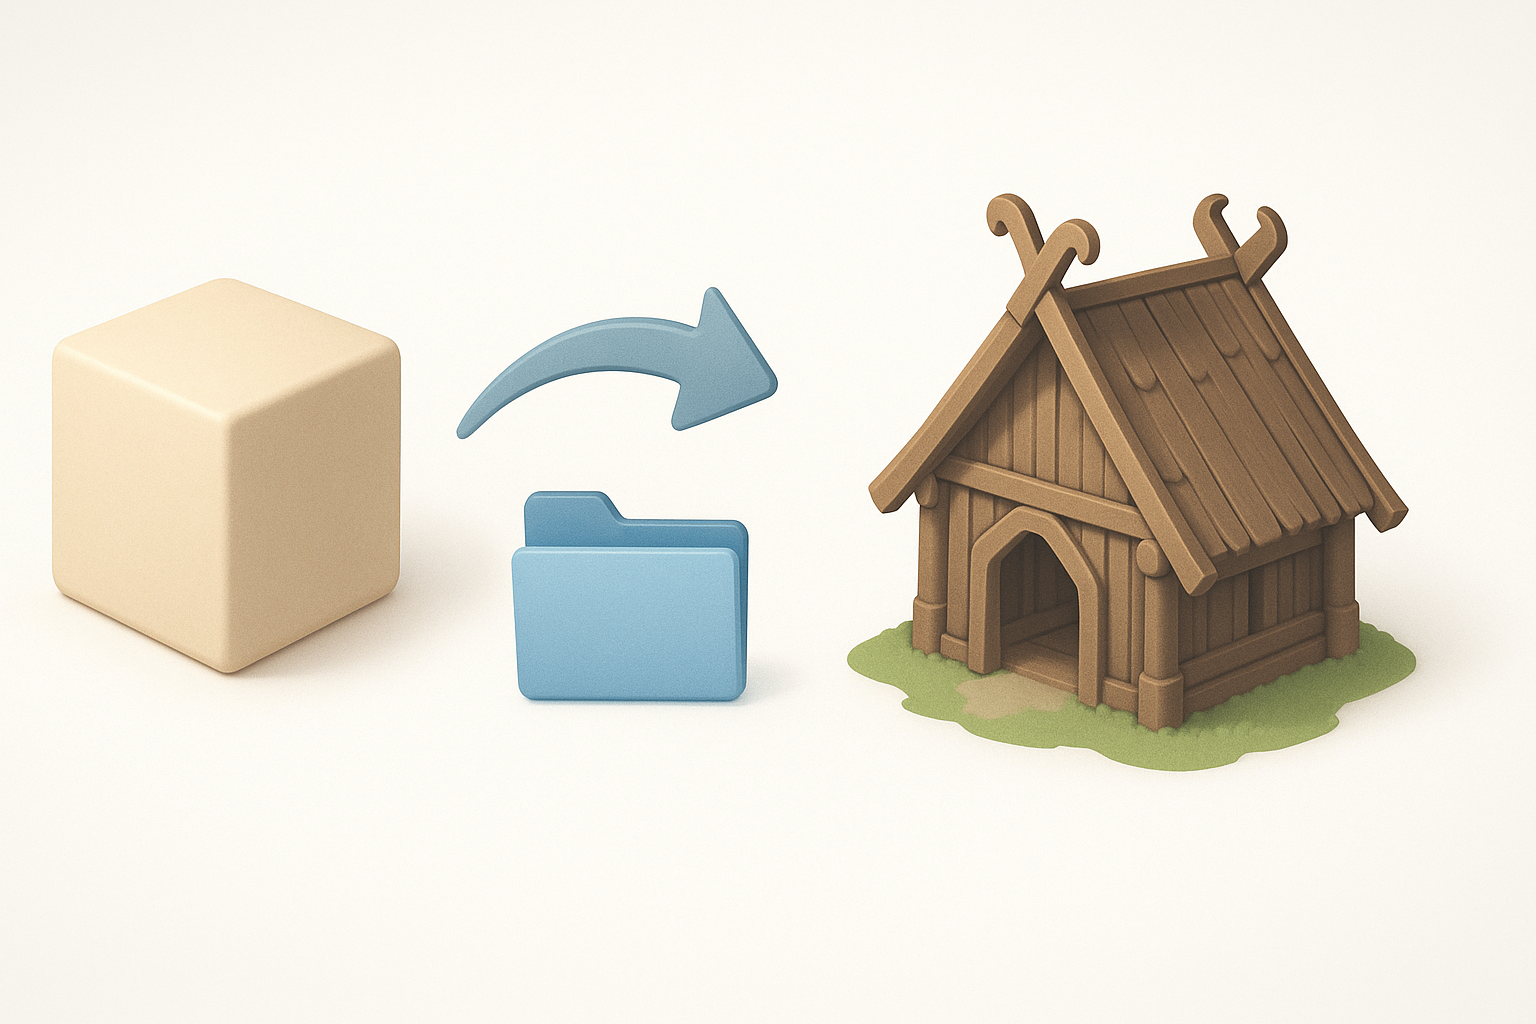
Creating game-ready 3D models for Valheim can be streamlined and accessible with the right workflow and tools. In my experience, leveraging AI-powered platforms like Tripo alongside traditional methods delivers fast, authentic results—especially for stylized assets. This guide covers my end-to-end process: from concept to export, including tips for texturing, rigging, and troubleshooting. Whether you’re a game developer, modder, or designer, you’ll find actionable advice for efficient Valheim asset creation.
Key takeaways
- AI tools like Tripo greatly accelerate Valheim-style model creation
- Stylized modeling requires attention to shape, texture, and optimization
- Rigging and animation for games demand clean, efficient workflows
- Export settings and compatibility are crucial for seamless integration
- Pitfalls include overcomplicating geometry or mismatching art style
- Troubleshooting common issues early saves time in production
Understanding Valheim 3D Models
What Makes Valheim Models Unique
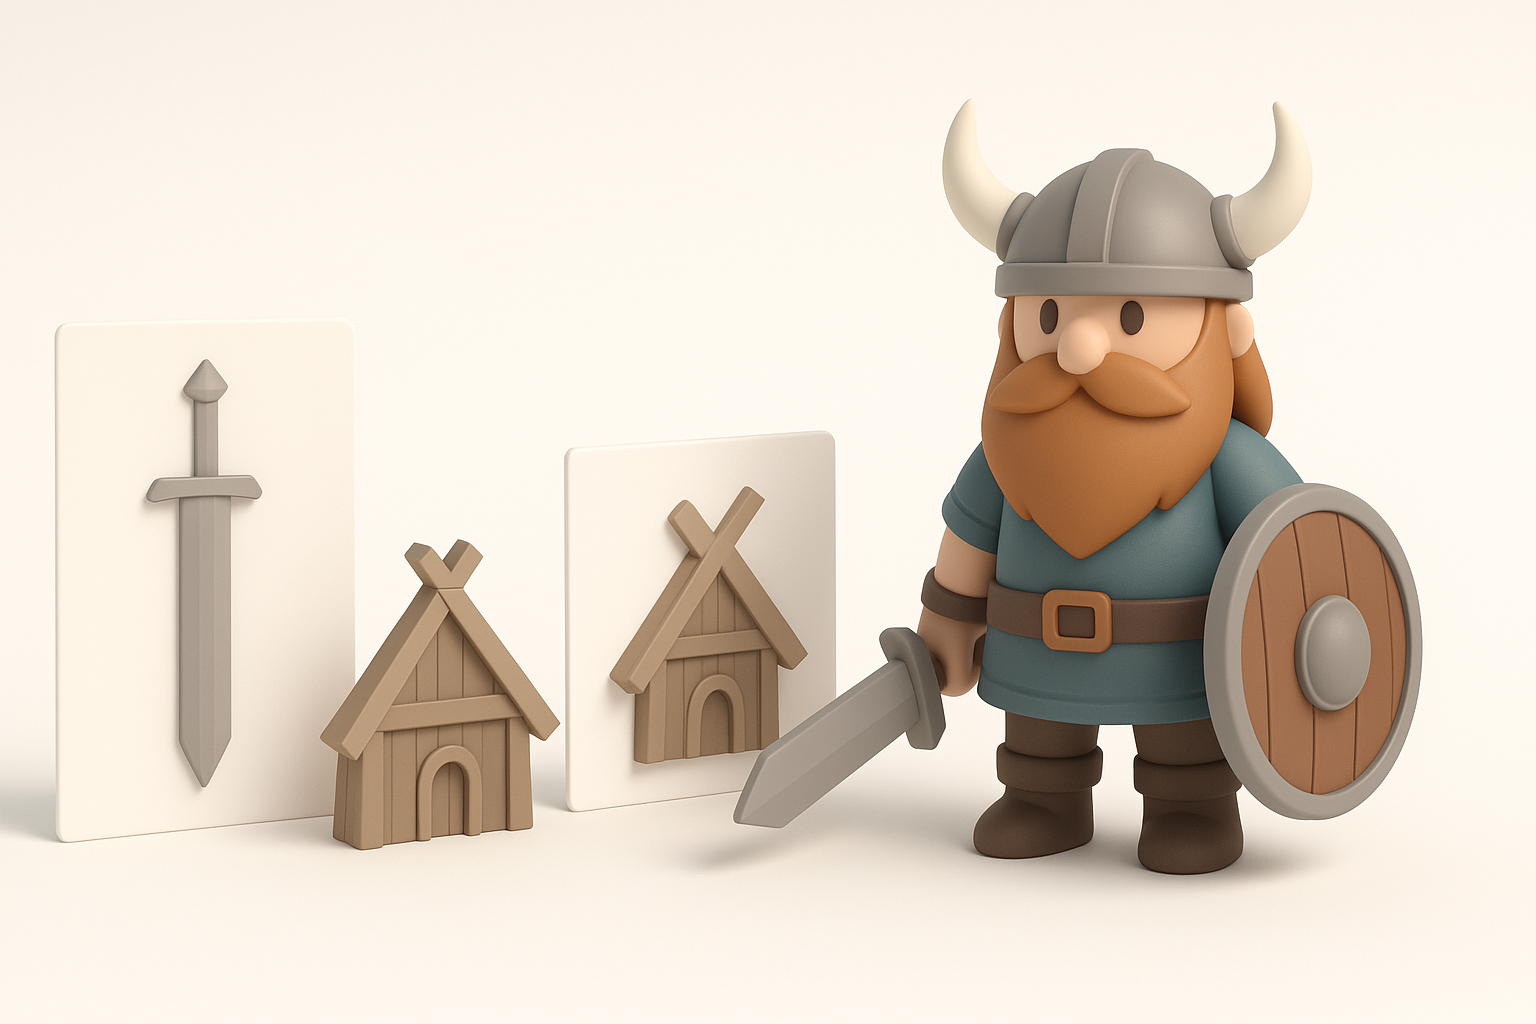
Valheim’s models are stylized, low-poly, and emphasize strong silhouettes and hand-painted textures. In my workflow, I focus on chunky shapes and simplified geometry, which keeps assets performant and visually consistent. The art style avoids photorealism, instead favoring bold, readable forms and subtle color gradients.
Tips:
- Use reference images from Valheim for shape and palette guidance.
- Avoid excessive detail; prioritize clarity and recognizability.
Common Use Cases in Games and Mods
Valheim assets are commonly used for custom mods, new creatures, items, and environmental props. I often create models for modding projects, community content, and rapid prototyping. These models must be lightweight and compatible with Valheim’s engine.
Checklist:
- Confirm polycount and texture resolution limits.
- Test models in-game for scale and collision accuracy.
How I Create Valheim-Style 3D Models
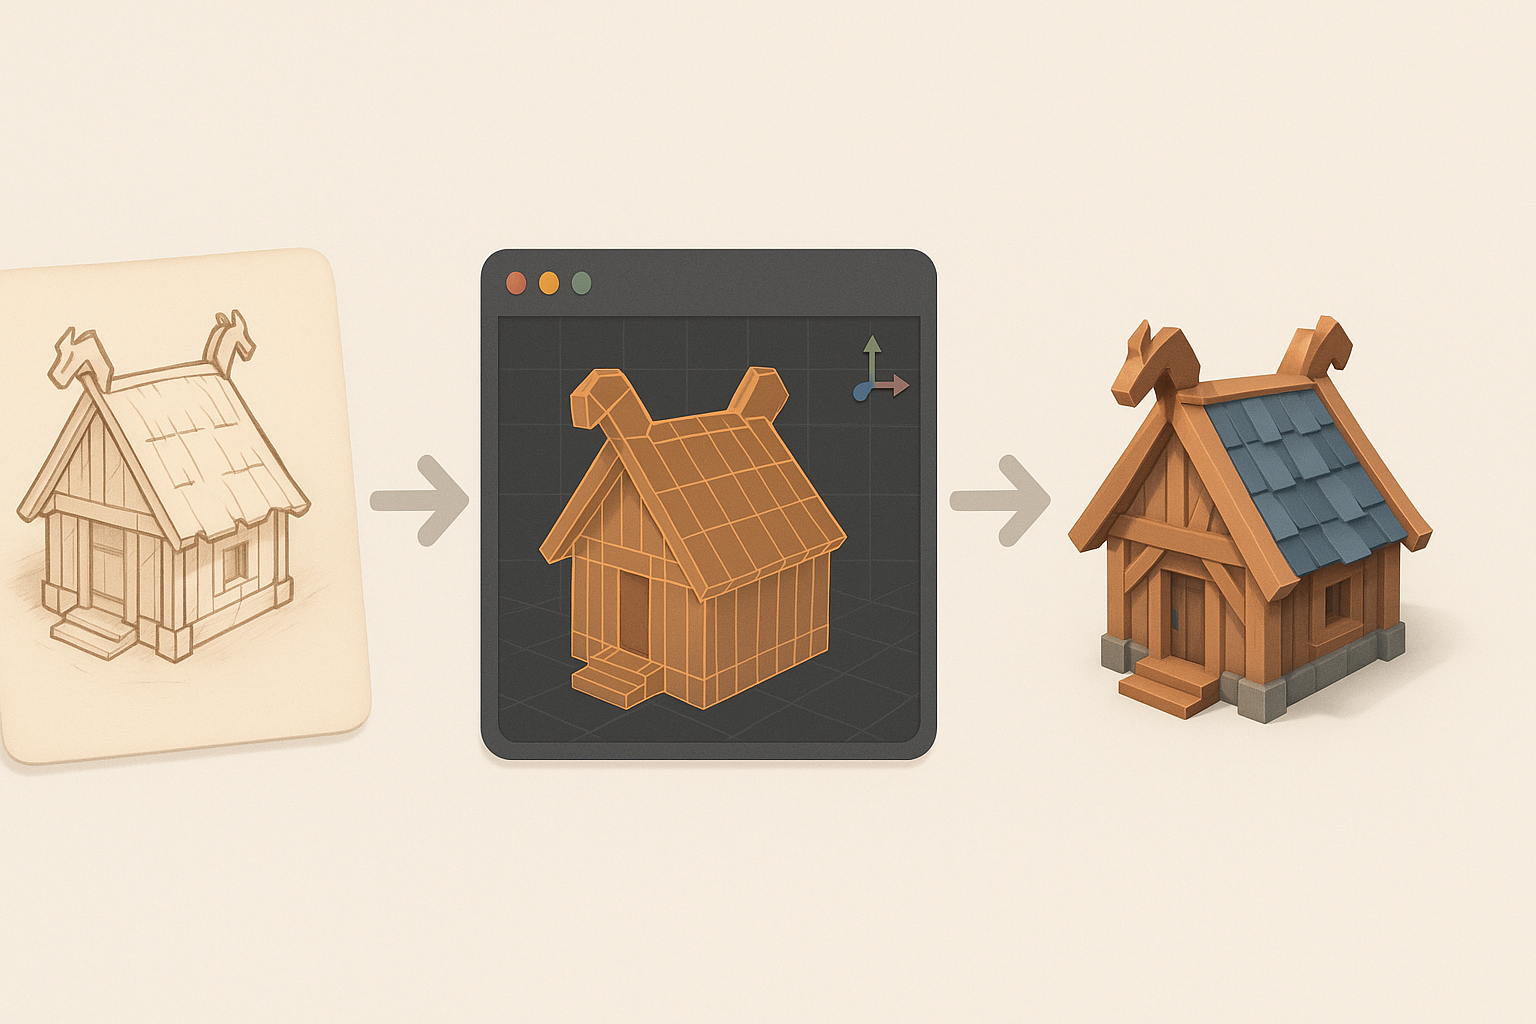
Step-by-Step Workflow with AI Tools
My typical workflow starts with concept sketches or text prompts, input directly into Tripo. The AI generates a base mesh, which I refine for stylization and performance. This approach cuts initial modeling time dramatically.
Steps:
- Prepare reference images or text descriptions.
- Generate base mesh with Tripo.
- Edit geometry for stylization (chunky shapes, simplified forms).
- Export for further refinement in a traditional 3D app if needed.
Best Practices for Authentic Results
To achieve authentic Valheim style, I always tweak AI-generated models. I exaggerate proportions, simplify surfaces, and manually adjust UVs if necessary. Consistency across assets is key.
Pitfalls:
- Over-reliance on AI can lead to mismatched art style.
- Neglecting manual tweaks often results in generic-looking assets.
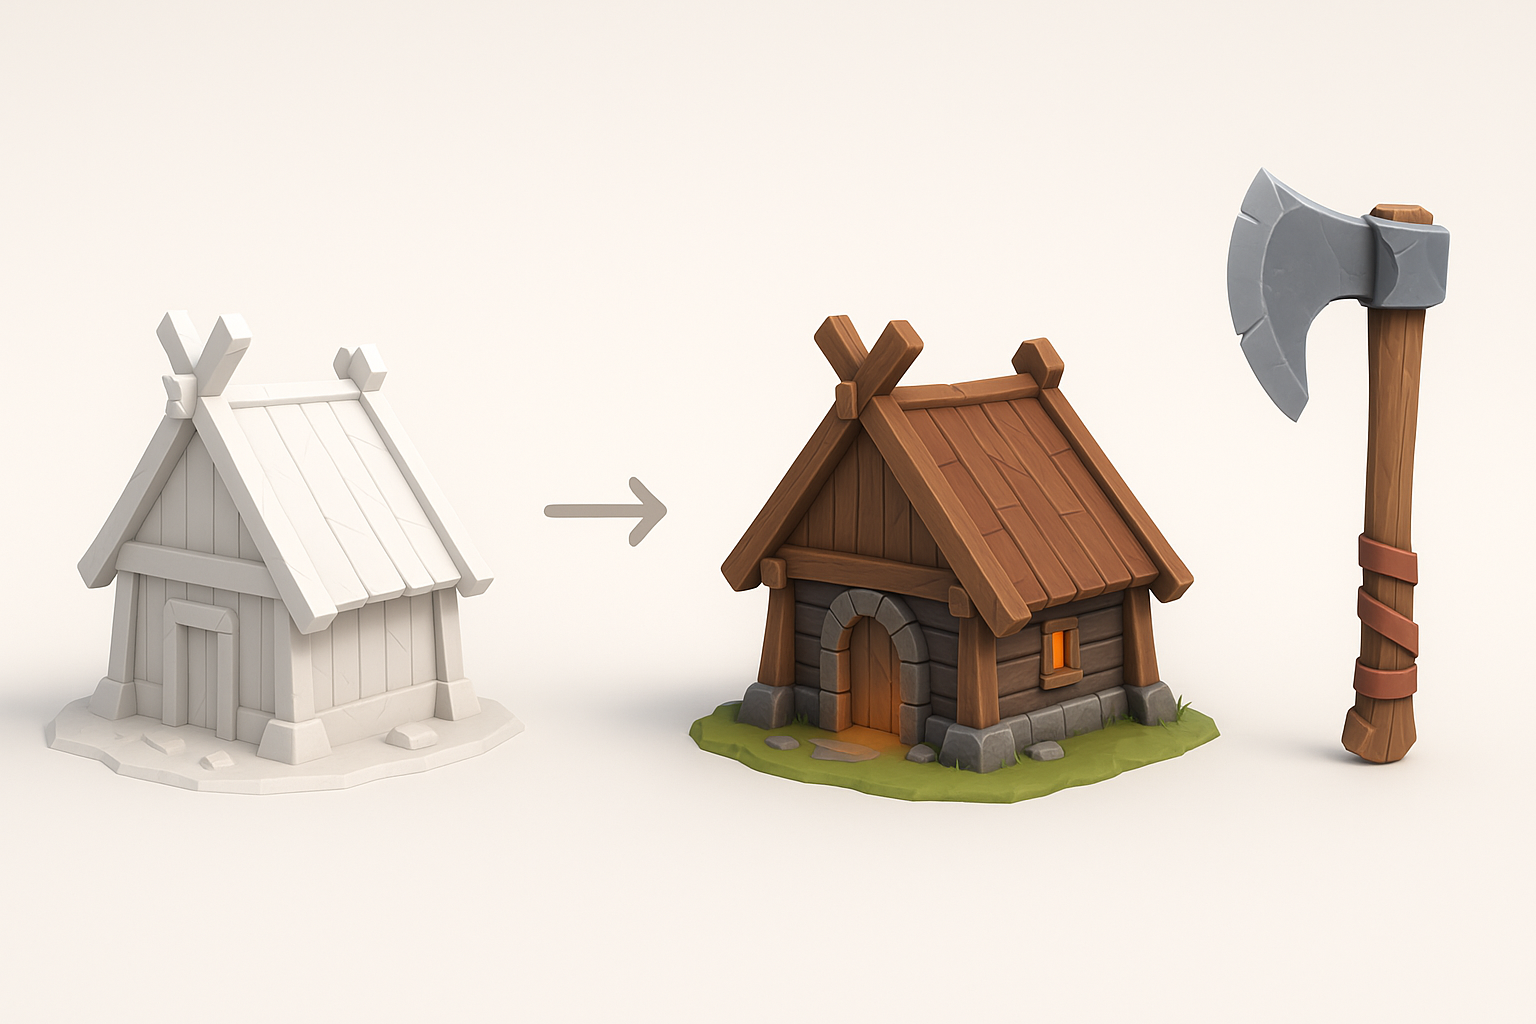
Optimizing and Texturing Valheim Models
Retopology and UV Mapping Tips
Efficient retopology is essential for game performance. I use Tripo’s built-in tools for auto-retopology, then manually check edge flow. UV mapping should maximize texture space and minimize stretching.
Tips:
- Keep edge loops clean and avoid unnecessary subdivisions.
- Lay out UVs to favor hand-painted textures; avoid overlapping unless intentional.
Texturing Techniques for Stylized Looks
Valheim textures are hand-painted with subtle gradients and minimal noise. I use digital painting tools or Tripo’s texture generation, then touch up details manually.
Checklist:
- Use a limited, cohesive palette.
- Paint highlights and shadows directly onto textures.
- Avoid photo-sourced or procedural textures for authenticity.
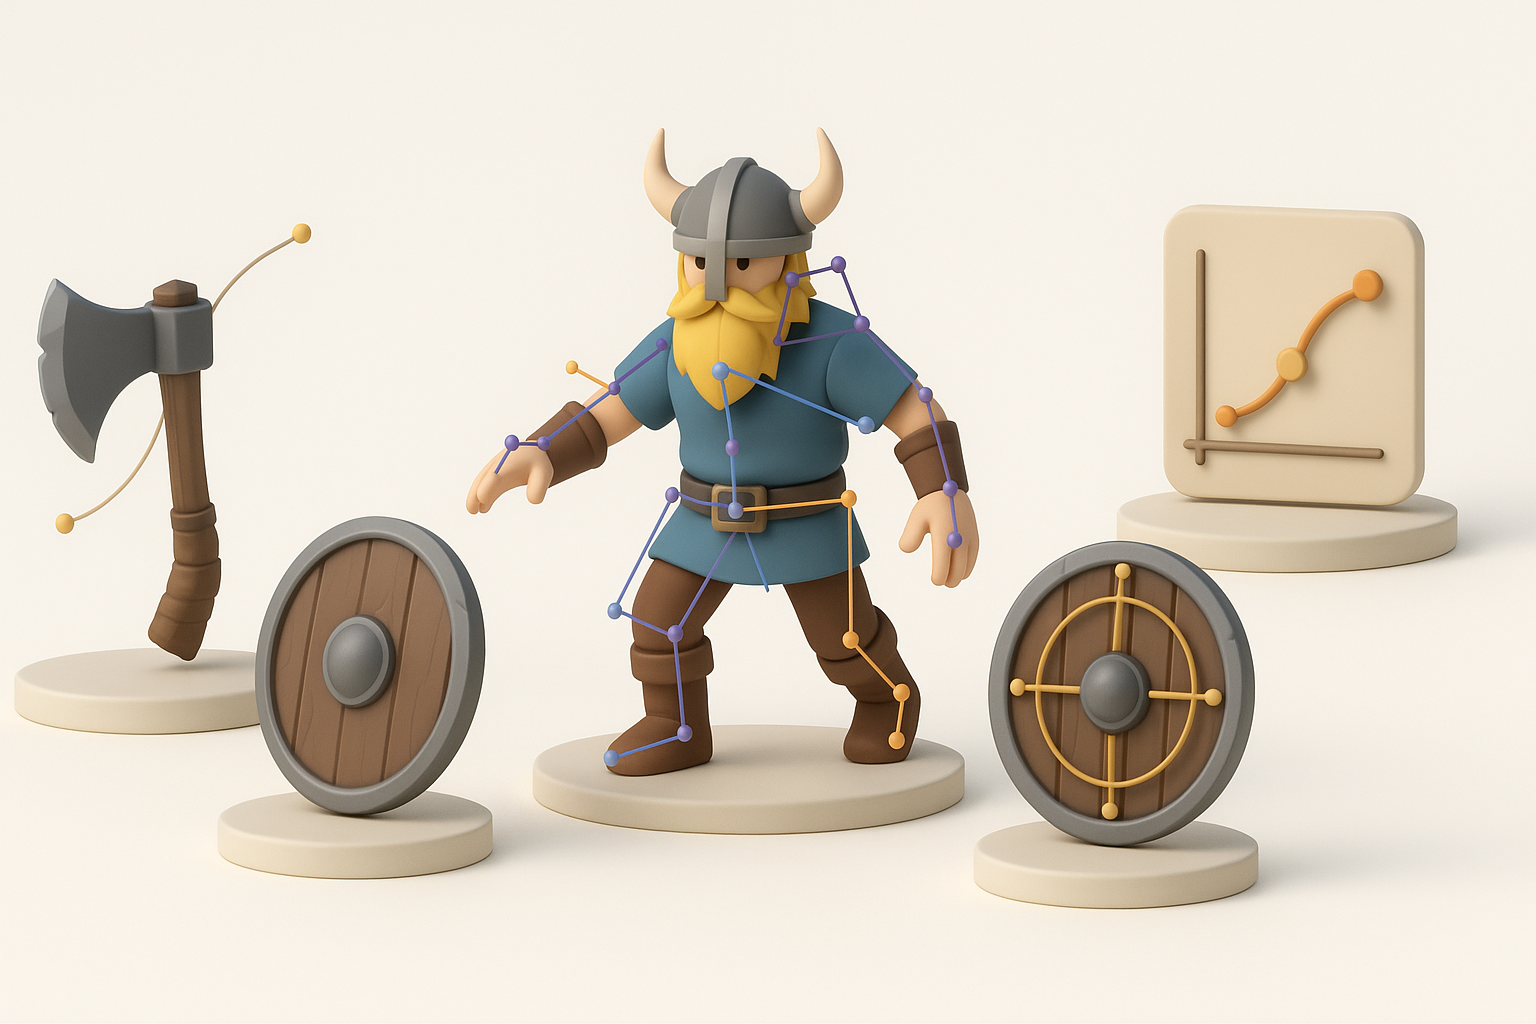
Rigging and Animating Valheim 3D Assets

Efficient Rigging Workflows
For creatures and characters, I rely on Tripo’s auto-rigging for quick skeleton setups, then manually adjust weights and bones for clean deformation. Simple rigs are easier to animate and integrate.
Tips:
- Use minimal bones for stylized models.
- Test rig with basic poses before animation.
Animation Tips for Game Integration
Animations should be readable and exaggerated, matching Valheim’s style. I create looping idle, walk, and attack animations, keeping frame counts low for efficiency.
Pitfalls:
- Overly complex animations can cause engine issues.
- Always check animation export settings for compatibility.
Comparing AI Platforms and Manual Methods
When to Use AI vs. Traditional Modeling
I use AI tools for rapid prototyping, base mesh generation, and bulk asset creation. For hero assets or highly stylized pieces, manual modeling offers more control. The best results often come from blending both approaches.
Checklist:
- Use AI for quick iterations and routine assets.
- Use manual modeling for unique, signature pieces.
My Experience with Different Tools
From my practice, Tripo stands out for its speed and integrated workflow. Other tools offer similar features, but I find Tripo’s segmentation and retopology especially useful. Manual methods are still essential for fine-tuning and custom details.
Tips:
- Don’t depend solely on AI—always review and refine outputs.
- Combine AI and manual workflows for best results.
Exporting and Implementing in Valheim Projects
Export Settings and Compatibility
Exporting models for Valheim requires attention to file formats (typically .fbx or .obj), scale, and texture mapping. I use Tripo’s export presets and double-check settings in my 3D app.
Checklist:
- Set correct scale and orientation.
- Bake textures and check UVs.
- Export in compatible format for Valheim mod tools.
Troubleshooting Common Issues
Common issues include incorrect scale, broken rigging, or texture artifacts. I routinely test assets in a staging environment before final integration.
Tips:
- Preview models in-game or with modding tools.
- Fix UV seams and check for flipped normals.
- Re-export if animations or textures don’t load correctly.
By following these expert workflows, you can create, optimize, and implement Valheim 3D models efficiently—balancing creativity with practical production needs.