How I Create a Hollow Knight 3D Model: Workflow & Tips
Creating a 3D model of Hollow Knight is a rewarding challenge that blends stylized design with technical precision. In my workflow, I focus on efficient reference gathering, clean blocking, and leveraging AI-powered tools to accelerate segmentation, retopology, and texturing. This guide is for artists and developers aiming to produce production-ready characters for games, animation, or portfolio use—whether you’re new to 3D or looking to streamline your process. Here’s how I approach the entire workflow, with practical tips and lessons learned from hands-on experience.
Key takeaways from my Hollow Knight 3D modeling workflow:
- Gather strong references and define your style up front
- Focus on clean blocking and silhouette before diving into details
- Use AI-powered tools to speed up segmentation, retopology, and texturing
- Prioritize efficient topology for animation/game-readiness
- Hand-paint textures to match the Hollow Knight aesthetic
- Troubleshoot early and iterate often for best results
Executive Summary: My Approach to Hollow Knight 3D Modeling
Key takeaways from my workflow
- Upfront planning saves time later—never skip reference gathering.
- Blocking out proportions and silhouette is my foundation for stylized models.
- I use AI tools for segmentation and retopology to speed up tedious steps.
- Hand-painting textures is key for the unique Hollow Knight look.
- Clean topology and basic rigging are essential for animation-readiness.
Why I choose certain tools and methods
I choose tools that streamline repetitive tasks (like AI segmentation and retopology), freeing me to focus on creative decisions. For Hollow Knight, a stylized approach works best, so I prioritize workflows that allow for quick iteration—especially in blocking and texturing. Integrating AI tools with traditional 3D software lets me work efficiently without sacrificing control over the final result.
Planning and Reference Gathering

Collecting concept art and in-game references
My first step is always gathering as much reference as possible. I pull official concept art, in-game screenshots, and fan art to capture details, proportions, and key features unique to Hollow Knight. I organize these in a reference board (PureRef or similar) for easy access throughout the project.
Checklist:
- Official character sheets
- In-game screenshots (multiple angles)
- Close-ups of textures and materials
- Fan interpretations for inspiration (but stick to canon for accuracy)
Defining project scope and style
Before opening any 3D software, I define the project’s scope—will the model be used for animation, games, or just a static render? For Hollow Knight, I stick to the iconic, minimalist style: clean shapes, bold silhouettes, and hand-painted textures. This clarity helps guide every decision down the line.
Pitfall:
Skipping this step leads to wasted time reworking topology or textures later.
Blocking Out the Hollow Knight Character
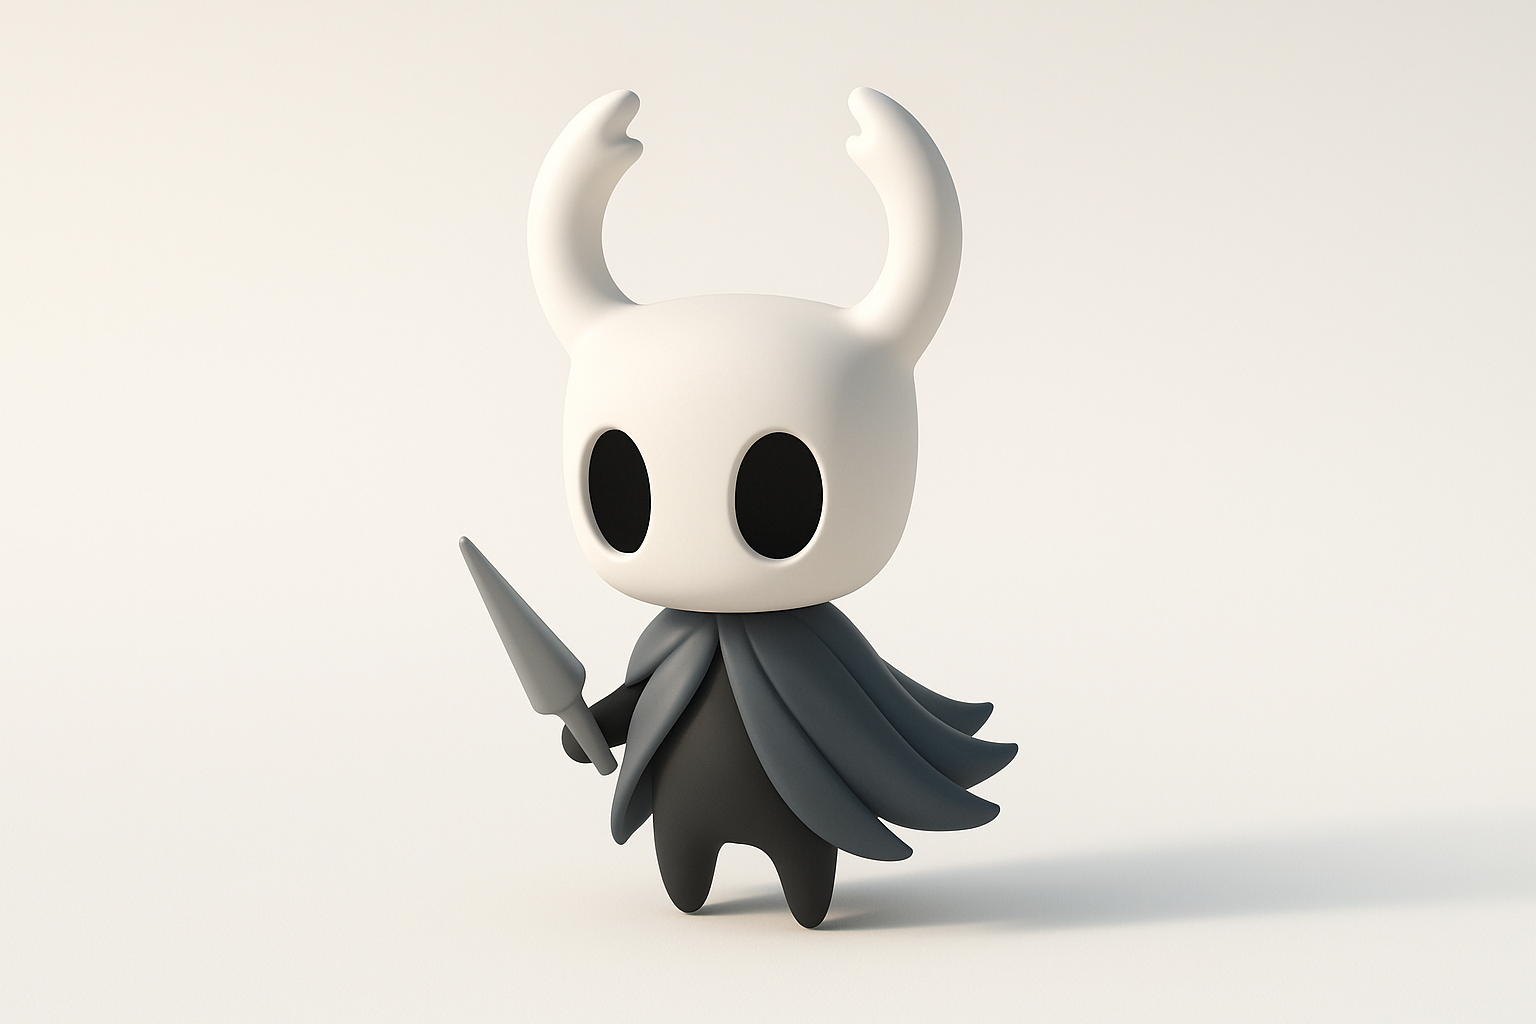
Establishing proportions and silhouette
I start by blocking out the character with simple shapes—spheres and cylinders for the head, body, and limbs. Getting the proportions and silhouette right at this stage is critical, especially for stylized characters like Hollow Knight. I constantly compare my blockout with references to ensure accuracy.
Tip:
Work at a low subdivision level; focus on major forms, not details.
Choosing between sculpting and modeling workflows
For stylized characters, I prefer starting with sculpting for organic forms, then retopologizing for clean geometry. Sometimes, for hard-surface or symmetrical parts, I use traditional box modeling. The key is to stay flexible and choose the method that best matches the character’s forms.
Mini-checklist:
- Sculpt organic shapes (head, cape)
- Model hard-surface elements (horns, sword)
- Merge and refine as needed
Detailing and Retopology Best Practices
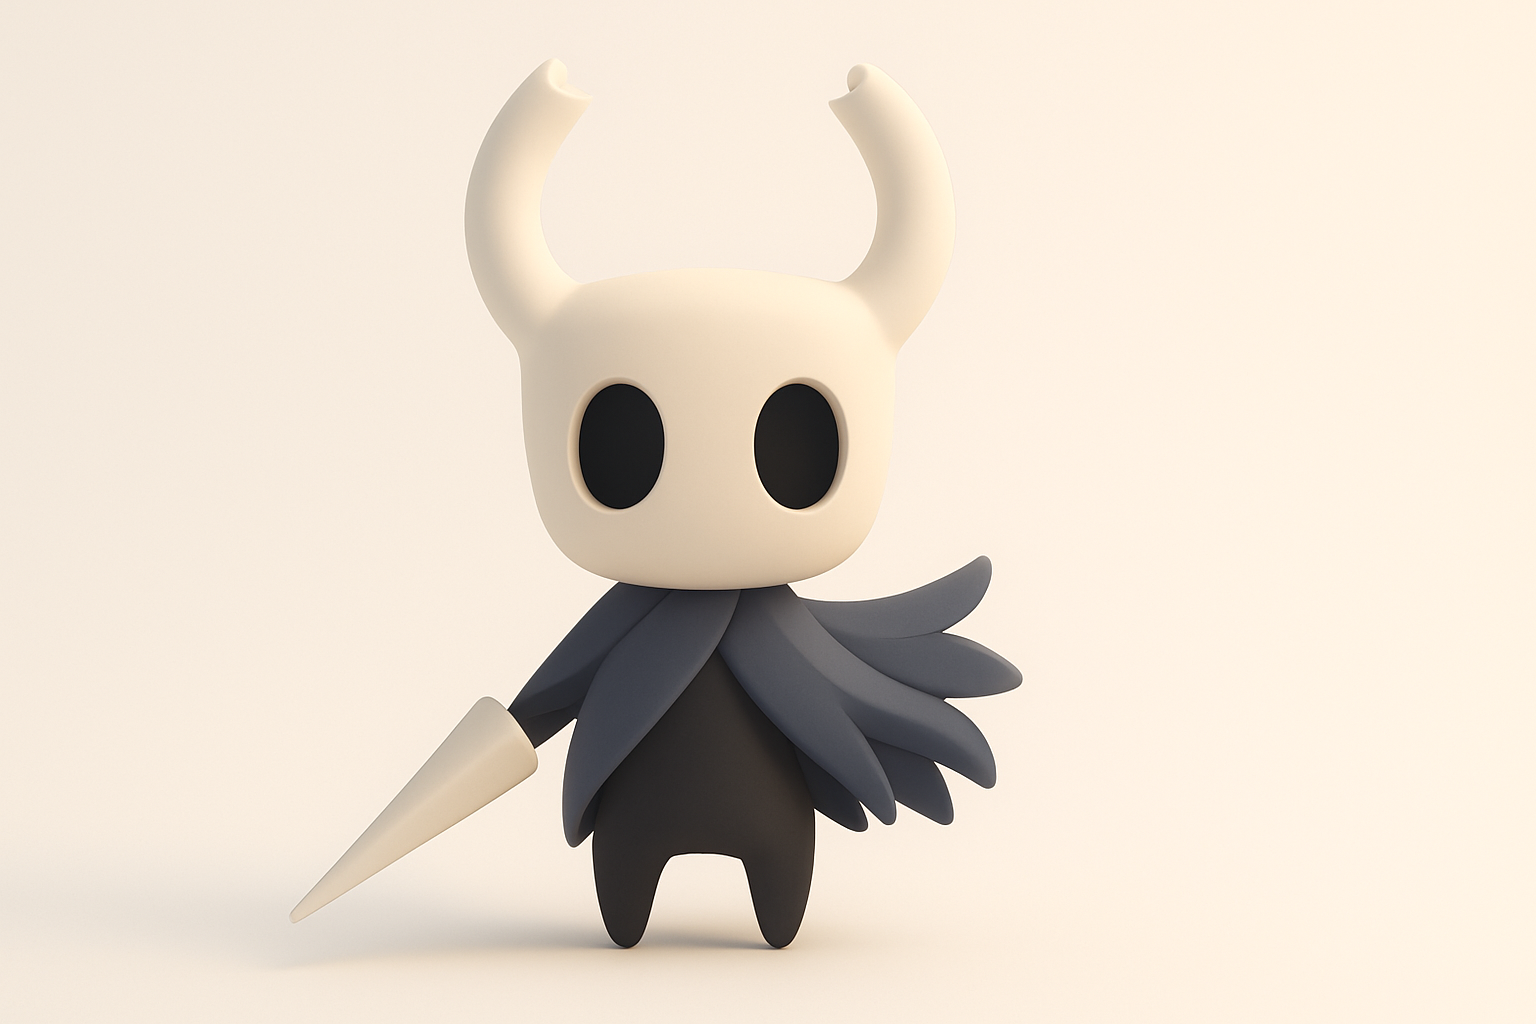
Adding fine details and features
Once the blockout is solid, I move on to secondary forms: facial features, folds in the cape, and subtle surface details. For Hollow Knight, less is more—details should support the silhouette, not clutter it. I keep the model clean and stylized, using brushes or procedural tools for subtle surface variation.
Tip:
Use layer-based sculpting or non-destructive modifiers for easy tweaks.
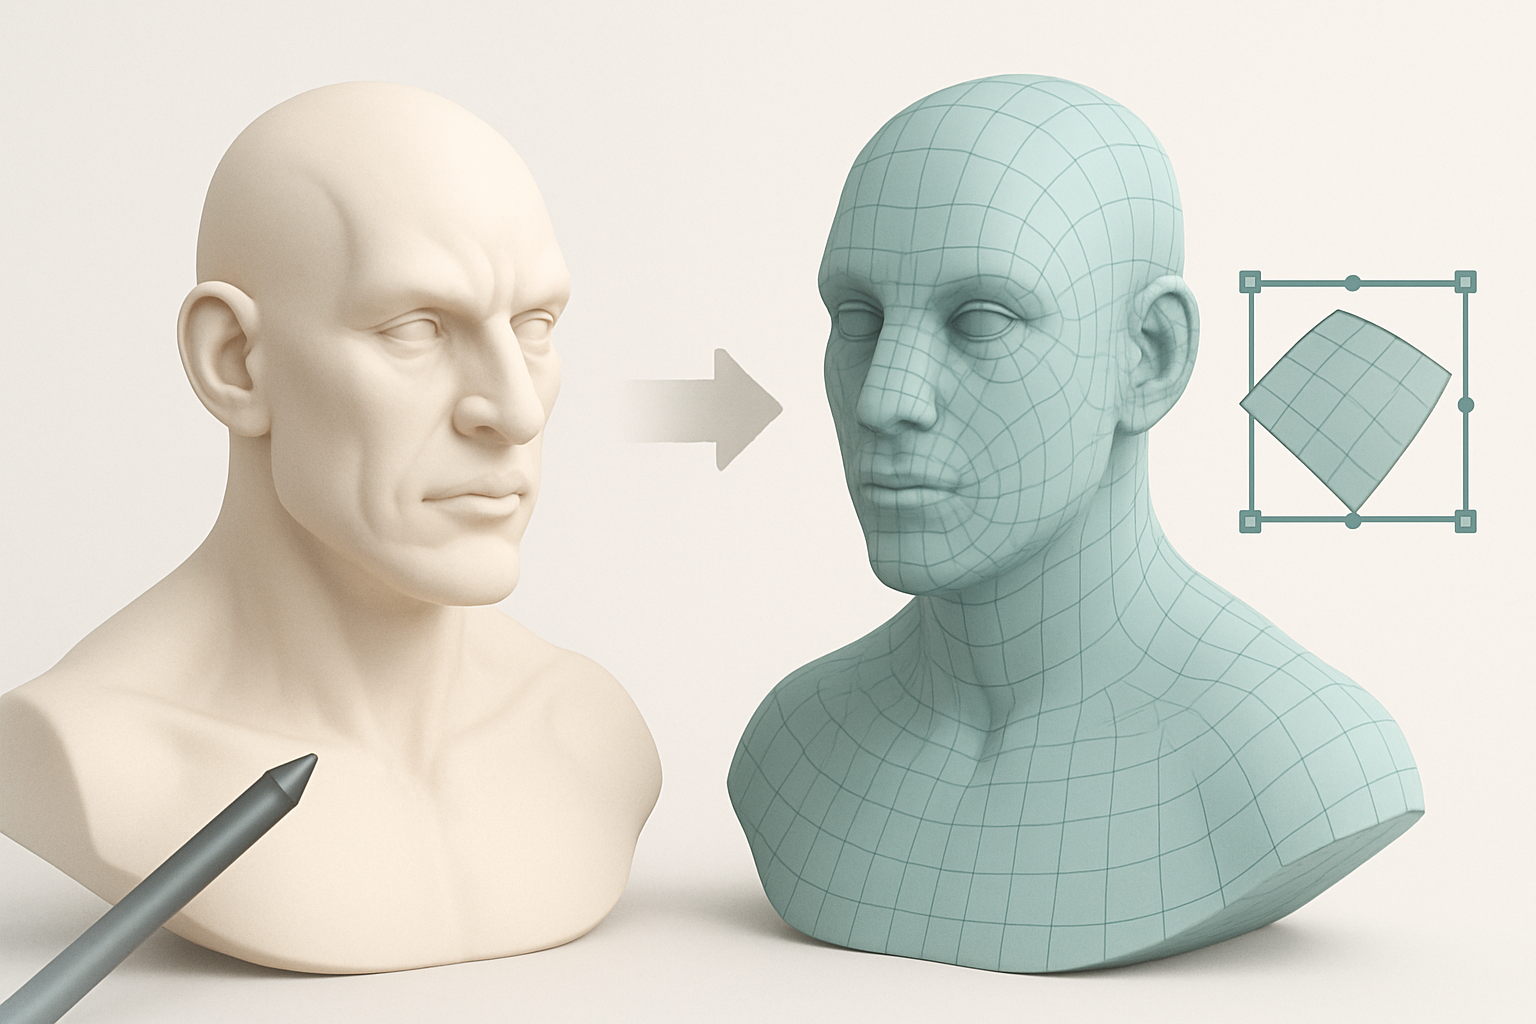
Efficient retopology for animation and game use
Clean topology is essential for animation and real-time use. I leverage AI-powered retopology tools to quickly generate quad-based meshes, then manually tweak edge flow around joints and deformation areas. This hybrid approach saves time while ensuring the model deforms well in animation.
Checklist:
- Use AI tools for initial retopology
- Manually adjust loops around elbows, knees, and facial features
- Keep polycount reasonable for the target platform
Texturing and Material Creation
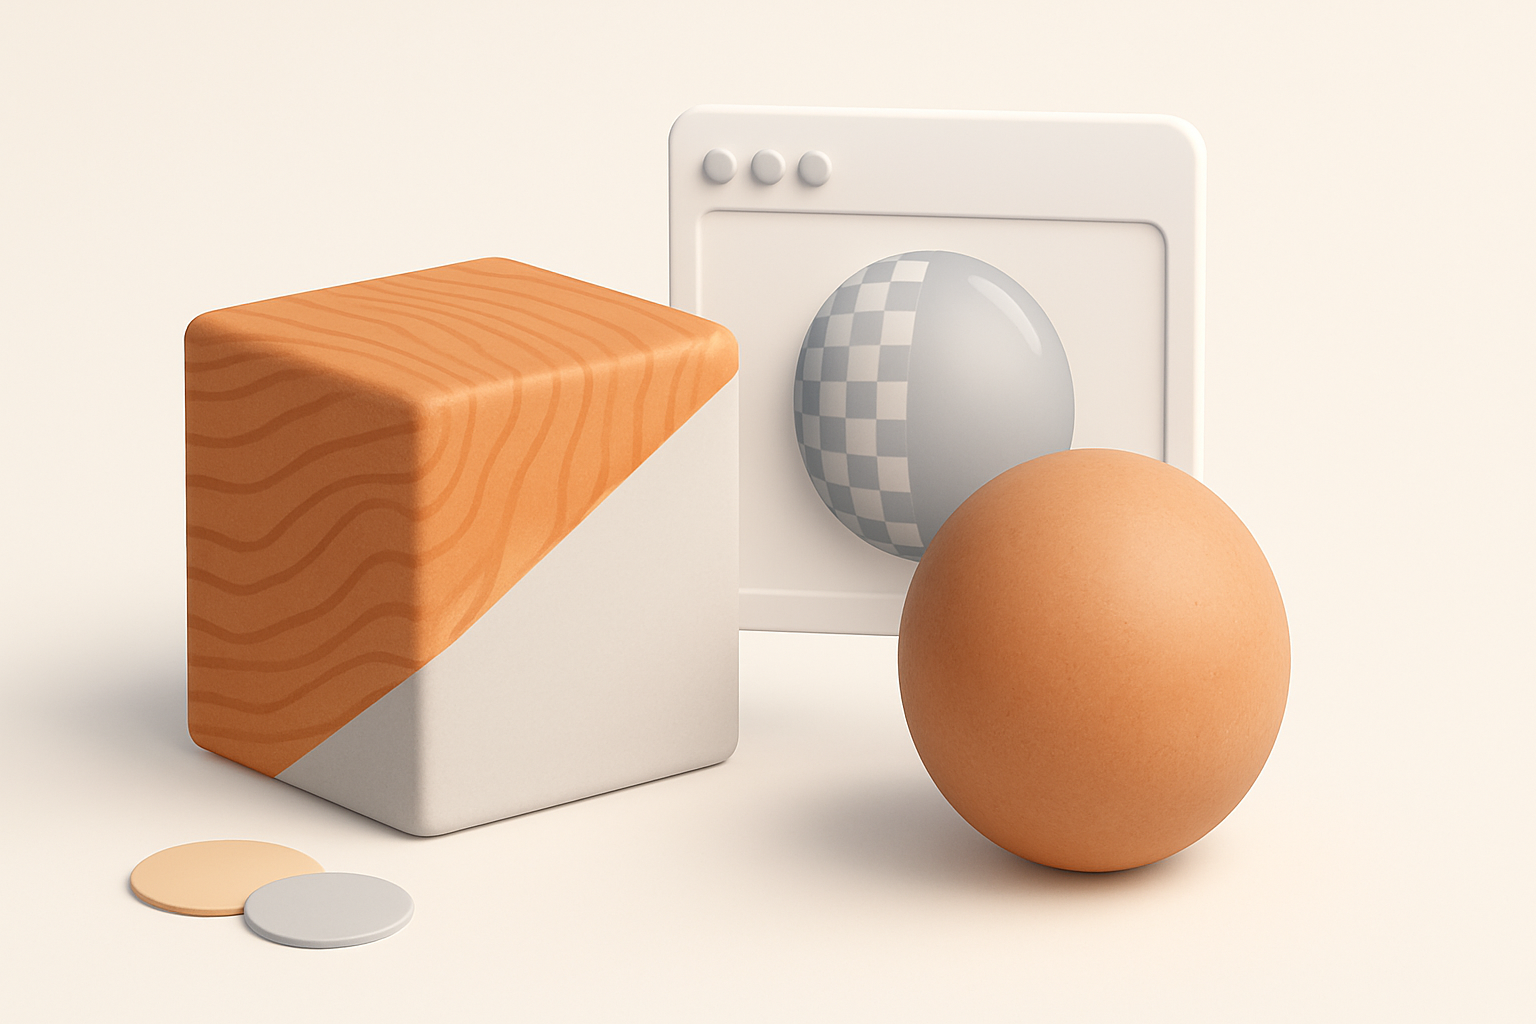
Hand-painting vs. procedural texturing
For Hollow Knight’s painterly look, I hand-paint textures using layers for base color, shading, and highlights. While procedural texturing can speed up base passes, I find hand-painting essential for capturing the game’s distinctive style.
Tip:
Work at a higher resolution than needed, then downscale for crisp, clean results.
Tips for achieving the Hollow Knight aesthetic
- Use a limited color palette—mostly monochrome with subtle blue/purple tints
- Add soft gradients and gentle highlights to mimic the game’s lighting
- Avoid harsh surface detail; keep everything stylized and simple
- Test textures in your rendering environment to ensure consistency
Rigging and Animation Preparation
Setting up a basic rig for posing
I set up a simple skeleton with controls for the head, arms, and cape. For basic posing or animation, I keep the rig lightweight but ensure joints are placed for natural movement. Weight painting is minimal due to the simple geometry.
Checklist:
- Place bones for all moving parts
- Test basic poses for deformation issues
- Adjust weights as needed for smooth bending
Exporting for animation or game engines
Before export, I check scale, orientation, and naming conventions. I export in FBX or GLTF formats, depending on the target engine. If using AI tools, I ensure compatibility throughout the pipeline to avoid import/export issues.
Pitfall:
Forgetting to freeze transforms or apply scale can cause problems in-game.
Using AI-Powered Tools in My Workflow

How I leverage AI for segmentation and texturing
AI-powered segmentation helps me quickly separate character parts (like the head, cape, and horns) for easier UV mapping and texturing. For texturing, I use AI-assisted tools to generate base maps, which I refine by hand to match the Hollow Knight style.
Tip:
Let AI handle repetitive tasks, but always review and adjust results for quality.
Integrating AI tools with traditional 3D software
I import/export between AI tools and my main 3D package as needed. Most AI-generated assets require some manual cleanup, but the time savings on segmentation and retopology are significant. I test compatibility early to avoid pipeline issues.
Checklist:
- Segment and retopologize with AI tools
- Refine and texture in your primary 3D software
- Always review AI outputs for errors or artifacts
Exporting, Sharing, and Showcasing the Model
Optimizing for web, games, or 3D printing
For web or game use, I optimize polycount, bake normal maps, and compress textures. For 3D printing, I check for watertight geometry and correct scale. I use standard formats (GLTF, FBX, STL) for compatibility.
Mini-checklist:
- Remove hidden geometry
- Check UVs for stretching
- Test in target environment before publishing
Presenting the final model in portfolios
Clean presentation is key. I render the model with neutral lighting and include multiple angles, wireframes, and texture sheets. If possible, I embed interactive viewers for real-time inspection. I clearly credit all tools and techniques used.
Tip:
Showcase both finished renders and work-in-progress shots to demonstrate your process.
Lessons Learned and Troubleshooting
Common challenges and my solutions
- Proportions not matching references: I overlay my model with reference images until it matches.
- Topology issues after AI retopology: I always do a manual pass to fix edge flow and remove artifacts.
- Textures looking flat: I add subtle gradients and rim lighting to enhance depth.
Advice for beginners and advanced users
- Don’t skip planning—reference and style definition are crucial.
- Use AI tools to save time, but never rely on them entirely.
- Iterate often and seek feedback; it’s the fastest way to improve.
- For advanced users: experiment with hybrid workflows, combining AI and manual techniques for the best results.
By following this workflow, I consistently achieve high-quality, production-ready Hollow Knight 3D models—efficiently and creatively. Whether you’re just starting or refining your process, these tips and tools can help you bring your own stylized characters to life.