Creating a Finger Bearer 3D Model: Expert Workflow & Tips
Building a finger bearer 3D model is a specialized task that blends anatomical accuracy with creative interpretation. In my experience, the best results come from a clear concept, solid references, and a streamlined workflow—from blocking out the mesh to final export. Whether you're working for games, XR, or animation, leveraging AI-powered platforms like Tripo can save hours and reduce technical friction. This guide covers the full process, practical tips, and key differences between traditional and AI-driven methods, aimed at artists, designers, and developers seeking production-ready assets.
Key takeaways
- Start with strong references and clear anatomical planning.
- Block out the base mesh quickly, then refine with detail and proportion checks.
- Use intelligent tools for segmentation, retopology, and texturing to optimize workflow.
- Rigging fingers requires careful joint placement and weight painting.
- Export settings and integration steps vary by platform—know your target.
- AI-powered approaches can accelerate iteration and reduce manual steps.
Understanding the Finger Bearer Concept in 3D Modeling
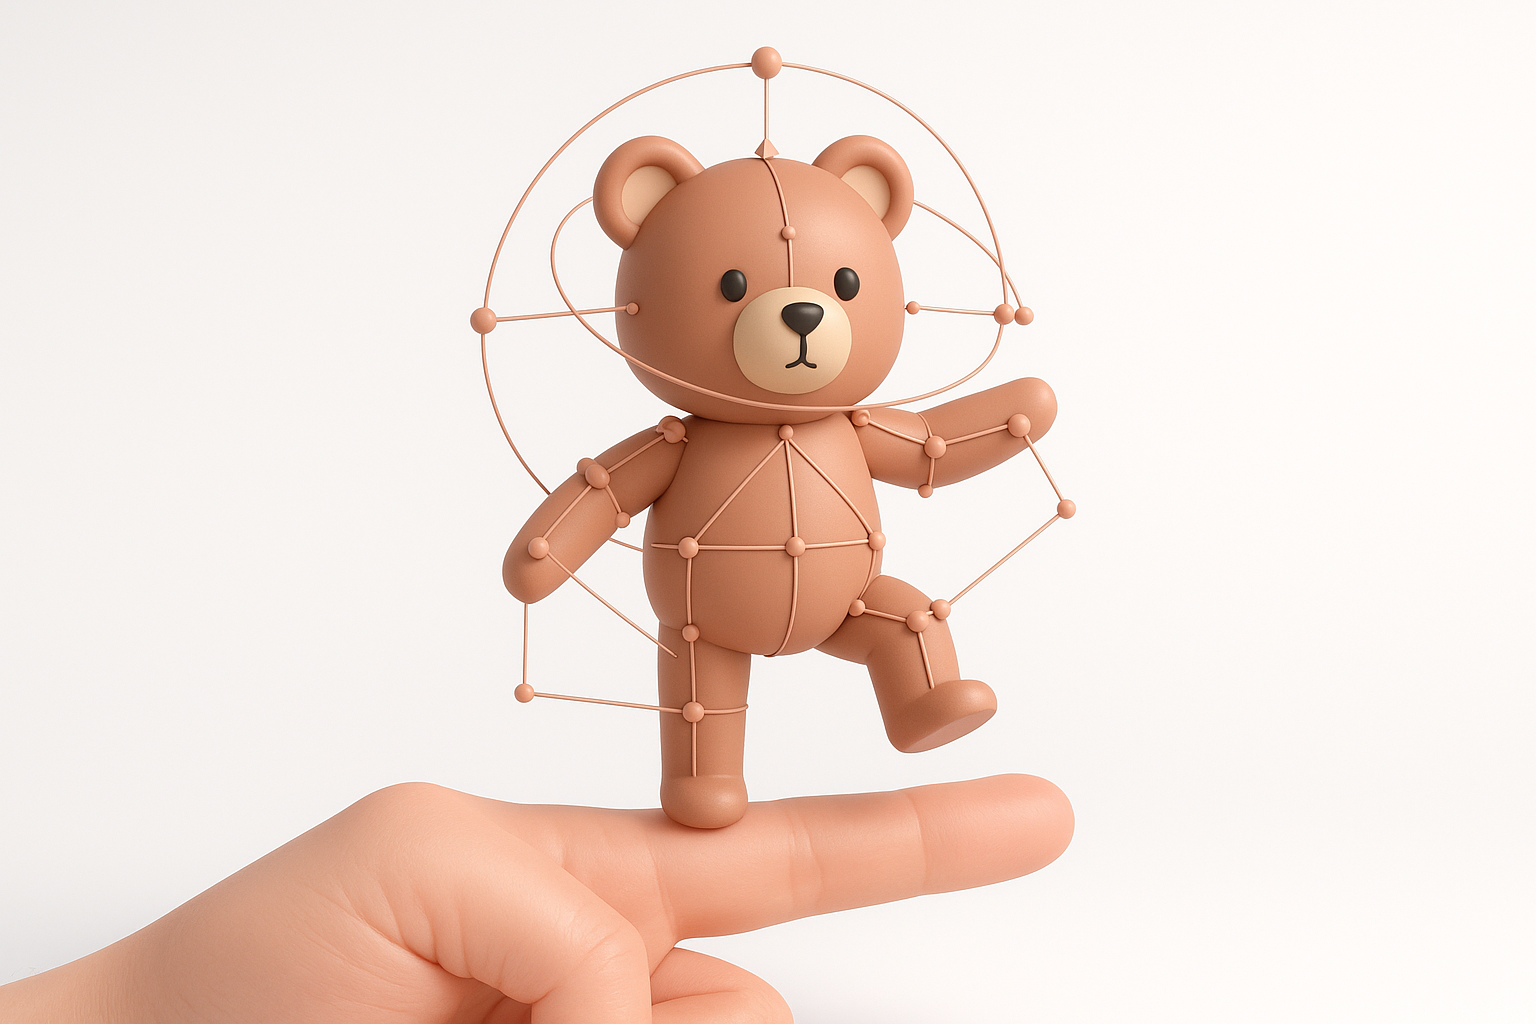
What is a finger bearer model?
A finger bearer model typically refers to a character or object designed to interact with, hold, or be worn on fingers—think wearable gadgets, stylized creatures, or anatomical studies. In my workflow, these models require special attention to finger anatomy, grip mechanics, and scale.
- Often includes detailed finger joints and surfaces for interaction.
- May be stylized or realistic, depending on the use case.
Common use cases and industry applications
Finger bearer models are common in:
- Game assets (wearable rings, finger puppets, or creatures)
- XR/VR prototypes (hand-based interfaces)
- Medical and educational visualization (anatomy studies)
- Product design (wearable tech, jewelry)
What I’ve found: Precise anatomical modeling and pose flexibility are key for usability and realism.
Planning and Reference Gathering for Finger Bearer Models
Collecting effective references and sketches
I always start by gathering high-resolution photos, anatomical diagrams, and concept sketches. For stylized models, I sketch multiple poses to clarify proportions and gesture.
- Reference checklist:
- Photos of hands/fingers in relevant poses
- Sketches showing grip and interaction
- Existing 3D models for scale comparison
Pitfall: Skipping reference gathering leads to anatomical errors and awkward poses.
Defining scale, pose, and anatomical details
Before modeling, I define:
- Exact scale (match to real hand/finger dimensions)
- Intended pose (static, dynamic, or animated)
- Key anatomical landmarks (knuckles, nail beds, creases)
Tip: In Tripo, I upload reference images and sketches to guide the segmentation and initial mesh generation.
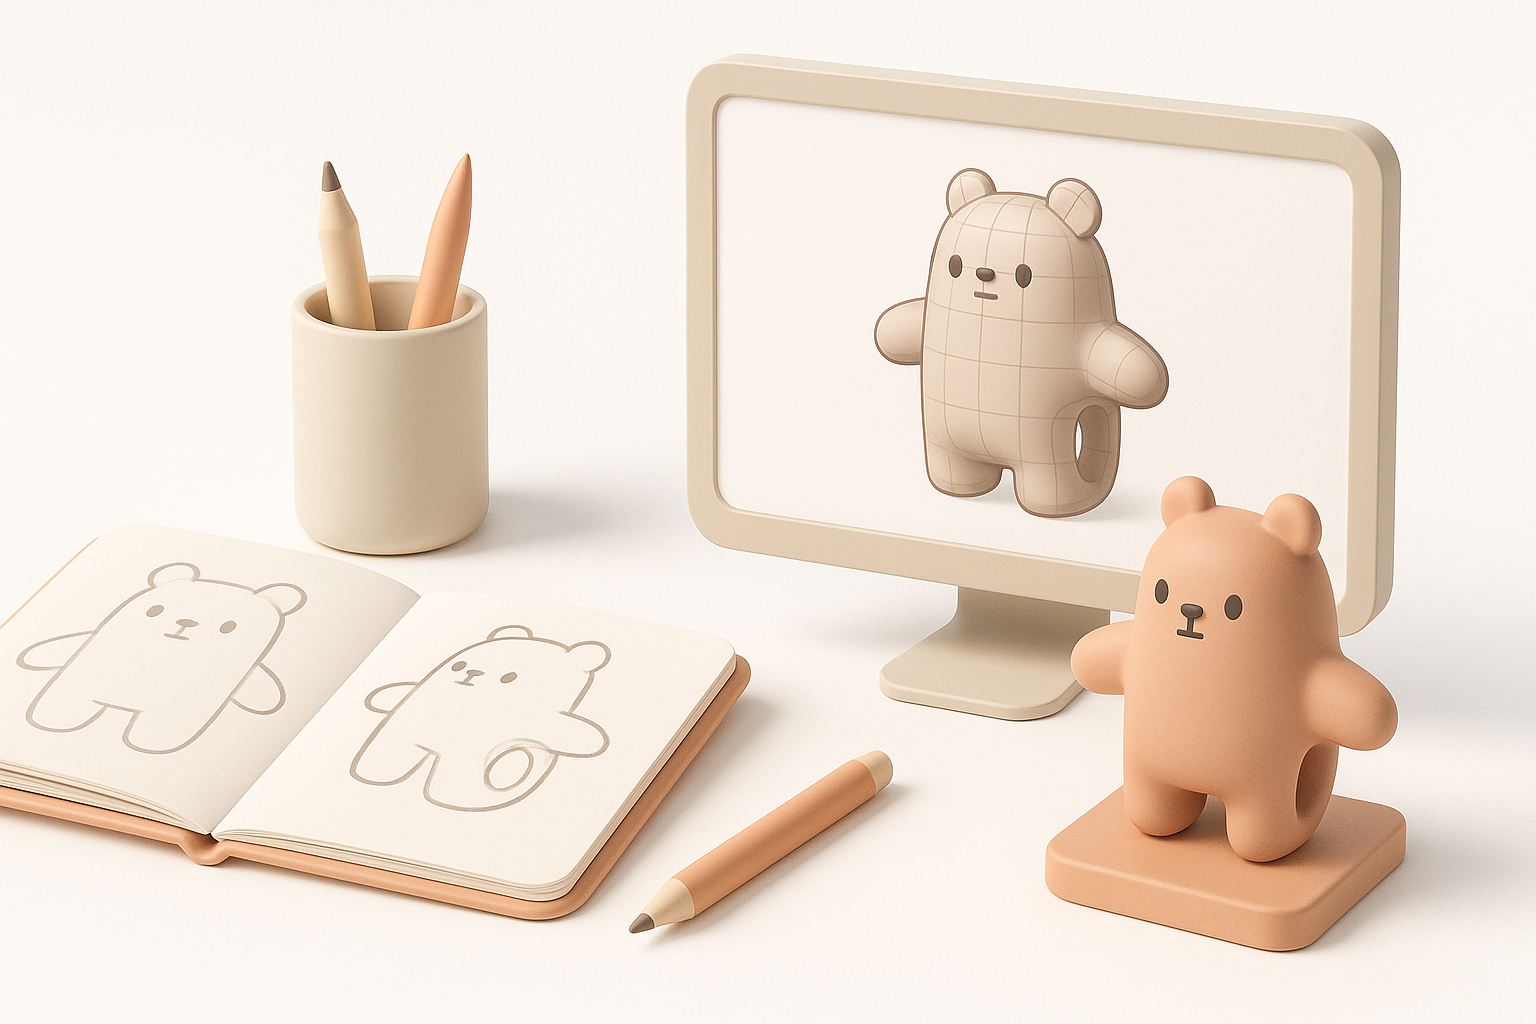
Step-by-Step Workflow: Modeling a Finger Bearer
Blocking out the base mesh
I start with a rough mesh, focusing on overall proportion and silhouette. With AI tools, I often use text prompts or image inputs to generate a base, then manually adjust in my 3D software.
- Steps:
- Generate or sculpt a simple mesh for hand/fingers
- Position the finger bearer object/character
- Check scale and alignment
Tip: Don’t waste time on details early—get the main forms right first.
Refining shapes and adding details
Once the base is solid, I refine:
- Finger joints, creases, and nails
- Surface details (textures, wrinkles, stylization)
- Integration points (where the bearer connects or interacts with fingers)
Pitfall: Over-detailing before confirming pose and proportions can lead to wasted effort.
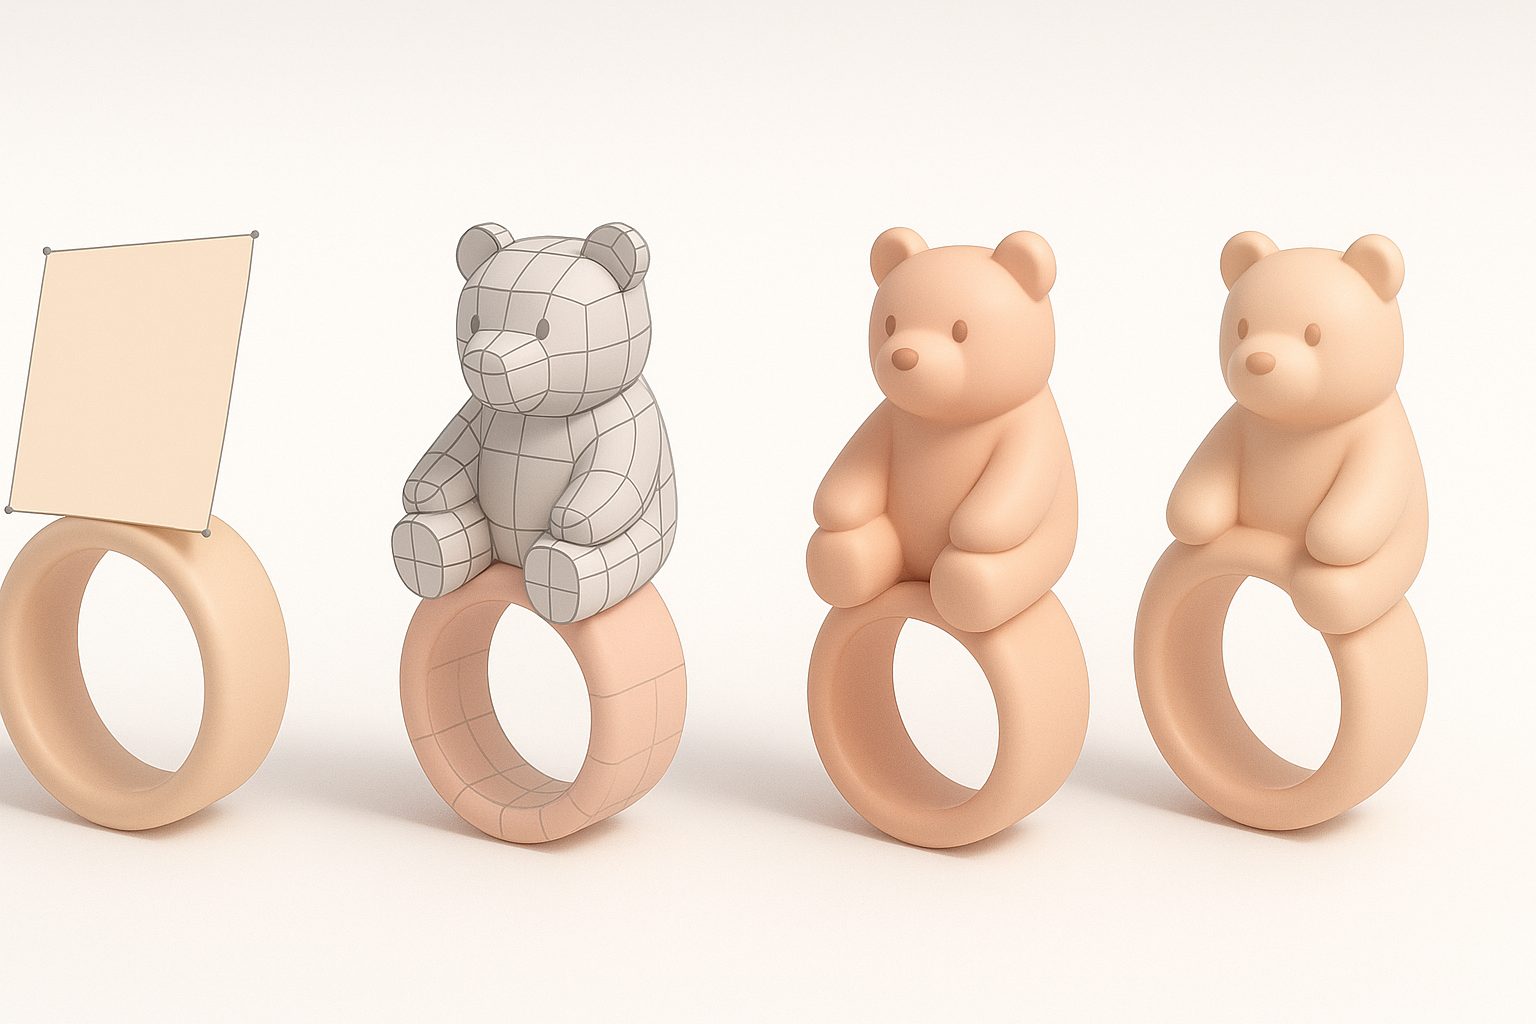
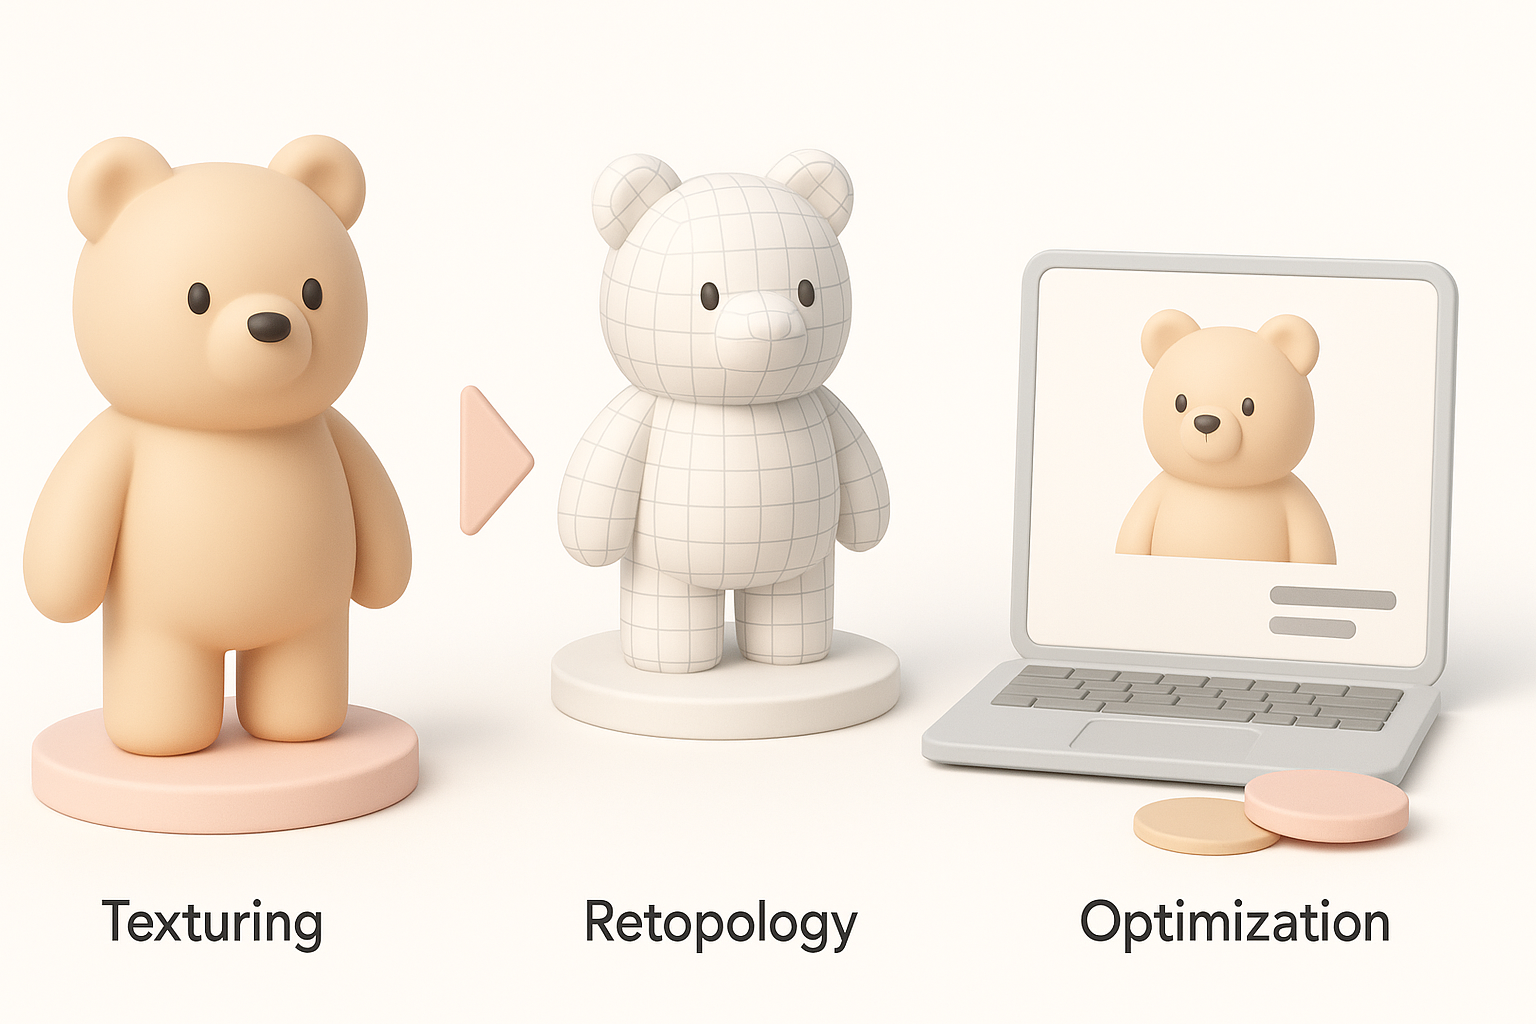
Texturing, Retopology, and Optimization Best Practices
Efficient UV mapping and texturing techniques
For production assets, I use automatic UV unwrapping in Tripo, then apply textures from reference photos or hand-painted maps.
- Steps:
- Unwrap UVs with minimal distortion
- Bake high-res details to texture maps
- Apply color, normal, and roughness maps
Tip: Keep texture resolution consistent with target platform (e.g., 2K for games, higher for film).
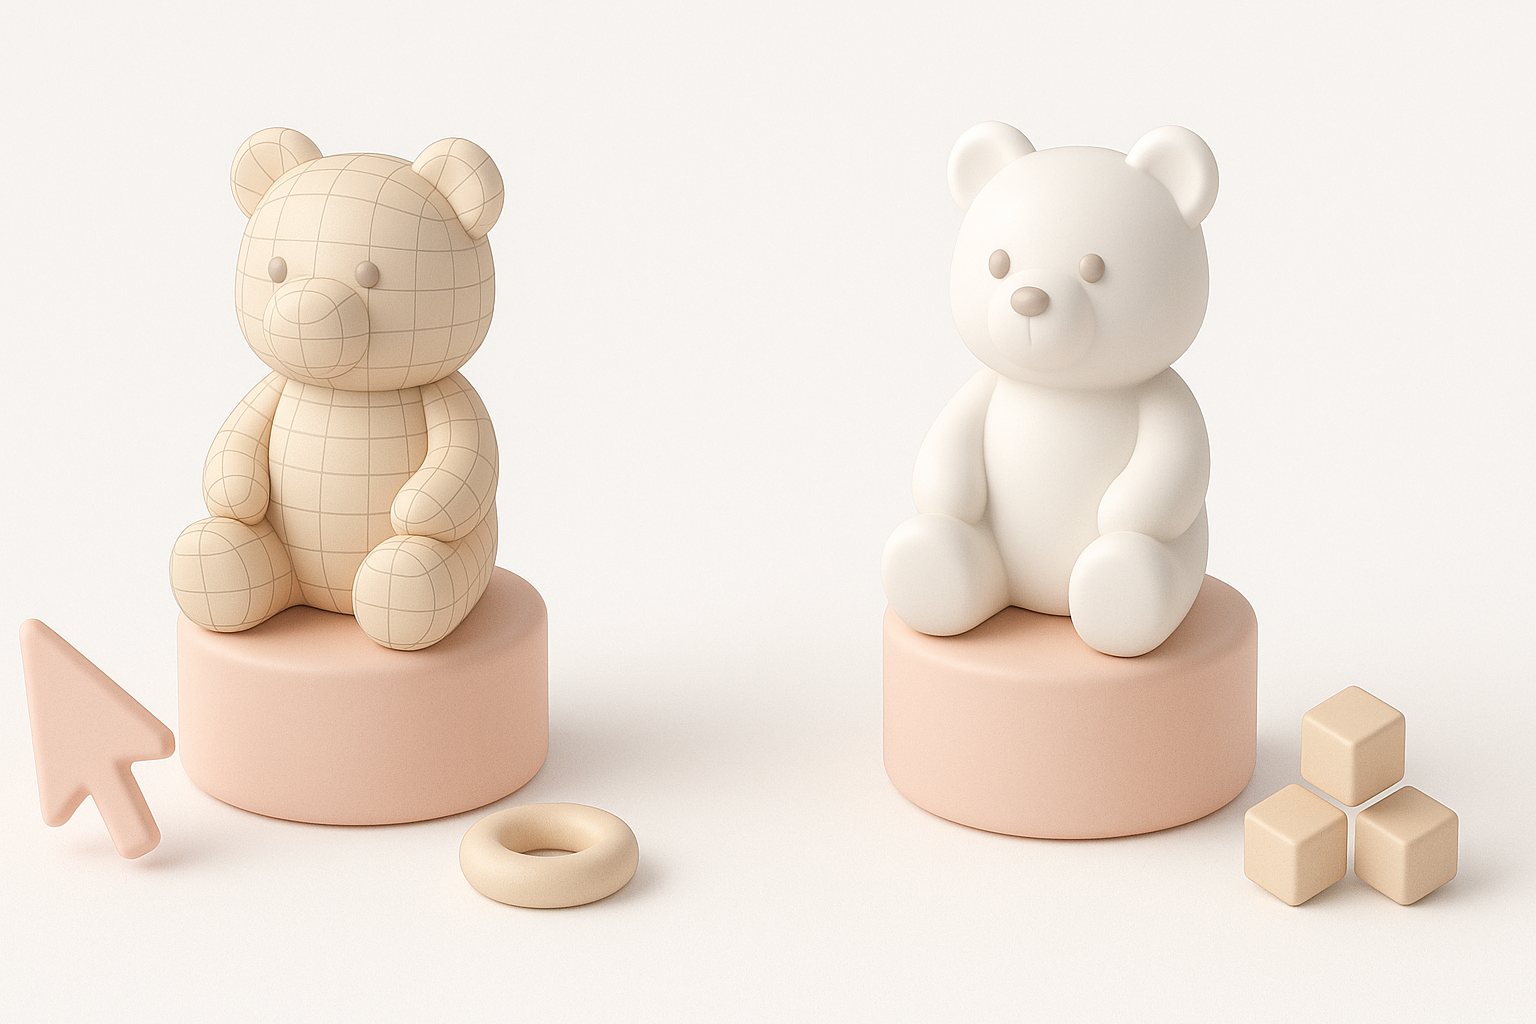
Retopology for animation and real-time use
Retopology is crucial for animation and real-time performance. I use intelligent retopology tools to generate clean, quad-based meshes.
- Steps:
- Analyze edge flow around finger joints
- Optimize polycount for target engine
- Test deformations with basic rig
Pitfall: Ignoring retopology leads to artifacts and poor animation quality.
Rigging and Animating the Finger Bearer Model
Setting up a functional rig for fingers
Rigging fingers requires precise joint placement and weight painting. I use auto-rigging features in Tripo for initial setup, then manually adjust weights for smooth bending.
- Steps:
- Place joints for each finger segment
- Set up IK/FK controls if needed
- Paint weights for natural deformation
Tip: Test rig with extreme poses to catch issues early.
Animating gestures and poses
For animation, I create key poses (grip, release, gesture) and blend between them. AI-assisted animation tools can generate basic cycles, but manual tweaking is often needed for nuance.
- Steps:
- Block out main poses
- Refine transitions and timing
- Export animation clips if required
Pitfall: Overlooking pose variety limits asset usability.
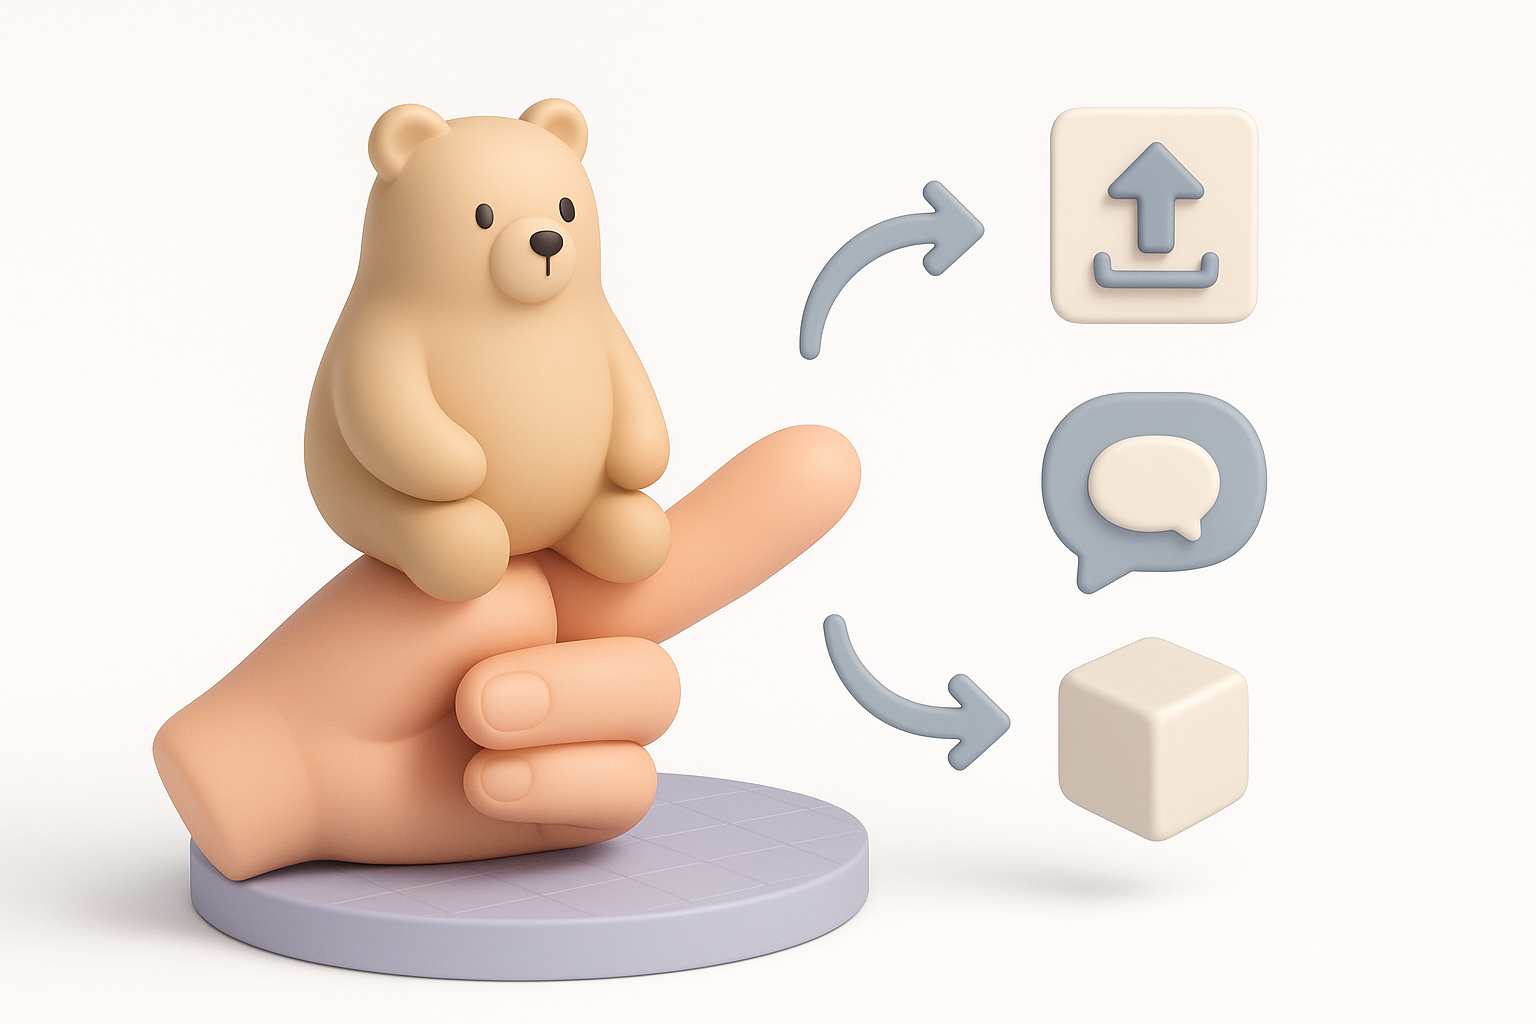
Exporting, Sharing, and Integrating Your Model
Export settings for different platforms
Export settings depend on target platform (game engine, XR, film). I typically export as FBX or GLTF, ensuring textures and animations are embedded.
- Steps:
- Set scale and unit conversions
- Check texture paths and embed assets
- Test import in target engine
Tip: Always preview exported model in the final environment.
Tips for seamless integration into games or XR
Integration is smoother when the model is clean, optimized, and well-organized.
- Checklist:
- Name meshes and bones clearly
- Use consistent material naming
- Provide LODs for performance if needed
Pitfall: Messy exports cause delays and technical issues downstream.
Comparing AI-Powered and Traditional 3D Modeling Approaches
When to use AI-driven tools for finger bearer models
AI-powered tools excel when:
- You need rapid prototyping or iteration
- Technical barriers (UVs, rigging) slow you down
- Time is limited, but quality is critical
I use AI tools for base mesh generation, segmentation, and auto-rigging, then refine manually for unique details and animation polish.
Personal insights: What I’ve learned from both methods
From hands-on experience:
- AI tools accelerate early stages and remove technical friction.
- Manual methods offer more control for stylization and custom animation.
- The best workflow blends AI-assisted automation with manual artistry.
Tip: Don’t rely solely on automation—always review and refine for production quality.
In summary: Creating a finger bearer 3D model is a multi-stage process best approached with strong references, clear planning, and a hybrid workflow. AI-powered platforms like Tripo streamline technical steps, but manual refinement ensures the asset meets creative and production goals.