Essential 3D Model Resources: My Workflow and Best Practices
As a 3D professional, I rely on a blend of curated model libraries, smart evaluation, and streamlined workflows to deliver high-quality assets efficiently. Whether I’m prototyping for games, XR, or visualization, I’ve learned that knowing where to find the right models, how to vet them, and how to integrate them into my pipeline is critical. AI-driven tools now make this process even faster, but fundamentals like topology, compatibility, and licensing still matter. This guide shares my proven workflow, practical tips, and best practices for anyone looking to make the most of 3D model resources—whether you’re a solo artist, part of a studio, or building your own asset library.
Key takeaways:
- Know where to find reliable free and paid 3D model resources, and always check licensing.
- Evaluate models for quality, compatibility, and clean topology before integrating.
- Use AI-powered tools for rapid prototyping and customization, but review results carefully.
- Organize, tag, and document your own asset library for efficiency and portfolio growth.
- Share your work and contribute back to the community for feedback and visibility.
Types of 3D Model Resources and Where to Find Them
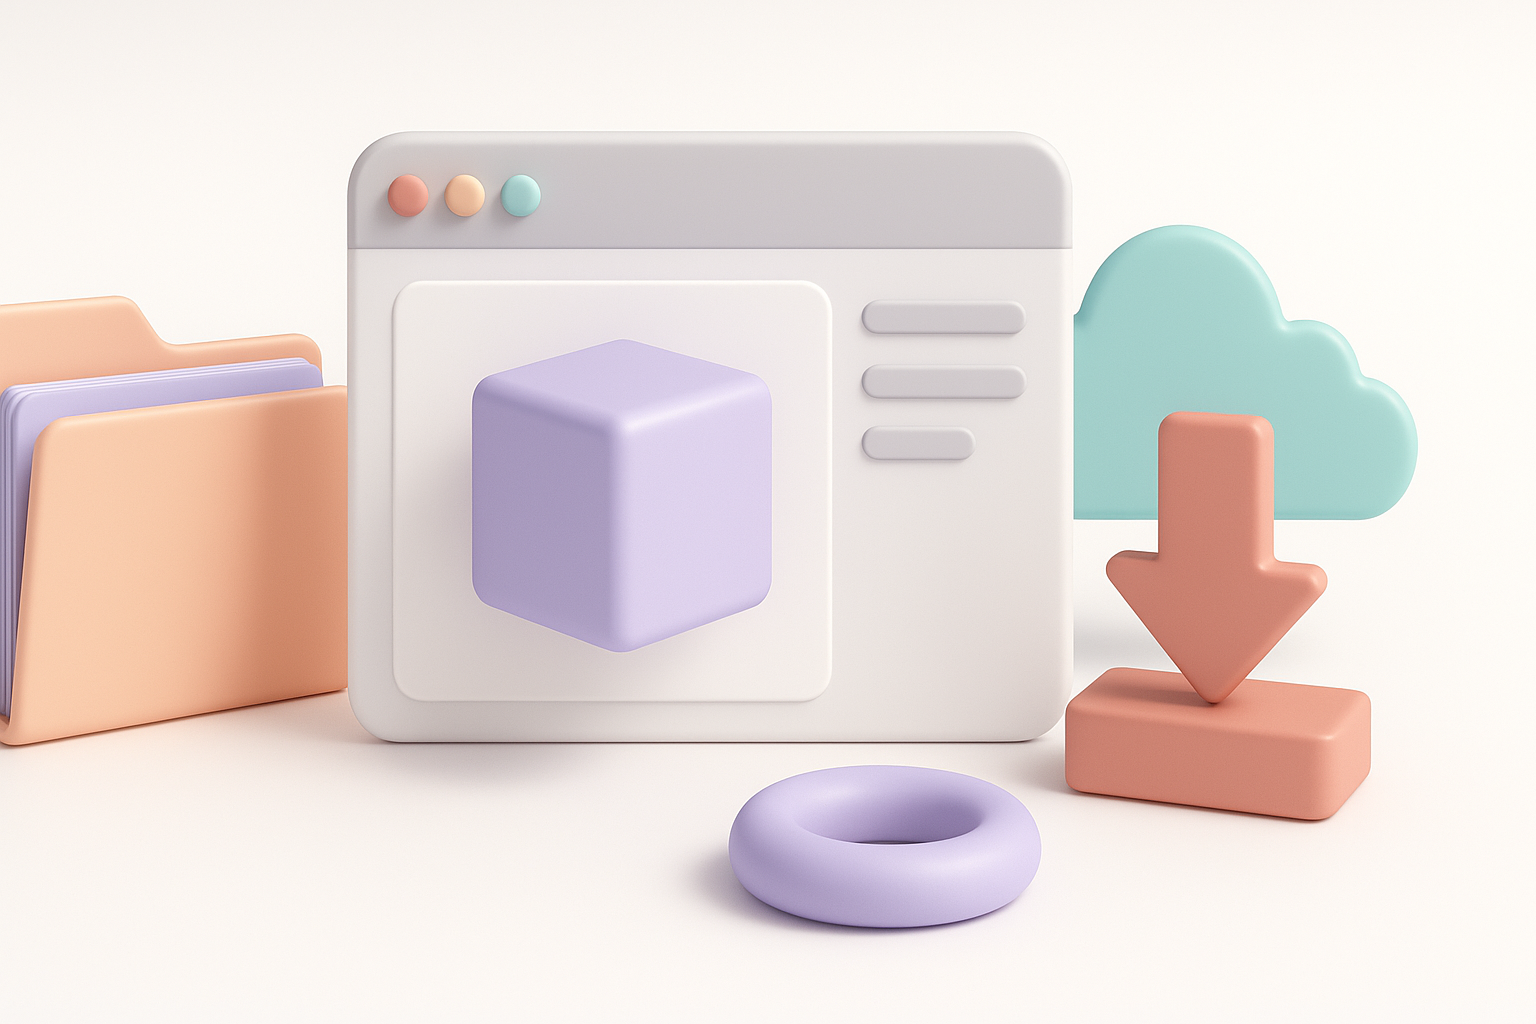
Free vs. Paid 3D Model Libraries
In my workflow, I use both free and paid libraries depending on project needs and budget. Free resources are great for prototyping, learning, and non-commercial projects. Paid libraries often offer higher-quality, more unique, and better-supported assets—especially when deadlines or production standards are strict.
Where I look:
- Free: Community repositories, open-source projects, and educational archives.
- Paid: Curated marketplaces, artist portfolios, and specialized 3D asset shops.
Tip: Always check the reputation of the source and the update frequency of the library.
Evaluating Quality and Licensing
Before downloading or purchasing, I always scrutinize models for quality and licensing. Poorly made assets can create more work than they save.
Evaluation checklist:
- Inspect wireframes for clean topology and reasonable polycount.
- Check for UV mapping and texture availability.
- Confirm file formats match my pipeline (e.g., FBX, OBJ, GLTF).
- Review license terms—especially for commercial use or redistribution.
Pitfall: Don’t assume free means “free for any use”—always read the fine print.
How I Integrate 3D Model Resources Into My Workflow
Selecting the Right Model for the Project
I start by defining the technical and artistic requirements: style, scale, polycount, and compatibility with my rendering engine. I use tags and filters to narrow down options quickly.
My selection process:
- Match style and scale to the project’s needs.
- Prioritize models with clean geometry and native file formats.
- Favor assets that include PBR textures or layered materials.
Tip: When in doubt, download a test model and check it in your scene before committing.
Optimizing and Customizing Imported Models
Even the best models often need tweaks. I routinely retopologize, re-UV, or retexture assets to fit my pipeline. AI-powered tools like Tripo help automate segmentation, retopology, and even texturing, saving hours on manual cleanup.
Optimization steps:
- Run auto-retopology and check for non-manifold geometry.
- Adjust UVs for consistent texel density.
- Replace or tweak textures for consistency.
- Test in-engine to catch any import or shading issues early.
Best Practices for Using 3D Model Resources
Ensuring Compatibility and Clean Topology
Nothing derails a project faster than incompatible or messy geometry. I always verify models before integrating them into my main scene.
My checklist:
- Confirm file format compatibility with my DCC and game engine.
- Inspect for ngons, flipped normals, or hidden geometry.
- Optimize polycount for the target platform (real-time vs. offline).
Tip: Use built-in or third-party validation tools to automate common checks.
Managing Textures, Materials, and File Formats
Textures and materials are often the trickiest part of asset integration. I standardize file formats and naming conventions early to avoid confusion.
My workflow:
- Convert all textures to a common format (PNG, TGA) and resolution.
- Re-link missing textures and check for correct UV mapping.
- Organize material slots and name them clearly.
Pitfall: Don’t assume all models use PBR standards—double-check material setups after import.
Comparing AI-Driven and Traditional 3D Model Creation
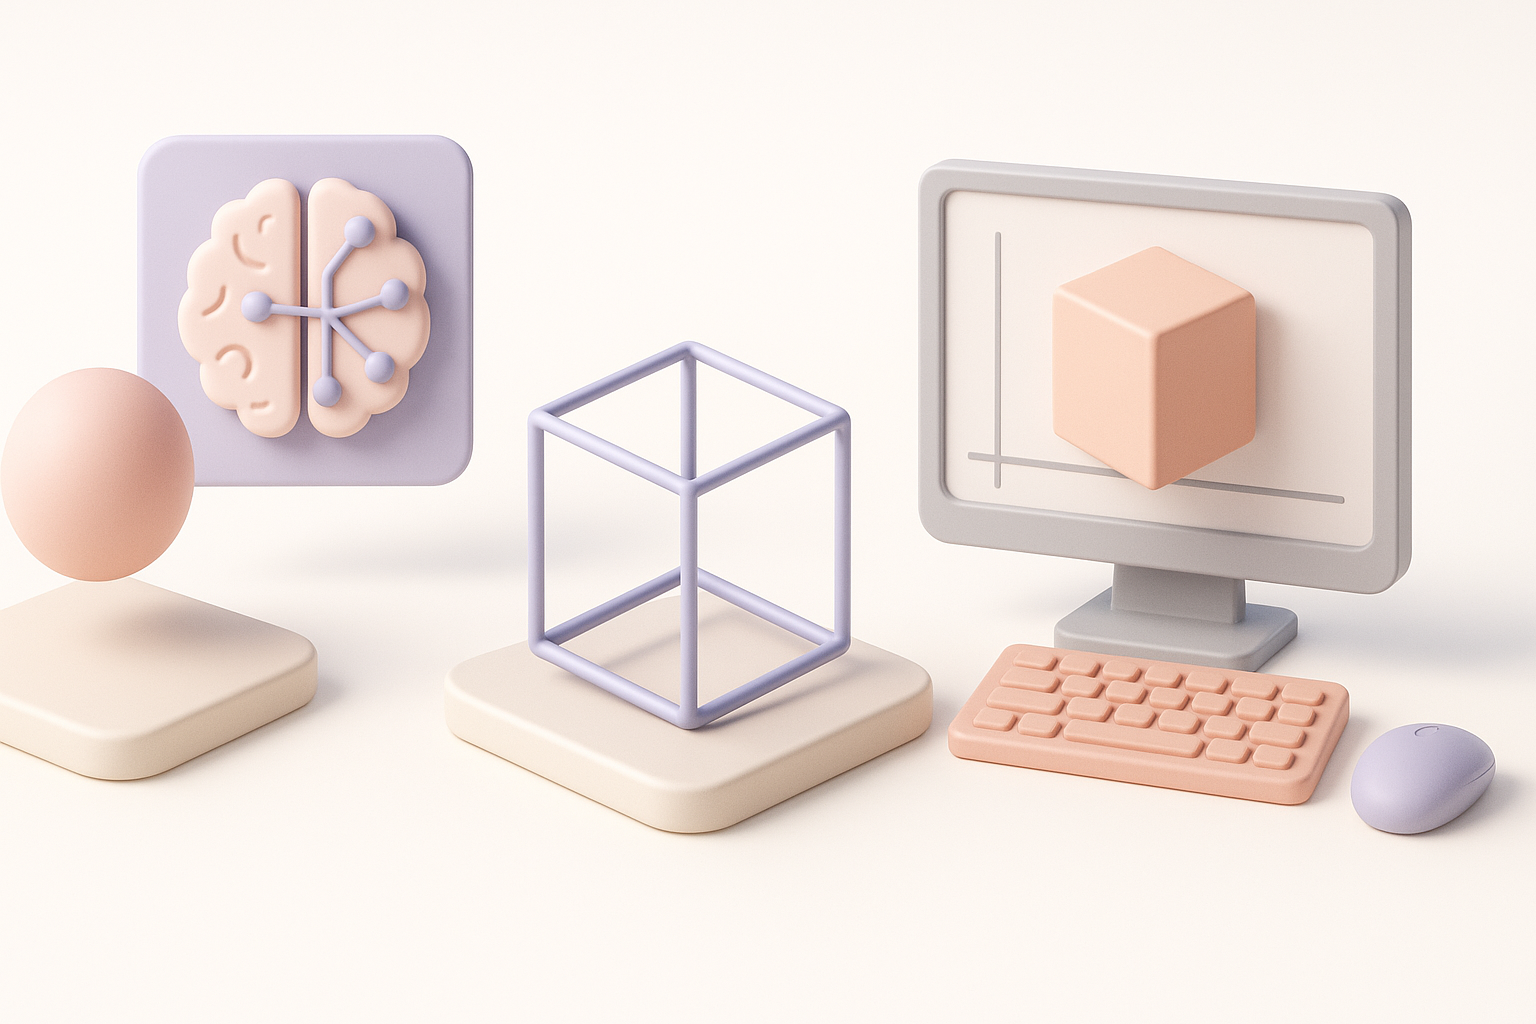
When to Use AI-Powered Tools
AI-driven tools have changed how I approach asset creation, especially for rapid prototyping and iteration. For concepting, background assets, or when I need a quick base mesh, I often use AI-powered generators like Tripo.
When I use AI tools:
- Speeding up ideation and blocking out scenes.
- Generating variants or filling out large environments.
- Creating base meshes for further sculpting or detailing.
Tip: Always review and refine AI-generated results—automation can introduce artifacts or inconsistencies.
Balancing Speed, Quality, and Creative Control
AI tools are fast, but sometimes manual modeling is still best for hero assets or when I need full creative control. I balance the two approaches based on project scope and quality requirements.
My approach:
- Use AI for quick iterations and base meshes.
- Switch to manual modeling for unique, high-detail assets.
- Always integrate a review and refinement step, regardless of the source.
Pitfall: Don’t rely solely on automation for critical assets—final polish still matters.
Tips for Building and Sharing Your Own 3D Model Library
Organizing and Tagging Assets
A well-organized asset library saves me hours in the long run. I use consistent folder structures, clear naming conventions, and metadata tagging to make searching and filtering easy.
Organization tips:
- Sort by category, project, and asset type.
- Include preview renders and metadata (polycount, formats, license).
- Use tags for style, use case, and technical specs.
Tip: Version control is invaluable—track changes and keep backups.
Contributing to the Community and Portfolio Growth
Sharing assets not only helps the community but also builds my reputation and portfolio. I contribute to open libraries, participate in challenges, and showcase my best work online.
How I contribute:
- Release non-commercial models under open licenses.
- Document asset creation and share process breakdowns.
- Engage with feedback and iterate on shared assets.
Benefit: Community contributions often lead to collaborations and new opportunities.
By following these best practices and leveraging both traditional and AI-assisted workflows, I’ve been able to streamline my 3D model sourcing, integration, and sharing—while maintaining quality and creative flexibility. Whether you’re just starting out or refining your professional pipeline, these strategies will help you get the most from today’s 3D model resources.