How to Create and Optimize a 3D Cube Model
Creating and optimizing a 3D cube model is one of the best ways to master foundational 3D skills. Whether you're a game developer, XR creator, or designer, a cube is often the starting point for more complex shapes and workflows. In my experience, the process is straightforward but filled with opportunities to apply best practices—especially with modern AI-powered tools like Tripo, which can accelerate and simplify the workflow. In this guide, I’ll walk through my hands-on approach, from concept to export, with practical tips for texturing, optimization, and integration.
Key takeaways
- A 3D cube is a fundamental building block for many projects—mastering it pays off.
- Efficient workflows combine manual skills with AI-powered automation for speed and quality.
- Clean topology and optimized UVs are essential for production-ready cubes.
- AI tools like Tripo streamline segmentation, retopology, and texturing.
- Exporting in the right format ensures compatibility with games, XR, and design pipelines.
Understanding the Basics of 3D Cube Modeling
What Makes a 3D Cube Model Unique
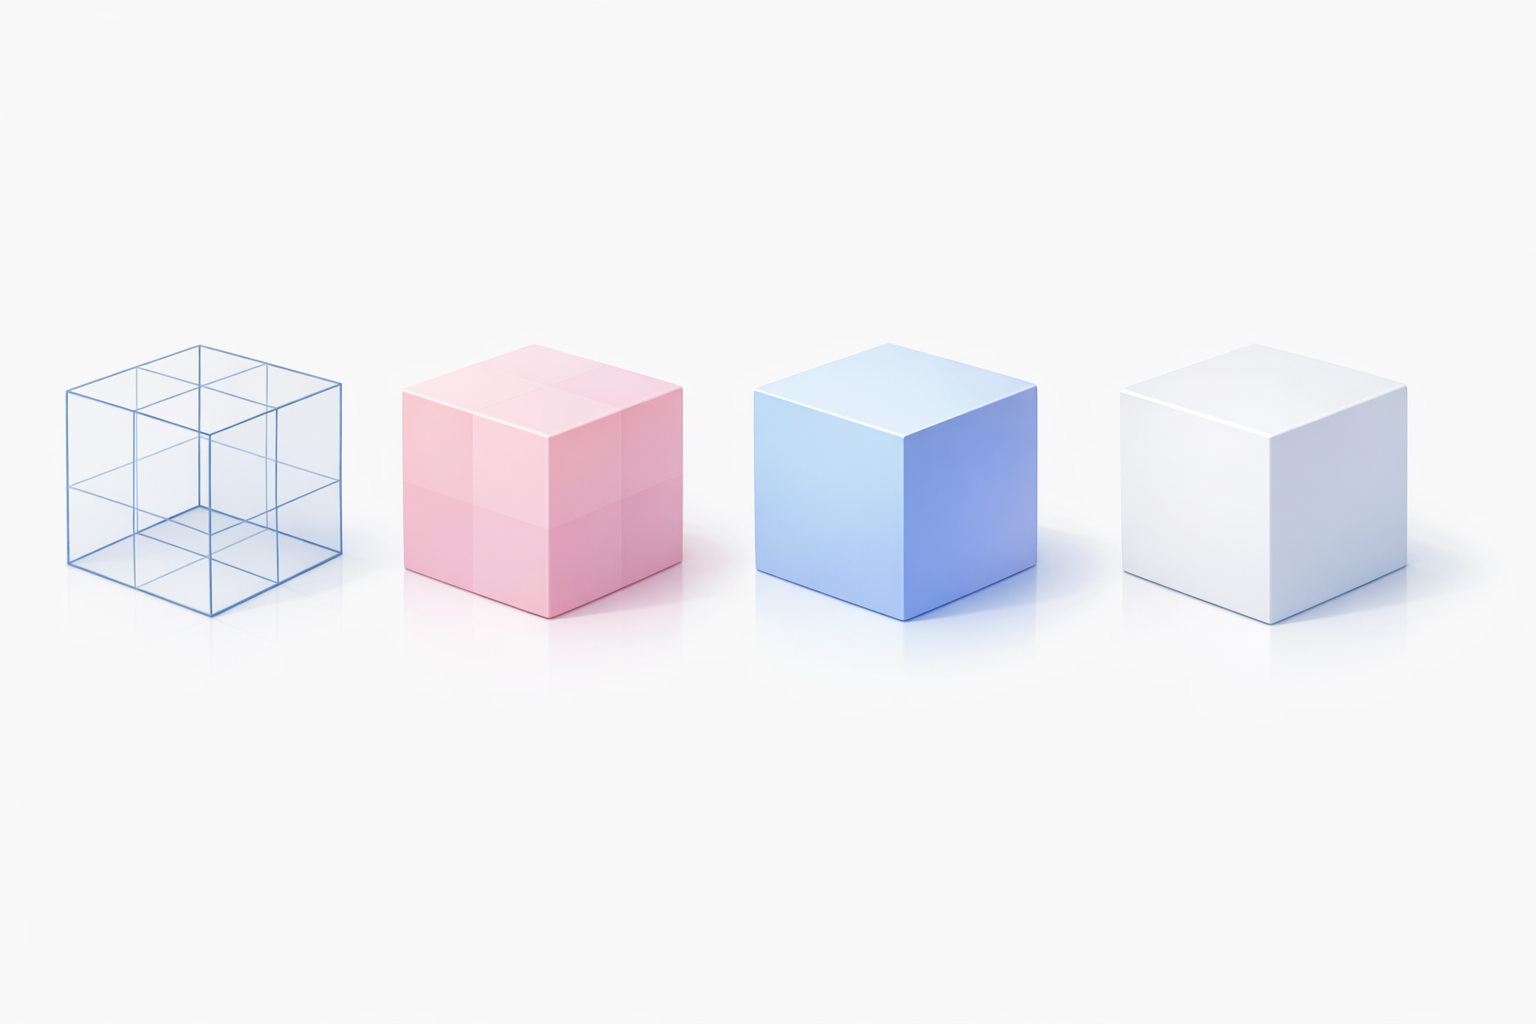
A 3D cube is the simplest polyhedral shape—six faces, twelve edges, and eight vertices. But, in practice, even a basic cube can reveal a lot about your modeling pipeline. Cubes are unique because their symmetry and simplicity make them easy to create but also highlight any workflow inefficiencies or geometry issues. In my experience, a well-made cube sets the stage for quality in larger projects.
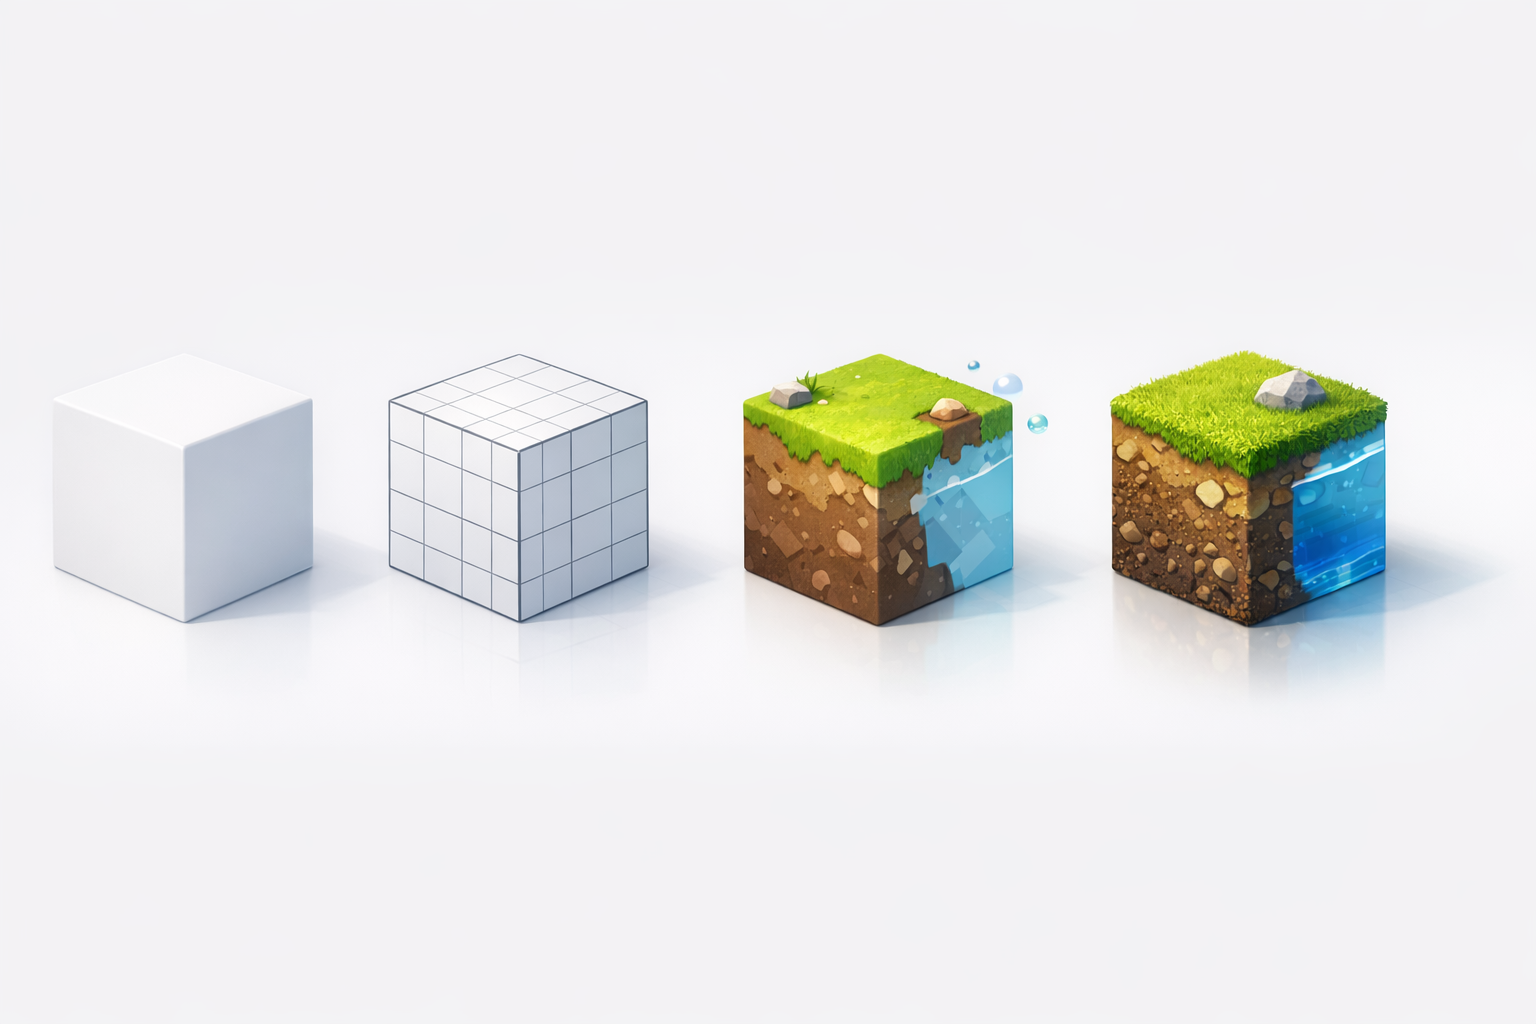
Common Use Cases for 3D Cubes
Cubes are everywhere: as placeholders (blockouts), architectural elements, props, and even stylized assets in games. I often use cubes for rapid prototyping, collision meshes, and as the foundation for more complex modeling (box modeling). They’re also a great way to test UV mapping, materials, and lighting setups.
Common cube uses:
- Level blockouts and greyboxing
- Modular environment pieces
- Simple props and assets
- Physics and collision meshes
Step-by-Step Guide to Building a 3D Cube
Essential Tools and Software for Cube Creation
You can create a cube in any 3D software—Blender, Maya, or with AI-powered platforms like Tripo. I recommend starting with a tool you’re comfortable with, then exploring AI tools for speed and automation. Tripo, for instance, lets me generate a cube from text or sketches and handles much of the tedious setup automatically.
Cube creation essentials:
- 3D modeling software (traditional or AI-powered)
- Basic navigation and transform tools
- Export options for common formats (OBJ, FBX, GLB)
My Workflow: From Concept to Finished Model
Here’s how I typically build and optimize a cube:
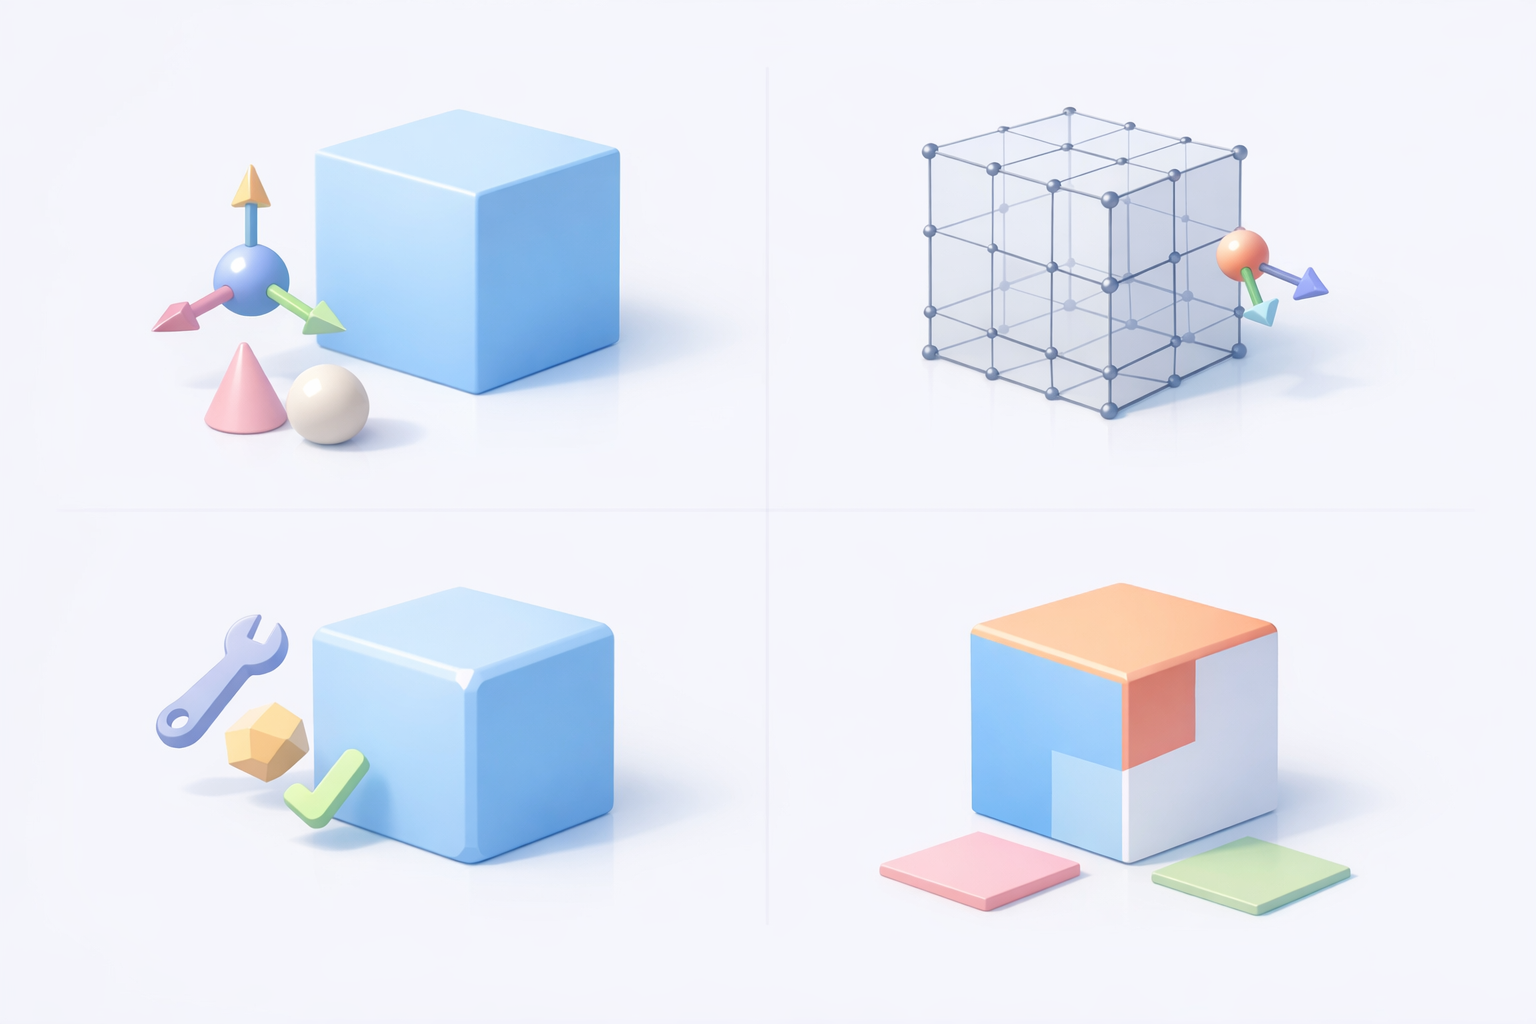
- Start with a primitive: In manual tools, add a cube primitive; in Tripo, I can type “simple cube” and generate one instantly.
- Set dimensions: Adjust scale for your needs—uniform for a perfect cube, or tweak for a rectangular box.
- Check geometry: Ensure there are no extra faces or vertices. With AI tools, I always inspect the output for clean geometry.
- Apply transforms: Freeze/apply scale and rotation so the model behaves predictably in other software.
- Name and organize: Label your mesh properly, especially if it’s part of a larger scene.
Pitfalls to avoid:
- Overcomplicating the mesh (too many subdivisions)
- Forgetting to reset transforms before export
Best Practices for Texturing and Optimizing Cubes
Efficient UV Unwrapping and Texturing Techniques
A cube’s UVs are straightforward, but I’ve seen plenty of messy unwraps. I usually use a “cube projection” or “box mapping” method. With Tripo, UVs are auto-unwrapped intelligently, but I always double-check for overlapping or stretched islands.
My texturing checklist:
- Use non-overlapping UV islands for each face
- Keep texel density consistent
- Export a test UV layout to check for distortion
For texturing, I often use a simple tiling material or paint unique details for each face. AI tools can auto-generate base textures, which I tweak as needed.
Tips for Clean Topology and Low Poly Counts
Clean topology matters—even for cubes. I keep geometry minimal: one face per side, no unnecessary edge loops. If I subdivide for smoothing, I make sure it’s justified (e.g., for deformation). Tripo’s retopology tools help maintain a low poly count without manual cleanup.
Optimization tips:
- Limit to 8 vertices and 12 edges unless more detail is needed
- Weld or merge duplicate vertices
- Delete hidden or internal faces
Comparing AI-Powered and Traditional Modeling Methods
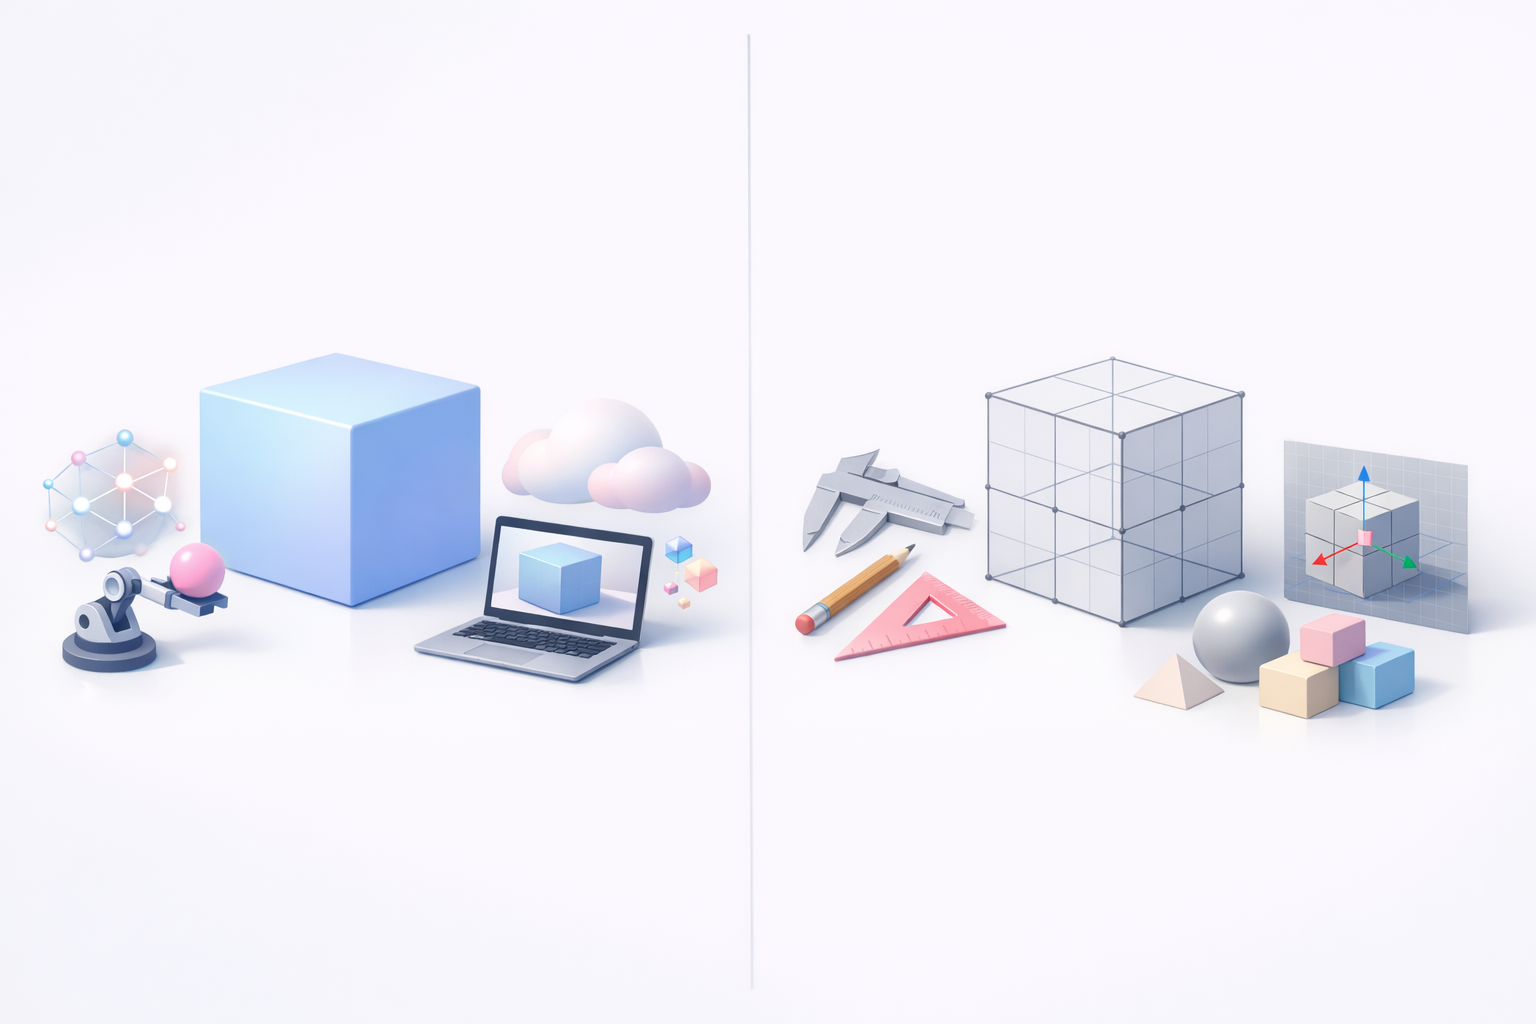
When to Use AI Tools for Cube Modeling
For simple cubes, manual modeling is fast, but AI tools shine when you need to generate variants, handle texturing, or integrate with larger pipelines. I use Tripo for rapid prototyping, batch asset creation, or when I want smart UVs and auto-texturing.
AI is best for:
- Rapid iteration and prototyping
- Automated UVs and materials
- Integrating with AI-driven pipelines
Pros and Cons of Manual vs. Automated Approaches
Manual modeling:
- Pros: Full control, easy for simple shapes, great for learning fundamentals
- Cons: Time-consuming for repetitive tasks, manual UVs and texturing can be tedious
AI-powered modeling:
- Pros: Speed, automation, smart segmentation, and texturing
- Cons: Less control over fine details, may require manual tweaks for perfection
I often combine both—using AI for the bulk of the work, then refining manually as needed.
Exporting, Sharing, and Using Your 3D Cube Model

Supported File Formats and Compatibility
I always consider where my cube will be used. Common export formats include OBJ, FBX, and GLB/GLTF. Tripo supports these, making it easy to move assets between platforms. For web or XR, GLB is often my go-to for its compactness and material support.
Checklist before export:
- Freeze transforms and apply scale
- Check UVs and materials
- Choose the right format for your pipeline
Integrating Cubes into Games, XR, and Design Projects
Integration is usually seamless if the model is clean and optimized. I import cubes into game engines, XR frameworks, or design tools without issues—especially when exported from AI tools with proper settings. I double-check scale and orientation, and test materials in the target environment.
Integration tips:
- Test in the final engine or viewer
- Use consistent naming and organization
- Keep poly count and texture size appropriate for the platform
By mastering the creation and optimization of a simple 3D cube, you’ll build habits and workflows that scale to any project—especially as AI-powered tools lower the barrier and speed up the process.