How to Create a 3D Cat Model: Workflow, Tips, and Tools
Creating a 3D cat model is more accessible than ever, thanks to AI-powered platforms that streamline the entire process from rough concept to production-ready asset. In my experience, the key is combining good planning, the right references, and efficient use of modern tools. Whether you’re a game developer, animator, or hobbyist, you can achieve high-quality results—fast—if you follow a proven workflow and avoid common pitfalls. Below, I break down my step-by-step approach, from gathering references to exporting optimized models, with practical insights at every stage.
Key takeaways:
- Start with strong references and a clear style direction (realistic or stylized).
- AI-powered tools like Tripo AI dramatically speed up base mesh creation and iteration.
- Focus on clean topology and efficient UVs for easy texturing and rigging.
- Optimize exports for your target platform (games, XR, or film).
- Troubleshoot with mini-checklists and leverage AI for rapid fixes.
- Always review textures, fur, and rigging for realism and style consistency.
Executive Summary: Key Steps and Insights
What to Expect When Creating a 3D Cat Model
Expect a streamlined process if you use AI-driven tools; you’ll move from concept to a textured, rigged model in a fraction of the traditional time. The main phases—planning, modeling, texturing, rigging, and export—are all simplified with the right platform. You’ll still need to guide the process with good references and validate results at each step.
My Top Takeaways for Efficient 3D Cat Modeling
- Gather references before touching any software.
- Use AI-driven tools for rapid base mesh and retopology.
- Always check and adjust UVs and topology before texturing.
- Save time with built-in rigging and animation presets.
- Optimize exports for your end-use (e.g., low-poly for games, high-res for film).
Planning and References for a 3D Cat Model
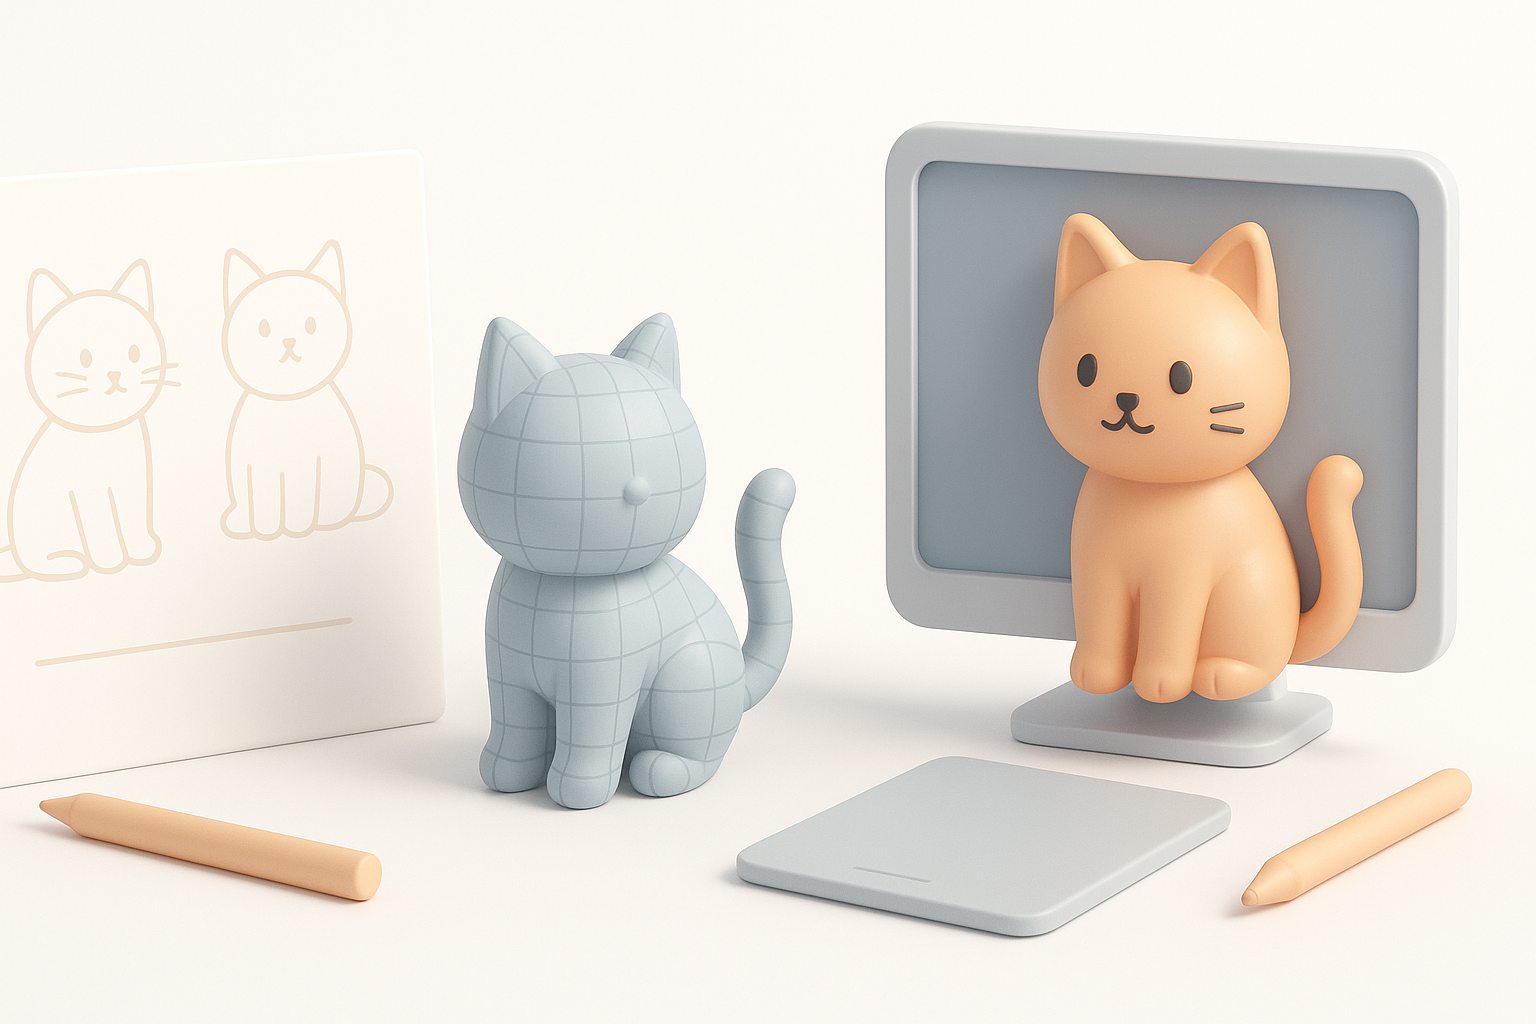
Gathering Reference Images and Sketches
I always start by collecting a variety of cat images—side, front, and top views are essential. Sketches (even rough ones) help clarify proportions and pose. For stylized cats, I gather art references that match the desired look.
Checklist:
- Photos: real cats, multiple angles
- Sketches: your own or sourced online
- Style references: cartoons, game art, or films
Pitfall: Skipping this phase leads to proportion errors and inconsistent style.
Defining Style: Realistic vs. Stylized Cats
Decide early: Are you aiming for a lifelike cat or a stylized one? This affects every decision, from modeling to texturing. I find it helpful to annotate references with notes on fur patterns, color, and anatomy details.
- Realistic: Focus on anatomy, subtle fur, and natural poses.
- Stylized: Exaggerate features (eyes, paws), simplify fur, bold colors.
Tip: Share your style board with collaborators for feedback before modeling.
Choosing the Right Tools and Platforms
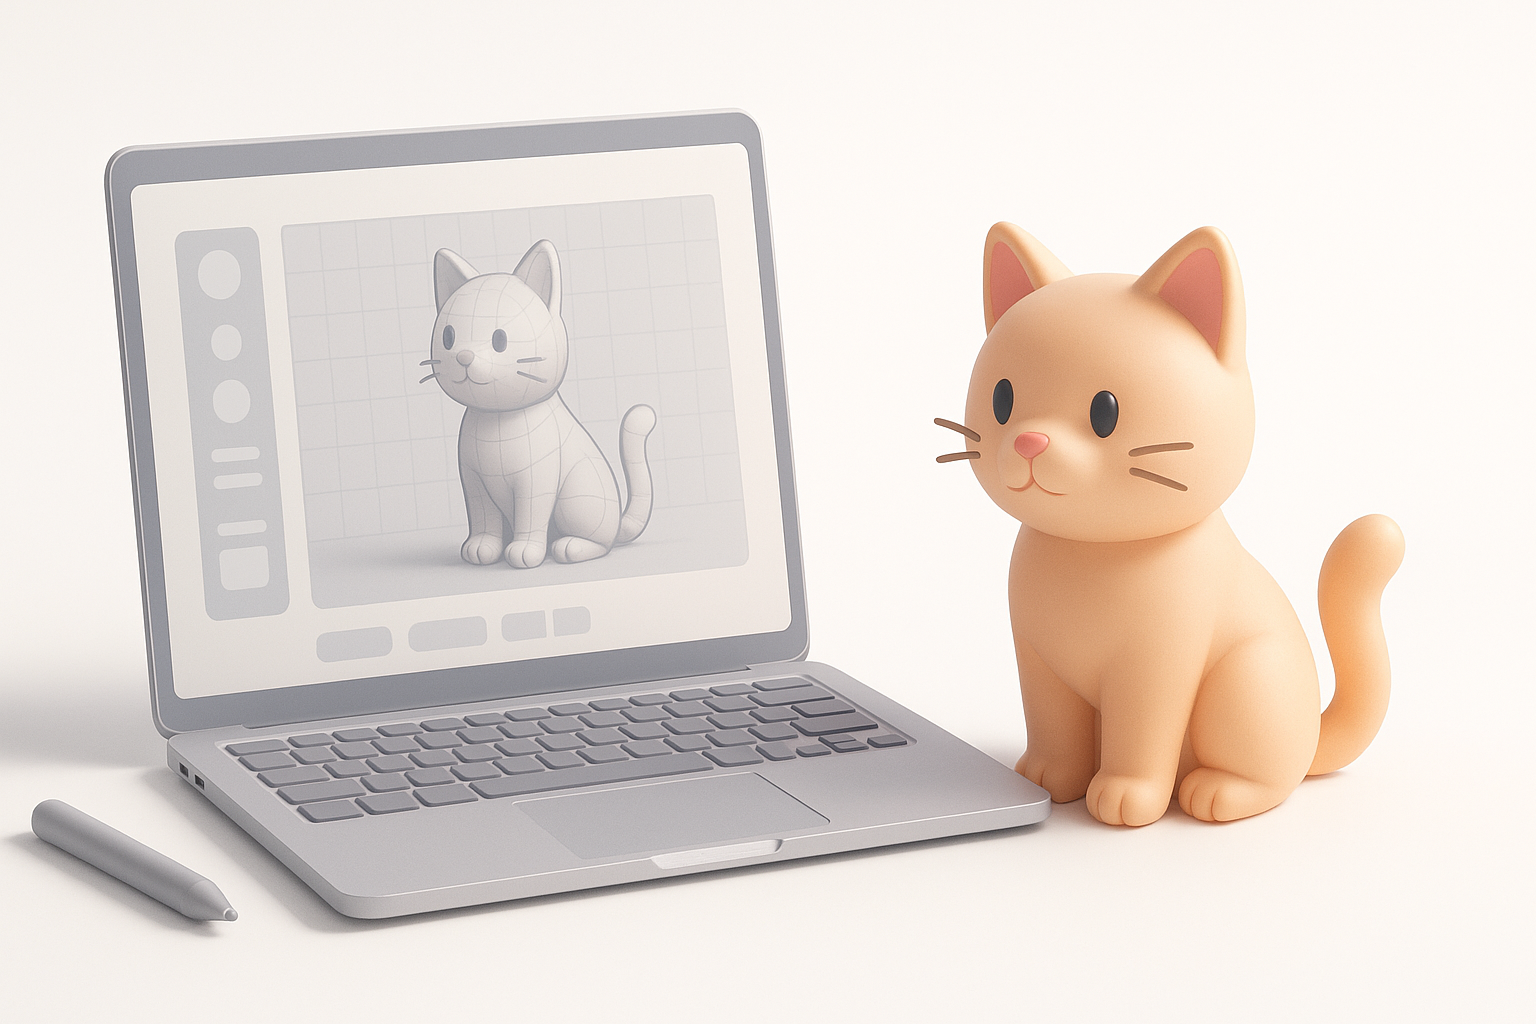
Why I Use AI-Powered 3D Creation Tools
AI tools like Tripo AI have transformed my workflow. I can generate a base mesh from text prompts, images, or sketches—no manual box modeling required. This lets me focus on creative decisions instead of technical setup.
My approach:
- Input references or sketches directly.
- Let the AI segment and generate the mesh.
- Quickly iterate on shape and pose.
Pitfall: Relying solely on AI outputs—always review and refine.
Comparing Traditional and AI-Driven Workflows
Traditional workflows involve manual sculpting, retopology, and UV unwrapping. These steps are time-consuming and require deep technical skill. In contrast, AI-driven platforms automate segmentation, topology, and even basic texturing.
Summary Table:
| Step | Traditional | AI-Driven (e.g., Tripo) |
|---|---|---|
| Base mesh | Manual | Generated from prompt |
| Retopology | Manual/Automated | Automated |
| Texturing | Manual | Assisted/Auto |
| Rigging | Manual | Assisted/Auto |
Tip: Use AI for the heavy lifting, but always perform a quality pass.
Step-by-Step: My 3D Cat Modeling Workflow
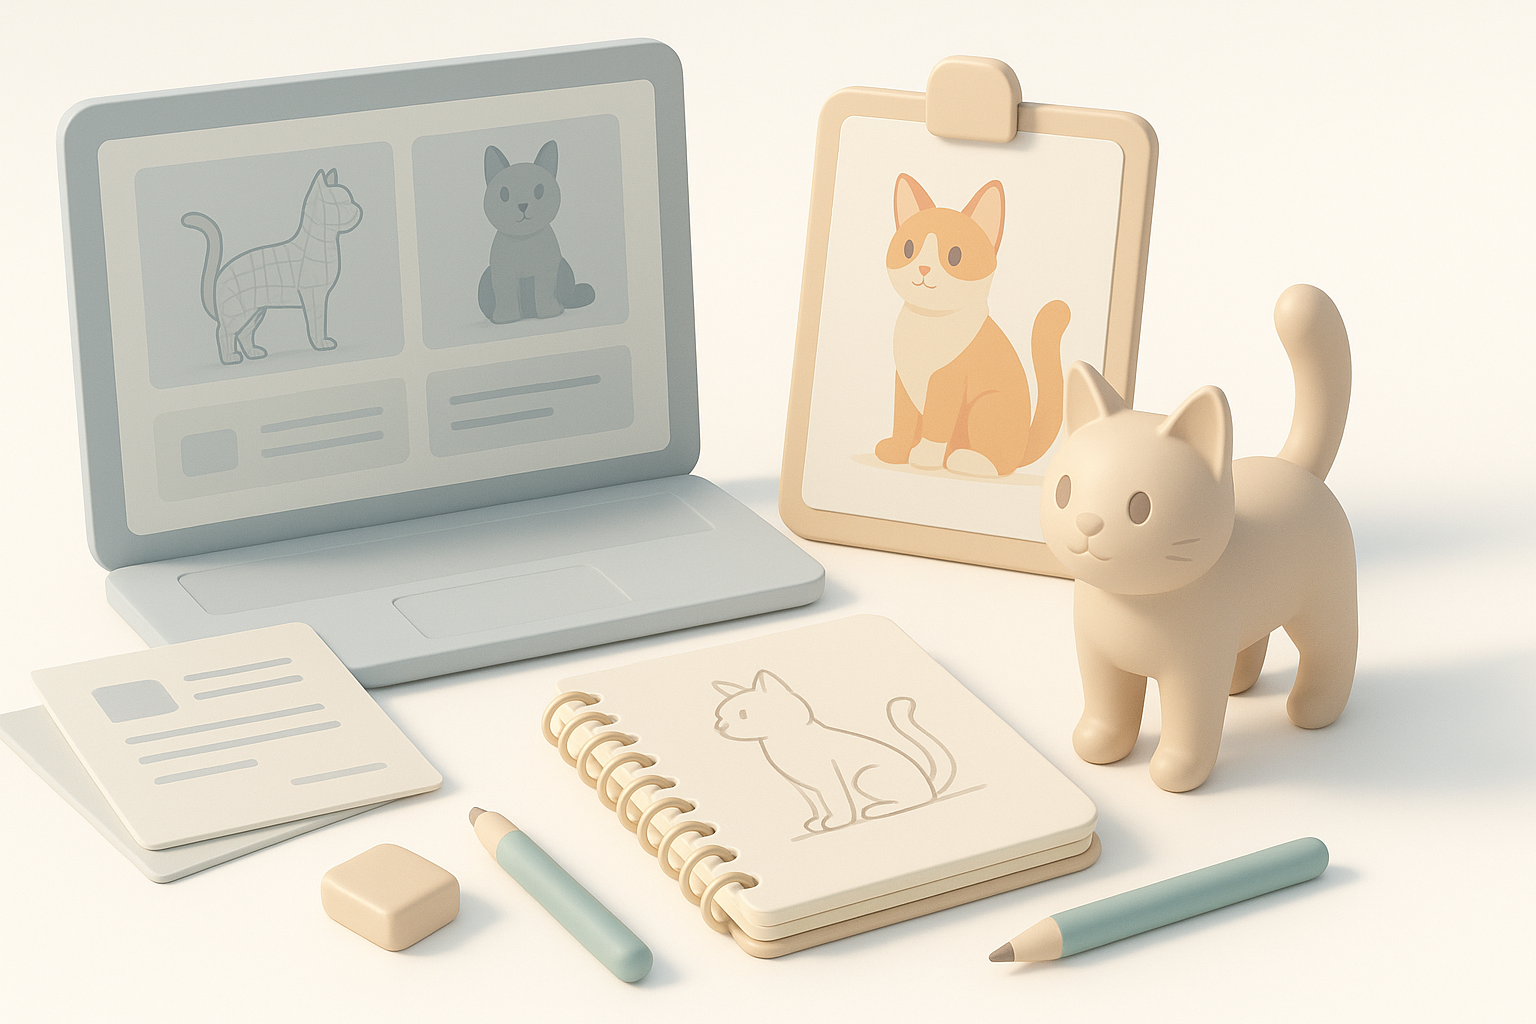
Blocking Out the Base Mesh
I usually start by inputting my references or a sketch into the AI tool. Within seconds, I get a base cat shape that’s ready for refinement.
Steps:
- Upload references/sketches.
- Specify style (realistic/stylized) in the prompt.
- Review and adjust the generated mesh.
Pitfall: Overlooking silhouette—check proportions from all angles.
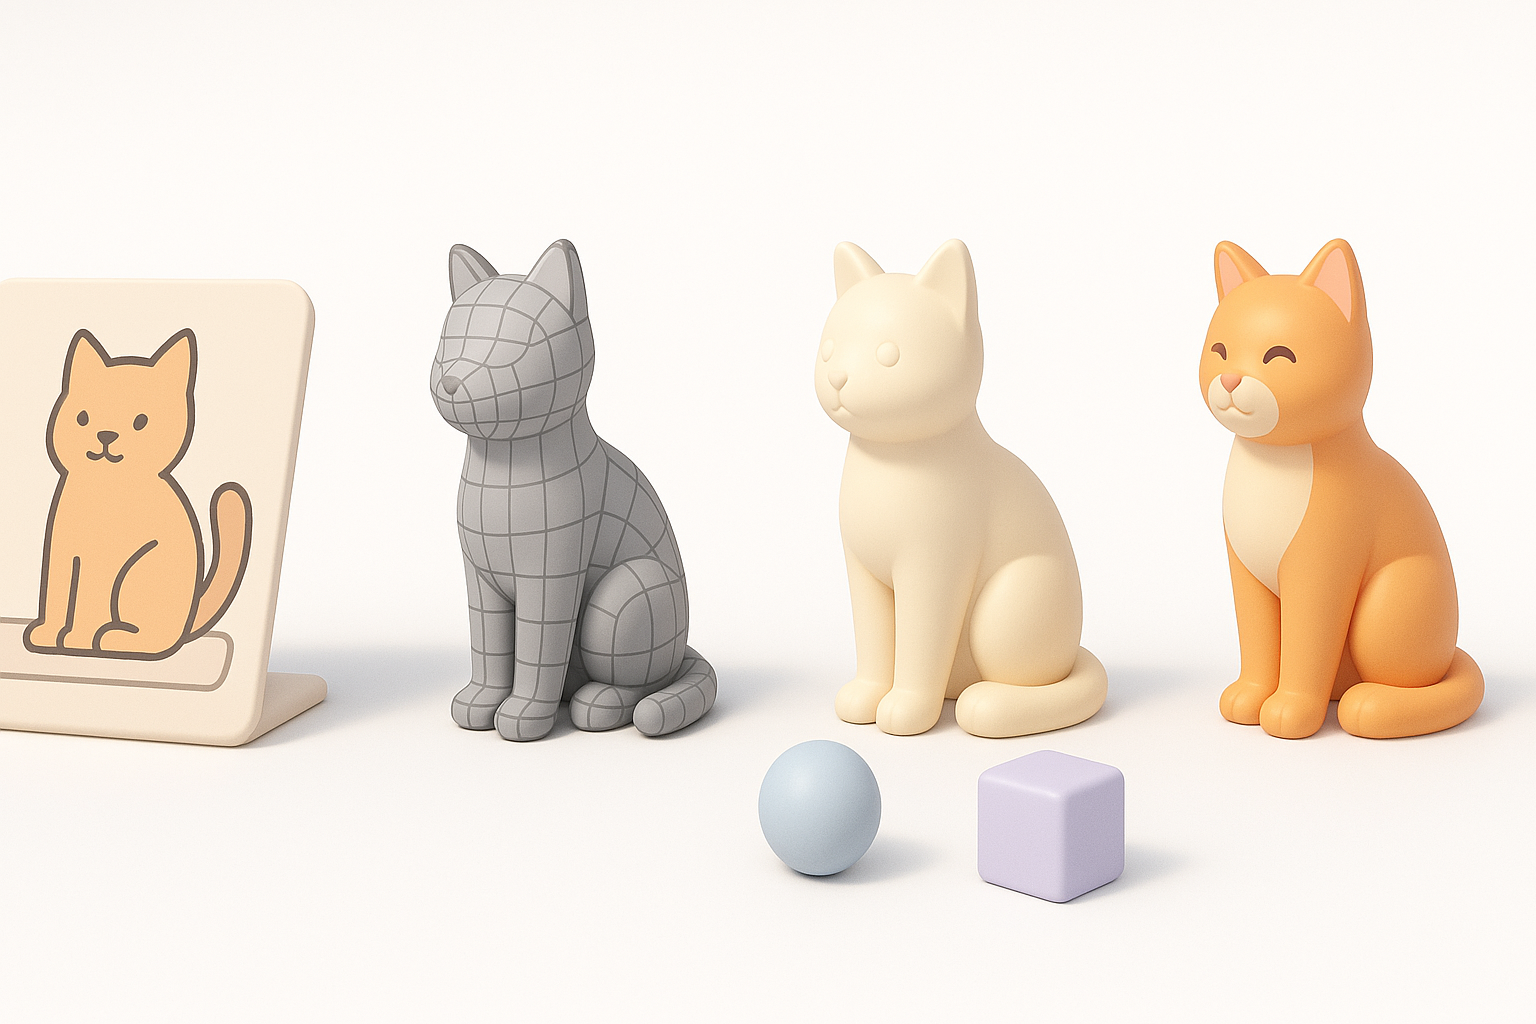
Refining Shape, Topology, and Details
After generating the base mesh, I refine the form, making sure the anatomy looks correct. I pay special attention to ears, paws, and tail—areas where AI can sometimes miss subtle shapes.
Checklist:
- Adjust edge loops for clean deformation.
- Check for non-manifold geometry.
- Add detail where needed (whiskers, claws).
Tip: Use built-in retopology tools for clean, animation-ready topology.
Texturing, Rigging, and Animating the Cat Model

Best Practices for Fur and Skin Textures
Texturing cats is all about believable fur and color patterns. I use the platform’s smart texturing tools, then manually tweak fur direction and color in a paint program if needed.
Steps:
- Auto-generate base textures.
- Hand-paint unique markings (face, paws, tail).
- Use normal/displacement maps for fur detail.
Pitfall: Flat textures—add subtle variation and gloss for realism.
Rigging and Simple Animation Tips
Rigging is vastly simplified with built-in skeleton and weight-painting tools. I select a quadruped rig preset, then test with simple walk or idle animations.
Checklist:
- Use auto-rigging for basic skeleton.
- Test joint bends (elbows, tail, spine).
- Export to animation software for custom moves if needed.
Tip: For stylized cats, exaggerate poses to match character.
Exporting, Optimization, and Use Cases
Optimizing for Games, XR, and Film
Each platform has its own requirements. For games and XR, I keep polycount low and texture sizes optimized. For film, I allow higher detail and larger maps.
Checklist:
- Decimate mesh for real-time applications.
- Bake high-res details into normal maps.
- Test in target engine (Unity, Unreal, etc.).
Pitfall: Forgetting LODs—always provide multiple levels of detail for performance.
Export Settings and File Formats I Recommend
I typically export in FBX or GLB for games/XR, and OBJ for film or further sculpting. Always check texture paths and embed maps where possible.
My export settings:
- FBX: Animation, rig, and textures included.
- GLB: Compact, all-in-one for web/XR.
- OBJ: Mesh only, for further editing.
Tip: Test imports in your target platform before final delivery.
Troubleshooting and Common Challenges
How I Fix Common Modeling Issues
Common issues include distorted geometry, bad UVs, or weight-painting errors. I use the following quick fixes:
Checklist:
- Check for flipped normals and non-manifold edges.
- Re-run retopology if mesh deforms poorly.
- Use auto-UV tools, then manually adjust seams.
Pitfall: Ignoring small errors—these can cause big problems later.
Tips for Improving Results with AI Tools
AI tools aren’t perfect. I always review outputs critically and use the following strategies for better results:
- Provide clear, high-quality references.
- Iterate: regenerate outputs with refined prompts.
- Combine AI outputs with manual sculpting for best results.
Tip: Use the AI for speed, but rely on your eye for quality control.
By following this structured workflow and leveraging modern AI-powered platforms, I consistently create production-ready 3D cat models—efficiently and with creative control. The key is balancing automation with hands-on refinement at every stage.