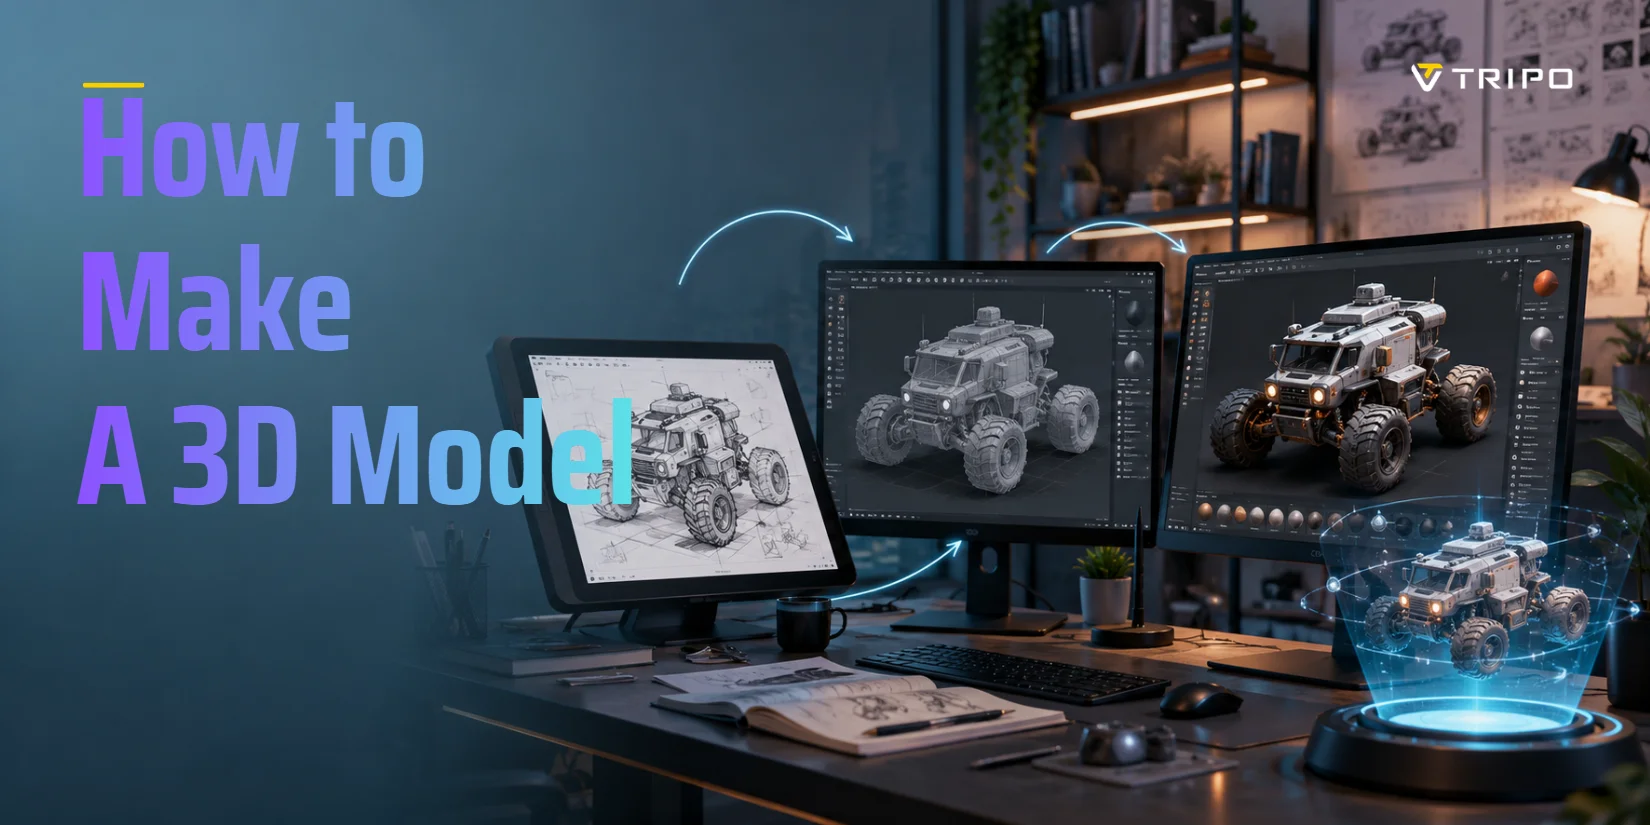
How to Make a 3D Model From a Sketch: 3 Workflows
TL;DR
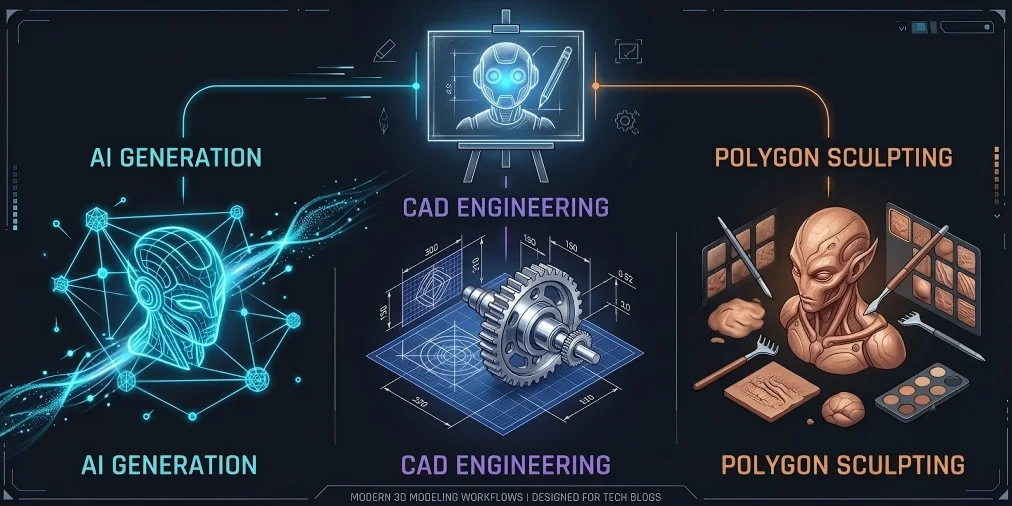
- Three routes: AI image-to-3D (fastest), CAD extrude/revolve (precise parts), and polygon/sculpt modeling (characters & props).
- Your sketch quality decides everything—clean lines, even lighting, one clear subject, orthographic views for hard-surface objects.
- AI is the quickest path: photograph or scan the drawing, upload, generate, then clean up the mesh.
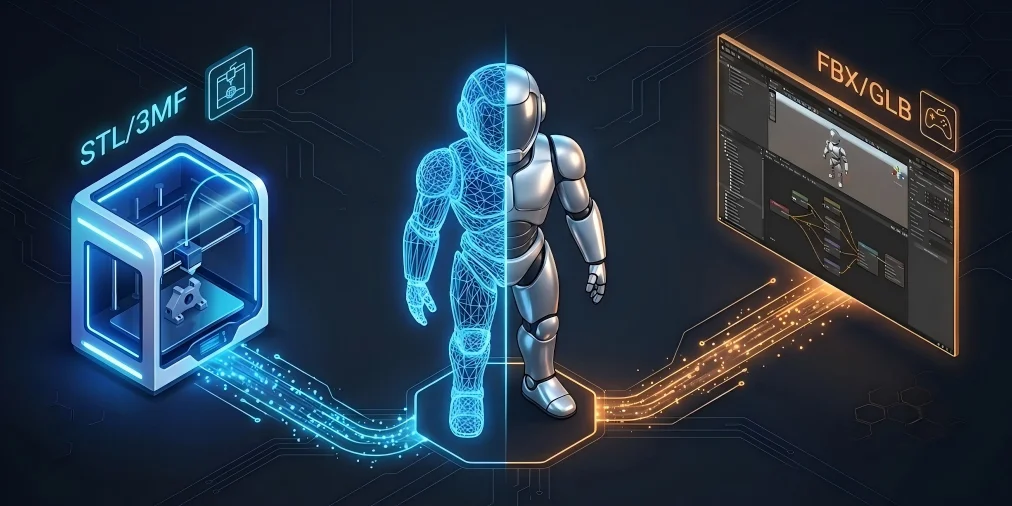
- Export STL/3MF for printing, FBX/GLB/OBJ for games and DCC tools.
- Pick your route by goal: speed (AI), engineering accuracy (CAD), or full artistic control (Blender/ZBrush).
To make a 3D model from a sketch, you have three options: let an AI image-to-3D tool generate the model automatically in seconds, extrude and revolve the drawing in CAD software for precise parts, or trace and build the form by hand in a 3D modeling app. This guide walks through all three, plus how to prep your sketch and export the result.
The Three Ways to Turn a Sketch Into 3D
Three paths exist, each with a different tradeoff in speed, precision, and learning curve. The table below shows where each fits.
| Feature | Speed | Precision | Learning Curve | Best For | Representative Tools |
|---|---|---|---|---|---|
| A: AI Image-to-3D | Instant (seconds to minutes) | Moderate (visual approximation) | Zero skill required | Rapid prototyping, concepts, characters, casual creation | Tripo AI, Meshy |
| B: CAD Modeling | Slow (manual iteration) | Extremely High (exact tolerances) | Steep (professional technical training) | Mechanical parts, functional assemblies, 3D-printable engineering components | Fusion 360, SolidWorks, AutoCAD |
| C: Polygon & Sculpt | Moderate to slow | High (artistic control) | Moderate to steep | Game props, stylized characters, organic assets, high-customization art | Blender, ZBrush, Maya |
Route A — AI image-to-3D (fastest, no skills)
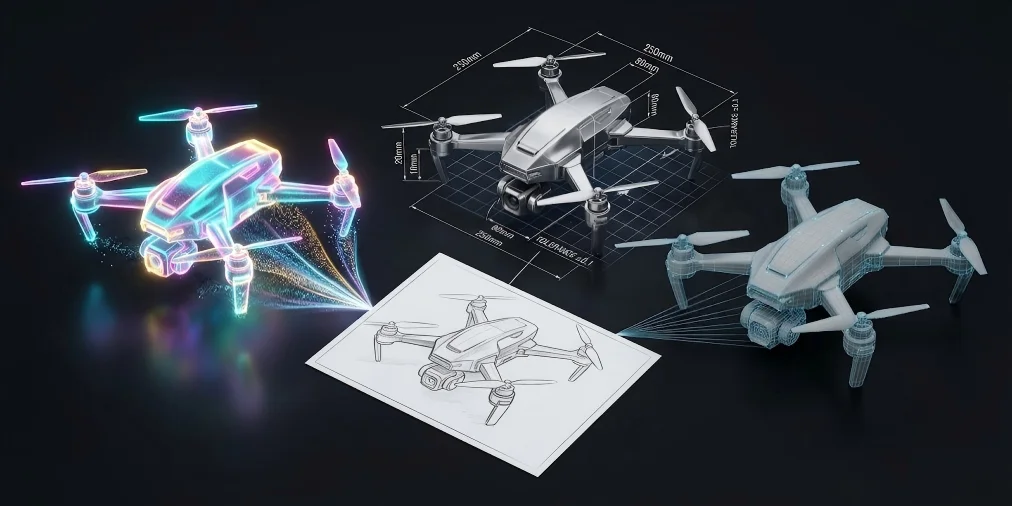
Upload a sketch and get a 3D mesh in seconds—no modeling knowledge needed. The AI infers depth and volume from the flat image, so you can go from drawing to a printable or game-ready asset in minutes.
Route B — CAD modeling (precise, mechanical parts)
CAD builds geometry from exact measurements, not visual guesses. You trace the sketch, set dimensions, then extrude or revolve it into a solid. The result holds tight tolerances and assembles cleanly—essential for anything that needs to physically fit together.
Route C — Polygon & sculpt modeling (characters, props, full control)
Polygon and sculpt tools give you direct control over every edge and surface. There are no parametric constraints—you shape the mesh by hand, which makes them ideal for characters, props, and anything organic that needs fine artistic adjustment.
Step 1 — Prepare Your Sketch
Bad sketch input is the most common reason AI generation fails. Most tutorials tell you to "draw on white paper" and leave it there—but line quality, lighting, and view angle all affect the output. Here is what actually matters.
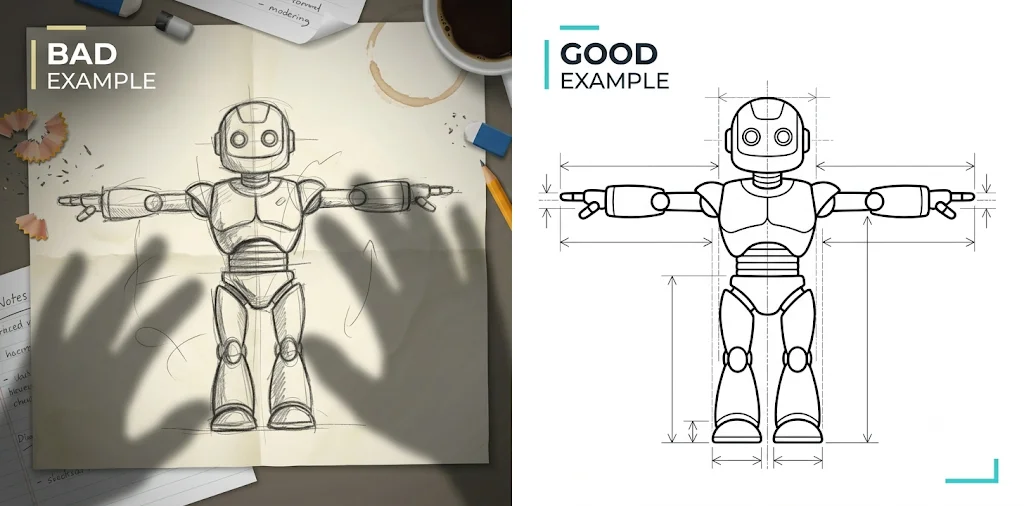
- Standardize the basic sketch quality: place a single subject in the center of the frame with a pure white, noise-free background. Remove overlapping graffiti, stray lines, hand shadows, and any occluding elements to ensure the subject contour is completely exposed. For physical hand-drawn sketches, use uniform soft lighting for shooting to avoid hard shadow distortion; professional scanning is more recommended to obtain high-fidelity line art without light and shadow interference.
- Select perspectives based on asset types. For hard-surface machinery and engineering parts, prioritize orthographic front and side views instead of arbitrary perspective sketches. Orthographic views maintain equal scale and parallel lines, avoiding perspective distortion that affects dimensional accuracy. For character and conceptual art assets, ensure complete, smooth outer silhouettes and relaxed, standard poses—standard poses like T-pose also make rigging easier later.
Production-level Sketch Conversion Checklist:
- Single subject: Single centered subject with no background clutter.
- Line quality: Continuous, high-contrast closed contour lines.
- Purity of light and shadow: Even lighting with no harsh shadows or occlusion.
- Viewpoint: Use orthographic front/side views for hard-surface objects.
- Posture standardization: Clean silhouette and standard pose for character models.
Step 2 — Generate the Model With AI (Route A)
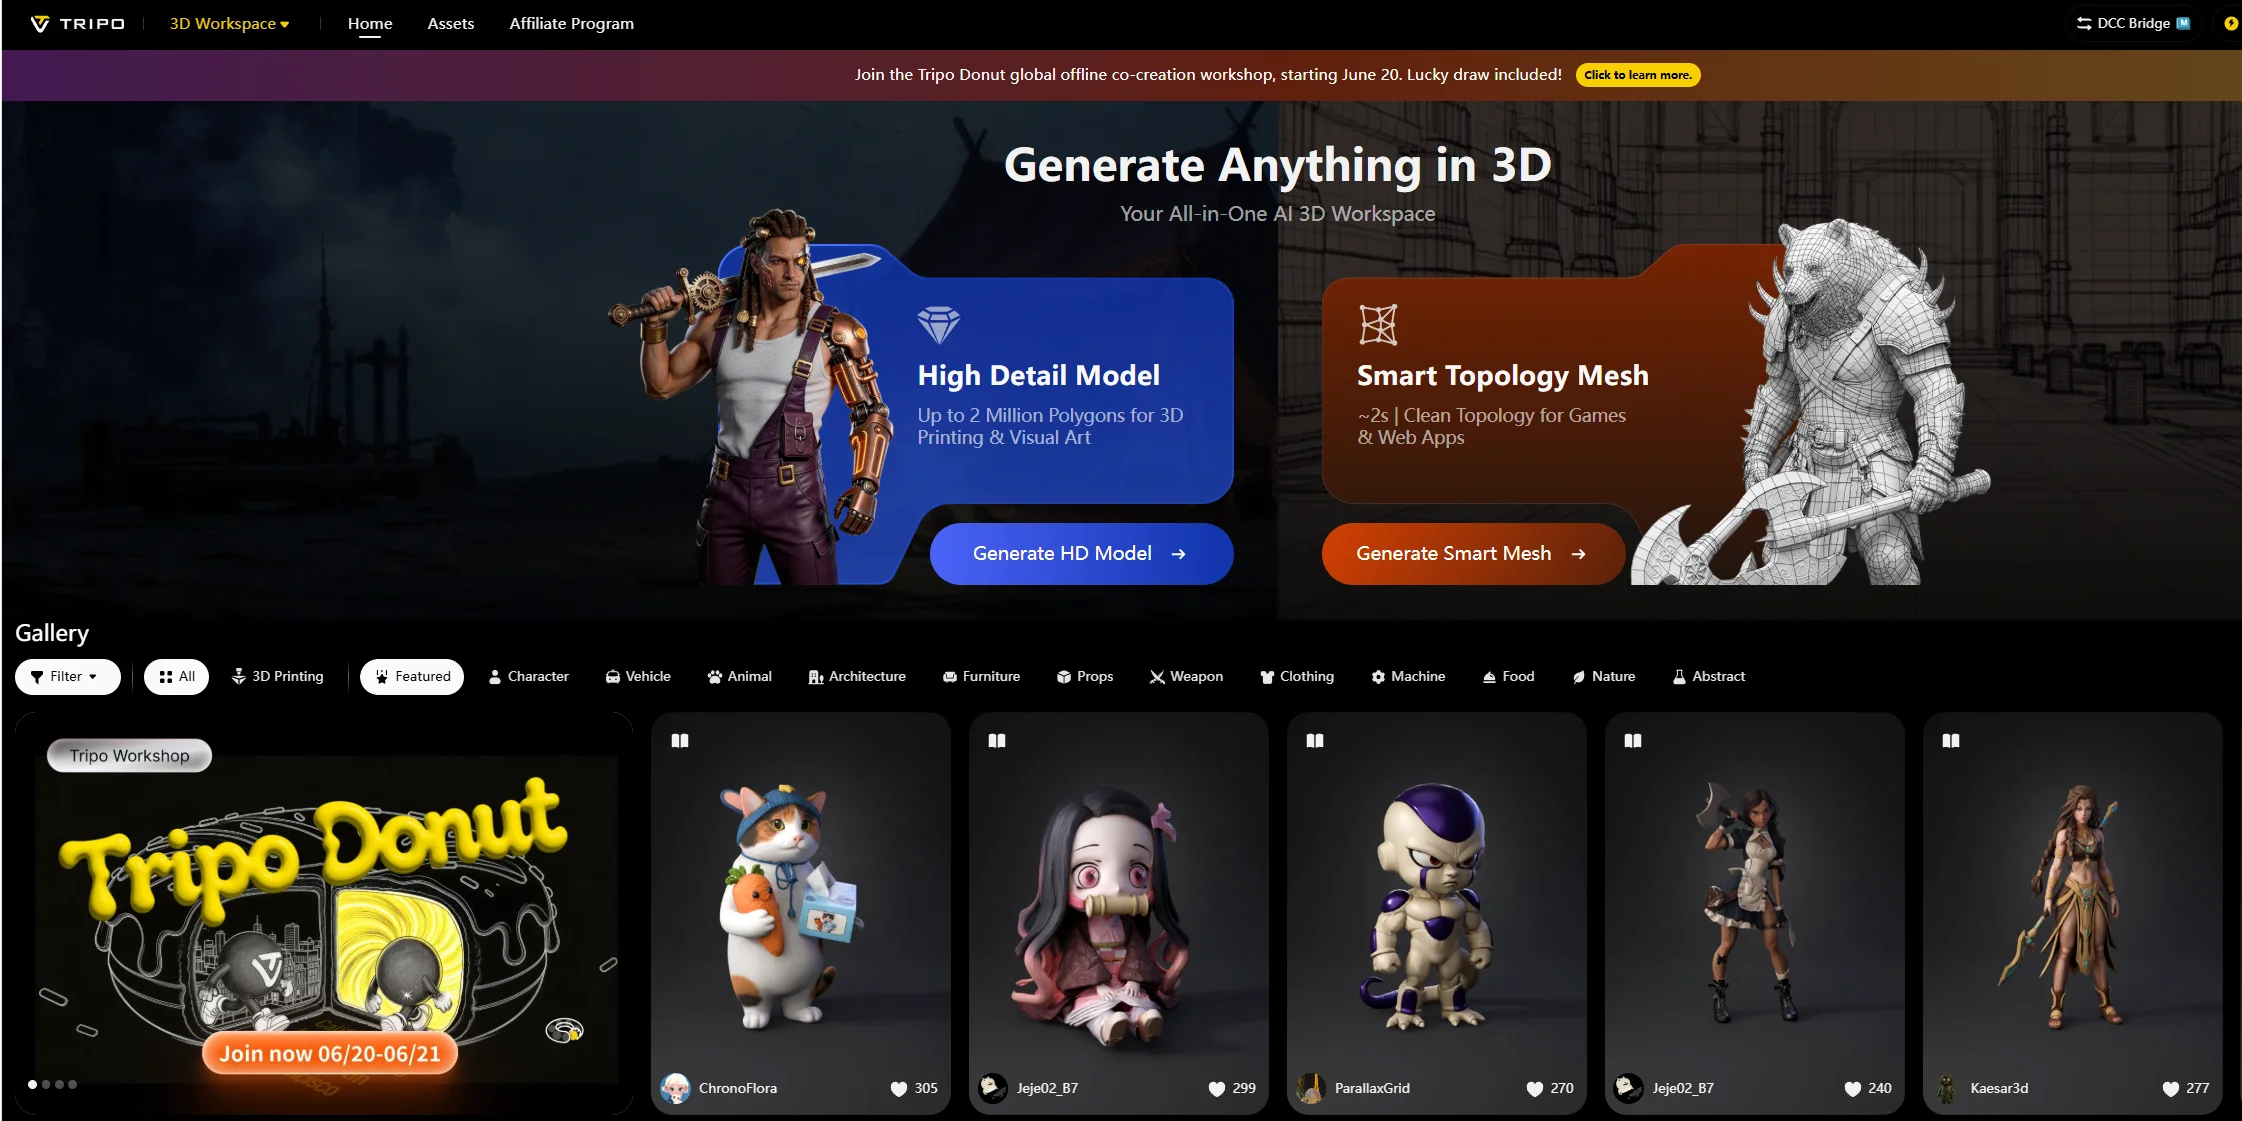
For most people, this is the fastest path. Upload a clean sketch, click Generate, and Tripo returns an editable 3D mesh in seconds to a few minutes—no manual modeling required.

Go to Tripo Studio, open Image to 3D, upload your sketch, and click Generate. The model is ready to preview, edit, or export in seconds to a few minutes depending on complexity.
If the first result looks flat or misses details, improve the input before retrying. Converting a single-view sketch into two or three orthographic views, or running the draft through a text-to-image tool to sharpen it first, removes most of the ambiguity that causes bad geometry. Tripo AI Image to 3D Model handles both single-image and multi-view inputs.
Tripo handles two things that trip up other tools:
- Intelligent Part Segmentation: For intricate designs featuring multiple parts, Tripo AI automatically segments distinct elements during the conversion process. This clear separation allows creators to individually edit, texture, and manage complex curvatures and organic forms with ease.
- High-Fidelity Geometry: For mechanical and architectural subjects, Tripo AI preserves the structural logic of the original sketch and produces high-fidelity geometry with up to 2 million polygons.
Step 3 — Model It by Hand (Routes B & C)
AI generation is fast but approximate. When you need exact dimensions or a mesh that assembles with other parts, you need to build it by hand. There are two routes depending on whether precision or artistic control matters more.
CAD path — import, trace, extrude, revolve
Import your sketch as a background image or DXF into Fusion 360, SolidWorks, or AutoCAD. Trace the outline to create a closed 2D sketch, then use Extrude for flat profiles or Revolve for anything symmetrical around an axis. Every dimension is a number you control, so tolerances stay tight and parts assemble as designed.
Polygon & sculpt path — reference image, block out, sculpt
In Blender or ZBrush, load the sketch as a background reference image. Block out the basic shape at low poly first to nail proportions, then add thickness, sculpt surface details, and clean up the topology. For characters and creatures, you can freely adjust muscle lines, facial features, and contours at any stage.
Step 4 — Clean Up & Export
Both AI and hand-built models need a cleanup pass before export. Common issues: redundant faces, floating vertices, non-manifold edges, and open holes. Fix these or your slicer will reject the file for printing, and game engines will show texture errors. The checklist is short: delete duplicate geometry, close any holes, flip reversed normals, and check overall scale.
Format choice depends on what you are building:
For 3D printing projects, especially when aiming for high-precision physical replication or generating a High-Detail Model with up to 2 million polygons, models must be set with unified millimeter units, exported as STL files for pure geometric printing, or 3MF files that support color and multi-material data. For game development and DCC creative workflows, select FBX, GLB, or OBJ formats compatible with mainstream engines to retain animation topology and UV information.
Which file format should you export?
For 3D printing priority, export STL or 3MF with watertight mesh and mm unit calibration. For game engines, animation, and general 3D iteration, export FBX, GLB, or OBJ to preserve topology, UVs, and material data. It is worth noting that Tripo AI has clear version export rules: the Basic plan supports export for v2.5 models only, while unlocking the platform's highest-precision models (v3.0 and v3.1) requires a paid subscription.
Which Route Should You Choose?
The right route depends on what you need to produce. Here are four quick decision points:
Want it fast with zero 3D skills?
No 3D experience needed. Upload your sketch, wait a few seconds, and download a mesh. Most tools offer a free tier, so you can test the result before committing to anything.
Need engineering precision / a real part?
If the part needs to fit with other components, hold a load, or meet a spec, CAD is the only option. The learning curve is real—Fusion 360 and SolidWorks take time to master—but they give you exact dimensions and tolerances that AI generation cannot.
Making a character, prop, or stylized asset?
AI tools tend to produce generic shapes. If you need a specific character silhouette, a stylized prop, or an organic creature, Blender or ZBrush gives you the control to get it right—at the cost of more time.
Free vs paid
Tripo AI has a free tier with daily generation credits. CAD tools (Fusion 360, SolidWorks) are subscription-based—Fusion 360 has a free hobbyist license with some restrictions. Blender is free and open source; ZBrush costs around 900 to buy outright.
When This Doesn't Work (Limits)
AI generation works well for most conceptual and prototyping work, but it has hard limits. Knowing them upfront saves time.
| Limitation Scenario | Low-quality input sketches | Single-view drawing | Precision assembly parts & mechanical components | Complex geometry |
|---|---|---|---|---|
| Core Resulting Issues | AI-generated tools exhibit blind guessing behavior. | AI-generated content leads to incomplete models, incorrect spatial positions, or a flat presentation. | AI-generated models fail to meet strict industrial tolerance standards, cannot achieve the parameterized accuracy required for functional assembly. | AI cannot automatically generate clean, production-ready mesh results and requires repeated modifications. |
| Technical Root Cause | The input lacks valid depth cues and clear structural references. | Single-view drawings have inherent spatial ambiguity, providing insufficient 3D coordinate information for the AI to reconstruct complete, watertight topology. | AI generation lacks the mathematical parametric constraints of professional CAD manual modeling, unable to realize controllable dimensional tolerance and mechanical assembly logic. | The topological reconstruction of complex ultra-thin/intertwined geometry is extremely technically difficult, and AI generation cannot achieve production-standard clean topology and structural stability. |
A blurry, incomplete, or heavily shadowed sketch gives the AI nothing to work with—it will guess at proportions and fill in missing structure however it sees fit. Clean linework with a white background is not optional; it directly determines output quality.
A single front-view sketch hides everything behind it—the AI cannot know what the back, underside, or interior looks like. For simple shapes this is fine. For anything with hidden structure (a mech suit, a hollow container, a creature with limbs crossing in the sketch), add a side or back view.
If the part needs to fit inside something else, or hold a load, you need CAD. AI models look right but carry no dimensional guarantees—use them for visual reference, not for printable assemblies.
Very thin walls, interlocking lattices, and dense overlapping geometry are hard for any reconstruction algorithm. The output usually needs manual cleanup—Blender's Mesh → Clean Up tools or Meshmixer work for most cases.
Frequently Asked Questions
How do you turn a sketch into a 3D model?
Three options. Use an AI image-to-3D tool to generate a mesh automatically from a cleaned sketch—fastest, no modeling skills required. Use CAD software (Fusion 360, SolidWorks) to trace and extrude the sketch into a precise solid—best for parts with tolerances. Or block out and sculpt by hand in Blender or ZBrush—most control, most time.
What app turns drawings into 3D?
For AI generation: Tripo AI and Meshy both convert sketches or photos to 3D in seconds and have free tiers. Luma AI Genie works from text or images. For manual modeling: Fusion 360 handles engineering CAD (free hobbyist license available); Blender covers polygon modeling and sculpting for free; ZBrush is the industry standard for character sculpting.
Can ChatGPT create a 3D model?
No—ChatGPT cannot generate 3D geometry. It has no spatial reconstruction capabilities. It can help you write better prompts for AI 3D tools, outline a modeling workflow, or describe what your sketch should look like, but the actual mesh generation has to happen in a dedicated tool.
Is there a free way to make a 3D model from a sketch?
Tripo AI and Meshy both have free tiers with daily generation credits. Blender is fully free for manual modeling. For AI tools, the free tier usually covers standard-resolution exports; higher-precision models (v3.0 and v3.1 on Tripo) require a paid subscription.
Do I need orthographic (front + side) views, or is one sketch enough?
One sketch is enough for simple, roughly symmetrical shapes. For anything mechanical, symmetrical, or with hidden structure, add a side or back view—it removes the spatial ambiguity that causes flat or distorted output.
Can I 3D print a model made from a drawing?
Yes, after cleanup. Fix any open holes and non-manifold edges, make sure the mesh is watertight, set units to millimeters, and export as STL (geometry only) or 3MF (color and multi-material). Then slice and print as normal.
Conclusion
Each route serves a different need. AI generation is fast and requires no modeling skills. CAD is for parts that need exact dimensions. Polygon sculpting gives you the most control for creative work. Whichever path you take, the quality of your sketch and a clean export step determine the final result.
Your sketch is already the hard part—now let AI do the rest. Upload your drawing, generate a 3D model in seconds, refine it, and export. Your idea is ready to print, game, or build. Visit Tripo AI Studio to start your fast sketch-to-3D Model workflow.