How to Create Genshin Impact 3D Models: Expert Workflow & Tips
скачать 3d модель для chicken gun
Creating Genshin Impact-style 3D models requires a blend of stylized artistry, technical know-how, and efficient workflows. Over the years, I’ve developed a streamlined process that leverages both traditional and AI-powered tools to quickly produce models that capture the anime-inspired look and feel. Whether you’re a fan artist, game dev, or animator, this guide covers my full workflow—from gathering references to exporting production-ready assets. Expect actionable tips, practical checklists, and insights into how AI tools like Tripo can accelerate your 3D pipeline.
Key takeaways:
- Genshin Impact models have distinct stylized features; reference gathering is crucial.
- Start with a clear plan and the right tools for stylized, game-ready results.
- Efficient modeling and texturing techniques save time and boost quality.
- AI-powered platforms like Tripo can automate segmentation, retopology, and texturing.
- Proper export and optimization are essential for use in games, animation, or XR.
- Showcasing your work effectively can open doors for collaboration and feedback.
Understanding Genshin Impact 3D Models
What Makes Genshin Impact Models Unique
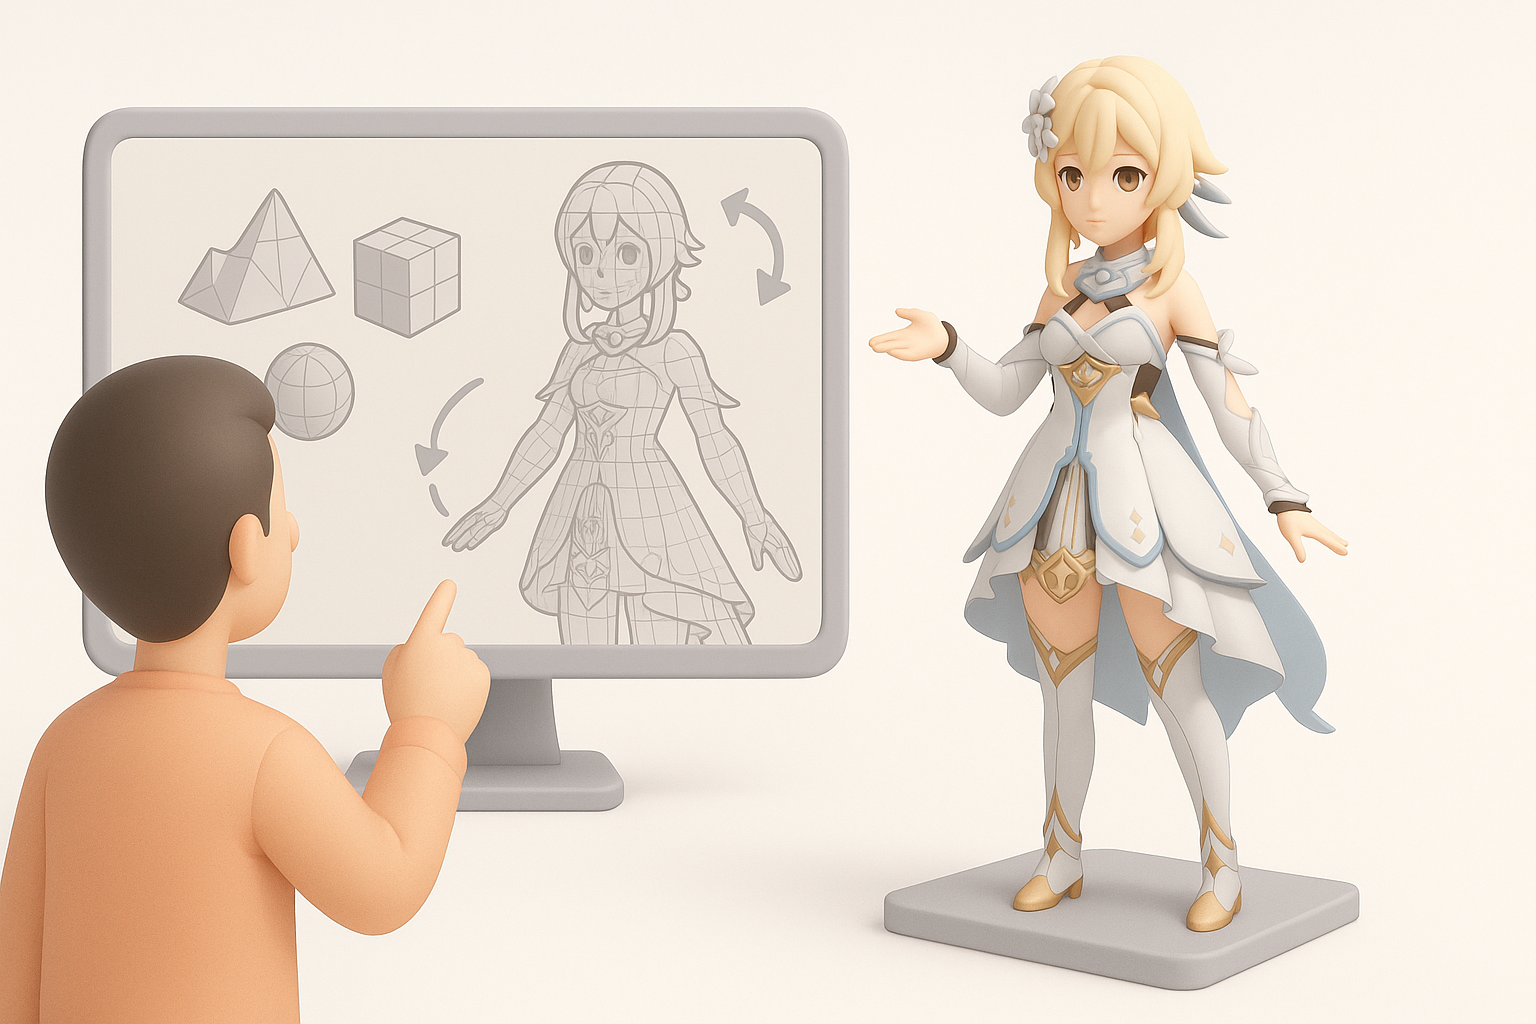
Genshin Impact’s 3D models are defined by their vibrant anime style—clean lines, exaggerated proportions, and expressive facial features. In my experience, replicating this look means focusing on:
- Simplified, stylized forms (not hyper-realistic anatomy)
- Distinct eye shapes and hair clumps
- Bold, hand-painted textures with minimal photo-realistic details
This style demands attention to silhouette and color blocking. I always recommend studying official character sheets and in-game models to internalize these design cues.
Common Uses in Fan Art, Mods, and Animation
Most creators I know use Genshin-style 3D models for:
- Fan art renders and dioramas
- Game mods or VRChat avatars
- Animation projects and machinima
Each use case has different requirements for polycount, rigging, and texture resolution. For example, animation-ready models need clean deformation and facial rigging, while game mods might require strict engine compatibility.
My Step-by-Step Workflow for Genshin Impact 3D Models
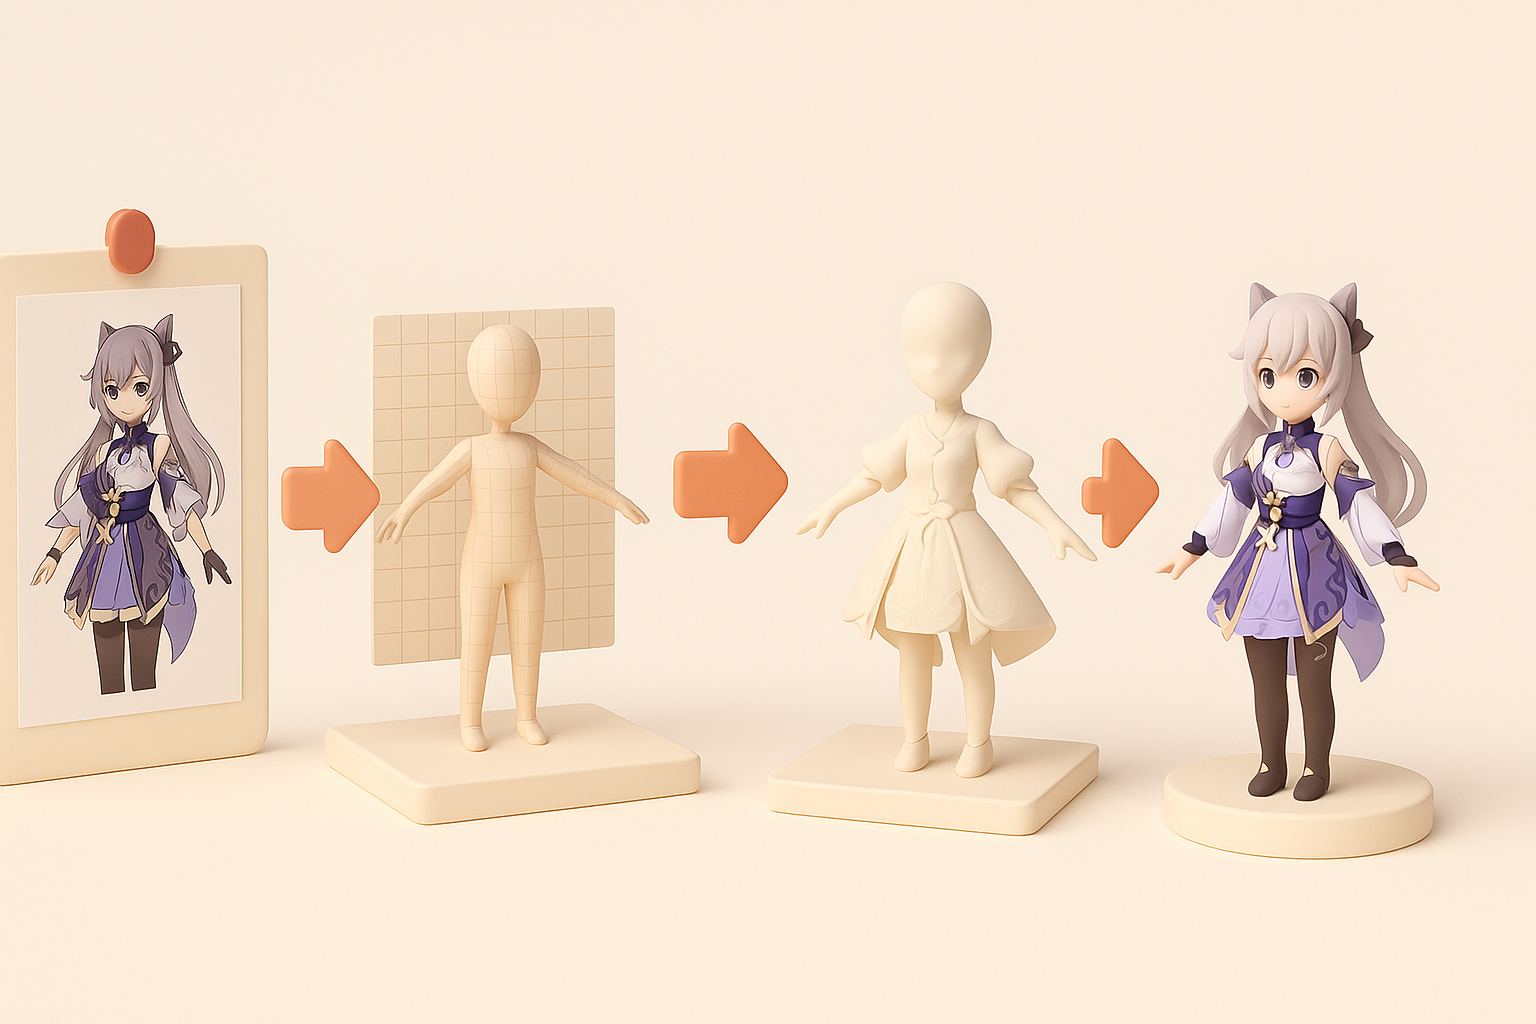
Gathering References and Planning the Model
I always start by collecting as many references as possible:
- Official artwork, model turnarounds, and screenshots
- Fan-made breakdowns and cosplay photos
- In-game poses and emotes for personality cues
Checklist:
- Gather orthographic views if possible (front, side, back)
- Note key costume details and color palettes
- Break down the model into logical parts: head, body, accessories
Planning prevents rework. I sketch rough blockouts or use 3D primitives to map proportions before diving into detailed modeling.
Choosing the Right Tools and Platforms
For stylized models, I prefer tools that support:
- Polygonal modeling and sculpting (e.g., Blender, Maya)
- UV unwrapping and texture painting
- Rigging and animation previews
When speed is critical, I integrate AI-powered platforms like Tripo for:
- Rapid base mesh generation from sketches or text prompts
- Automated segmentation and UV setup
- Quick retopology for clean, game-ready topology
Tip: Choose tools that export to your target engine (Unity, Unreal, etc.) to minimize compatibility issues later.
Best Practices for Modeling, Texturing, and Rigging
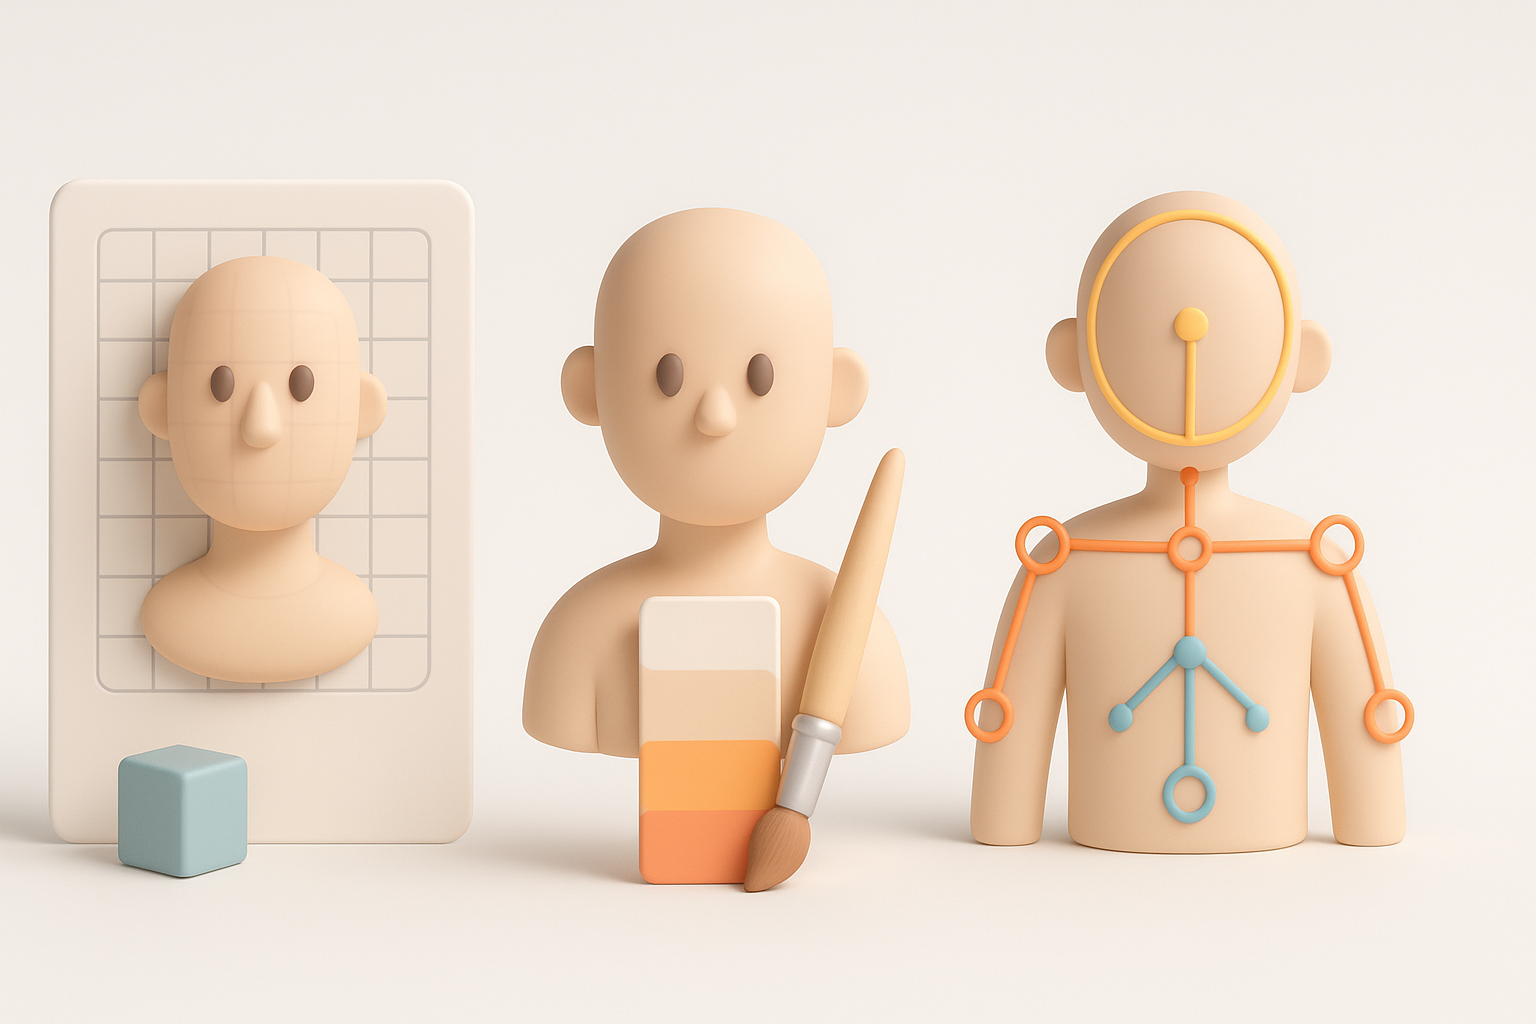
Efficient Modeling Techniques for Stylized Characters
Stylized Genshin models benefit from:
- Starting with low-poly blockouts for the body and costume
- Using edge loops to define major shapes (jawline, eyes, joints)
- Modeling hair as separate, chunky pieces for easy shading
Pitfalls to avoid:
- Overcomplicating geometry—keep it clean for easy rigging
- Ignoring silhouette; always check your model from multiple angles
Texturing and Material Tips for Anime-Style Assets
Anime-style texturing relies on hand-painted maps:
- Use flat colors and subtle gradients for skin and clothes
- Paint shadow shapes directly onto the texture, not via lighting
- Layer highlights and rim lights for that “cel-shaded” look
When using Tripo or similar AI tools, I often generate base textures and then refine them manually in a painting app. This hybrid approach saves time while ensuring the final look is polished and on-model.
Mini-checklist:
- Keep texture resolution consistent (1K–2K for characters)
- Avoid noisy or photo-based textures
- Test materials under your target engine’s lighting
Using AI-Powered Tools for Faster 3D Creation
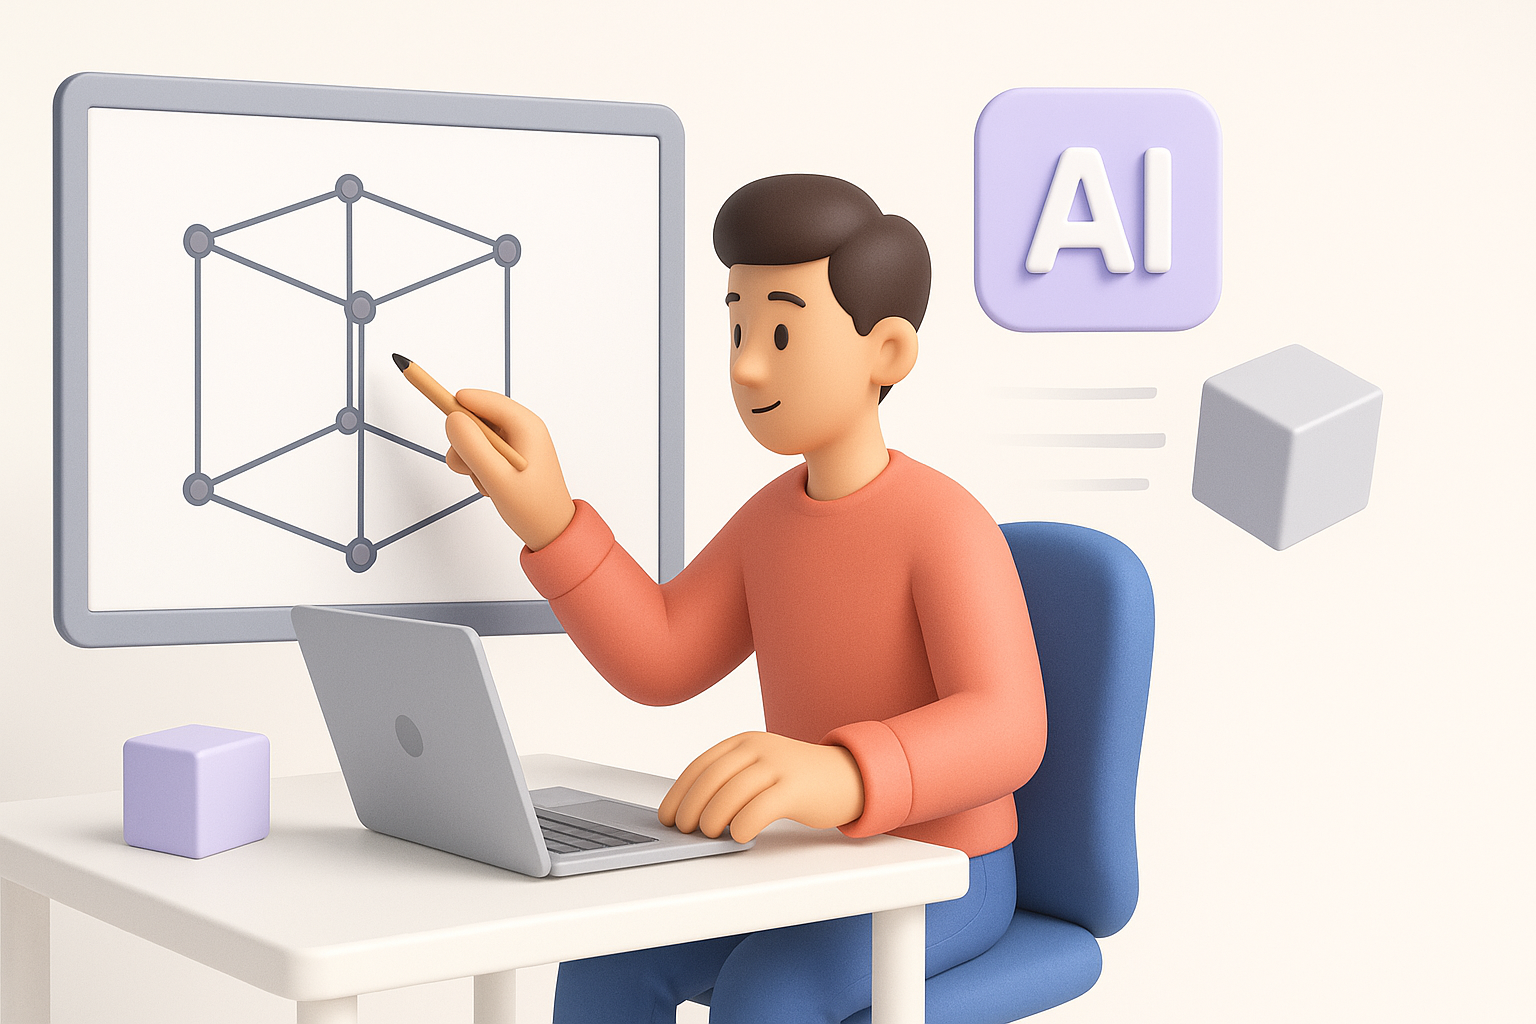
How I Integrate AI Platforms Like Tripo
AI-powered platforms have become a staple in my workflow for:
- Instantly generating base meshes from text prompts or sketches
- Automatic segmentation (breaking down model parts)
- Fast retopology and UV unwrapping
Here’s how I typically use Tripo:
- Input a detailed text prompt or upload a character sketch
- Let the platform generate a base mesh with basic segmentation
- Export the result and refine proportions or details in my main 3D app
This saves hours on base creation and lets me focus on artistic tweaks and final polish.
Comparing AI Workflows to Traditional Methods
Compared to traditional modeling, AI workflows:
- Greatly reduce time spent on repetitive tasks (retopology, UVs)
- Lower the technical barrier for beginners
- Still require manual intervention for final detailing and stylization
What I’ve found: AI tools are best used as accelerators, not replacements. Always review and clean up automated results to match your quality standards.
Exporting, Optimizing, and Sharing Your Models
Preparing Models for Games, Animation, or XR
Before export, I always:
- Check polycount and optimize for target platform (mobile, desktop, VR)
- Ensure clean, non-overlapping UVs
- Bake normal and ambient occlusion maps if needed
- Test rigs and animations for deformation issues
Export tips:
- Use common formats like FBX, OBJ, or GLTF
- Include separate texture files (diffuse, normal, specular)
Showcasing and Distributing Your Work
To showcase models, I recommend:
- Creating turntable renders or short animation loops
- Posting on ArtStation, Sketchfab, or relevant forums
- Providing clear credit and usage guidelines if sharing files
Pitfalls: Don’t forget to check copyright and fan art policies if you plan to distribute or sell Genshin-inspired models.
Conclusion
Creating Genshin Impact-style 3D models is easier and faster than ever with the right workflow and tools. By combining solid reference gathering, efficient modeling practices, and AI-powered platforms like Tripo, you can produce high-quality, stylized assets for games, animation, or fan projects. Always refine AI-generated results, optimize for your end use, and share your work thoughtfully to grow as a creator.