Mastering 3D Model Posing: Techniques, Tools, and Tips
Posing 3D models is a foundational skill for anyone working in game development, animation, XR, or digital design. In my experience, mastering posing not only brings characters and objects to life but also streamlines the production pipeline. With the rise of AI-powered tools, the process has become faster and more accessible, but understanding core posing principles remains essential. This guide covers the techniques, tools, and best practices I rely on to achieve expressive, production-ready poses—whether you're a solo creator or part of a larger team.
Key takeaways
- Effective posing elevates the believability and impact of 3D models in any medium.
- Combining manual skills with AI-powered tools speeds up workflows and improves results.
- Preparing models and understanding rigging are critical for smooth posing.
- Avoid common pitfalls by focusing on anatomy, balance, and clean topology.
- AI-assisted workflows (like Tripo AI) can automate repetitive tasks, leaving more room for creativity.
Understanding 3D Model Posing
What is 3D model posing?
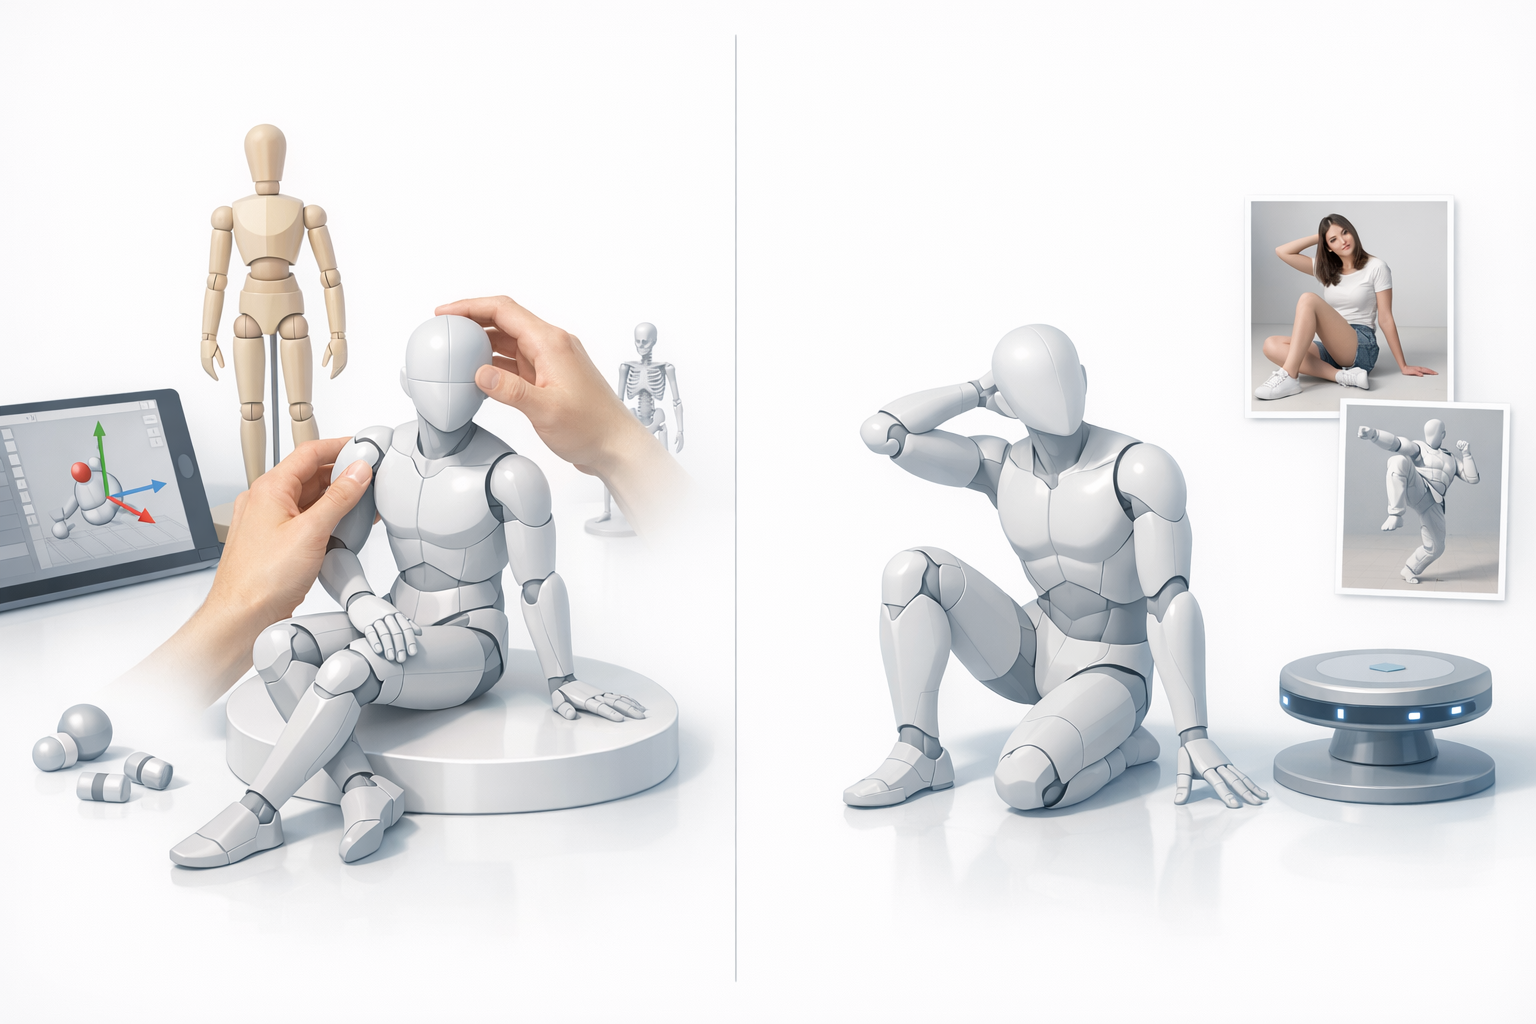
3D model posing is the process of manipulating a digital model’s skeleton (rig) to achieve a specific stance, gesture, or expression. This is essential for animation, product visualization, and static renders. In my workflow, posing often starts with a neutral or T-pose model, which I then adjust using rig controls or direct manipulation tools.
Why pose matters in 3D workflows
The pose of a model directly affects its appeal, storytelling, and usability. A well-posed model can convey emotion, intent, and context—whether it’s for a game character, a product demo, or a cinematic shot. I’ve found that investing time in strong posing early on saves revision cycles and enhances the final output’s impact.
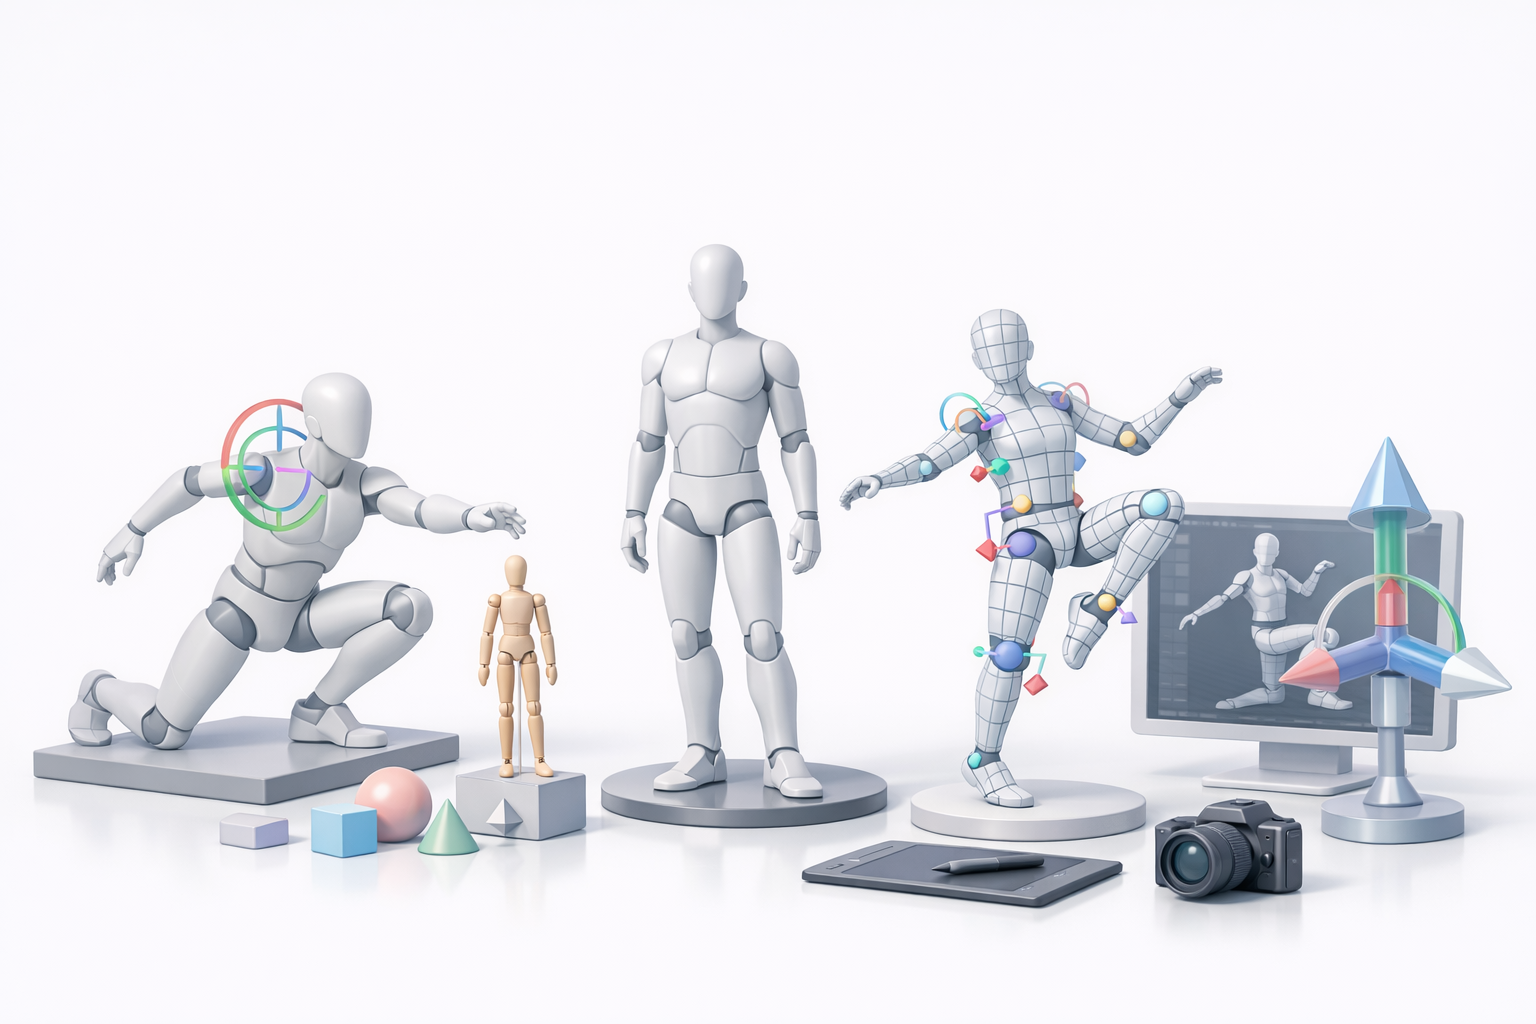
Essential Tools and Software for 3D Posing
Popular 3D posing tools and platforms
There are several platforms for posing, each with its strengths:
- Traditional 3D suites (e.g., Blender, Maya) offer robust rigging and posing controls.
- Dedicated posing apps are great for quick character studies.
- AI-powered platforms (like Tripo AI) streamline posing by automating rigging and suggesting natural stances.
In my experience, I choose the tool based on project needs—complex scenes call for traditional suites, while rapid prototyping benefits from AI-driven tools.
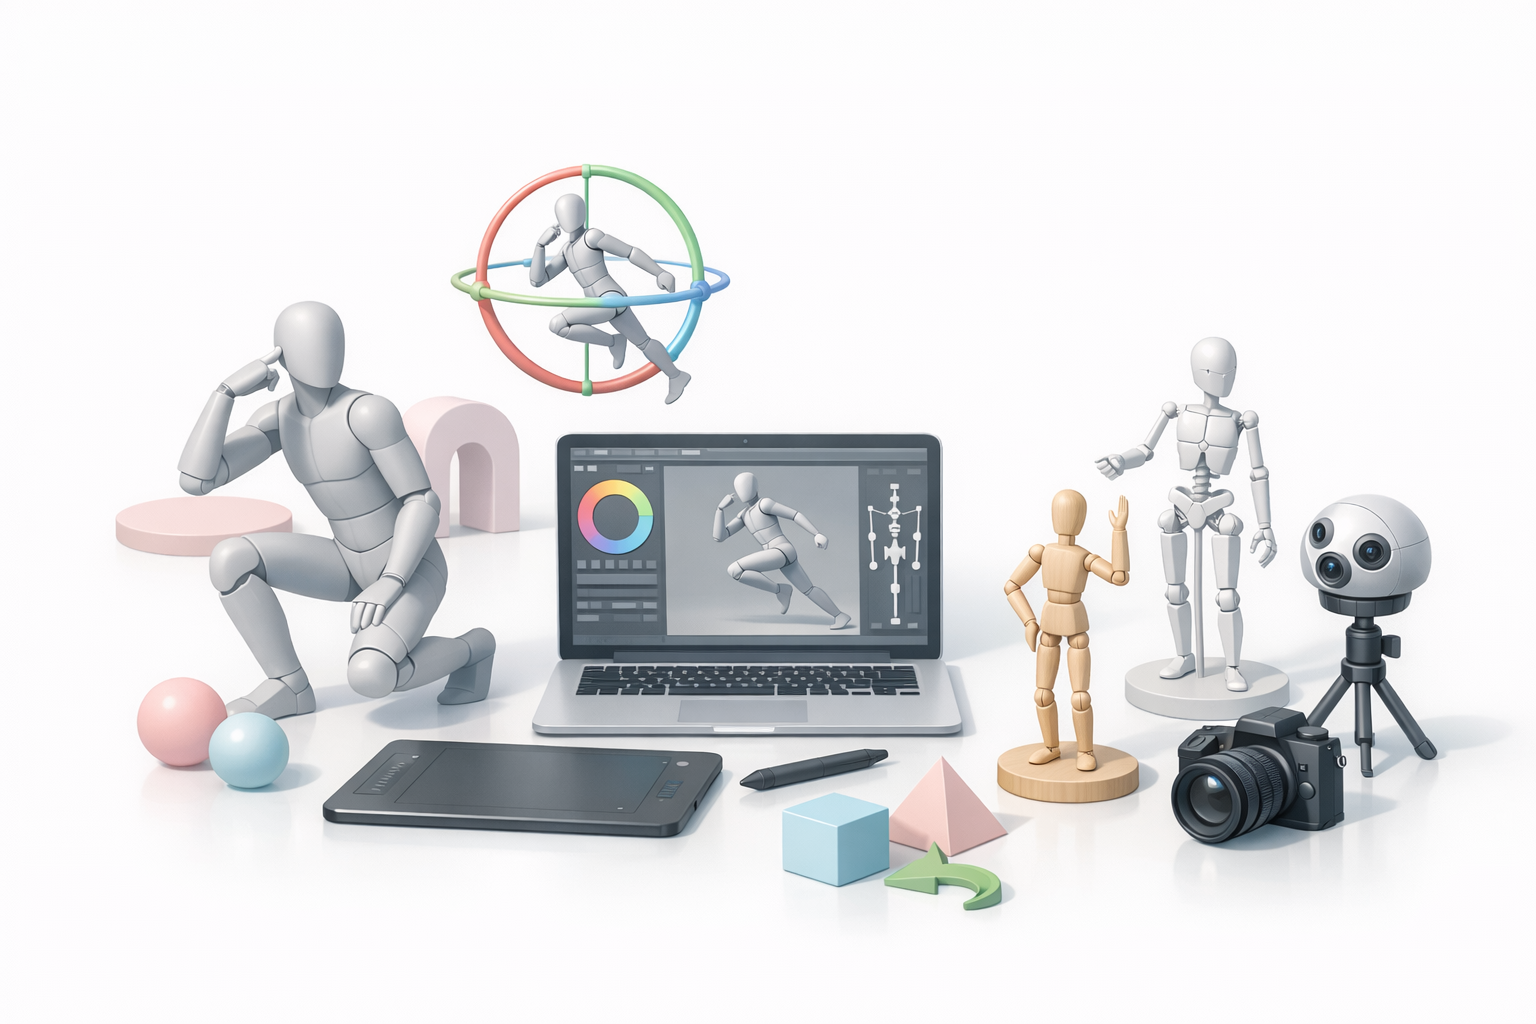
Integrating AI-powered solutions into your workflow
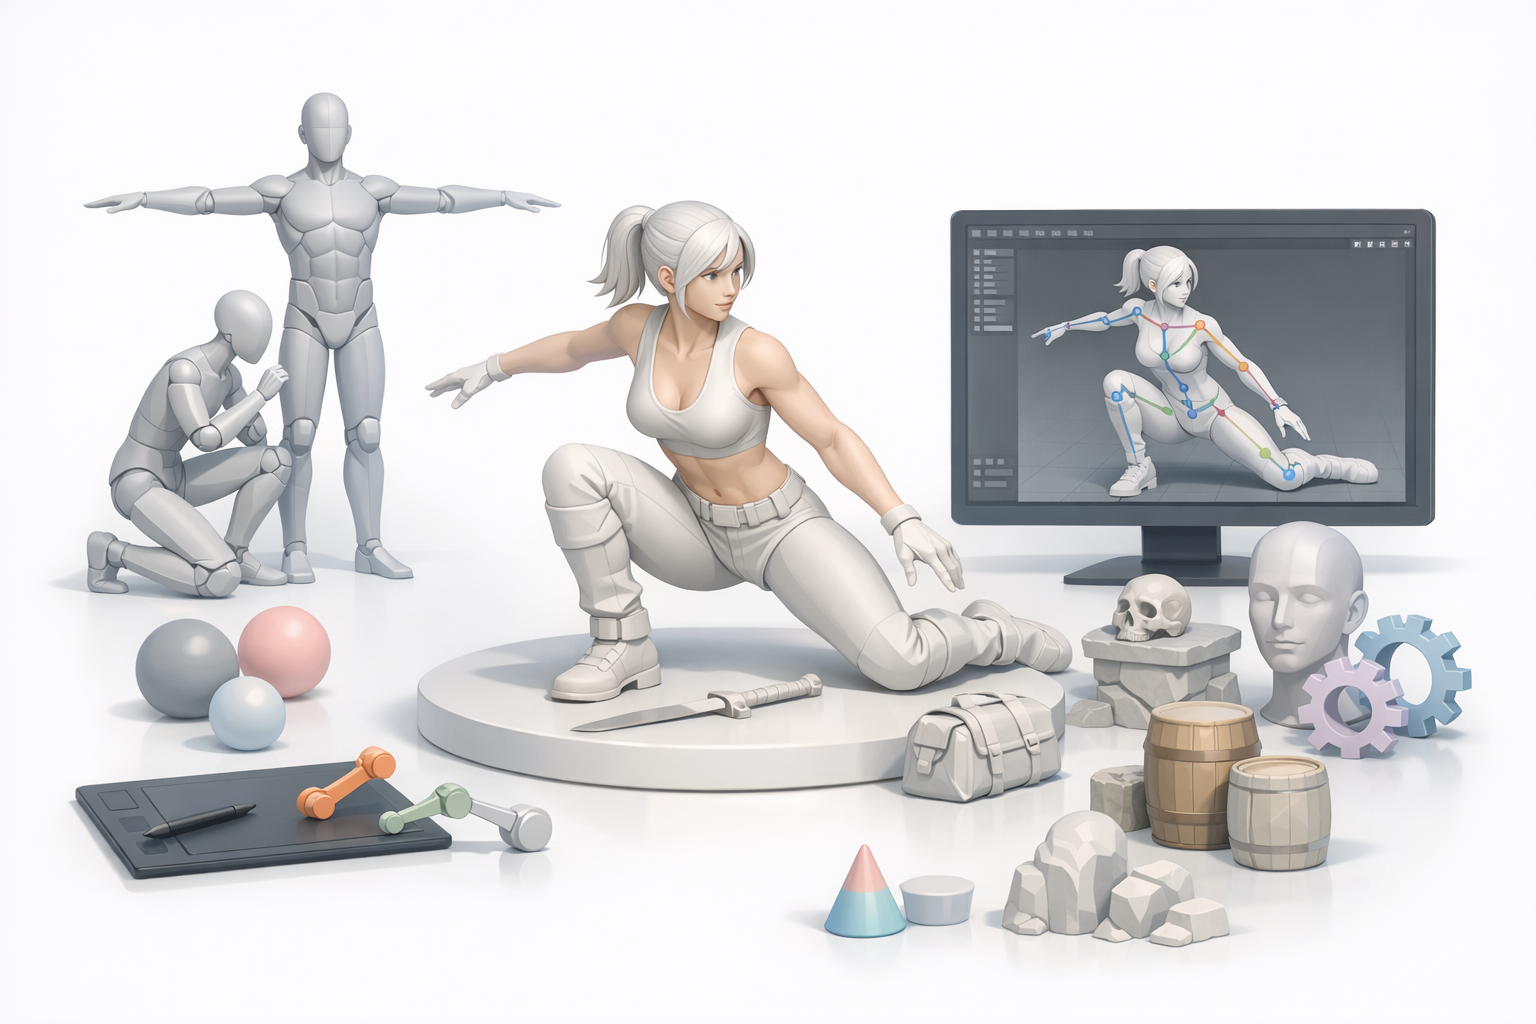
AI-driven tools can automate tedious steps like rigging, segmentation, and even suggest poses based on reference images or sketches. For example, I often use Tripo AI to generate a rigged model from a concept sketch, then quickly apply and refine poses. This integration reduces manual setup, letting me iterate on creative decisions faster.
Step-by-Step Guide: How I Pose 3D Models
Preparing your model for posing
Preparation is key for efficient posing. Here’s my checklist:
- Check topology: Ensure the mesh is clean and evenly distributed.
- Apply proper rigging: Use auto-rigging if available (Tripo AI handles this well).
- Freeze transforms: Reset scale/rotation to avoid deformation issues.
- Test deformation: Move major joints to spot problem areas early.
Applying and refining poses efficiently
Once the model is ready:
- Block out the main pose: Start with large movements—hips, spine, shoulders.
- Refine secondary motion: Adjust limbs, hands, and facial features.
- Use pose libraries or AI suggestions: These speed up iteration.
- Check from multiple angles: I always orbit the camera to catch awkward deformations.
- Tweak for balance and weight: The model should look grounded and natural.
Best Practices and Common Pitfalls
Tips for natural and expressive poses
- Reference real-world photos or videos.
- Exaggerate slightly for stylized work; subtlety for realism.
- Maintain line of action for dynamic poses.
- Keep limbs relaxed—avoid unnatural straight lines.
- Mirror poses to check for asymmetry.
Mistakes to avoid when posing 3D models
- Ignoring anatomy: Leads to stiff or broken poses.
- Over-rotating joints: Causes mesh distortion.
- Forgetting facial expression: Even static models benefit from subtle emotion.
- Neglecting silhouette: A clear outline reads better in any medium.
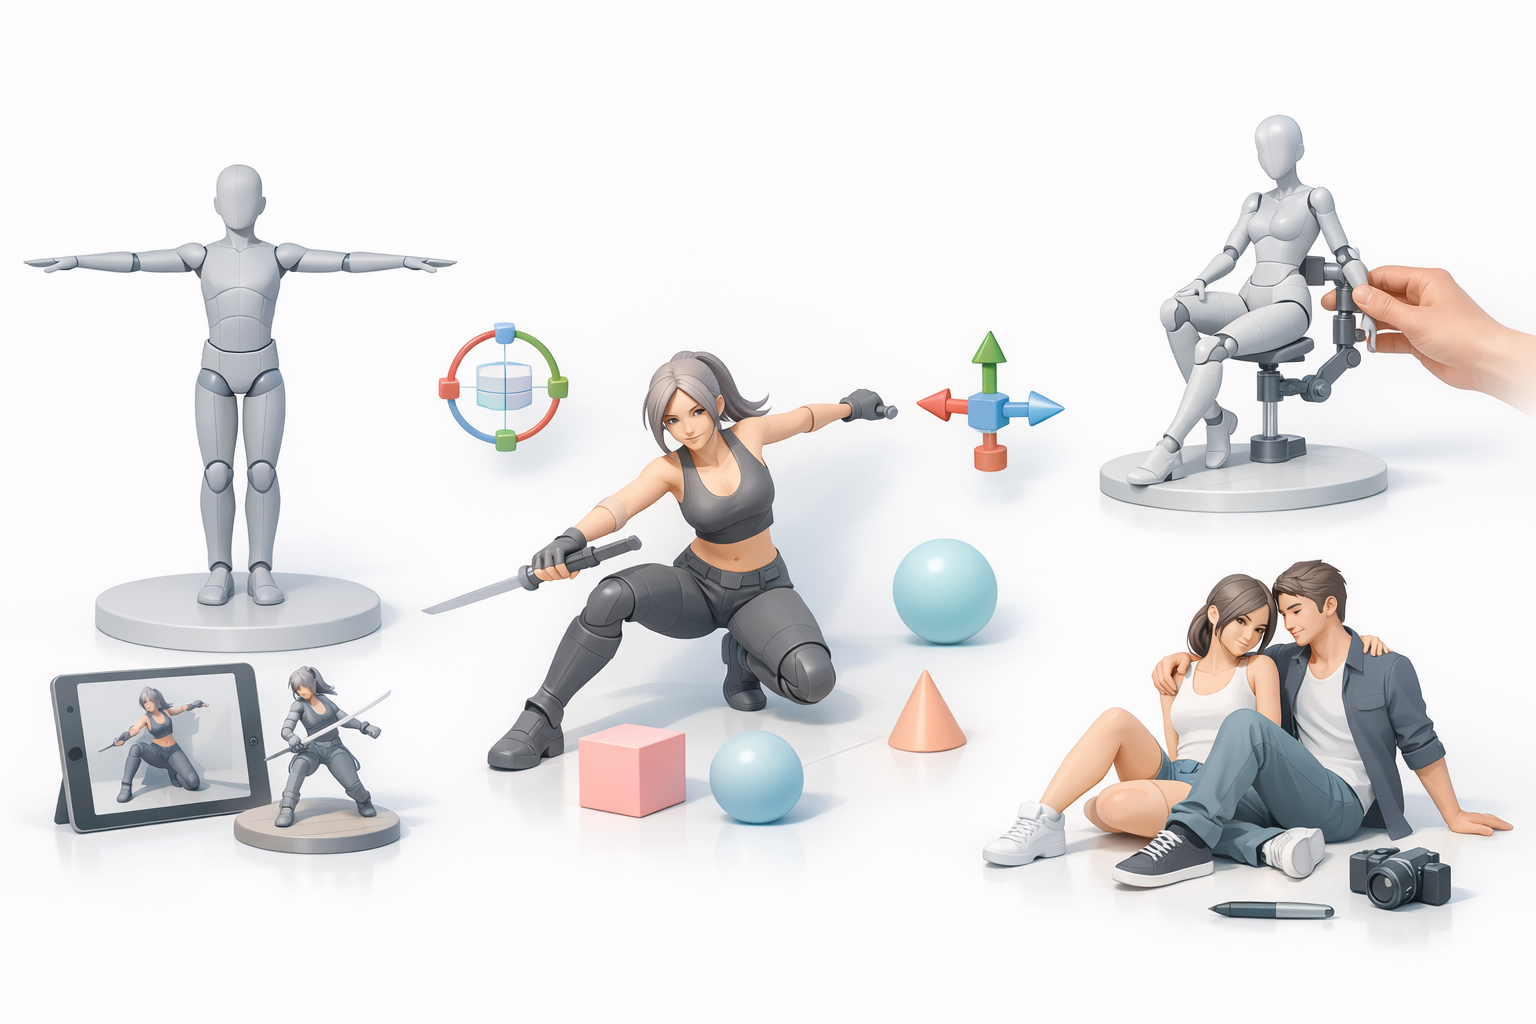
Comparing Manual vs. AI-Assisted Posing
When to use manual posing techniques
Manual posing is best when:
- You need precise control or stylization.
- The rig is complex or custom.
- Artistic direction calls for unique gestures.
I rely on manual methods for hero shots or when fine-tuning character emotions.
Benefits of AI-assisted posing workflows
AI-assisted tools excel at:
- Rapid prototyping and iteration.
- Generating base poses from sketches or text prompts.
- Automating repetitive rigging and segmentation tasks.
In my workflow, AI speeds up the technical steps, freeing me to focus on creative refinement.
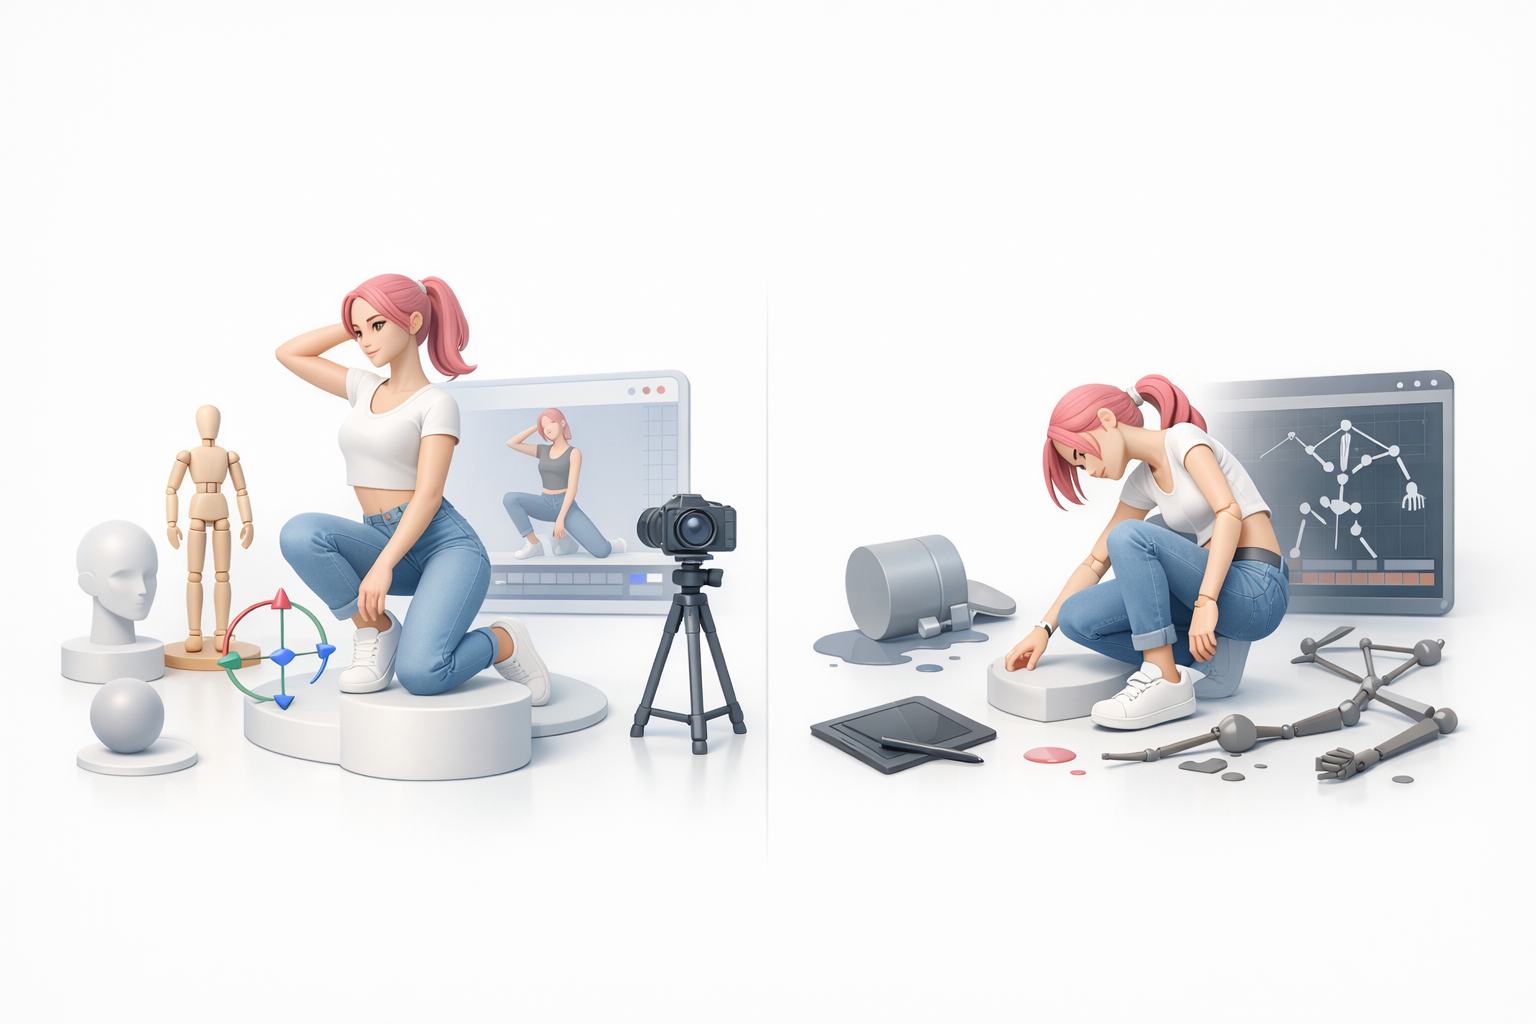
Optimizing Posed Models for Production
Retopology and cleanup after posing
After posing, it’s crucial to ensure the model is production-ready:
- Check for stretched polygons at joints.
- Run retopology tools if needed (Tripo AI can automate this).
- Clean up weight painting to fix deformation artifacts.
A quick pass with these steps prevents issues downstream in animation or rendering.
Exporting and integrating posed models
For final export:
- Freeze pose or bake the animation as needed.
- Export in required formats (FBX, OBJ, GLB).
- Test import in your target engine or DCC tool.
- Document pose and rig settings for team handoff.
By following these steps, I ensure my posed models integrate smoothly into any production pipeline.
Mastering 3D model posing is a blend of artistic intuition and technical know-how. With the right tools and a solid workflow—especially leveraging AI where it counts—you can deliver expressive, production-ready results with efficiency and confidence.