Come usare i modelli 3D in Clip Studio Paint: workflow per esperti
scaricare il modello 3D di Chicken Gun
L'integrazione di modelli 3D in Clip Studio Paint (CSP) ha trasformato il mio approccio all'illustrazione, alla concept art e ai fumetti. Che si tratti di importare asset pronti all'uso o di generare modelli personalizzati con strumenti basati sull'IA come Tripo, il processo è più veloce e flessibile che mai. Questo articolo riassume il mio flusso di lavoro pratico per l'utilizzo del 3D in CSP, coprendo tutto, dalla configurazione e gestione dei file alla posa, al rendering e alla risoluzione dei problemi. Se sei un artista, un designer o chiunque desideri ottimizzare la propria pipeline 2D/3D, questa guida ti aiuterà a evitare gli errori comuni e a lavorare in modo più efficiente.
Punti chiave:
- Le funzionalità 3D di CSP fanno risparmiare tempo e migliorano la precisione nelle scene complesse.
- Gli strumenti basati sull'IA come Tripo velocizzano la creazione di modelli personalizzati.
- Organizzare gli asset 3D è fondamentale per un flusso di lavoro fluido.
- Presta attenzione alla compatibilità dei formati di file e alle impostazioni di esportazione.
- L'integrazione di riferimenti 3D con l'arte 2D richiede un'illuminazione e una posa accurate.
- La risoluzione dei problemi e l'ottimizzazione prevengono lag ed errori di importazione.
Primi passi con i modelli 3D in Clip Studio Paint
Panoramica del supporto per i modelli 3D
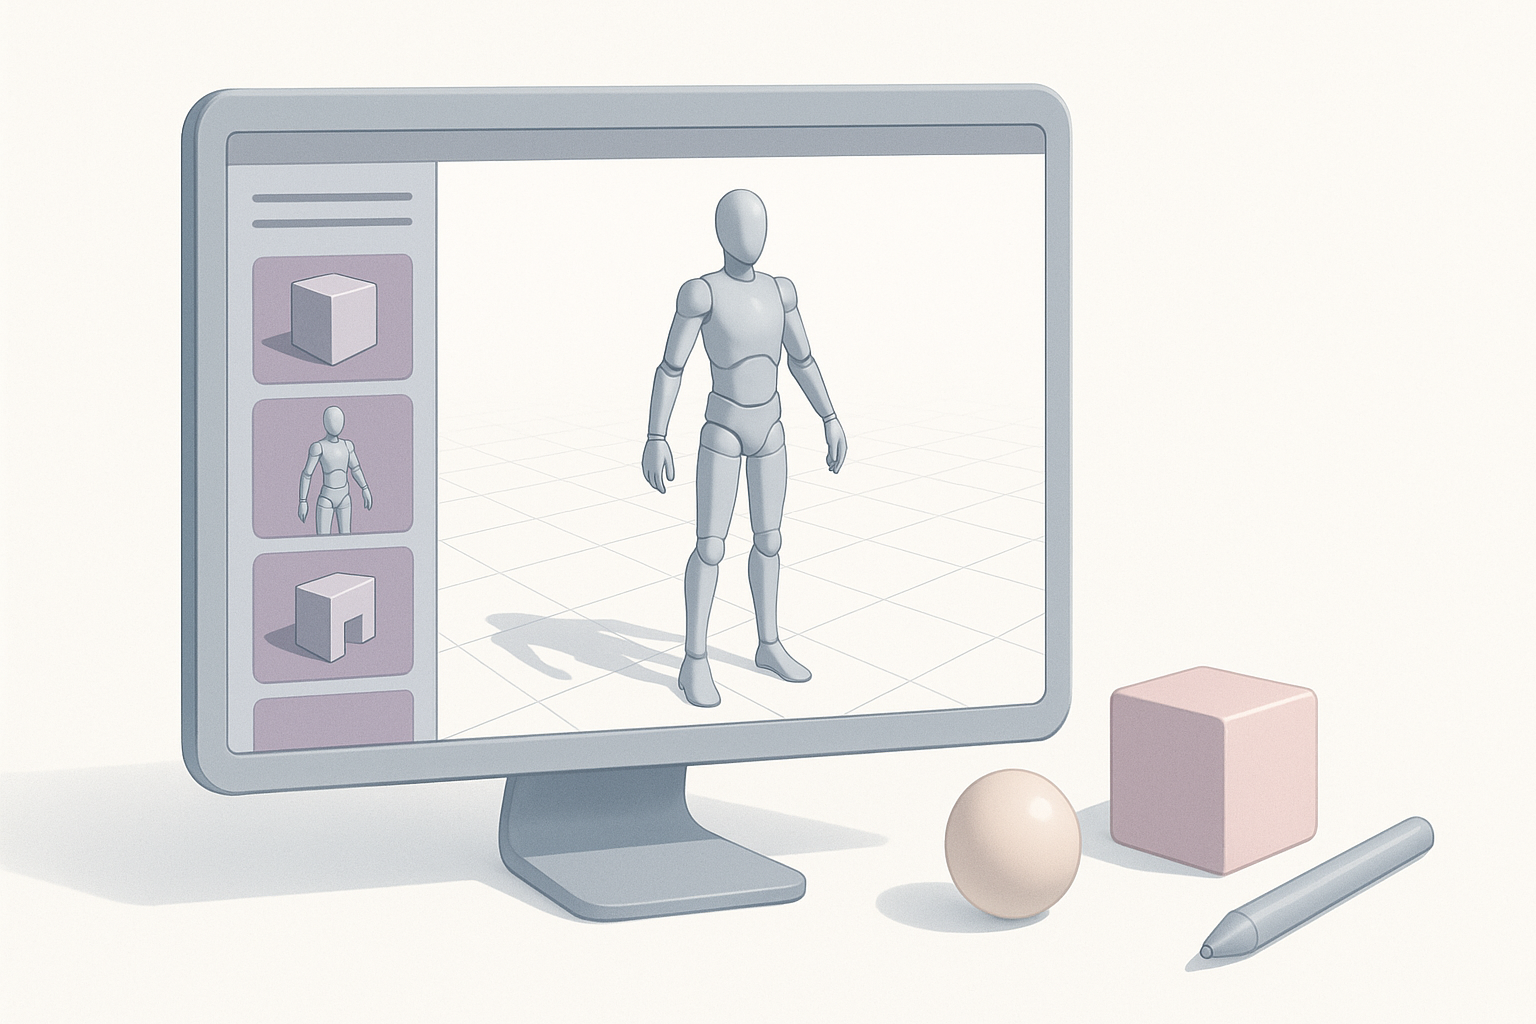
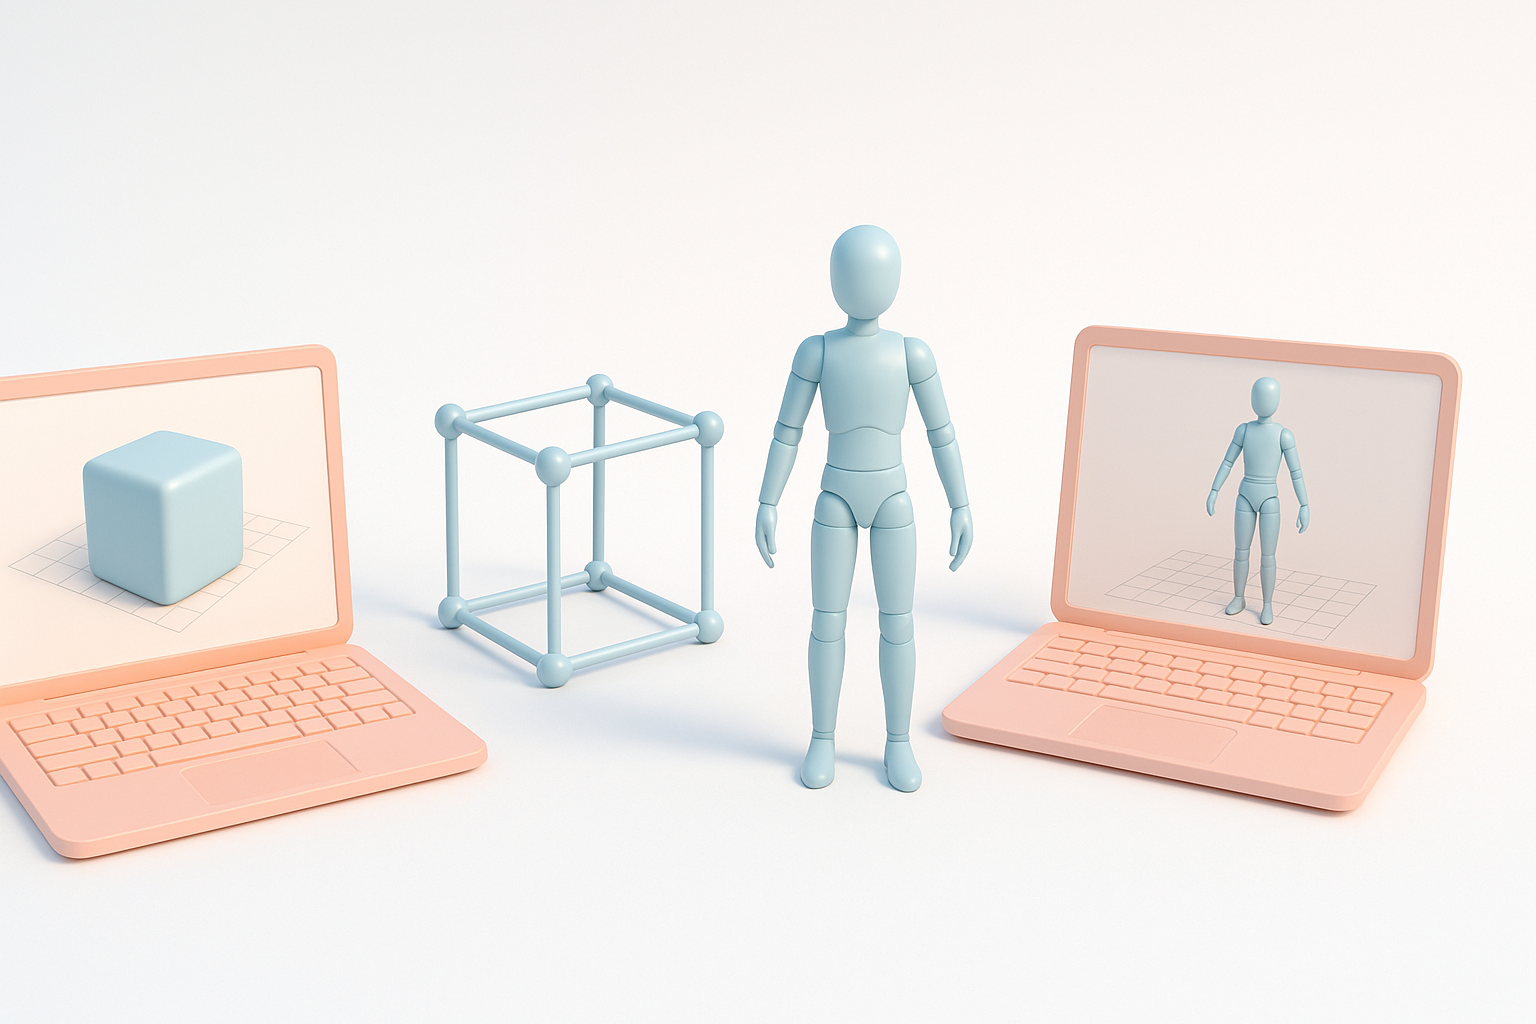
Clip Studio Paint supporta oggetti, personaggi e sfondi 3D, rendendo facile l'uso del 3D come riferimento per il disegno o per l'integrazione diretta. Nel mio flusso di lavoro, utilizzo i modelli 3D per una prospettiva, un'anatomia e ambienti complessi accurati, specialmente quando la velocità o la coerenza sono fondamentali. CSP consente manipolazioni di base (posizionamento, ridimensionamento, controllo della telecamera) e regolazioni limitate dei materiali, rendendolo accessibile sia ai principianti che agli artisti esperti.
Requisiti di sistema e configurazione
Per far girare il 3D in modo fluido in CSP sono necessari una GPU discreta e RAM sufficiente (minimo 8 GB; consigliati oltre 16 GB). Prima di iniziare, io faccio sempre quanto segue:
- Aggiornare CSP all'ultima versione.
- Controllare i driver della scheda grafica.
- Abilitare l'accelerazione hardware nelle preferenze di CSP.
Mini-checklist:
- CSP aggiornato all'ultima versione
- Driver della GPU aggiornati
- Accelerazione hardware abilitata
- RAM sufficiente disponibile
Importazione e gestione degli asset 3D
Formati di file 3D supportati
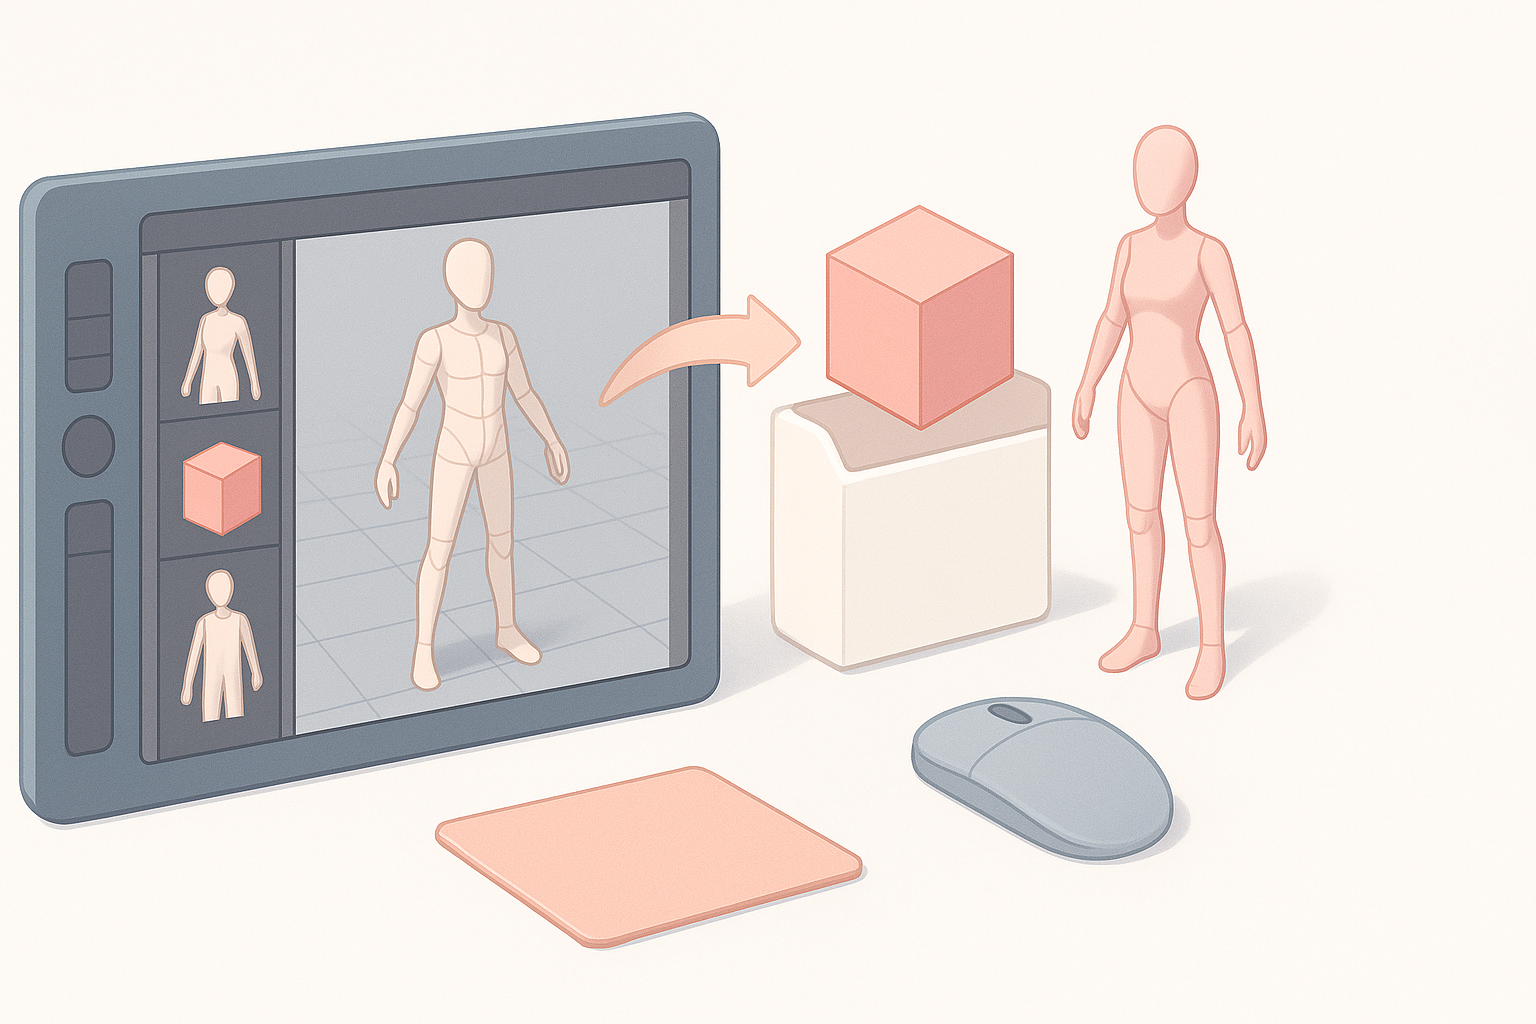
CSP supporta nativamente diversi formati 3D: .obj, .fbx e il suo formato proprietario .cs3o. Nella mia esperienza, .fbx offre la migliore compatibilità per i modelli con rig o animati, mentre .obj funziona bene per gli oggetti di scena statici. Controllo sempre la scala e l'orientamento del modello prima di importarlo: gli assi disallineati sono un problema comune.
Passaggi per l'importazione:
- Vai alla tavolozza dei Materiali.
- Trascina e rilascia il file 3D nella tela o nella libreria dei Materiali.
- Regola la scala/l'orientamento secondo necessità.
Organizzazione e accesso ai materiali 3D
Mantenere organizzati gli asset 3D è essenziale. Categorizzo i modelli nella tavolozza dei Materiali di CSP per tipo (personaggi, oggetti di scena, ambienti) e utilizzo convenzioni di denominazione chiare. Per le librerie di grandi dimensioni, consiglio cartelle e tag personalizzati. In questo modo è facile trascinare gli asset in qualsiasi progetto senza dover cercare i file.
Suggerimenti:
- Usa nomi di file/cartelle descrittivi.
- Memorizza i modelli utilizzati di frequente nella sezione "Preferiti".
- Fai regolarmente il backup della tua libreria dei Materiali.
Creazione di modelli 3D personalizzati per Clip Studio Paint
Utilizzo di strumenti di creazione 3D basati sull'IA
Quando ho bisogno rapidamente di un oggetto di scena o di una figura personalizzata, mi rivolgo a piattaforme basate sull'IA come Tripo. Il processo è semplice: descrivo l'oggetto, carico un'immagine di riferimento o uno schizzo e lascio che lo strumento generi un modello pronto per la produzione. Questo evita la ripida curva di apprendimento della modellazione 3D tradizionale, permettendomi di concentrarmi sulla direzione artistica.
Flusso di lavoro:
- Inserisci il prompt (testo/immagine/schizzo) in Tripo.
- Rivedi e perfeziona il modello generato.
- Scarica in formato
.objo.fbxper l'importazione in CSP.
Migliori pratiche per l'esportazione dei modelli
Prima di esportare, controllo sempre che:
- La scala del modello corrisponda alle unità di CSP.
- La geometria sia pulita (senza vertici isolati o facce nascoste).
- Le texture siano incluse e mappate correttamente.
L'esportazione come .fbx di solito conserva più dati (come il rigging), ma per gli oggetti statici il formato .obj è più semplice. Evito conteggi poligonali eccessivamente alti: CSP può subire rallentamenti con mesh complesse.
Checklist di esportazione:
- Scala e orientamento corretti
- Geometria pulita
- Texture incluse
- Conteggio poligonale ragionevole
Lavorare con i modelli 3D nel proprio workflow artistico
Controlli di posa, illuminazione e telecamera
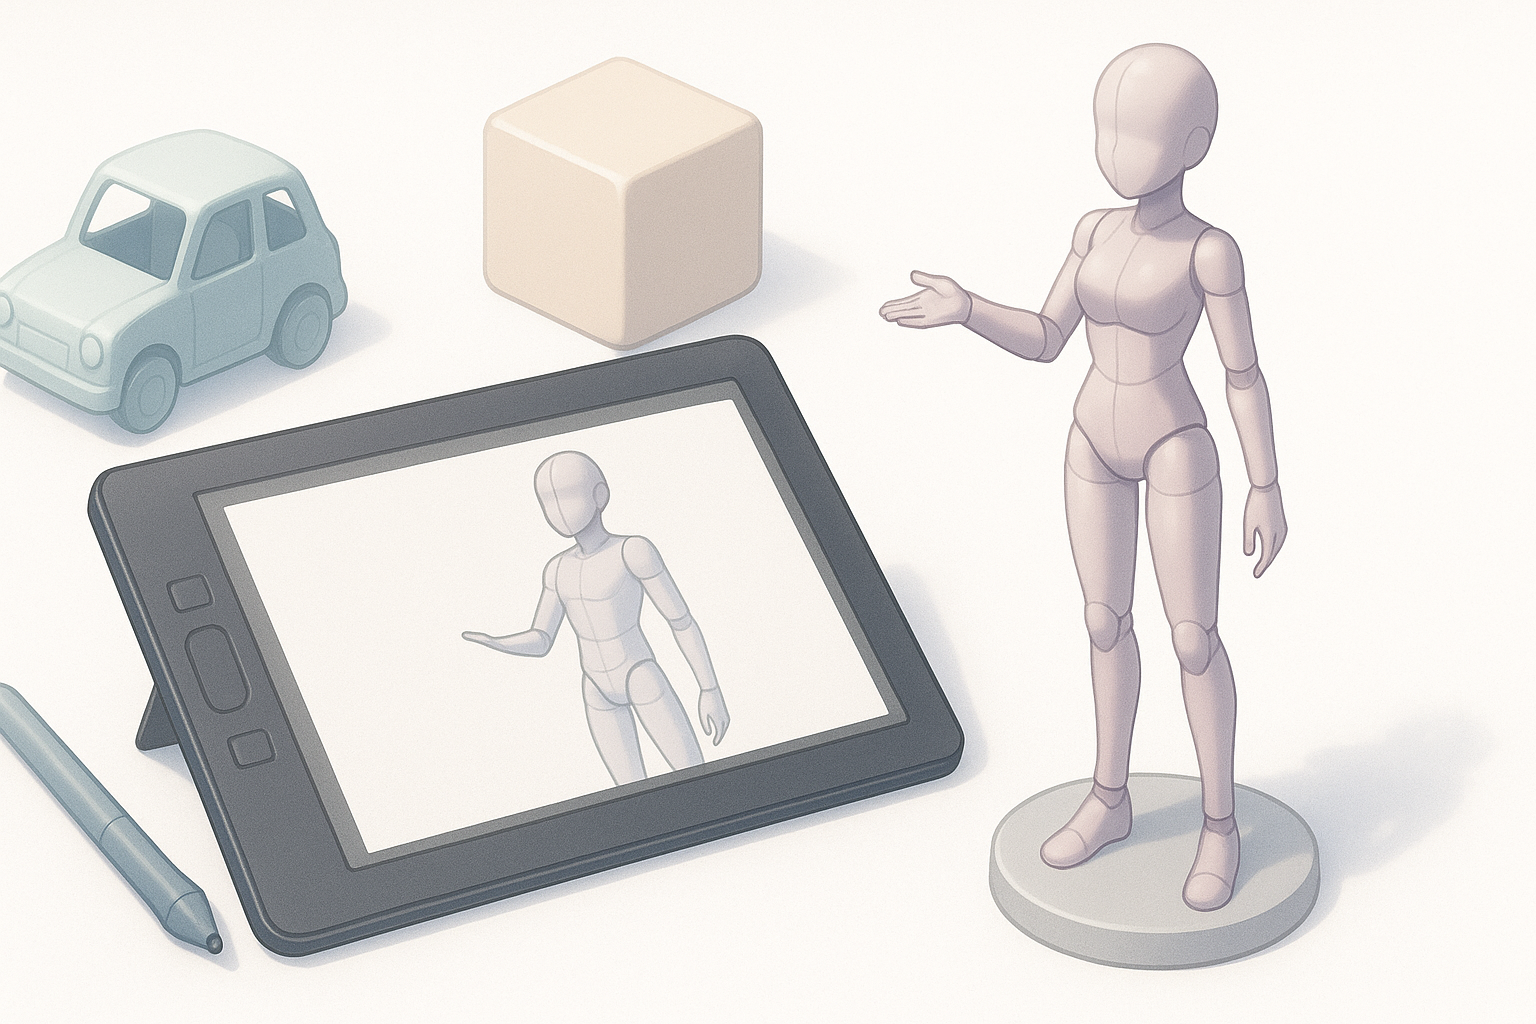
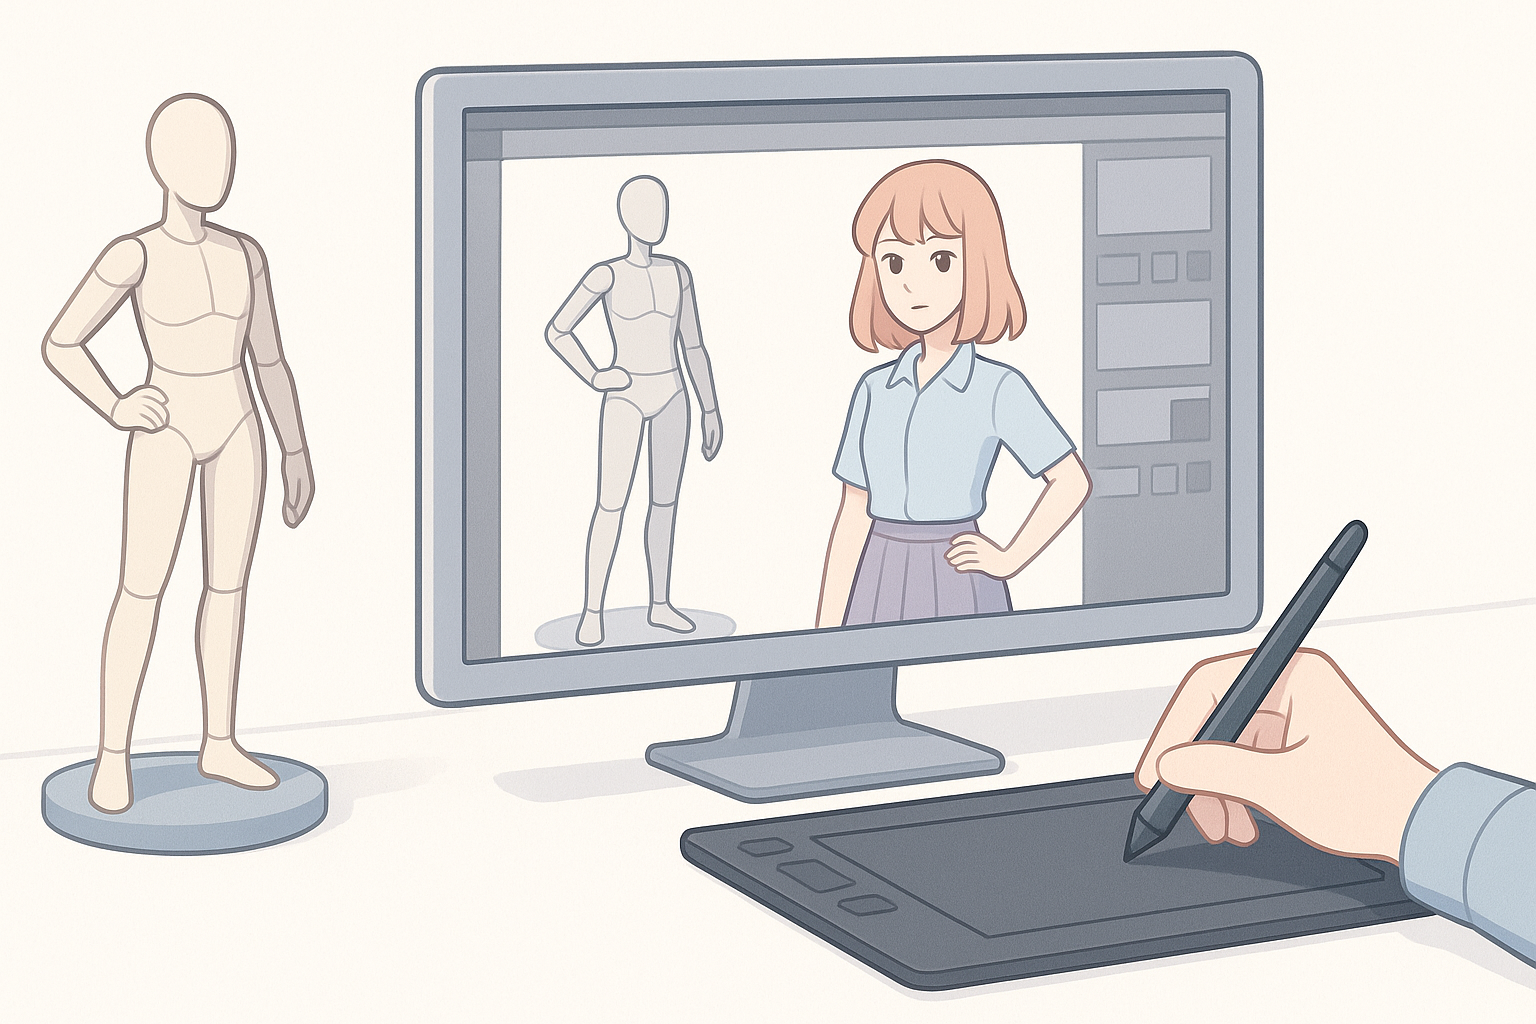
I controlli di posa di CSP sono intuitivi per regolazioni rapide. Per pose personalizzate, utilizzo il manipolatore 3D o importo modelli con rig integrati. L'illuminazione può essere regolata nell'Object Launcher; di solito imposto una luce chiave forte per abbinarla alla mia scena 2D. I controlli della telecamera mi consentono di sperimentare con la prospettiva prima di impegnarmi in una composizione.
Passaggi:
- Seleziona il livello 3D > Object Launcher.
- Regola posa, scala e rotazione.
- Imposta la direzione e l'intensità dell'illuminazione.
- Muovi la telecamera per l'angolazione migliore.
Integrazione del 3D con l'illustrazione 2D
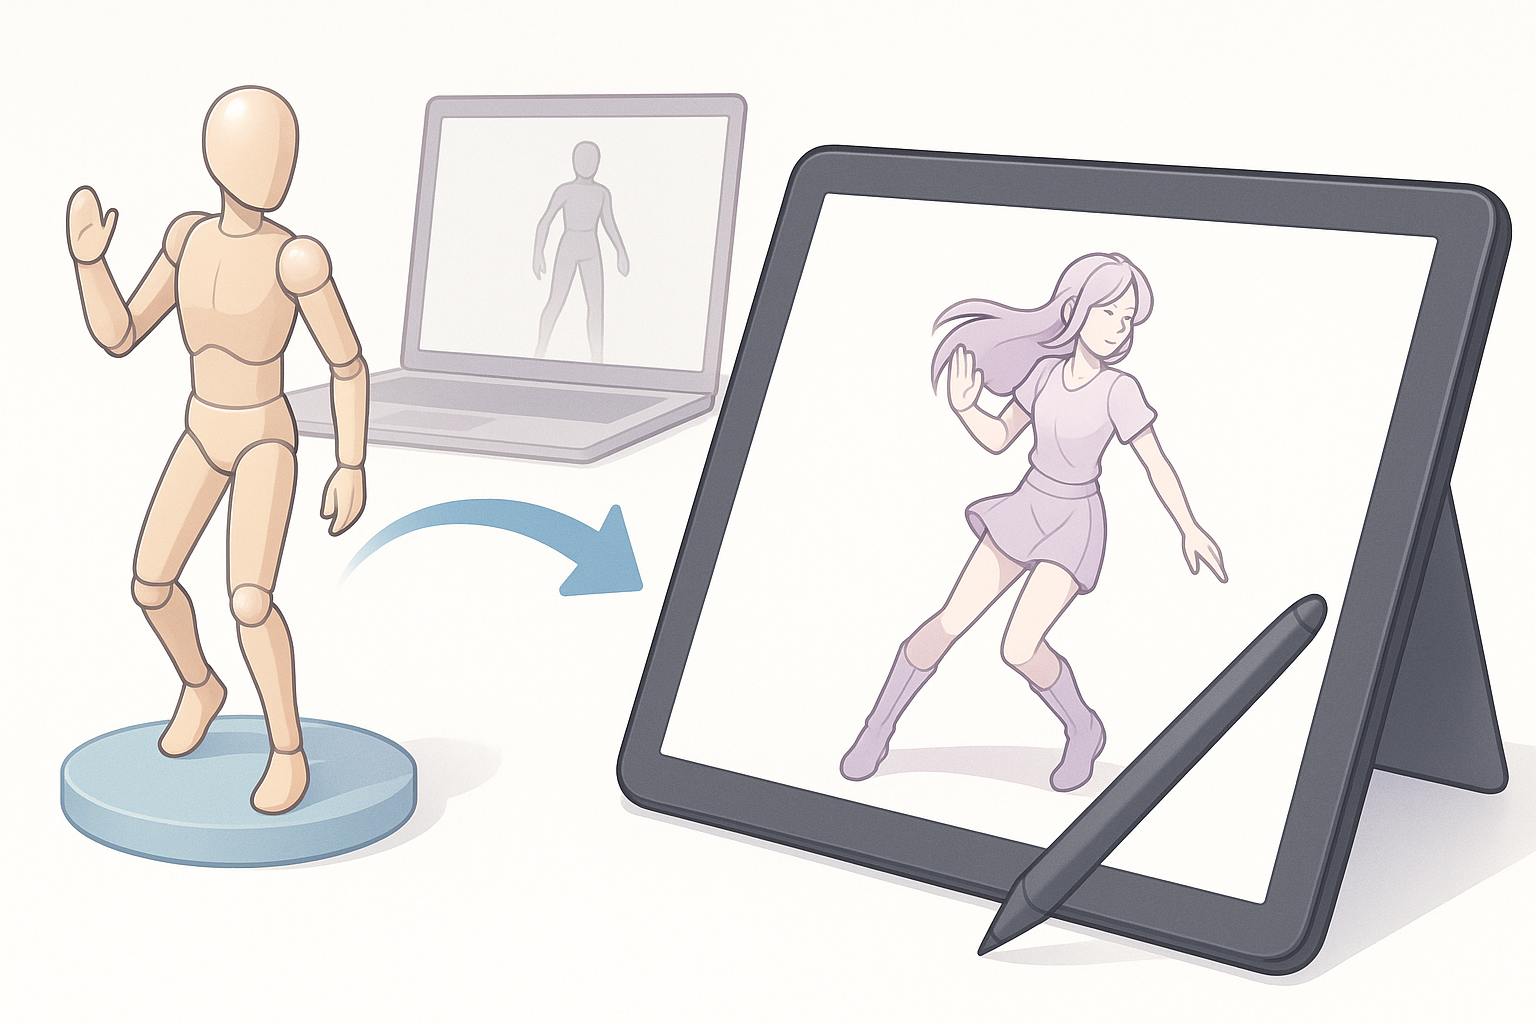
Tratto i modelli 3D come bozze sottostanti (underlay), ricalcandoli o dipingendoci sopra per il tratto finale. Per fondere il 3D nel 2D, spesso abbasso l'opacità, uso maschere di livello o applico filtri. Per gli sfondi, a volte tengo il rendering 3D e dipingo i dettagli sopra.
Suggerimenti per l'integrazione:
- Usa il 3D per le bozze, poi rifinisci a mano.
- Abbina l'illuminazione e la prospettiva per una fusione perfetta.
- Non affidarti troppo al 3D: mantieni il tuo stile.
Suggerimenti, trucchi ed errori comuni
Cosa ho imparato dai progetti reali
- Inizia con modelli semplici; aggiungi dettagli in seguito se necessario.
- Salva versioni incrementali: CSP può bloccarsi con scene 3D pesanti.
- Testa l'importazione dei modelli prima delle scadenze dei progetti per evitare sorprese.
Risoluzione dei problemi e ottimizzazione
Se i modelli vengono importati vuoti o distorti, controllo:
- La compatibilità del formato di file.
- I percorsi delle texture (relativi vs. assoluti).
- La scala del modello (troppo piccolo = invisibile).
Per ottimizzare le prestazioni:
- Riduci il conteggio dei poligoni.
- Nascondi i livelli 3D non utilizzati.
- Elimina i materiali non utilizzati dalla libreria.
Errori comuni:
- Importare tipi di file non supportati.
- Dimenticare di incorporare le texture.
- Sovraccaricare le scene con asset ad alto numero di poligoni.
Confronto dei metodi di creazione di modelli 3D
Strumenti IA vs. Modellazione tradizionale
Nella mia esperienza, gli strumenti basati sull'IA come Tripo sono imbattibili per velocità e prototipazione. Per asset unici o altamente dettagliati, la modellazione tradizionale (Blender, Maya, ecc.) ha ancora il suo spazio, ma la curva di apprendimento è ripida. I modelli generati dall'IA sono ideali per riferimenti, sfondi veloci o oggetti di scena.
Vantaggi degli strumenti IA:
- Tempi di consegna rapidi
- Conoscenza tecnica richiesta minima
- Ottimo per l'iterazione
Vantaggi della modellazione tradizionale:
- Controllo creativo completo
- Dettaglio e rigging avanzati
- Standard del settore per asset complessi
Scegliere il workflow adatto alle proprie esigenze
Scelgo il mio flusso di lavoro in base alle esigenze del progetto:
- Per concept rapidi o riferimenti: modelli generati dall'IA.
- Per asset di produzione finali: modellazione tradizionale o un approccio ibrido.
- Per l'illustrazione: 3D come bozza sottostante, 2D per l'arte finale.
Checklist decisionale:
- È più importante la velocità o il dettaglio?
- Ho bisogno di animazione/rigging?
- Il modello sarà visibile nell'opera finale?
Combinando le funzionalità 3D di Clip Studio Paint con i moderni strumenti basati sull'IA, ho scoperto che anche le scene complesse diventano gestibili e divertenti. Con un po' di organizzazione e le giuste impostazioni di esportazione, chiunque può integrare efficacemente il 3D nel proprio workflow di CSP.
