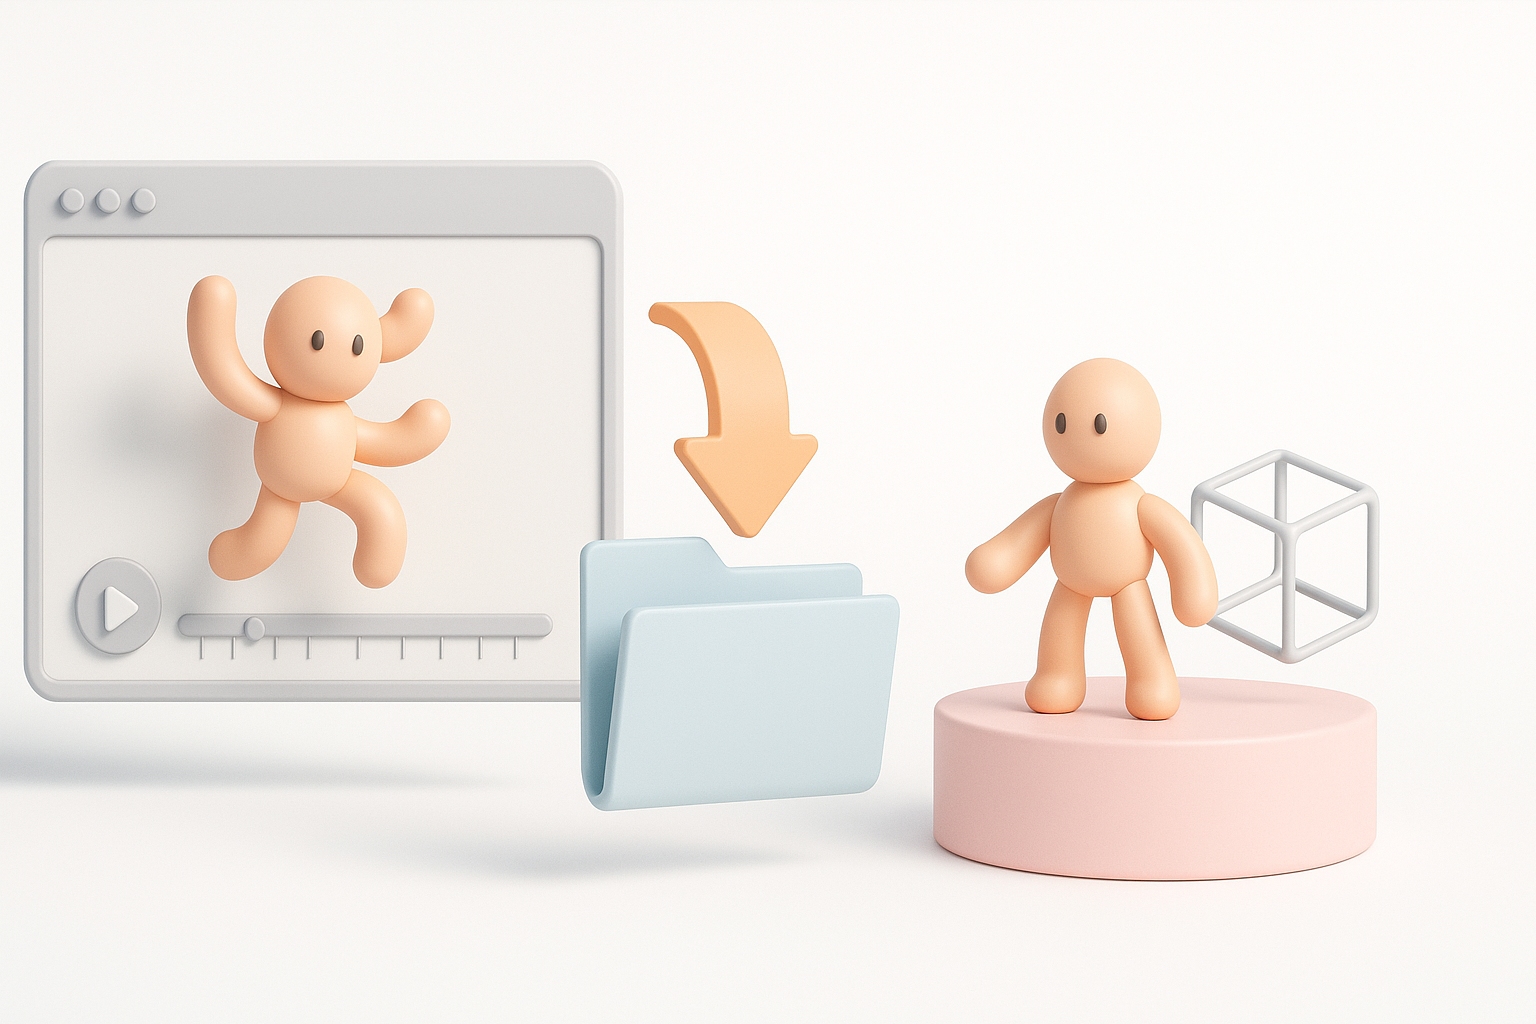
Mastering 3D Model Animation: Expert Workflows & Best Practices
Animating 3D models is at the heart of modern digital content creation, from games to film and XR. Over years of hands-on work, I’ve learned that success hinges on streamlined workflows, robust rigging, and the right mix of automation and manual control. This article distills the most effective practices I use—from prepping models and rigging, to animating with AI-powered tools and exporting for various platforms. If you’re a creator, developer, or designer aiming for production-ready animated assets, these insights will help you avoid common pitfalls and optimize your pipeline.
Key takeaways
- Proper model prep and segmentation are essential for smooth animation.
- Rigging quality determines how natural your animations will look.
- AI-powered tools can accelerate animation, but manual refinement is often necessary.
- Export settings must match your target platform to avoid integration headaches.
- Lighting and texturing are crucial for realism—don’t overlook them.
- Troubleshooting early saves hours later; always test and iterate.
Understanding 3D Model Animation Fundamentals
What is 3D model animation?
3D model animation is the process of moving and transforming digital objects over time, making them appear alive or interact with their environment. In my workflow, this means manipulating a model’s geometry, skeleton, and textures to create believable motion—be it a character walking or an object rotating.
Animation can range from simple movements to complex, layered sequences. The goal is always to match the intended emotion, story, or gameplay requirement.
Key concepts and terminology
- Keyframes: Markers that define important poses or states in the animation timeline.
- Rigging: Adding a skeleton (bones and joints) to a model so it can be moved.
- Skinning: Binding the model’s geometry to the rig so it deforms naturally.
- Interpolation: The process of filling in motion between keyframes.
- Retopology: Optimizing mesh structure for animation and rendering.
Understanding these basics is crucial. Before I animate, I always ensure I’m clear on these terms and their impact on workflow.
Preparing 3D Models for Animation

Model segmentation and retopology
Segmenting a model means dividing it into logical parts (arms, legs, accessories) for easier rigging and animation. I use intelligent segmentation tools to automate this, but manual tweaks are often needed for complex models.
Retopology is about reorganizing mesh topology for efficient deformation. I typically:
- Run automated retopology for clean, animation-friendly edge loops.
- Manually fix problem areas (e.g., elbows, knees) for better bending.
- Check for non-manifold geometry and overlapping vertices.
Optimizing geometry for smooth animation
A well-optimized mesh avoids issues like pinching or stretching during animation. My checklist:
- Keep polygon density consistent, especially around joints.
- Remove unnecessary faces to reduce computational load.
- Test deformation with simple rig movements before full animation.
Pitfall: Overly dense meshes can slow down animation tools and cause export problems. I always aim for balance between detail and performance.
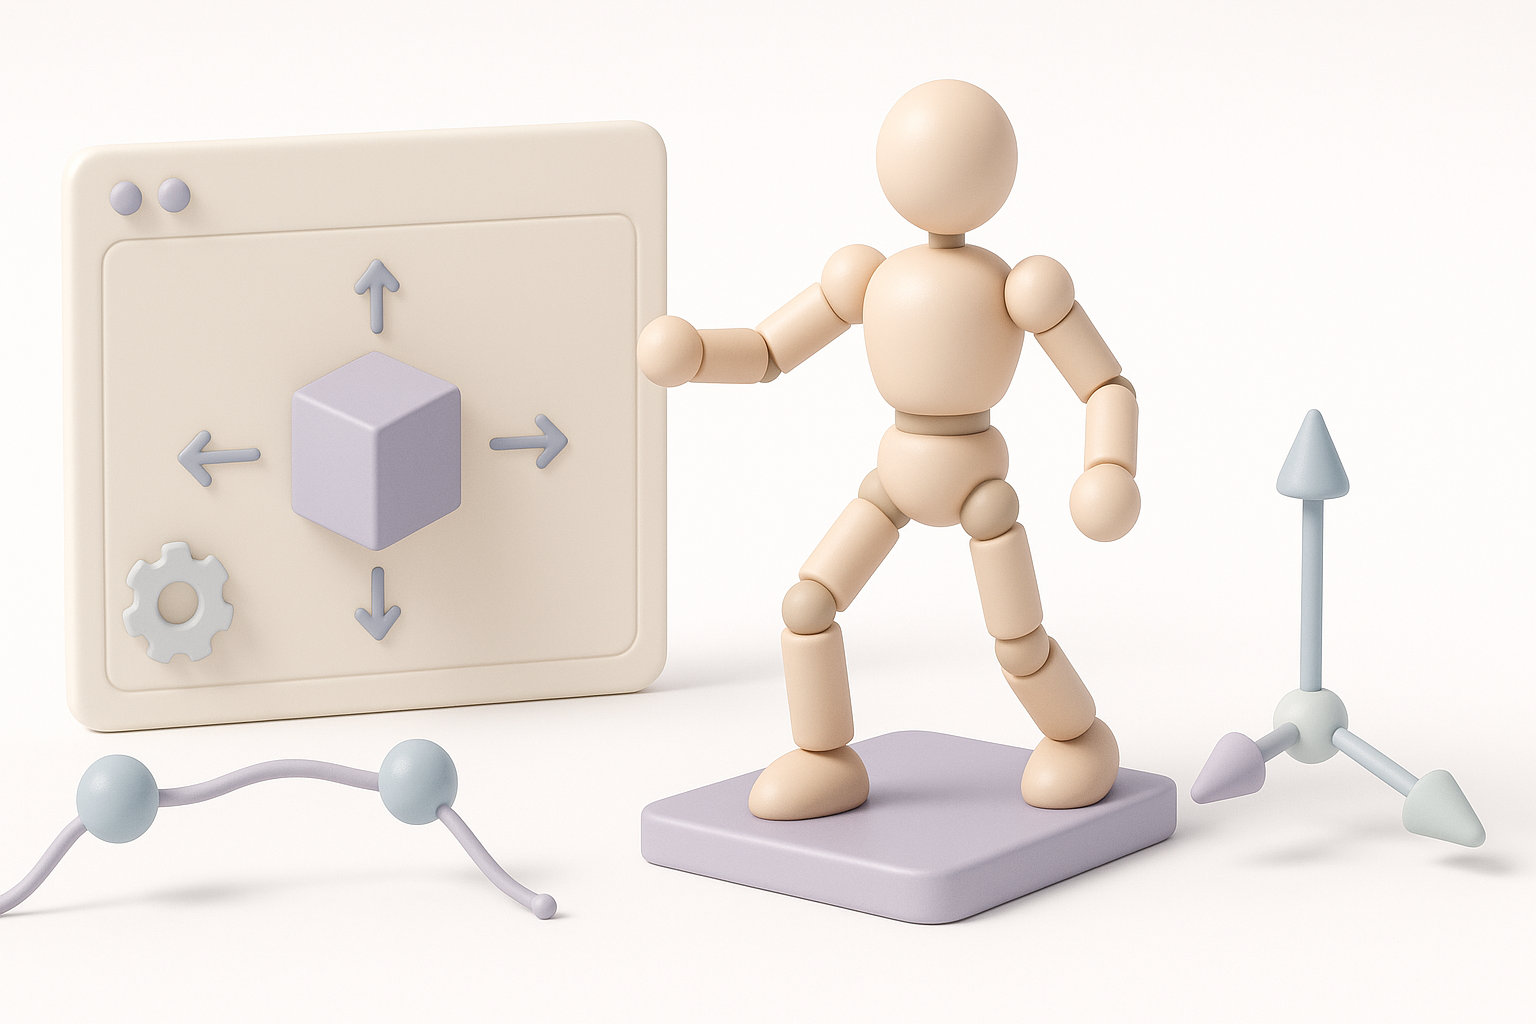
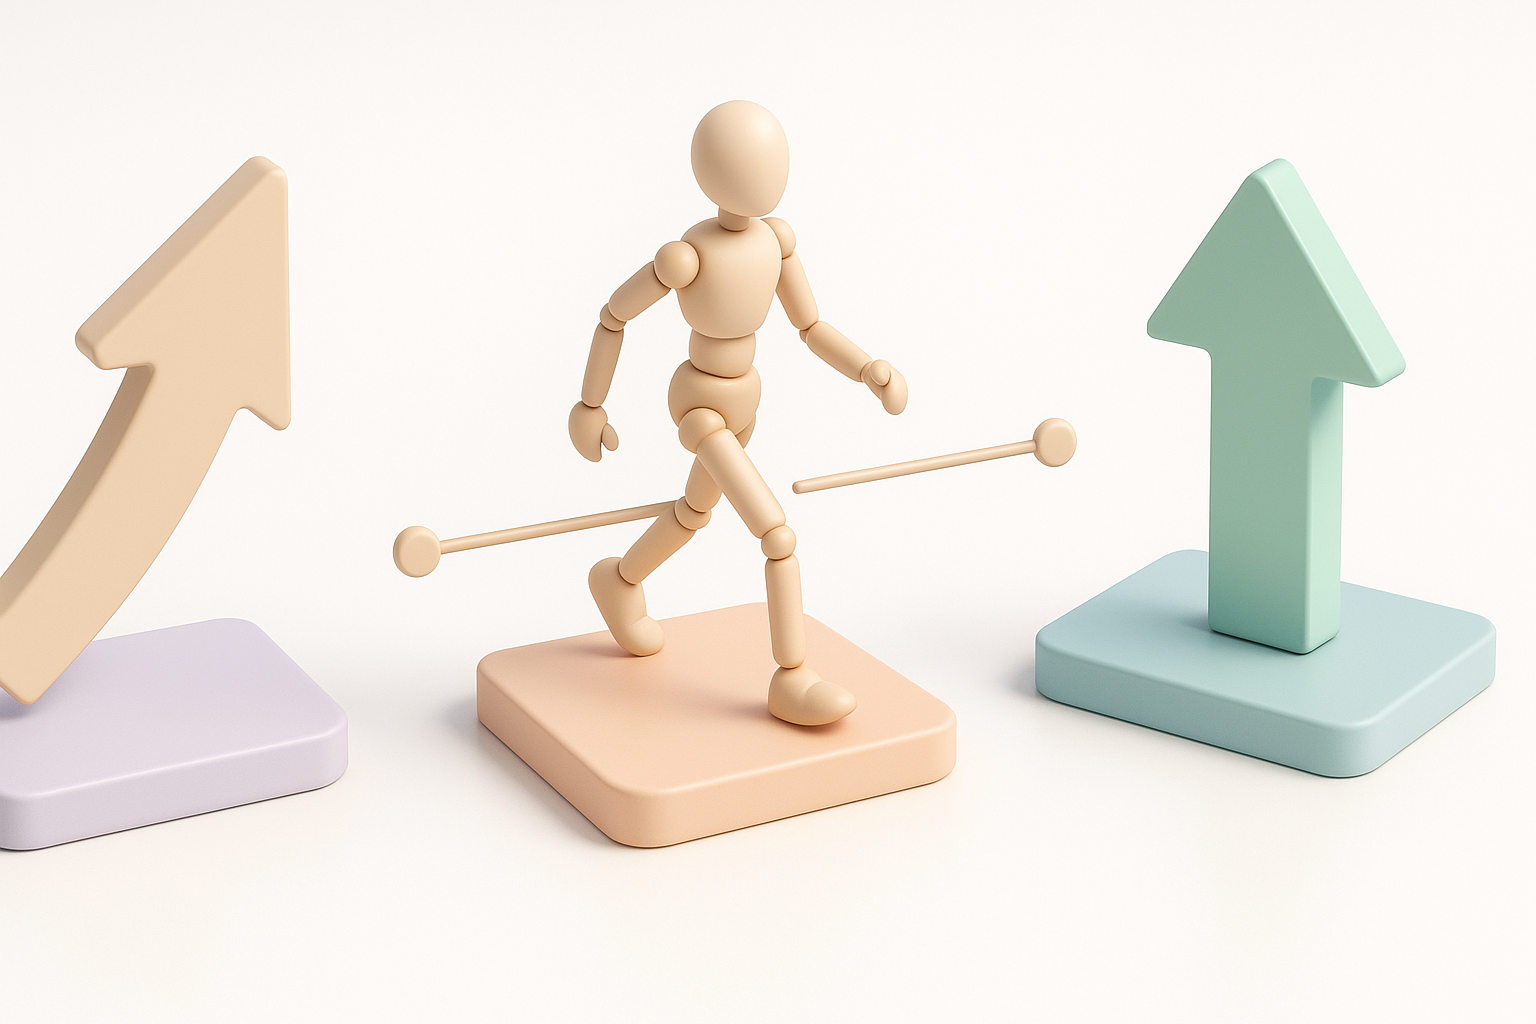
Rigging Techniques and Best Practices
Skeleton creation and joint placement
Rigging starts with creating a skeleton. I’ve found that:
- Placing joints at natural pivot points (shoulders, knees, wrists) yields realistic motion.
- For facial animation, extra joints or blend shapes are often needed.
- Use symmetry tools for faster rig setup.
Checklist for joint placement:
- Align joints with model’s anatomy.
- Avoid unnecessary joints—keep rigs simple.
- Test joint rotation before skinning.
Automated vs manual rigging workflows
Automated rigging tools (including AI-powered ones like Tripo) can save hours, especially for standard bipeds or quadrupeds. However, manual rigging is essential for custom or stylized models.
My approach:
- Start with automated rigging for base skeleton.
- Manually adjust joint placement and weights for tricky areas.
- Use visual feedback tools to check for skinning errors.
Pitfall: Over-reliance on automation can lead to unnatural deformations. Always validate results with manual checks.
Animating 3D Models: Step-by-Step Workflow
Keyframe animation basics
Keyframe animation involves setting pivotal poses and letting the software interpolate motion. My typical workflow:
- Block out main poses (start, end, major transitions).
- Refine timing and spacing between keyframes.
- Add secondary motion for realism (e.g., follow-through, overlapping action).
I always preview animations at different speeds to catch unnatural movements early.
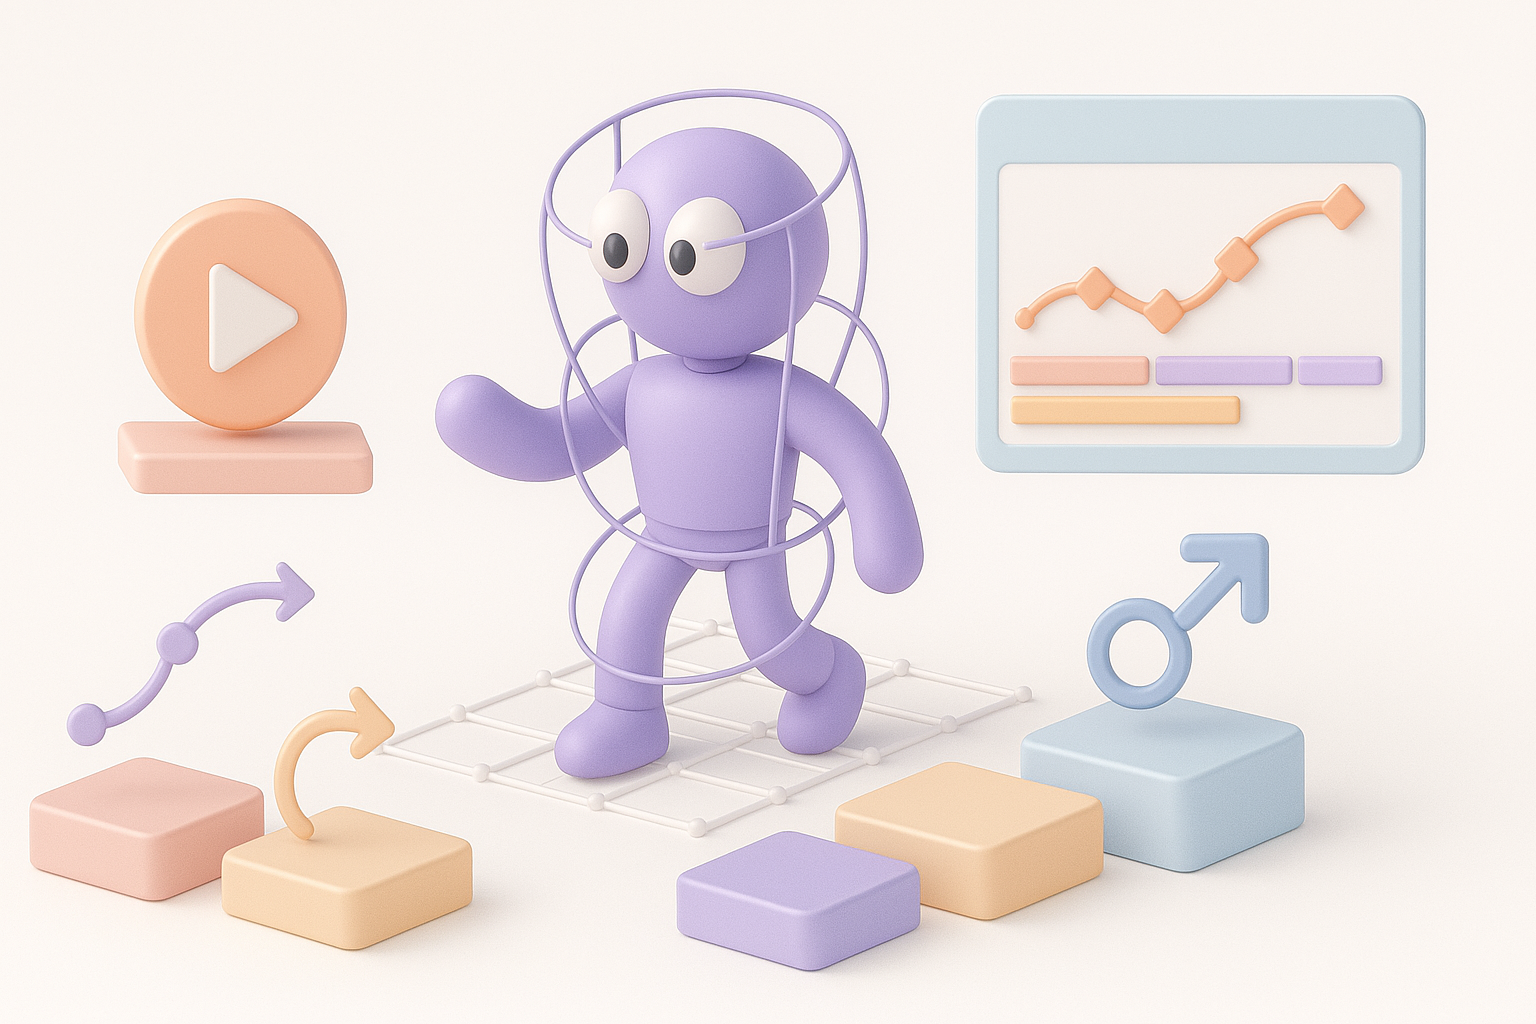
Using AI-powered tools for rapid animation
AI-powered animation tools (like Tripo’s integrated features) are game-changers for prototyping and iterating quickly. Here’s how I use them:
- Generate base motion from text prompts or sketches.
- Edit and refine automated results with manual tweaks.
- Layer additional animation for complex actions.
Tips:
- Use AI for repetitive or procedural animations.
- Always review and adjust output for artistic intent.
Pitfall: AI-generated animations may lack nuance—manual passes are vital for high-quality results.
Texturing and Lighting for Animated Models
Applying textures for realism
Texturing brings models to life. I typically:
- Use high-resolution, seamless textures for skin, clothing, and props.
- Bake ambient occlusion and normal maps for depth.
- Test textures under animation to spot stretching or artifacts.
Checklist:
- Ensure UVs are clean and non-overlapping.
- Preview textures in motion to catch errors.
- Adjust materials for dynamic lighting.
Lighting setups to enhance motion
Lighting is key to making animation look believable. In my projects:
- I use three-point lighting for characters (key, fill, rim).
- Animate lights for dramatic effects (e.g., moving spotlights).
- Test lighting in context—game, film, or XR—to match the environment.
Pitfall: Static lighting can make animated models look flat. Always consider how motion interacts with light.
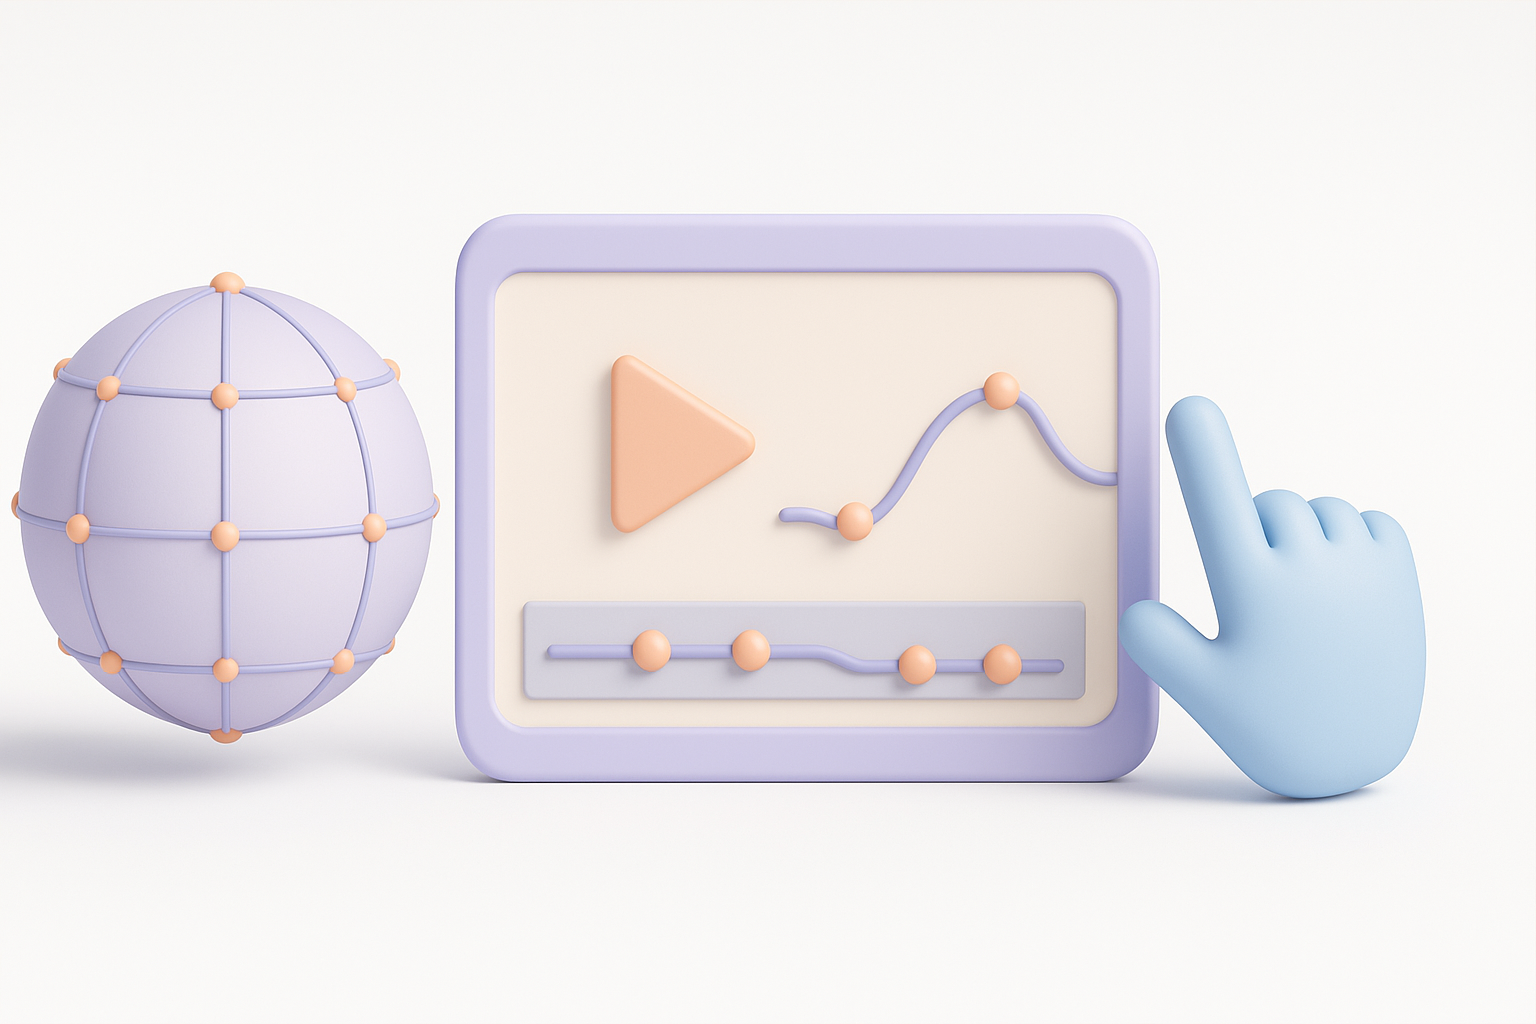
Exporting and Integrating Animated Models
Export settings for different platforms
Exporting animated models requires careful attention to settings. My process:
- Choose the correct format (FBX, GLTF, USD) based on target platform.
- Bake animations to avoid compatibility issues.
- Optimize file size by removing unused data.
Checklist:
- Test exports in target engine (Unity, Unreal, WebXR).
- Check for animation drift or missing frames.
- Document export settings for repeatability.
Integrating animations into games, films, and XR
Integration is where workflow bottlenecks often appear. What I’ve learned:
- Sync frame rates and coordinate systems between tools.
- Use retargeting features for character swaps.
- Test animations in engine early to catch mismatches.
Pitfall: Ignoring platform-specific requirements can result in broken or jittery animations. Always consult documentation.
Comparing Animation Tools and Methods

AI-powered vs traditional animation workflows
AI-powered tools accelerate tasks like rigging and base animation, letting me focus on creative refinement. Traditional workflows offer full control but are time-intensive.
My advice:
- Use AI for initial setup, rapid prototyping, and bulk tasks.
- Switch to manual methods for nuanced, story-driven animation.
- Combine both for optimal results.
Choosing the right tool for your project
Tool selection depends on asset complexity, deadline, and platform. I recommend:
- For high-volume projects: prioritize AI-powered tools.
- For hero assets: invest in manual refinement.
- Always test tool outputs for compatibility and quality.
Checklist:
- Match tool capabilities to project needs.
- Evaluate learning curve and support resources.
- Plan for iterative feedback and adjustments.
Expert Tips and Common Pitfalls
What I’ve learned from real-world projects
- Always start with a clean, well-organized model.
- Test animation early and often—catch issues before they snowball.
- Leverage AI tools for speed, but never skip manual checks.
My top tips:
- Document your workflow for repeatability.
- Build reusable rigs and animation libraries.
- Collaborate with other artists for fresh feedback.
Troubleshooting animation issues
Common problems I encounter:
- Mesh deformation errors: check skin weights and joint placement.
- Animation jitter: sync frame rates and check interpolation settings.
- Export failures: verify format compatibility and bake animations.
Troubleshooting steps:
- Isolate the problem area (mesh, rig, animation, export).
- Use visual debugging tools to pinpoint errors.
- Iterate fixes and retest in context.
Pitfall: Ignoring small issues early leads to major headaches later. I always prioritize early troubleshooting.
Mastering 3D model animation is a blend of art and science. With the right workflows, tools, and mindset, you can create stunning animated assets for any platform—while avoiding the most common pitfalls.