Creating a High-Quality Sword 3D Model: Expert Workflow & Tips
скачать 3d модель для chicken gun
Creating a production-ready sword 3D model demands a blend of artistic vision and technical know-how. Over the years, I’ve refined my workflow to streamline every step—from gathering references to final presentation—while avoiding common pitfalls that can derail quality or efficiency. Whether you’re building assets for games, film, or XR, the right approach ensures your sword models are visually impressive and technically robust. Here, I’ll share my expert process, practical tips, and how I leverage AI-powered tools like Tripo to accelerate and enhance the workflow.
Key takeaways:
- Clear planning and reference gathering are critical for authentic results.
- Efficient base mesh creation saves time during later stages.
- Proper retopology and mesh cleanup are non-negotiable for production-readiness.
- Realistic texturing and material work bring the sword to life.
- AI-powered tools can dramatically speed up modeling without sacrificing quality.
- Rigging and export settings must align with your project’s platform requirements.
Executive Summary: Key Takeaways for Sword 3D Modeling
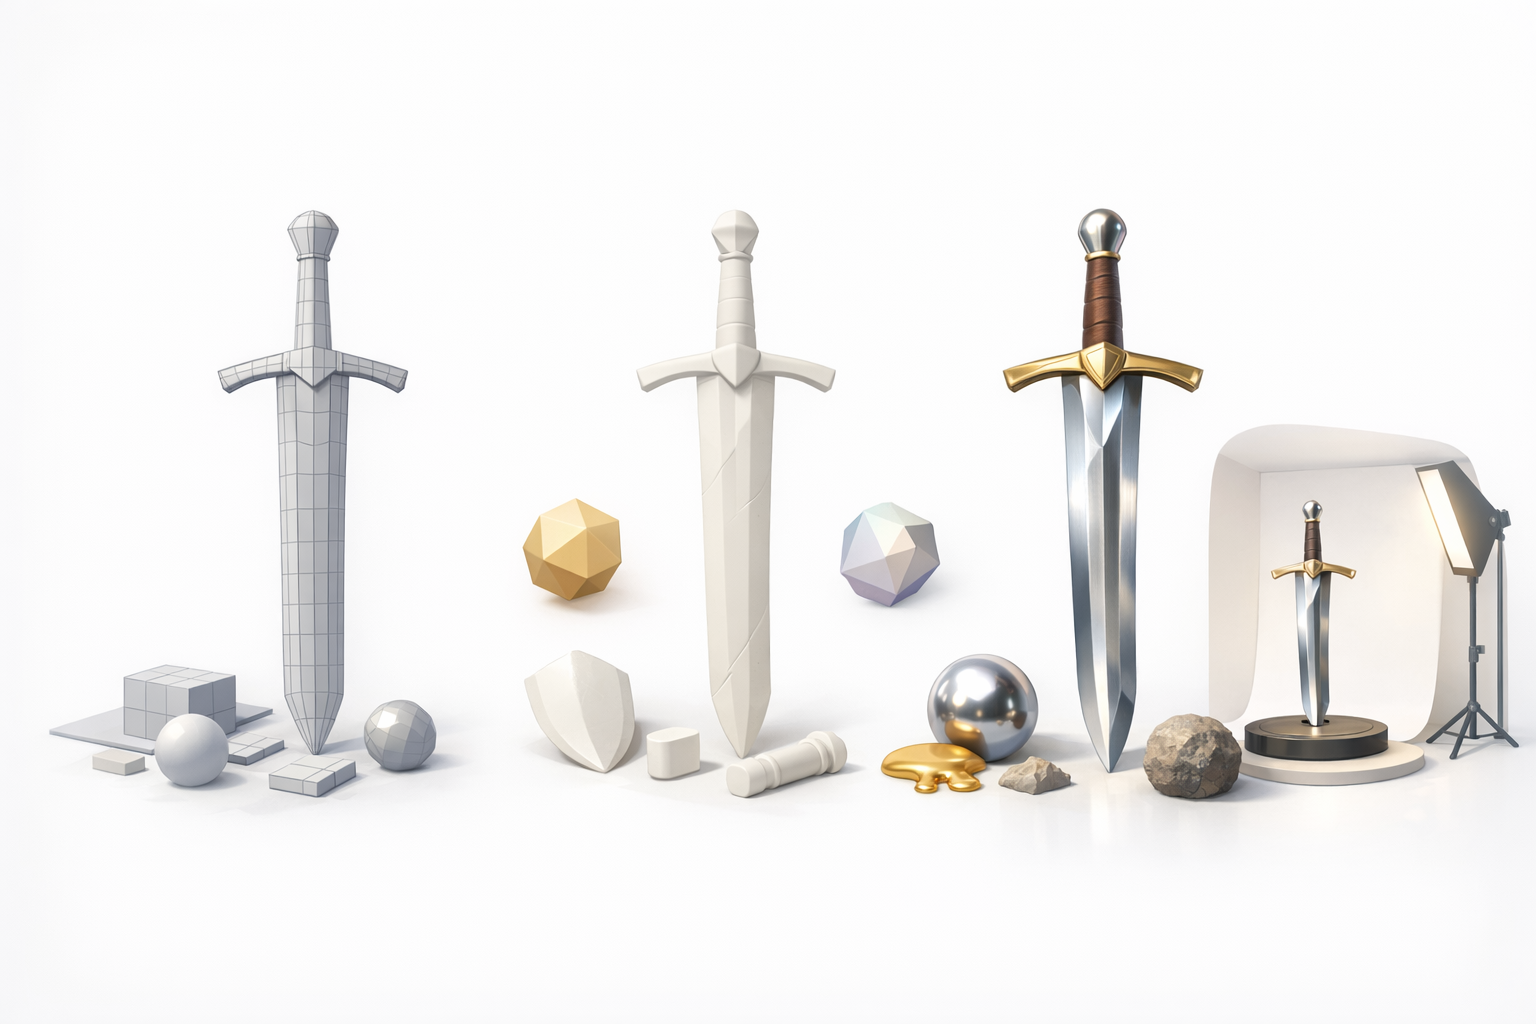
What makes a sword 3D model production-ready
A production-ready sword model is cleanly modeled, well-optimized, and visually convincing. In my workflow, this means:
- Clean topology with proper edge flow for deformation (if animated)
- Efficient polygon count relative to the target platform
- Realistic details—both in geometry and textures
- Properly unwrapped UVs and high-quality baked maps
- Consistent scale and orientation
Common pitfalls and how I avoid them
Some common issues I see include messy topology, stretched textures, and overcomplicated geometry. I avoid these by:
- Regularly checking wireframes and UV layouts
- Keeping the silhouette simple before adding detail
- Using references to avoid proportion mistakes
- Leveraging tools like Tripo for segmentation and retopology, which reduces manual cleanup
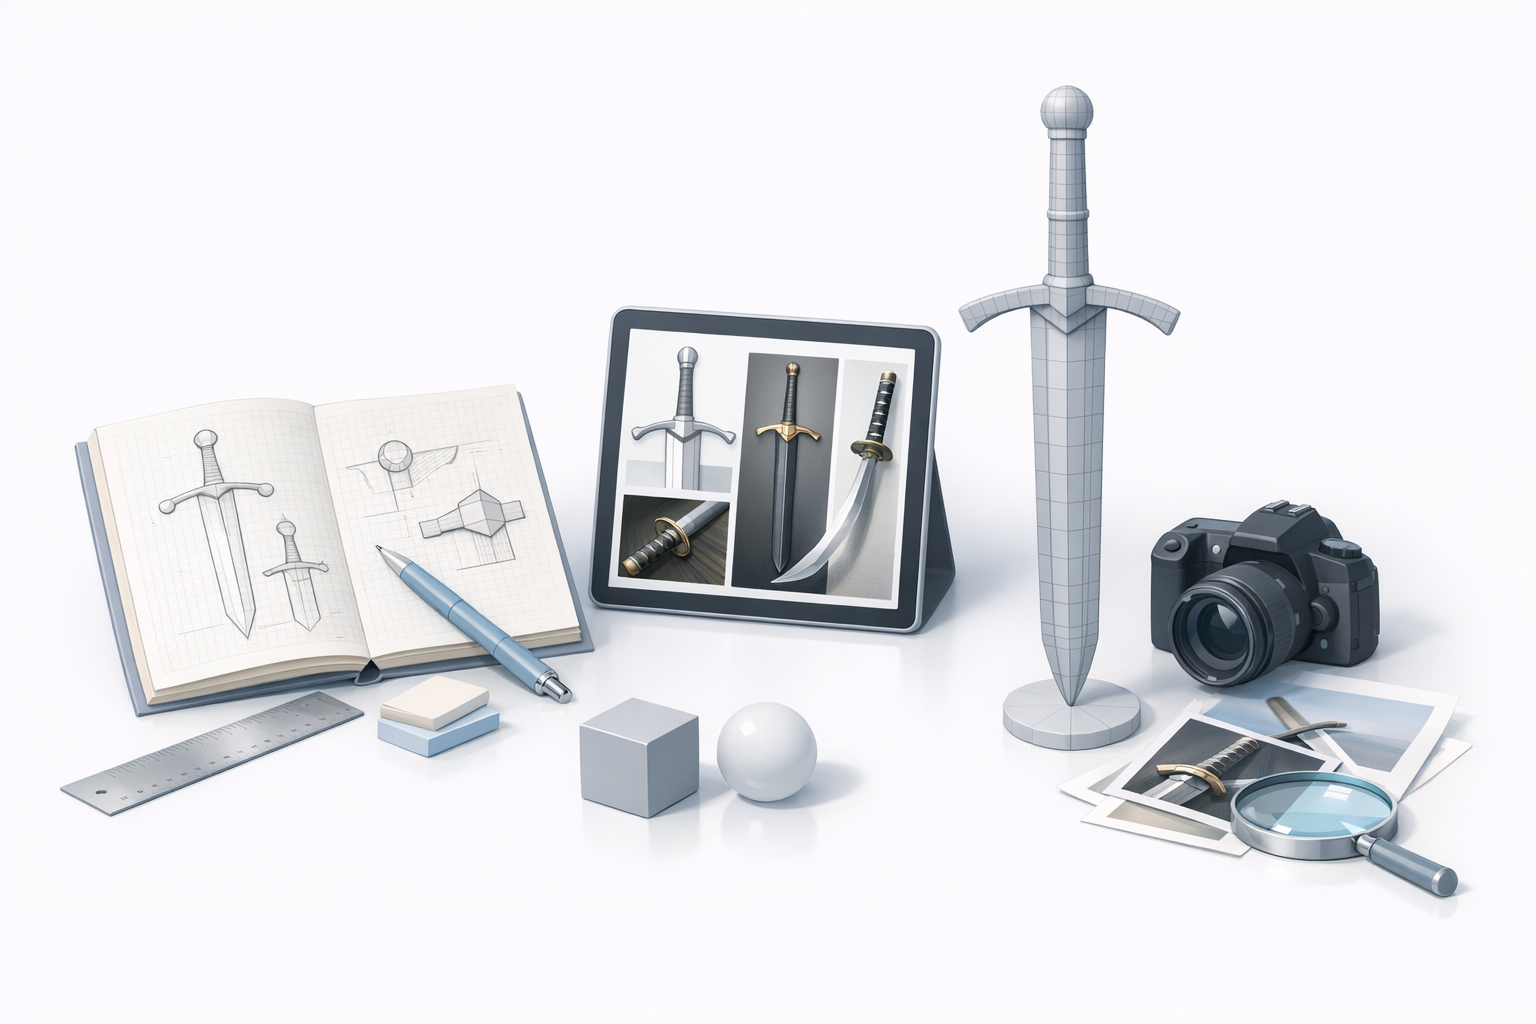
Planning and Reference Gathering for Sword Models
Choosing the right sword style and purpose
Before modeling, I define the sword’s context: is it historical, fantasy, or stylized? This affects everything from proportions to material choices. For games, I consider polycount limits and animation needs; for film or XR, visual fidelity often takes priority.
Checklist:
- Define the sword’s era, culture, and use case
- Note technical requirements (polycount, rigging needs)
- Decide on stylization vs. realism early
Collecting and organizing reference images
I collect high-res photos, concept art, and orthographic views. Organizing them in a reference board (like PureRef) keeps me focused and consistent.
My steps:
- Gather at least 5–10 reference images from trusted sources
- Separate functional references (blade, hilt, pommel) from artistic inspiration
- Annotate key dimensions and details for accuracy
Blocking Out the Sword: My Approach to Base Mesh Creation
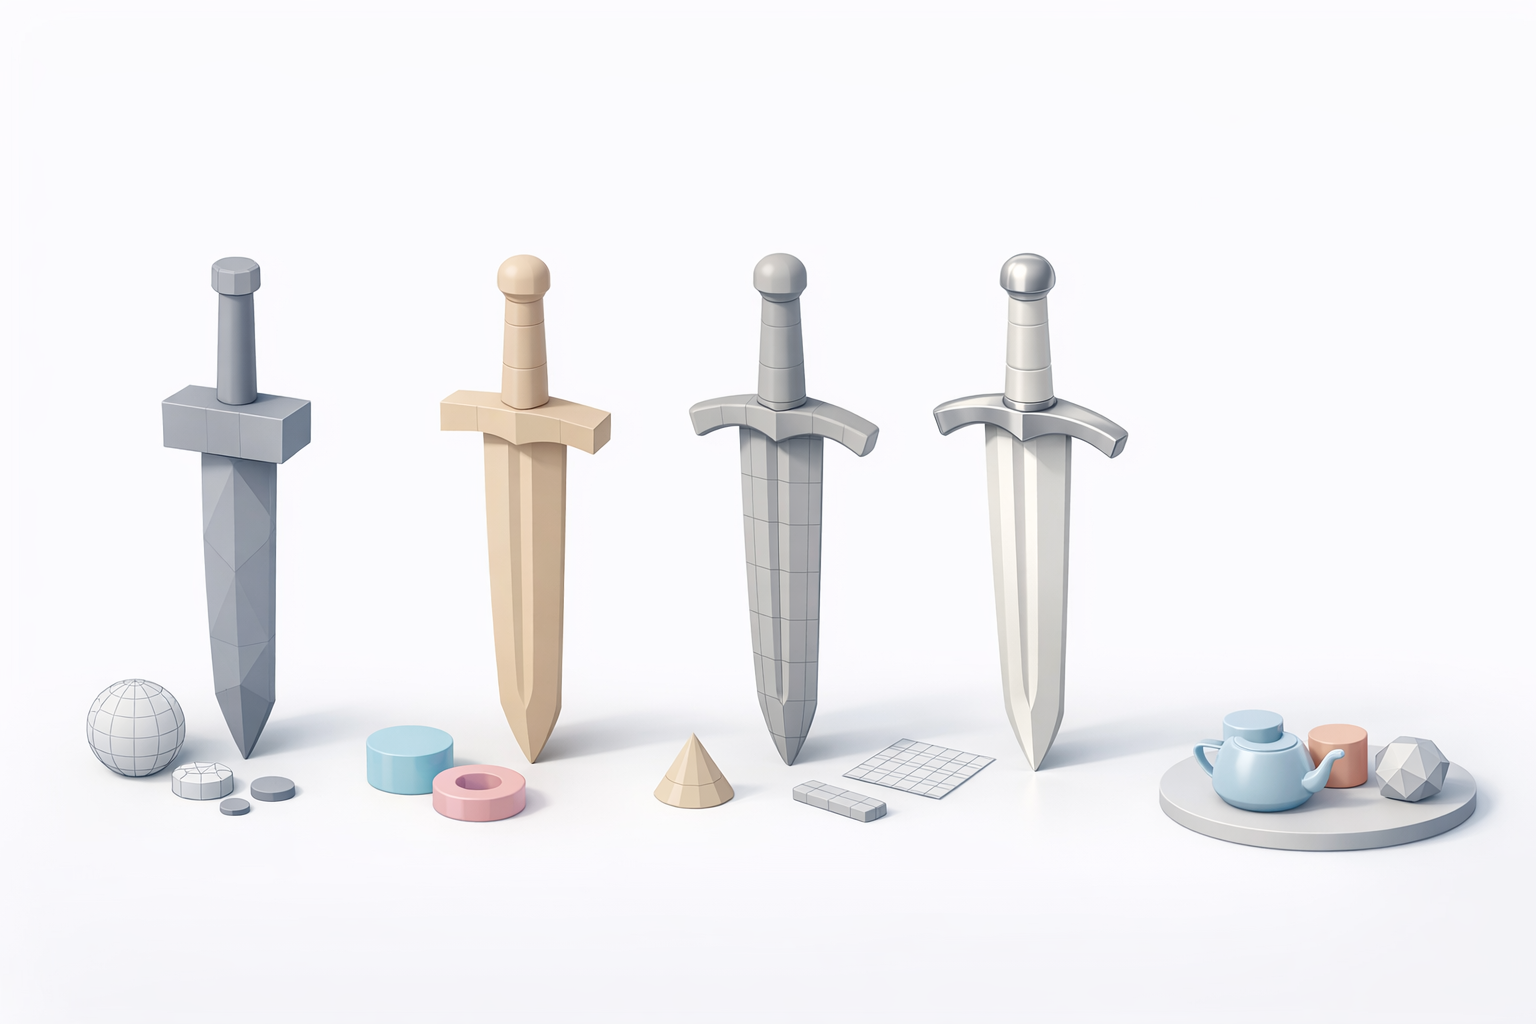
Essential modeling tools and techniques I use
I start with simple shapes—boxes and cylinders—to block out the blade, guard, grip, and pommel. In most DCC apps, I rely on extrude, bevel, and mirror modifiers. If speed is critical, I use Tripo’s sketch or text-to-3D features for a quick base mesh, then refine manually.
Pro tips:
- Model in real-world scale from the start
- Use symmetry/mirroring for efficiency
- Keep the base mesh low-poly for easy adjustments
Balancing detail and efficiency in the base mesh
It’s tempting to add detail early, but I focus on nailing proportions and silhouette first. Fine details come later, either via geometry or normal maps.
Pitfalls to avoid:
- Overcomplicating the base mesh—hard to edit later
- Ignoring silhouette, which impacts readability from a distance
Detailing, Retopology, and Optimization Best Practices
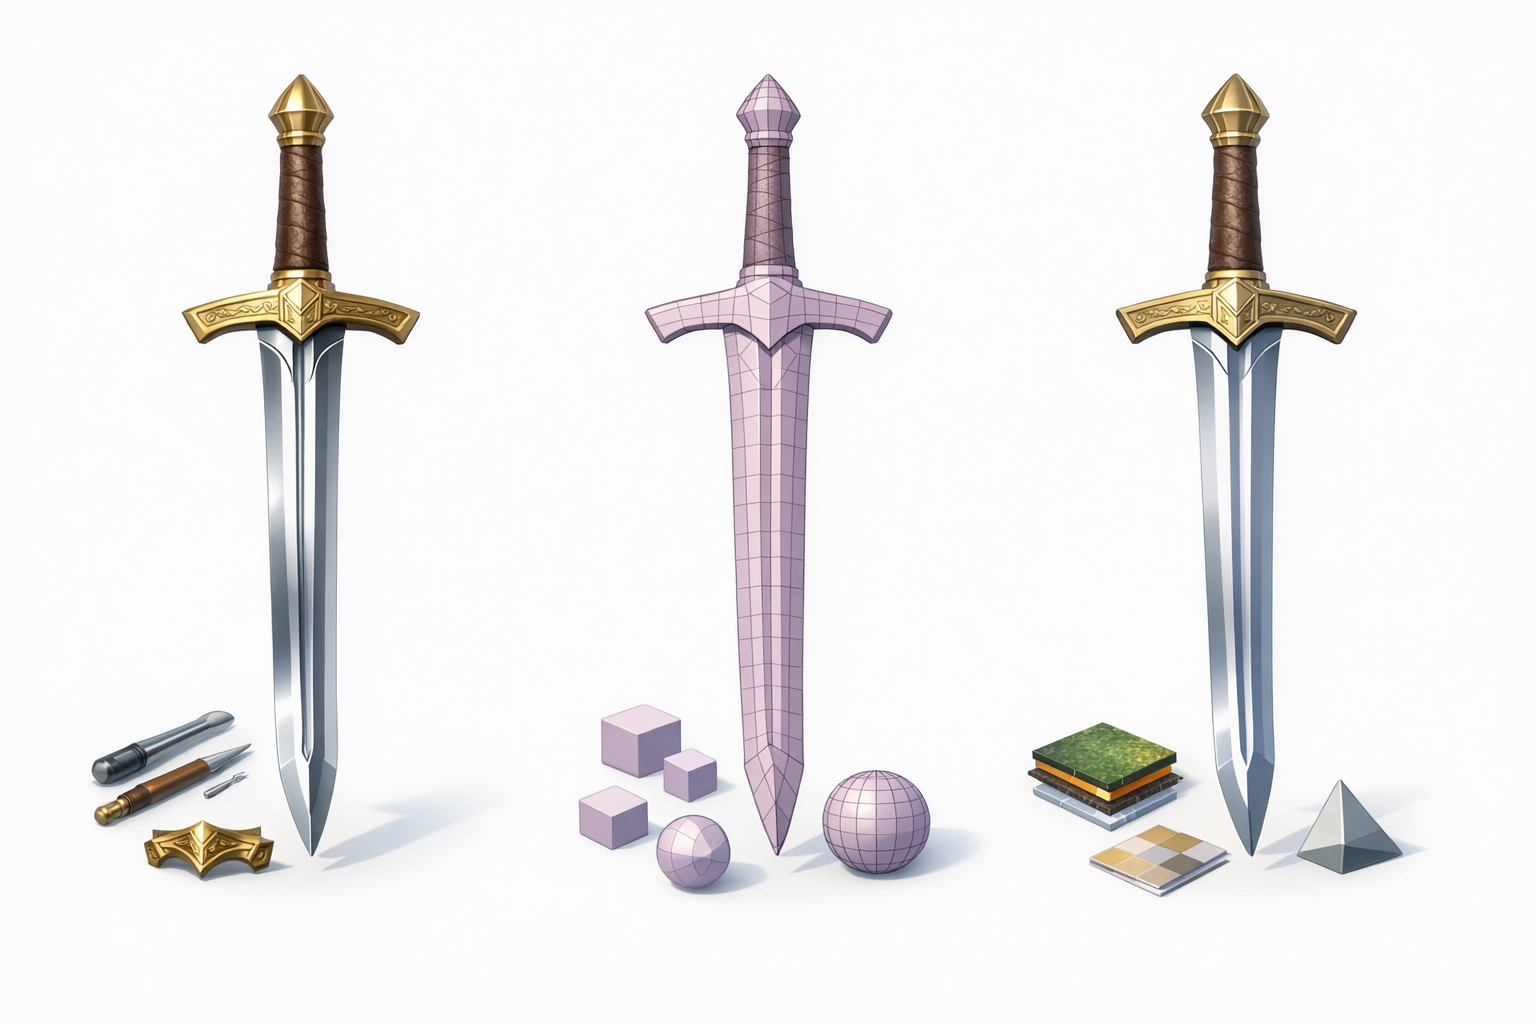
Adding fine details for realism
Once the base is solid, I add fuller grooves, engravings, and surface imperfections. I often sculpt these details or use normal/displacement maps for efficiency.
My approach:
- Sculpt or model high-frequency details on a duplicate mesh
- Bake details into normal/height maps for the game-ready version
- Use alphas or stencils for ornate patterns
Retopology and mesh cleanup tips from my workflow
Clean topology is essential for animation and texturing. I use Tripo’s retopology tools or manual retopo in my DCC app.
Checklist:
- Remove ngons and long triangles
- Ensure even edge flow, especially on the blade and guard
- Optimize polycount without losing silhouette
Texturing and Materials: Bringing the Sword to Life
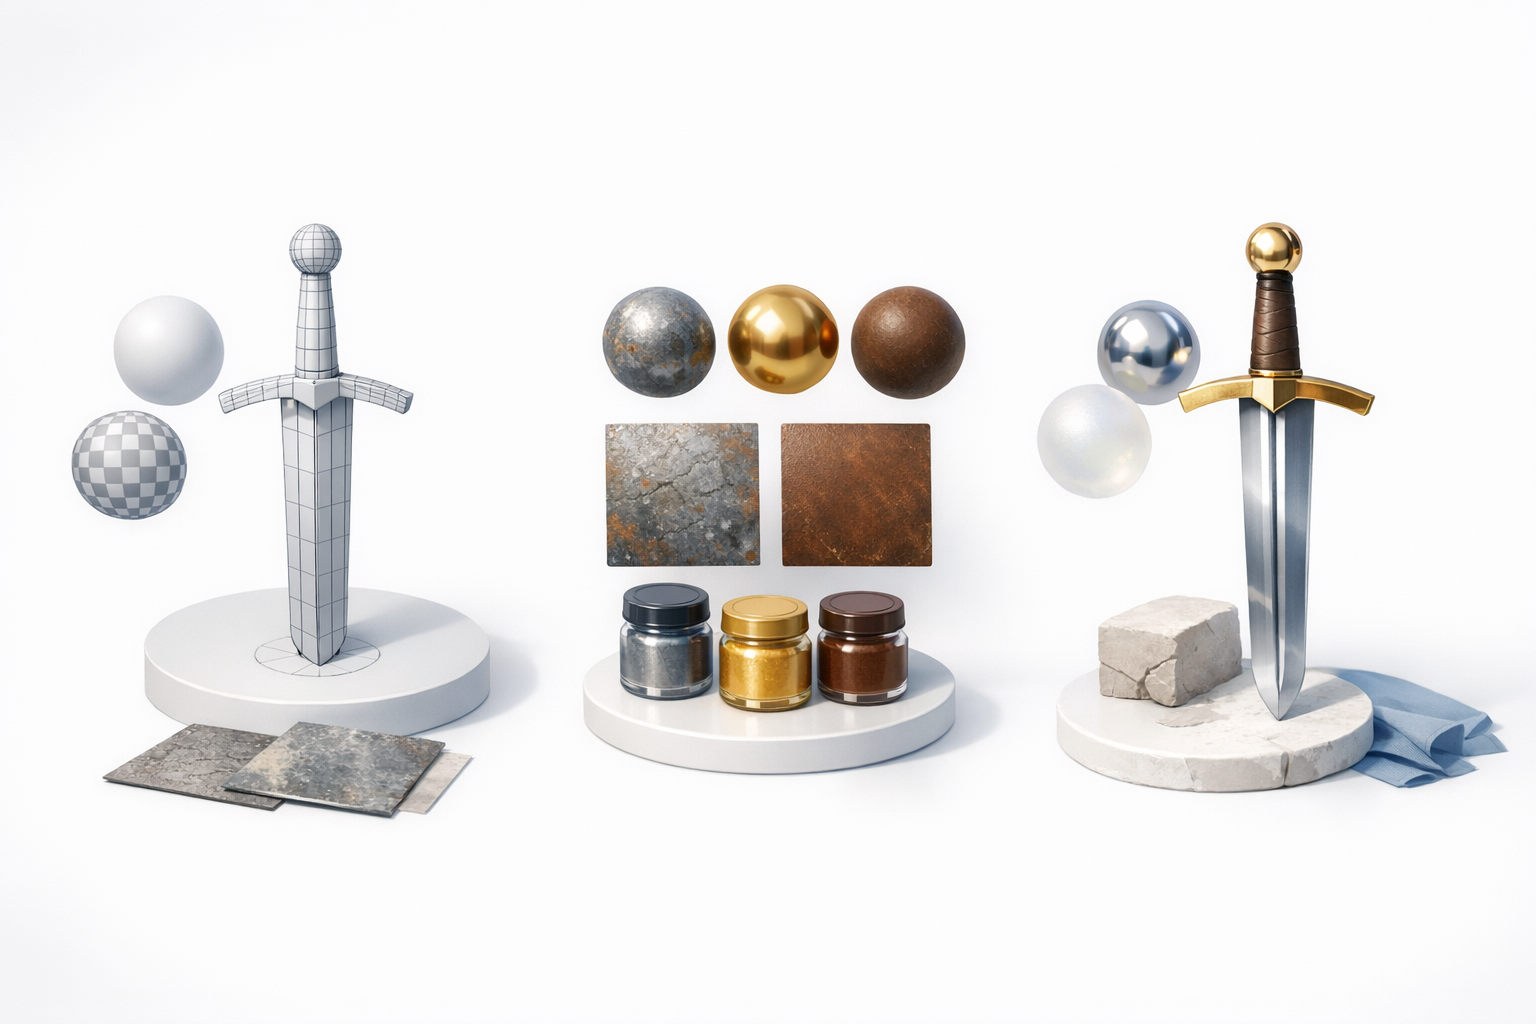
My process for UV unwrapping and baking
I unwrap UVs with minimal seams and optimal texel density. For baking, I use high-to-low poly workflows, often automating the process with Tripo for speed.
Steps:
- Unwrap each part separately, minimizing distortion
- Pack UVs efficiently; prioritize visible areas
- Bake normal, AO, and curvature maps for texturing
Choosing and applying realistic materials
I reference real swords for metal, leather, and wood. PBR workflows are standard; I use smart materials and hand-paint subtle wear.
Tips:
- Use high-res textures (2K or 4K) for hero assets
- Add edge wear, fingerprints, and subtle grunge for realism
- Preview materials under varied lighting
Rigging, Animation, and Export Considerations

When and how I rig swords for animation
If the sword will be animated (e.g., for character interactions), I rig the hilt or blade with simple bones. For complex props, I add control points for sheath and unsheath actions.
Pitfalls:
- Overcomplicating the rig for static props
- Forgetting to test deformations
Export settings for different platforms
I tailor exports for the target engine: FBX for most real-time engines, OBJ for static renders. I ensure scale, orientation, and material assignments are correct.
Checklist:
- Apply transforms before export
- Embed or package textures
- Test import in the target environment
AI-Powered Tools and Alternative Methods for Sword Modeling
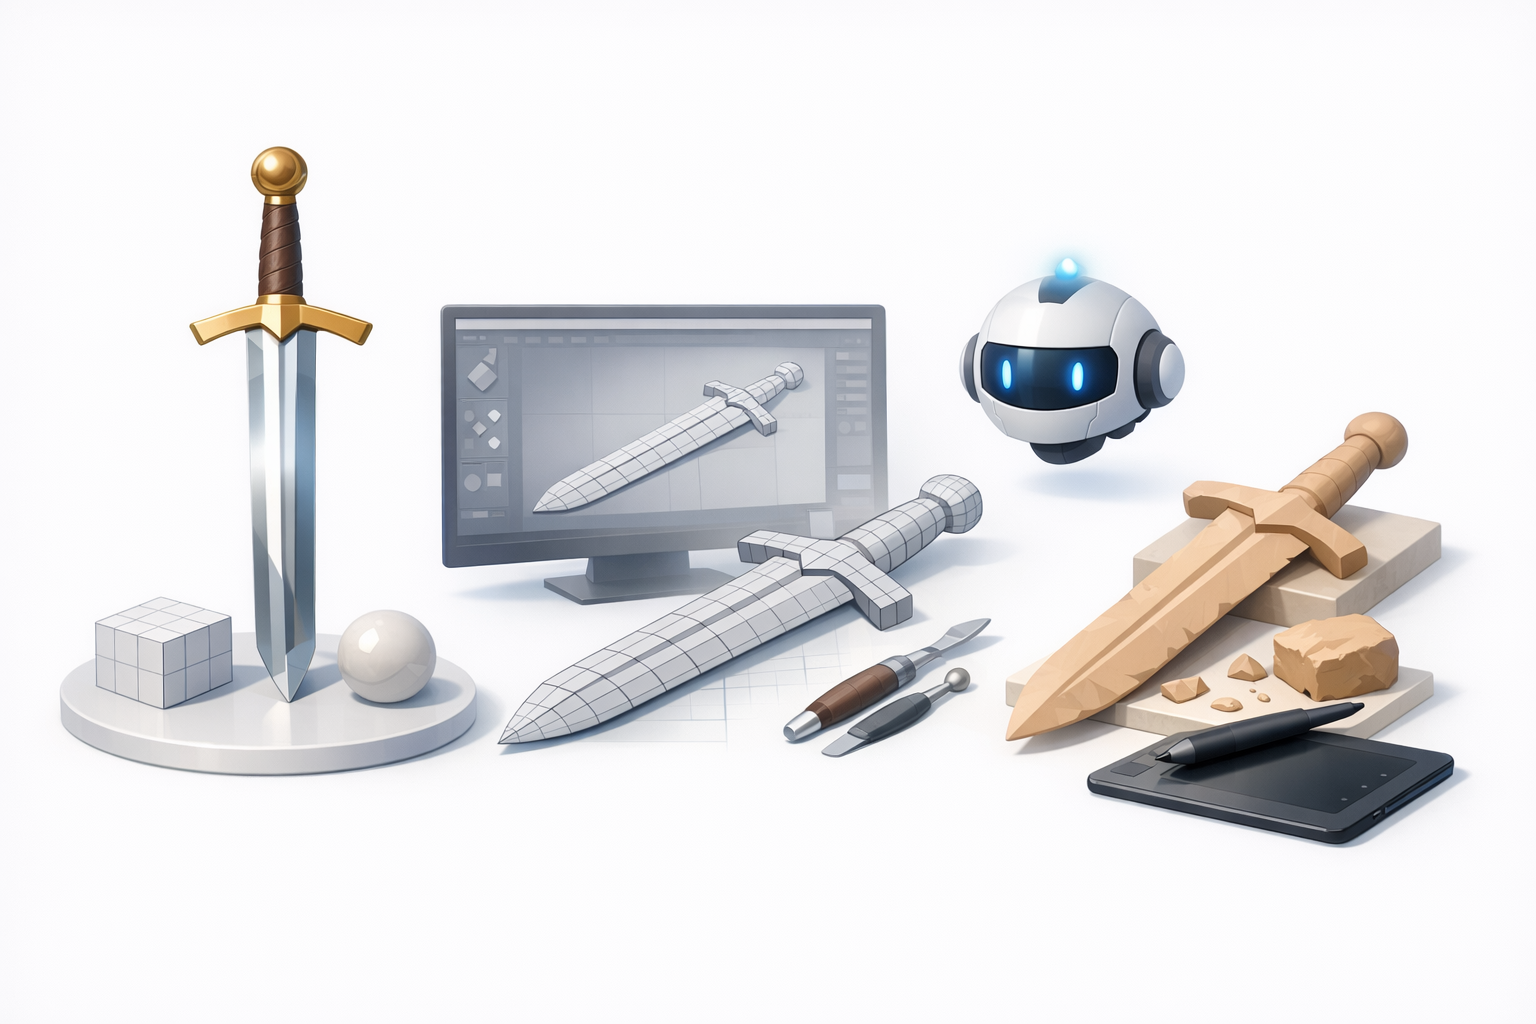
How I leverage AI platforms for faster workflows
AI tools like Tripo allow me to generate base meshes or even detailed models from text, sketches, or photos. This is especially useful for quick iterations or concepting.
My tips:
- Use AI-generated models as a starting point, then refine manually
- Take advantage of built-in retopology and segmentation to save time
- Always review and clean up AI outputs for production use
Comparing manual and AI-assisted approaches
Manual modeling gives full control and is best for unique or highly detailed designs. AI-assisted methods are ideal for rapid prototyping or batch asset creation.
What I’ve found:
- AI speeds up repetitive tasks, but manual tweaks are often needed
- Combining both approaches yields the best results in most workflows
Final Checks, Presentation, and Sharing My Work
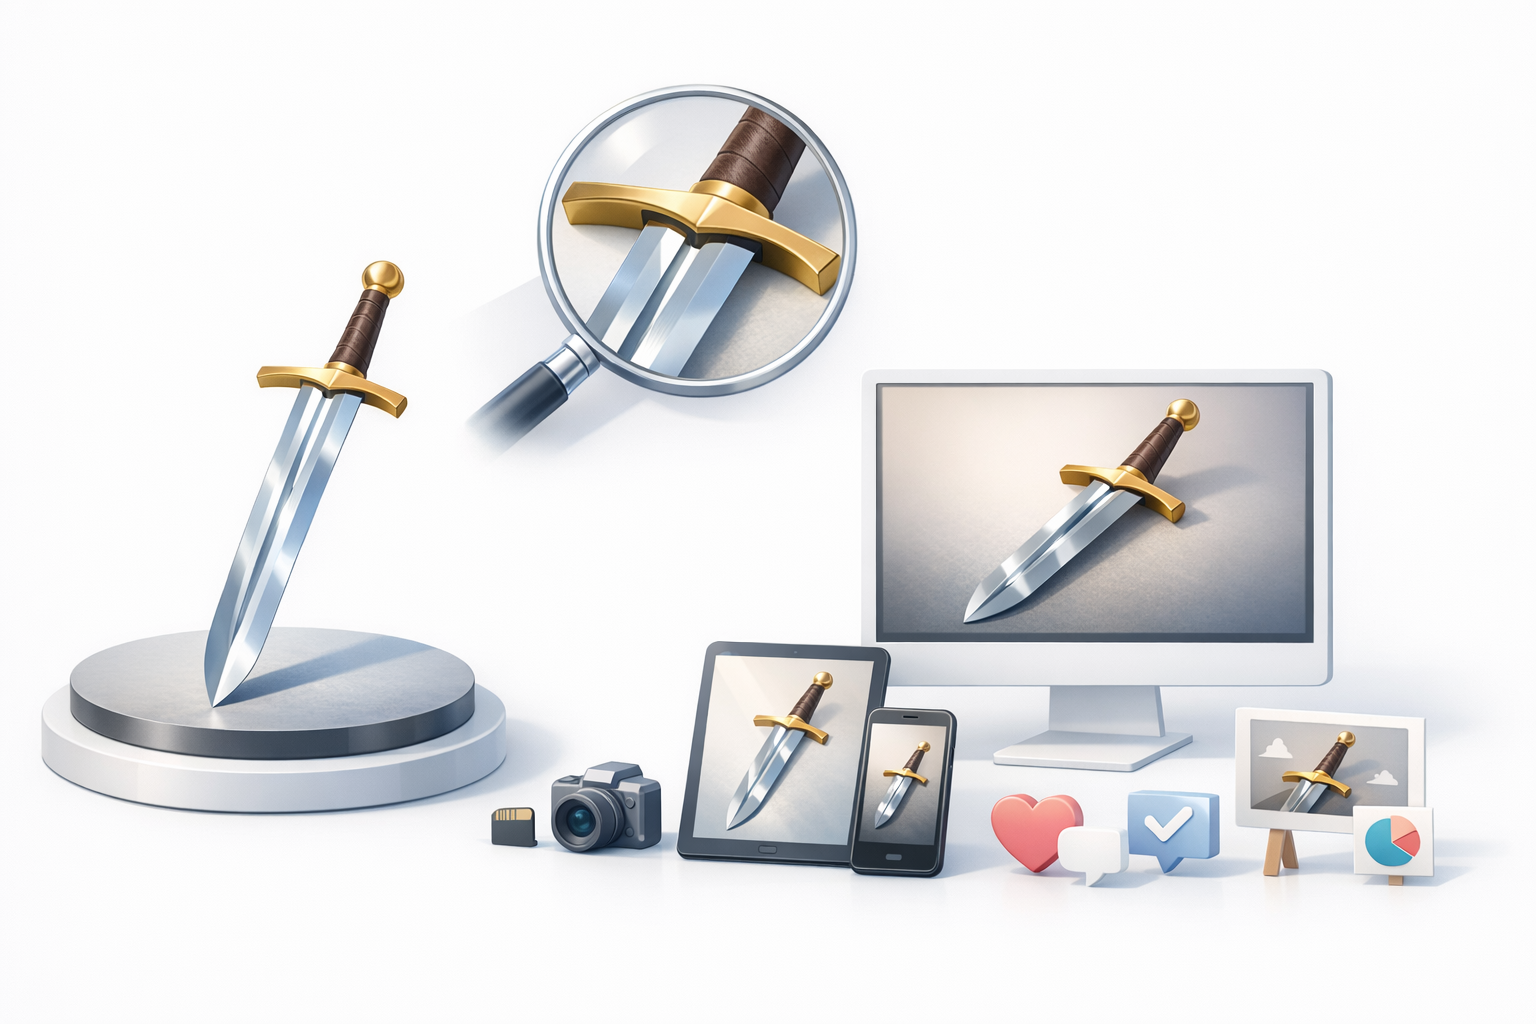
Quality assurance steps before publishing
Before sharing, I run through a QA checklist:
- Inspect wireframes and UVs for issues
- Check materials in different lighting
- Test the model in the target application
Pitfalls:
- Overlooking small UV or normal map errors
- Forgetting to optimize texture sizes
Tips for rendering and portfolio presentation
I set up clean, well-lit renders—often with a turntable animation. I include wireframe and texture breakdowns in my portfolio.
My approach:
- Use neutral backgrounds and three-point lighting
- Highlight unique design or technical features
- Share both real-time and high-res renders for context
By following this workflow, I consistently achieve high-quality, production-ready sword 3D models—efficiently and with creative flexibility. Whether you’re a beginner or seasoned artist, these steps and tips should help you avoid common pitfalls and deliver impressive results.