How I Create a Realistic Skeleton Head 3D Model: Workflow & Tips
Creating a realistic skeleton head 3D model is a process I’ve refined through years of hands-on experience. My workflow emphasizes planning, efficient use of AI-powered tools, and careful attention to detail—resulting in production-ready assets suitable for games, film, and XR. Whether you’re a solo artist or part of a larger team, these steps will help you move from concept to completion with fewer headaches and better results. Below, I’ll break down my approach, step-by-step, with practical tips and troubleshooting advice.
Key takeaways
- Reference gathering and planning topology up-front saves major headaches later.
- Blocking, sculpting, and refining details is best done in focused stages.
- UV mapping and texturing require patience; AI tools can speed up repetitive tasks.
- Proper retopology and mesh cleanup are essential for performance and compatibility.
- Export settings should match your target platform—games, film, or XR.
- AI-driven workflows offer speed, but manual control is still vital for realism.
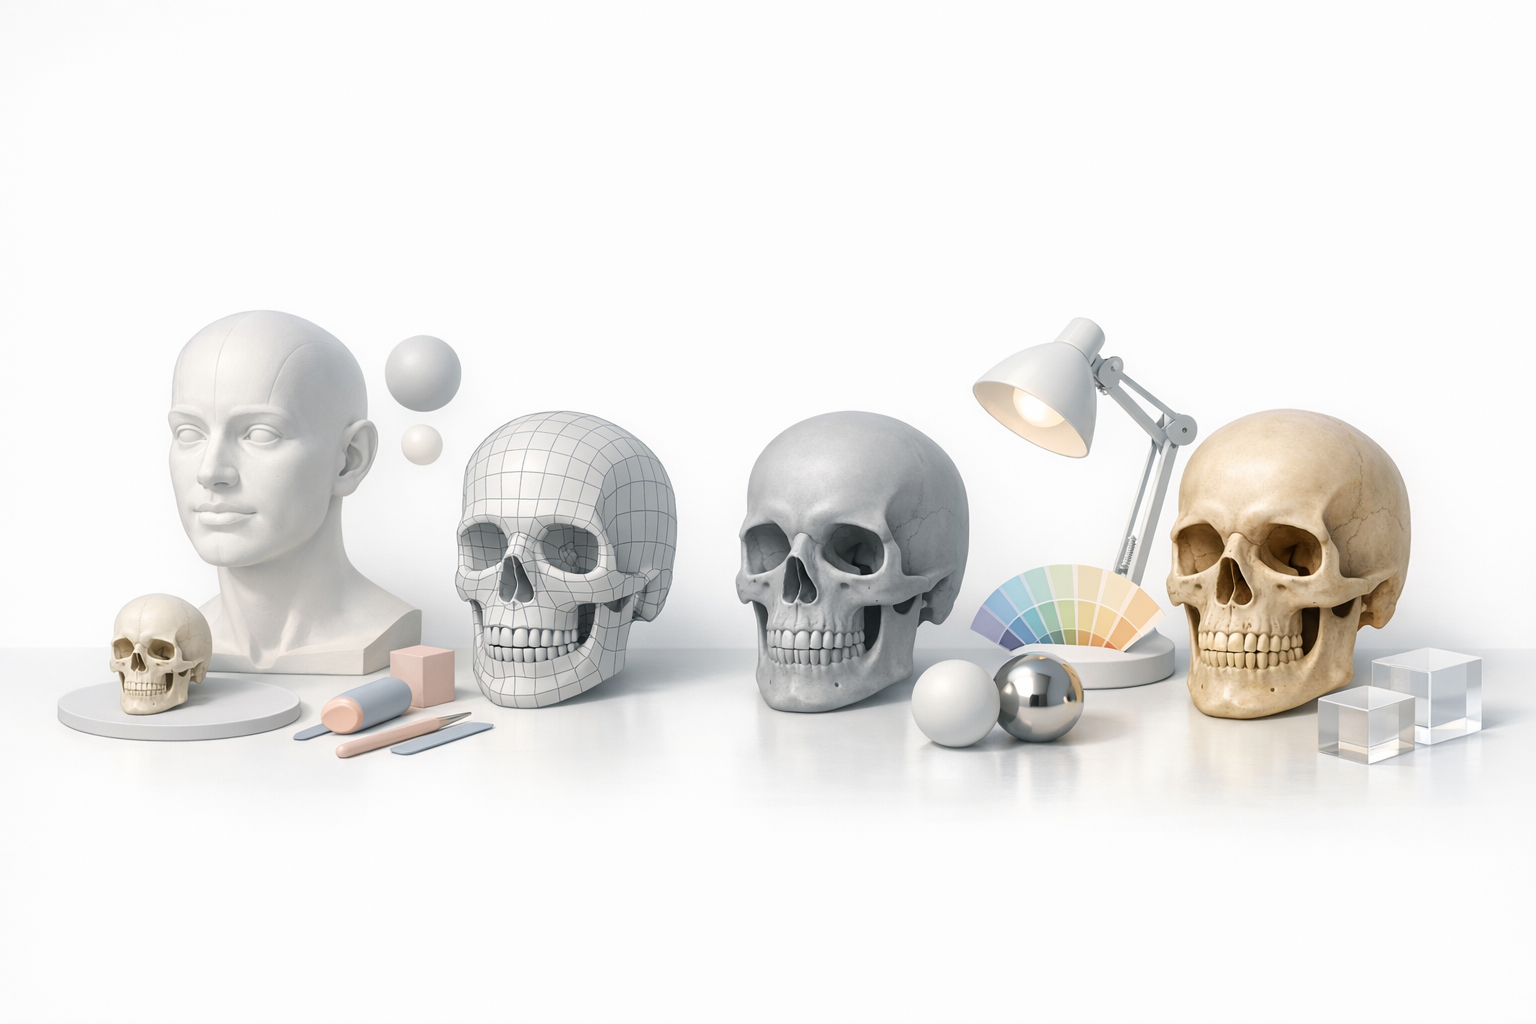
Overview: My Approach to Skeleton Head 3D Modeling
Key considerations before starting
Before I touch any software, I clarify the model’s end use—game, film, or XR—since this affects everything from polycount to texture size. I also gather anatomical references: medical scans, museum photos, and 3D scans are invaluable for accuracy.
Checklist:
- Define the target platform and technical constraints.
- Collect multiple reference images (front, side, 3/4 views).
- Decide on the level of realism and detail needed.
Summary of tools and workflows I use
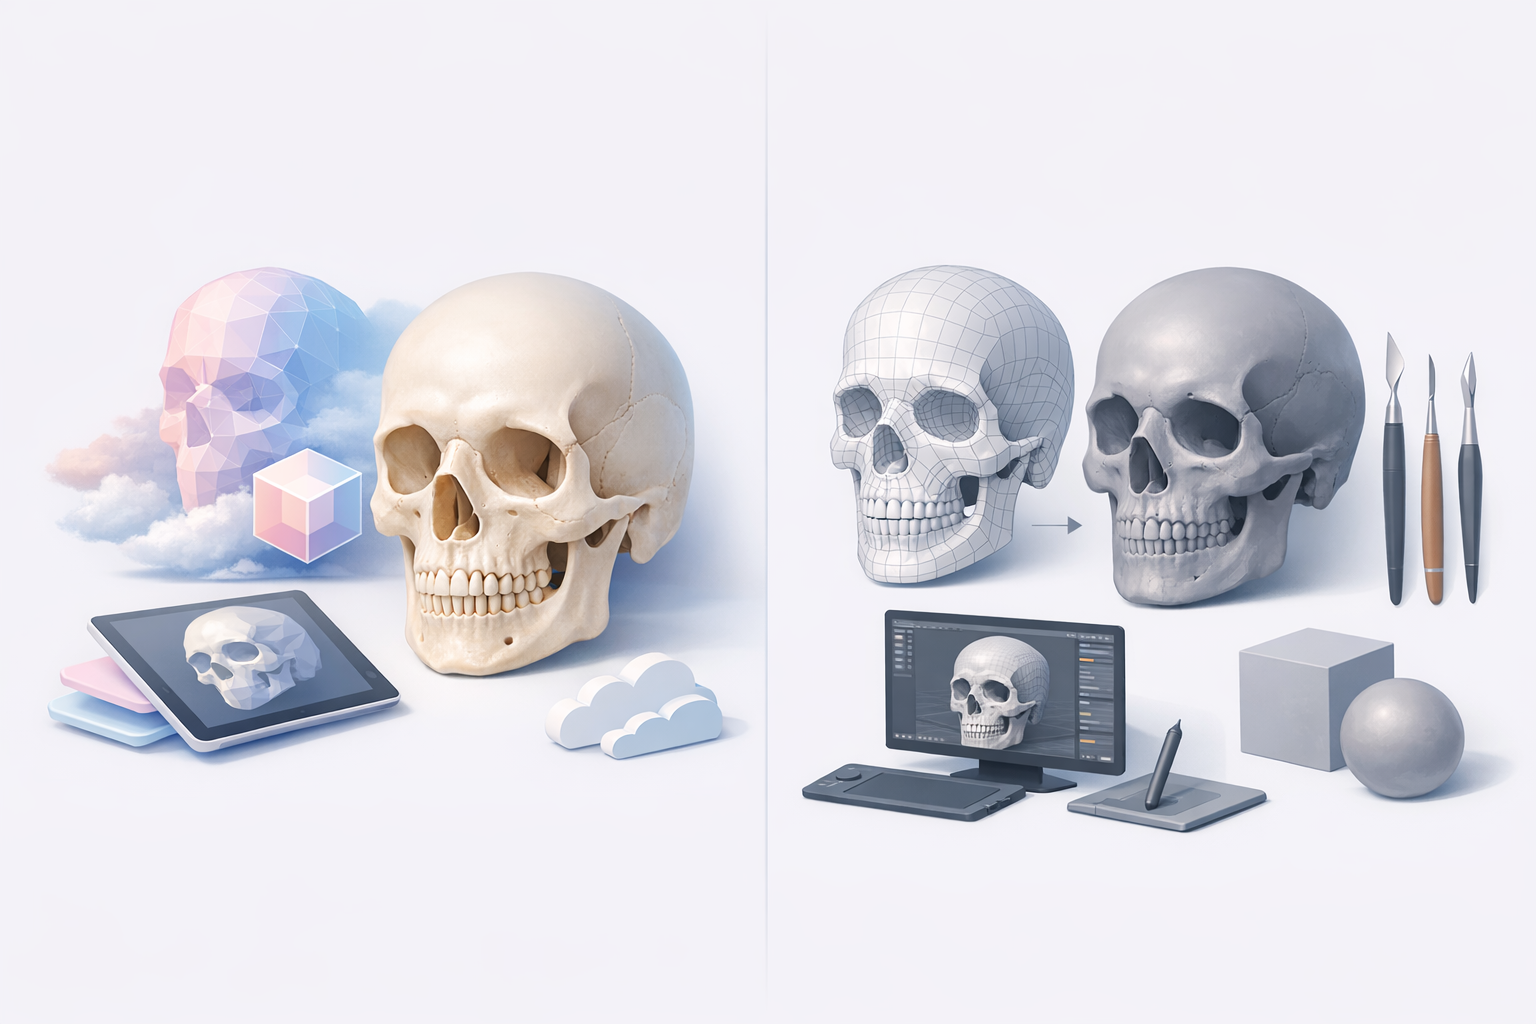
My workflow blends traditional modeling with AI-powered tools. I often use Tripo AI for rapid base mesh generation and segmentation, then refine in my DCC (digital content creation) suite. For UVs, texturing, and retopology, I use a mix of integrated and standalone solutions, depending on project needs.
Typical toolchain:
- Tripo AI (for base mesh, segmentation, and auto-retopology)
- Sculpting and refinement in my preferred 3D software
- Dedicated texture painting and material authoring tools
Step-by-Step: Creating a Skeleton Head 3D Model
Gathering references and planning topology
I start by collecting high-quality references—ideally, orthographic images and anatomical diagrams. Planning topology is crucial: I sketch out edge flow for the jaw, eye sockets, and cranial features, ensuring deformation and texturing will be smooth.
Tips:
- Use reference overlays in your 3D viewport.
- Plan loops around key features (eye sockets, jawline, nasal cavity).
- Avoid triangles and n-gons in high-deformation zones.
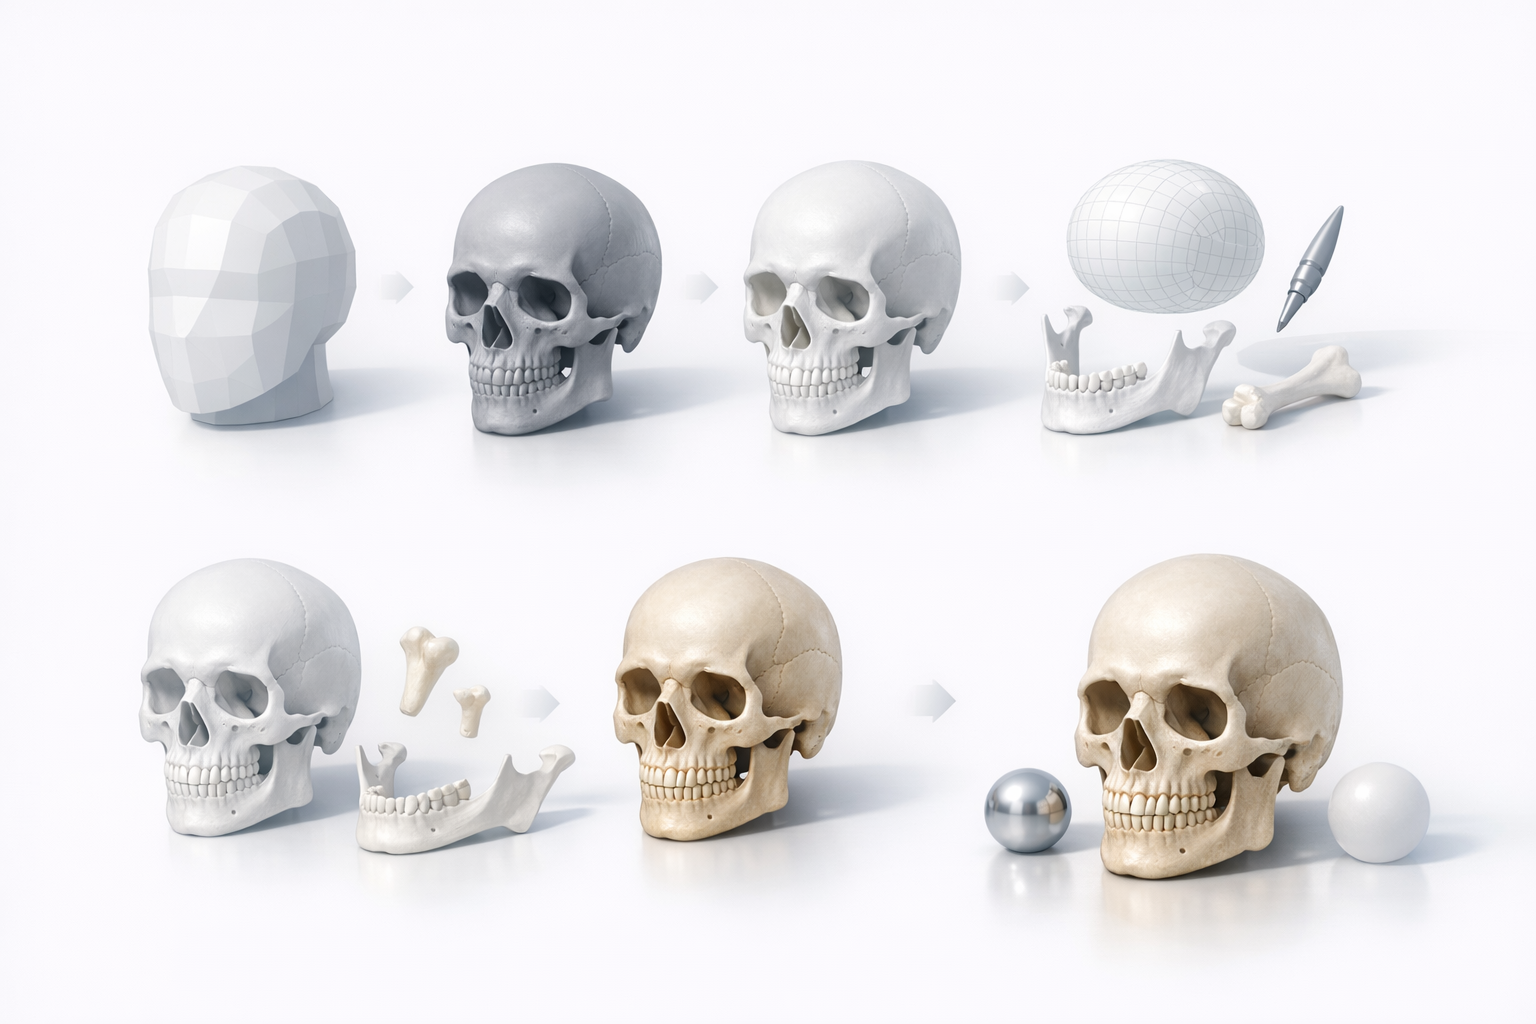
Blocking out the base mesh and refining details
I often generate a base mesh using Tripo AI from a sketch or reference image, which gives me a solid starting point. From there, I block out proportions, then move to sculpting secondary forms—emphasizing major bone landmarks before adding fine details.
Steps:
- Generate/import base mesh.
- Adjust proportions to match references.
- Sculpt major forms: cheekbones, brow ridge, jaw.
- Refine with secondary details: sutures, foramina, subtle asymmetries.
Pitfall: Jumping into fine details too early can lead to wasted effort if proportions are off. Always lock in the big shapes first.
Texturing and Detailing for Realism
UV mapping and texture painting techniques
Once the model is finalized, I unwrap UVs—prioritizing minimal stretching and logical seams (behind the jaw, under the skull). Tripo AI’s auto-UV features can save time, but I always check and tweak manually for critical areas.
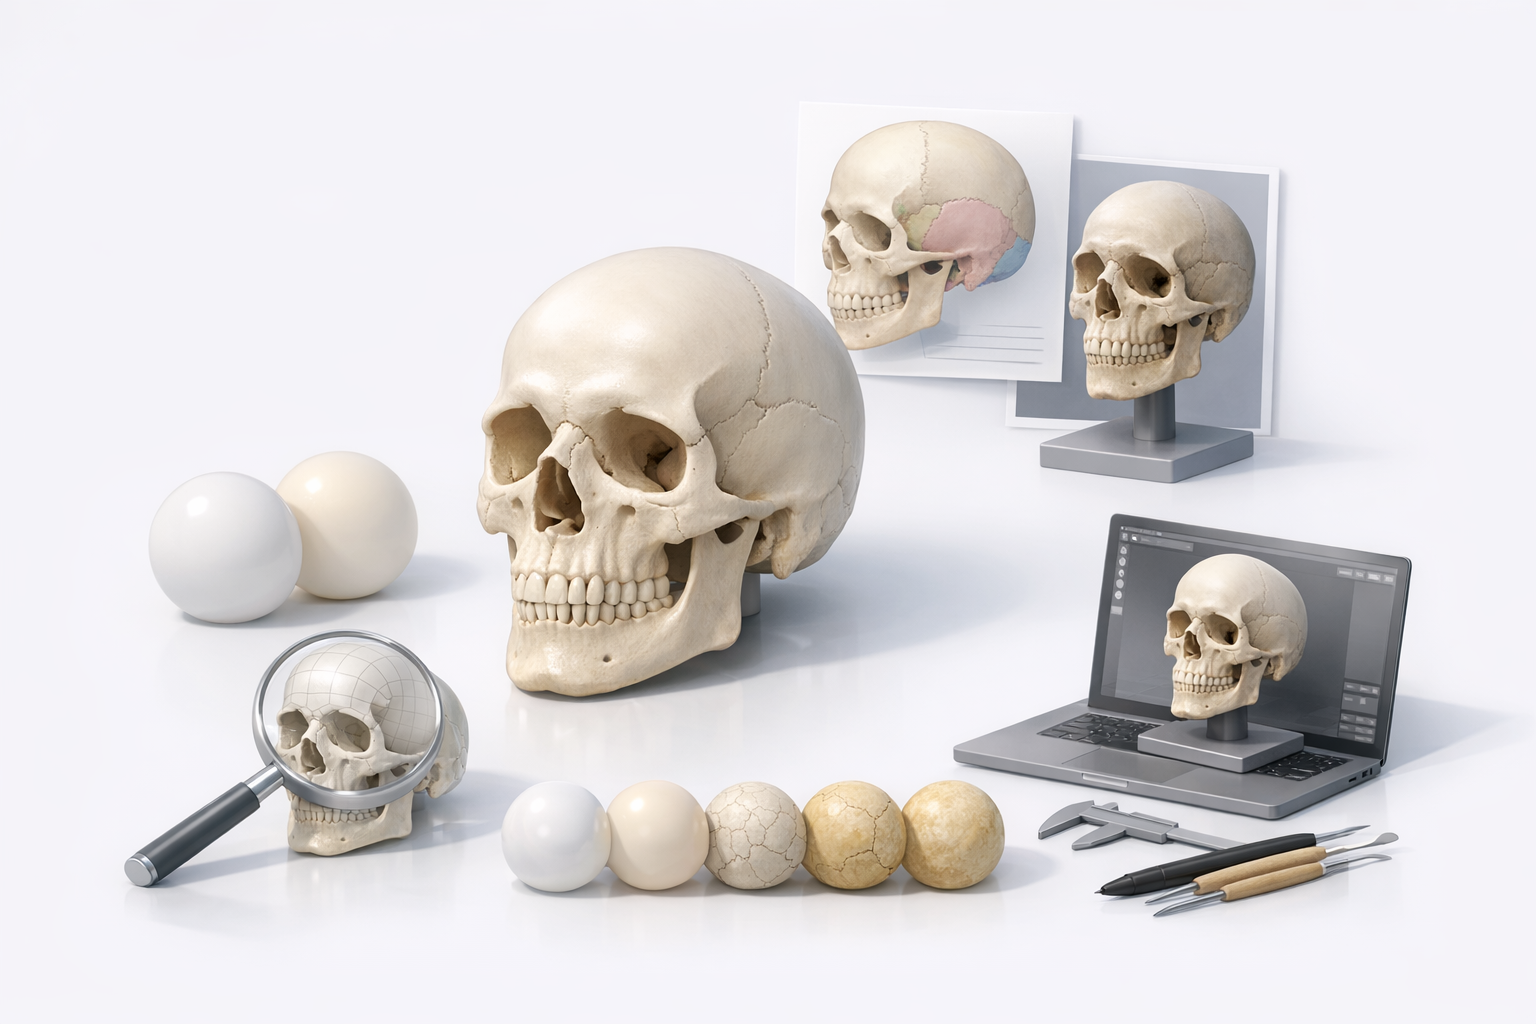
For texturing, I use high-res scans of real bone as a base, then layer hand-painted details for realism.
Checklist:
- Lay out UVs with minimal seams in visible areas.
- Use 4K or 8K textures for close-up work.
- Bake AO and curvature maps for added depth.
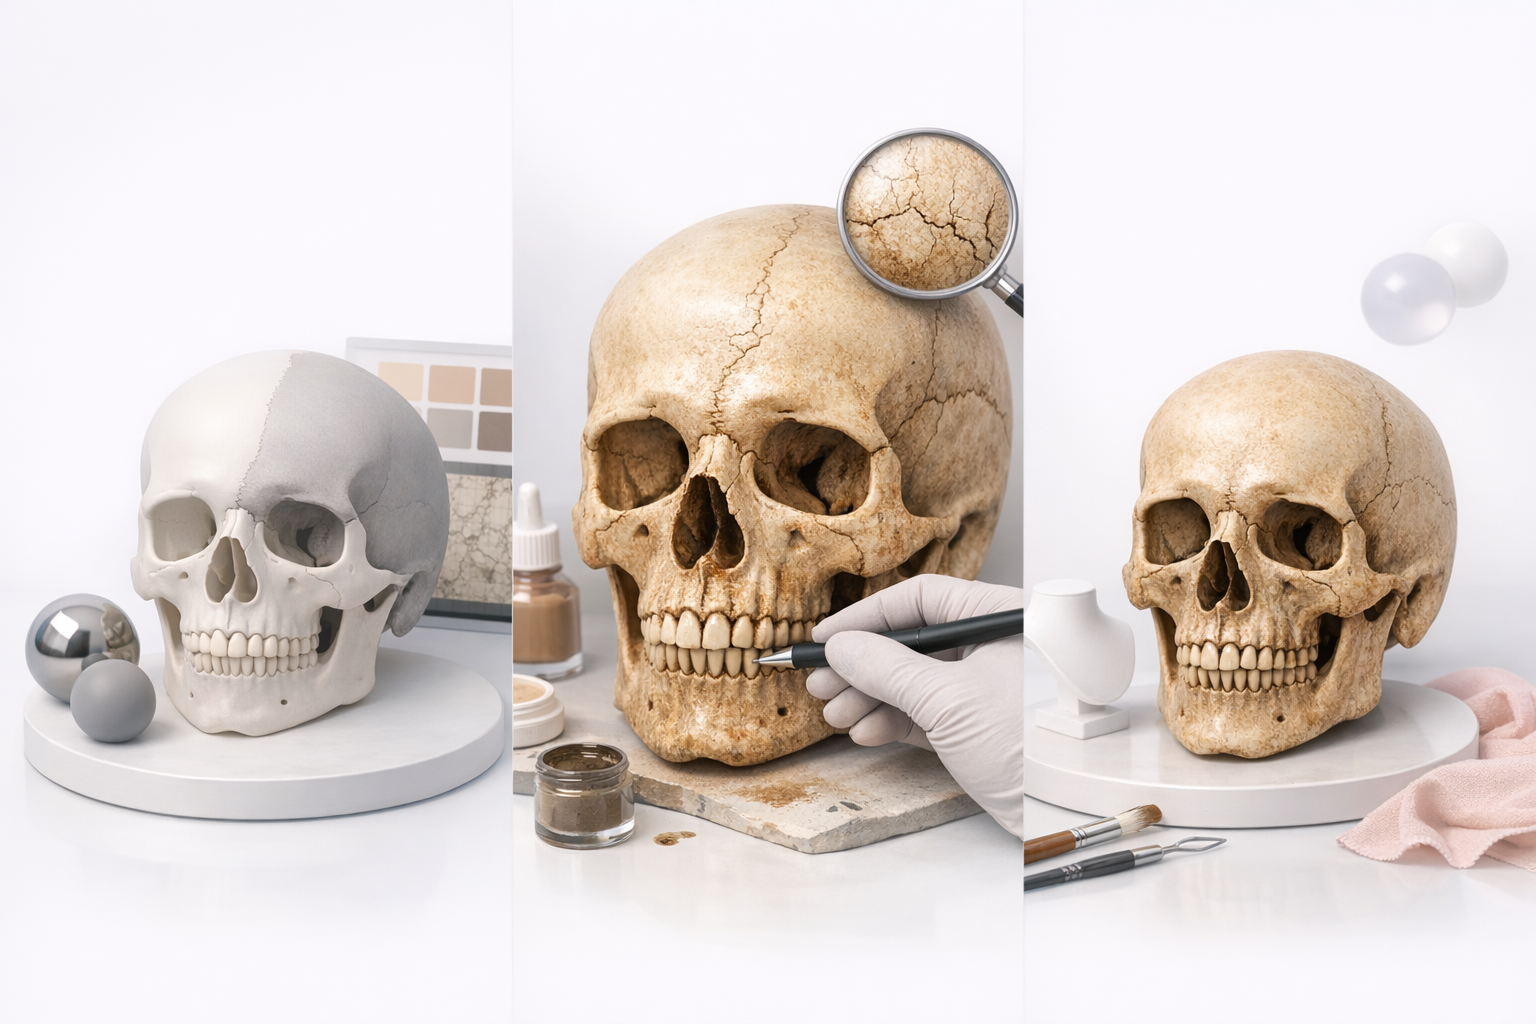
Adding realistic bone materials and surface details
I build up bone materials using a mix of procedural and photographic textures. Subtle color variation, micro-cracks, and surface roughness go a long way. I also use normal maps to add pore and suture detail without increasing polycount.
Tips:
- Reference real bone under various lighting.
- Add slight gloss variation for a lifelike sheen.
- Use cavity and curvature maps to enhance surface detail.
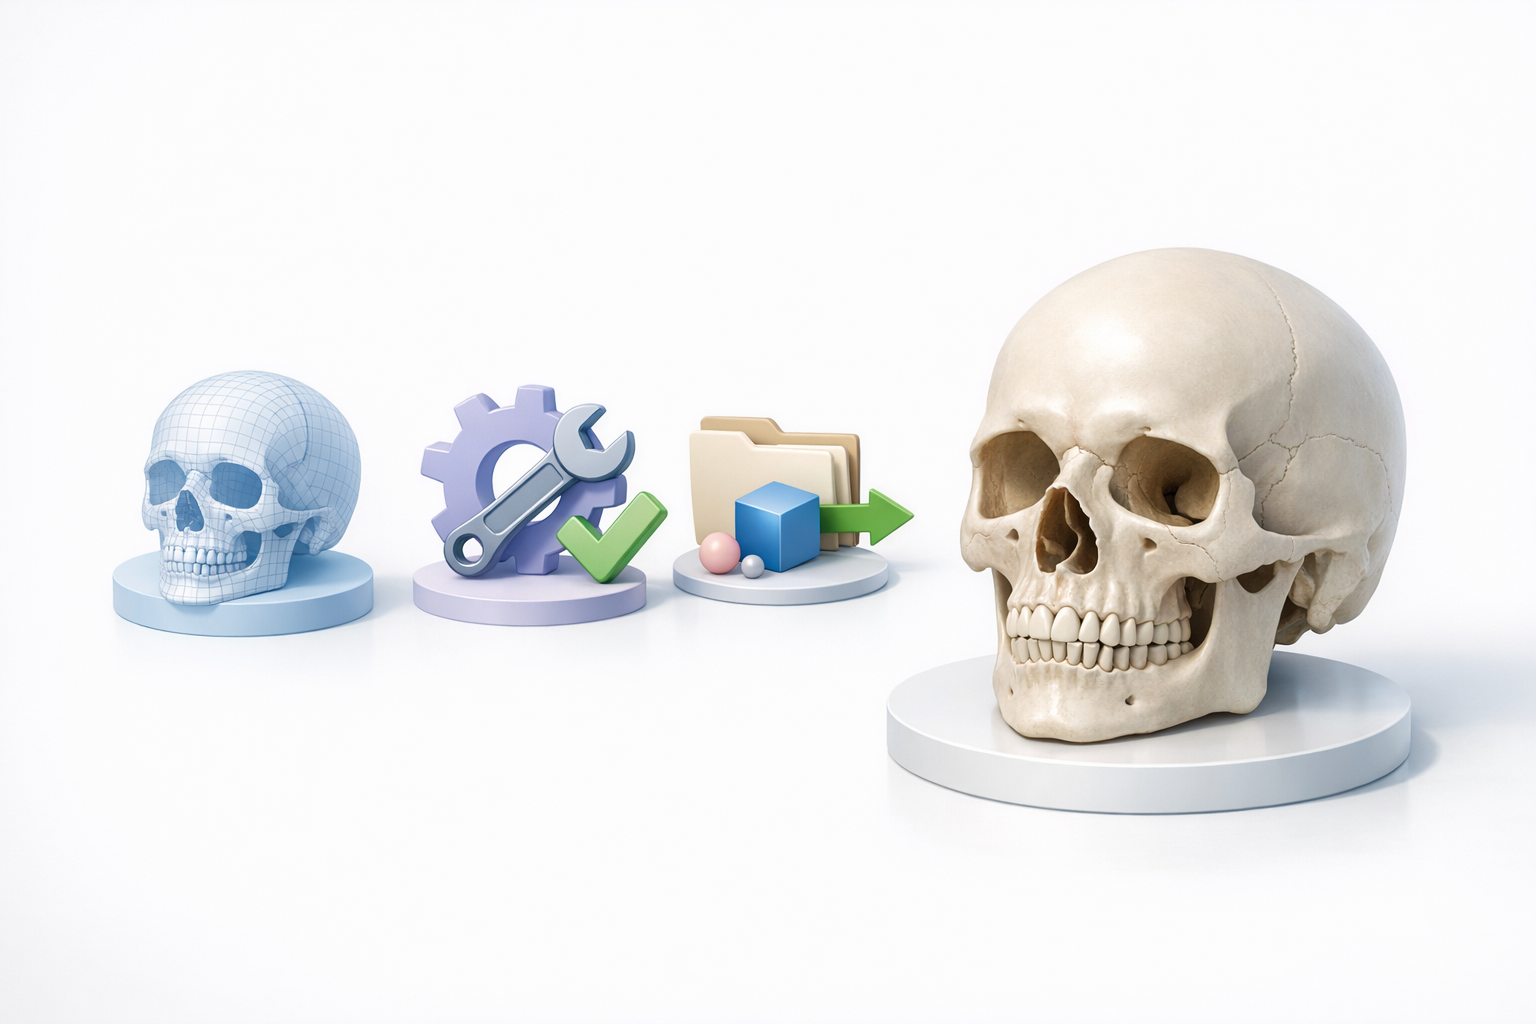
Optimizing and Exporting the Model
Retopology and mesh cleanup best practices
Clean topology is non-negotiable for animation and real-time use. I use Tripo AI’s retopology tools for an automated pass, then manually fix edge flow around complex features.
Steps:
- Auto-retopologize for a clean quad-based mesh.
- Check edge loops around jaw and eye sockets.
- Remove stray verts, fix non-manifold edges.
- Test deformations if rigging is needed.
Export settings for games, film, and XR
Exporting correctly is crucial for downstream compatibility. For games, I keep polycount and texture sizes in check; for film and XR, I may export higher-res meshes and maps.
Checklist:
- Apply transformations and freeze scale.
- Export in FBX/OBJ with correct axis orientation.
- Include all texture maps (albedo, normal, roughness, AO).
Pitfall: Forgetting to bake and export all necessary maps can cause rendering issues later.
Comparing AI-Powered and Traditional Workflows
When I use AI-driven tools for speed and quality
AI-powered tools like Tripo AI are invaluable for rapidly generating base meshes, auto-segmenting parts, and handling repetitive tasks like UV unwrapping or retopology. I use them to accelerate the early and technical stages, freeing up time for creative refinement.
When to use AI:
- Quick prototyping and concepting.
- Batch-processing multiple assets.
- Automating technical steps (retopology, UVs).
Manual vs. automated approaches: what I’ve learned
While automation saves time, manual intervention is often needed for artistic control and precision. I rely on hand-sculpting and painting for subtle anatomical details and realism that AI tools can’t always capture.
Takeaways:
- Use AI for speed, but always review and refine manually.
- Complex forms and high realism demand a human touch.
- Hybrid workflows yield the best results.
Tips for Troubleshooting and Improving Your Skeleton Head Models
Common issues and how I solve them
- Distorted features: Revisit reference alignment and base mesh proportions.
- Texture seams: Adjust UVs and use projection painting to blend.
- Unnatural shading: Check normal maps and material settings.
- High polycount: Optimize mesh and bake details into maps.
Quick fixes:
- Always keep a backup of earlier stages.
- Test in your target engine or renderer early and often.
Resources and communities I recommend
I’ve benefited from active communities and reference libraries. Some of my go-to resources:
- Anatomical reference sites (medical and academic)
- 3D art forums and Discord servers
- Tutorials from experienced artists on YouTube and ArtStation
Tip: Share WIPs for feedback—fresh eyes catch issues you’ll miss.
By following this workflow and leveraging both AI-powered and manual techniques, I consistently achieve realistic, production-ready skeleton head models. The key is balancing speed with attention to detail—and always learning from each project.