Procedural Siemens Lens Modeling with Geometry Nodes
Modeling Siemens lenses procedurally with geometry nodes is a fast, scalable approach for generating precise, production-ready 3D assets. In my experience, geometry nodes let me automate complex lens shapes, iterate quickly, and maintain full parametric control—ideal for game, XR, and design contexts where accuracy and flexibility matter. This guide covers core lens geometry, practical node setups, optimization, and export tips, drawing on real-world workflows. If you need reliable, repeatable lens models for professional projects, procedural geometry nodes are a smart choice.
Key takeaways:
- Procedural workflows boost speed, consistency, and flexibility for Siemens lens modeling.
- Geometry nodes enable parametric control and fast iteration.
- Retopology and mesh cleanup are crucial for production-ready results.
- Procedural texturing and export streamline integration with game, XR, and design pipelines.
- Tripo AI can accelerate segmentation, retopology, and texturing for procedural assets.
- Avoid common pitfalls: overcomplicating node setups, neglecting mesh quality, and ignoring export requirements.
Executive Summary and Key Takeaways
Why procedural workflows matter for Siemens lens modeling
Siemens lenses have distinct geometric features that demand precision and repeatability. Procedural workflows, especially with geometry nodes, allow me to build these shapes parametrically—meaning I can adjust, iterate, and scale without manual rework. This is essential for projects needing multiple variations or consistent asset quality.
Summary of best practices and results
In practice, I start with a clear lens geometry breakdown, use geometry nodes for shape generation, and rely on procedural controls for accuracy. Retopology and mesh cleanup are non-negotiable for production use. Texturing, exporting, and pipeline integration are streamlined when the workflow is procedural from the start.
Understanding Siemens Lens Geometry and Procedural Concepts

Core characteristics of Siemens lens shapes
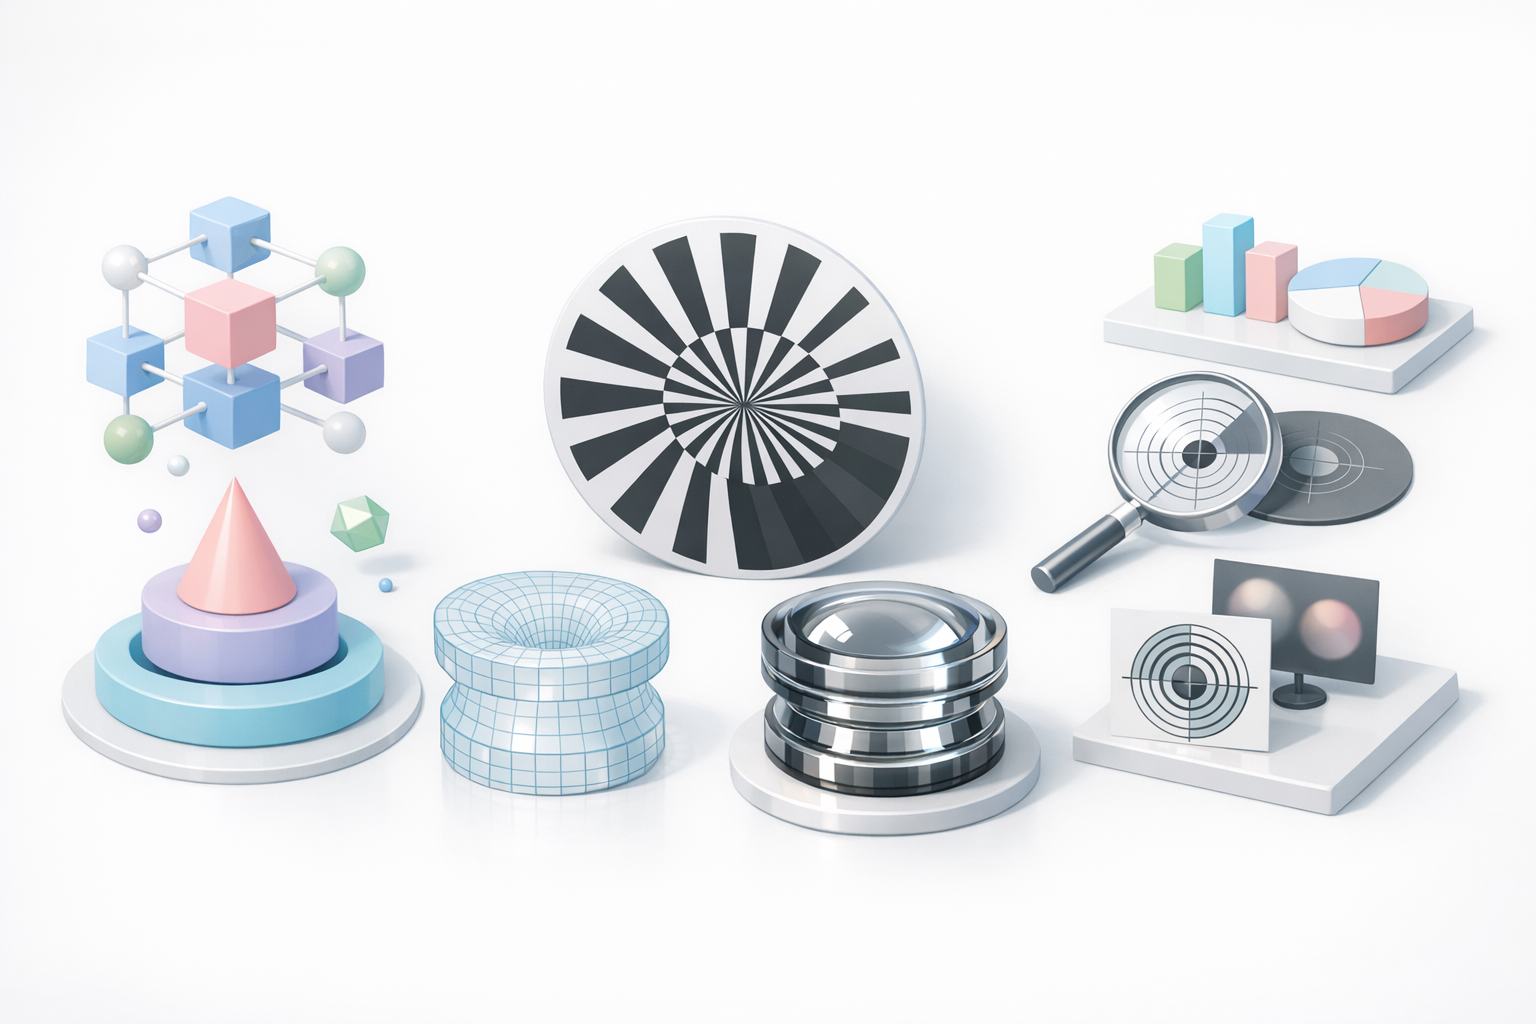
Siemens lenses are characterized by symmetrical, precise curves and concentric detailing. Key features include:
- Circular or elliptical profiles
- Defined edge bevels and thickness
- Central aperture or focal point
I always analyze reference images and technical diagrams to identify these features before modeling.
Procedural modeling fundamentals with geometry nodes
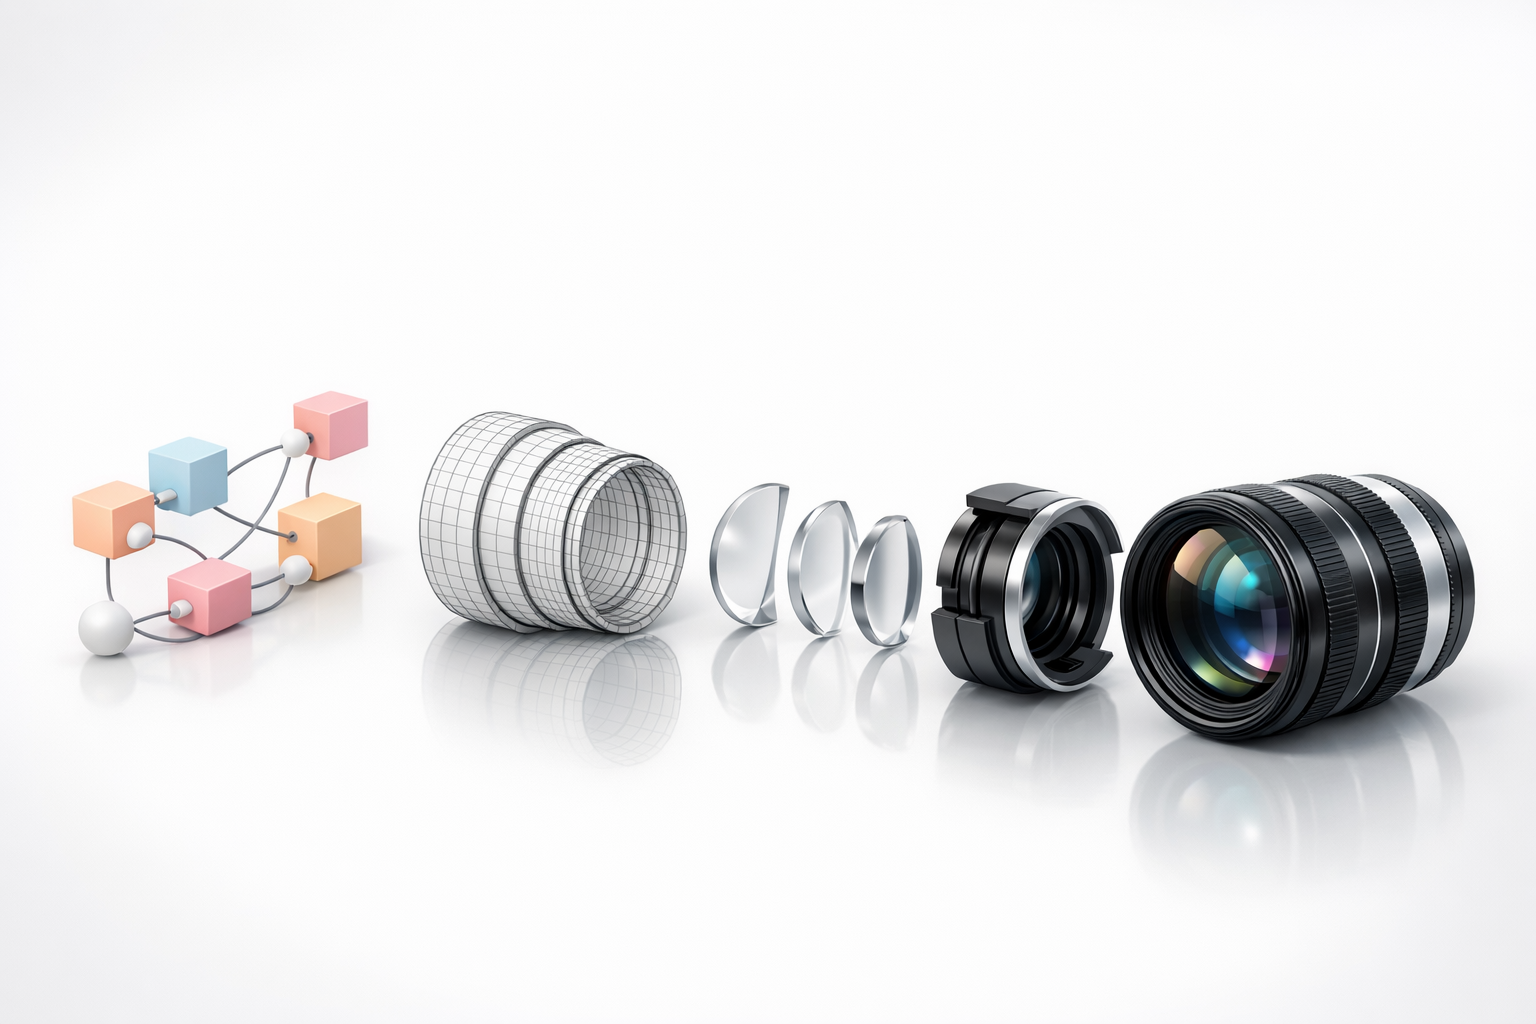
Geometry nodes let me build shapes from mathematical functions and parametric inputs. For Siemens lenses:
- I use curve primitives (circle, ellipse) as base geometry
- Modifiers for thickness, bevel, and aperture are driven by node parameters
- Procedural segmentation enables easy variations and edits
Checklist:
- Gather technical references
- Define core parameters (radius, thickness, bevel)
- Set up node network with clear inputs
Step-by-Step Siemens Lens Creation Using Geometry Nodes
Setting up the geometry node network
My typical workflow:
- Start with a circle or ellipse primitive.
- Extrude for thickness using node-based controls.
- Add bevel or chamfer for edge realism.
- Define central aperture by subtracting inner geometry.
I keep node groups modular—each major feature (profile, thickness, aperture) gets its own node section for easy tweaking.
Controlling parameters for lens accuracy
For Siemens lenses, accuracy is critical. I expose key parameters:
- Outer radius
- Inner radius (aperture)
- Thickness
- Bevel amount
Tips:
- Use named value nodes for clarity.
- Test parameter ranges for plausible lens shapes.
- Save presets for common lens types.
Optimizing and Refining the Procedural Model

Retopology and mesh cleanup tips
Procedural models often generate dense or messy meshes. I always:
- Run retopology tools (Tripo AI or native nodes) to optimize edge flow.
- Remove unnecessary vertices and faces.
- Ensure quads dominate the mesh for better deformation and texturing.
Pitfalls:
Avoid leaving high-density meshes; they can cause slowdowns and export issues.
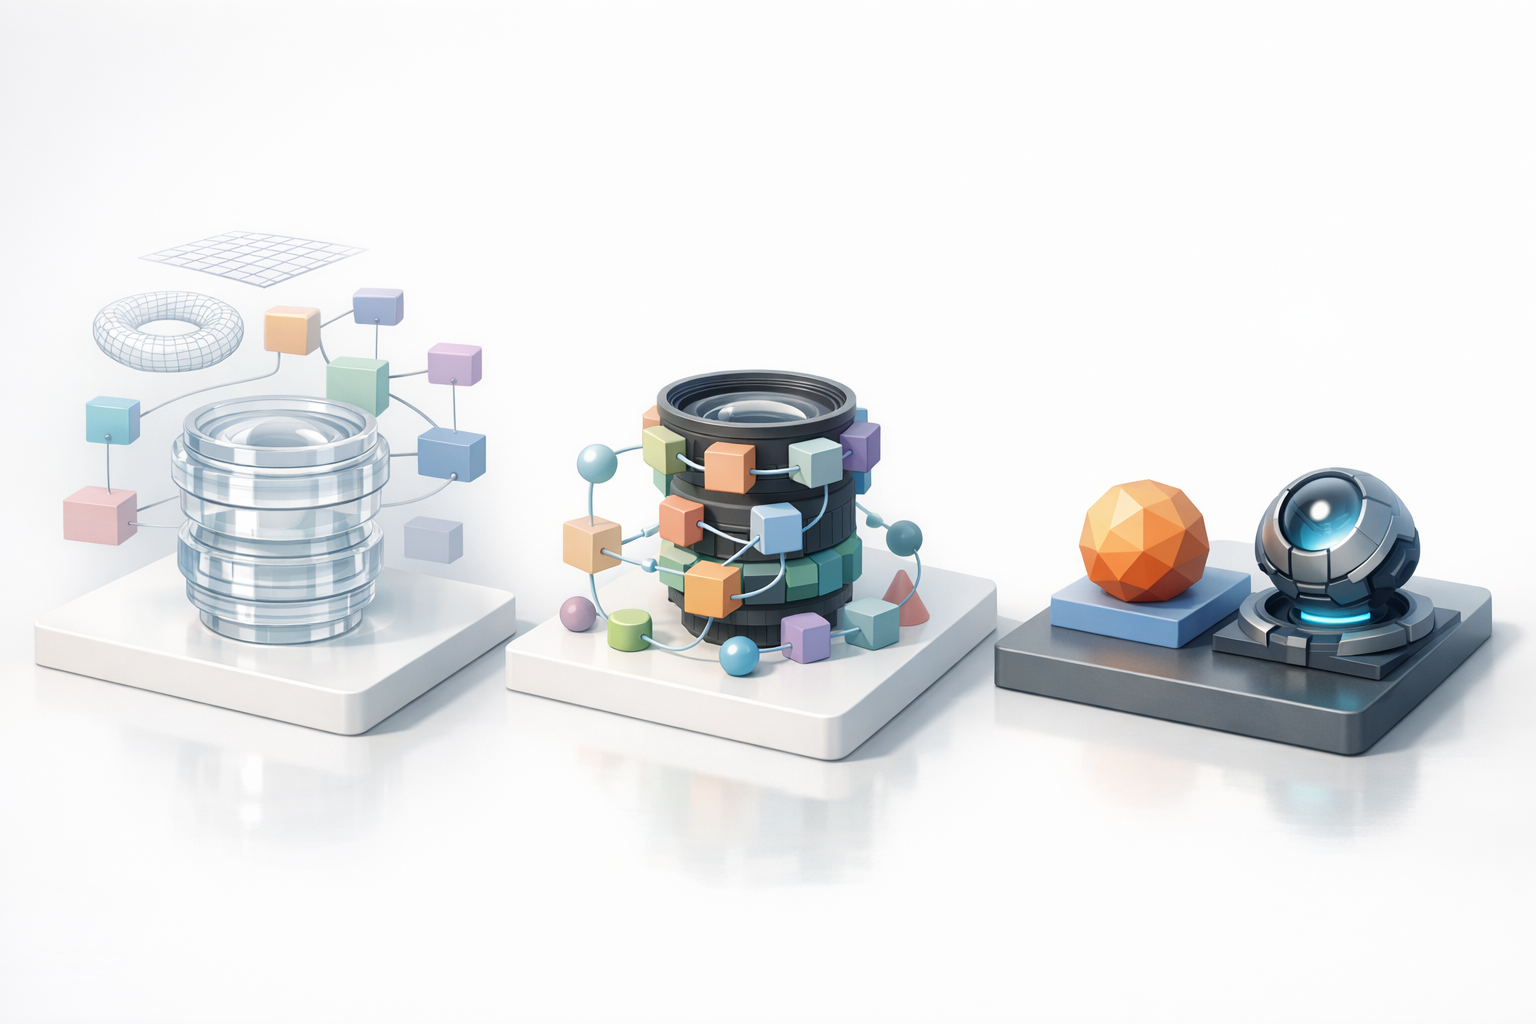
Adding procedural details and variations
To make lenses production-ready:
- Add concentric grooves or etching via procedural displacement.
- Randomize subtle details for realism (scratches, dust).
- Use node-based variations for quick asset generation.
Checklist:
- Layer details non-destructively
- Test variations for pipeline compatibility
- Use procedural masks for targeted effects
Texturing, Exporting, and Integrating with Production Pipelines
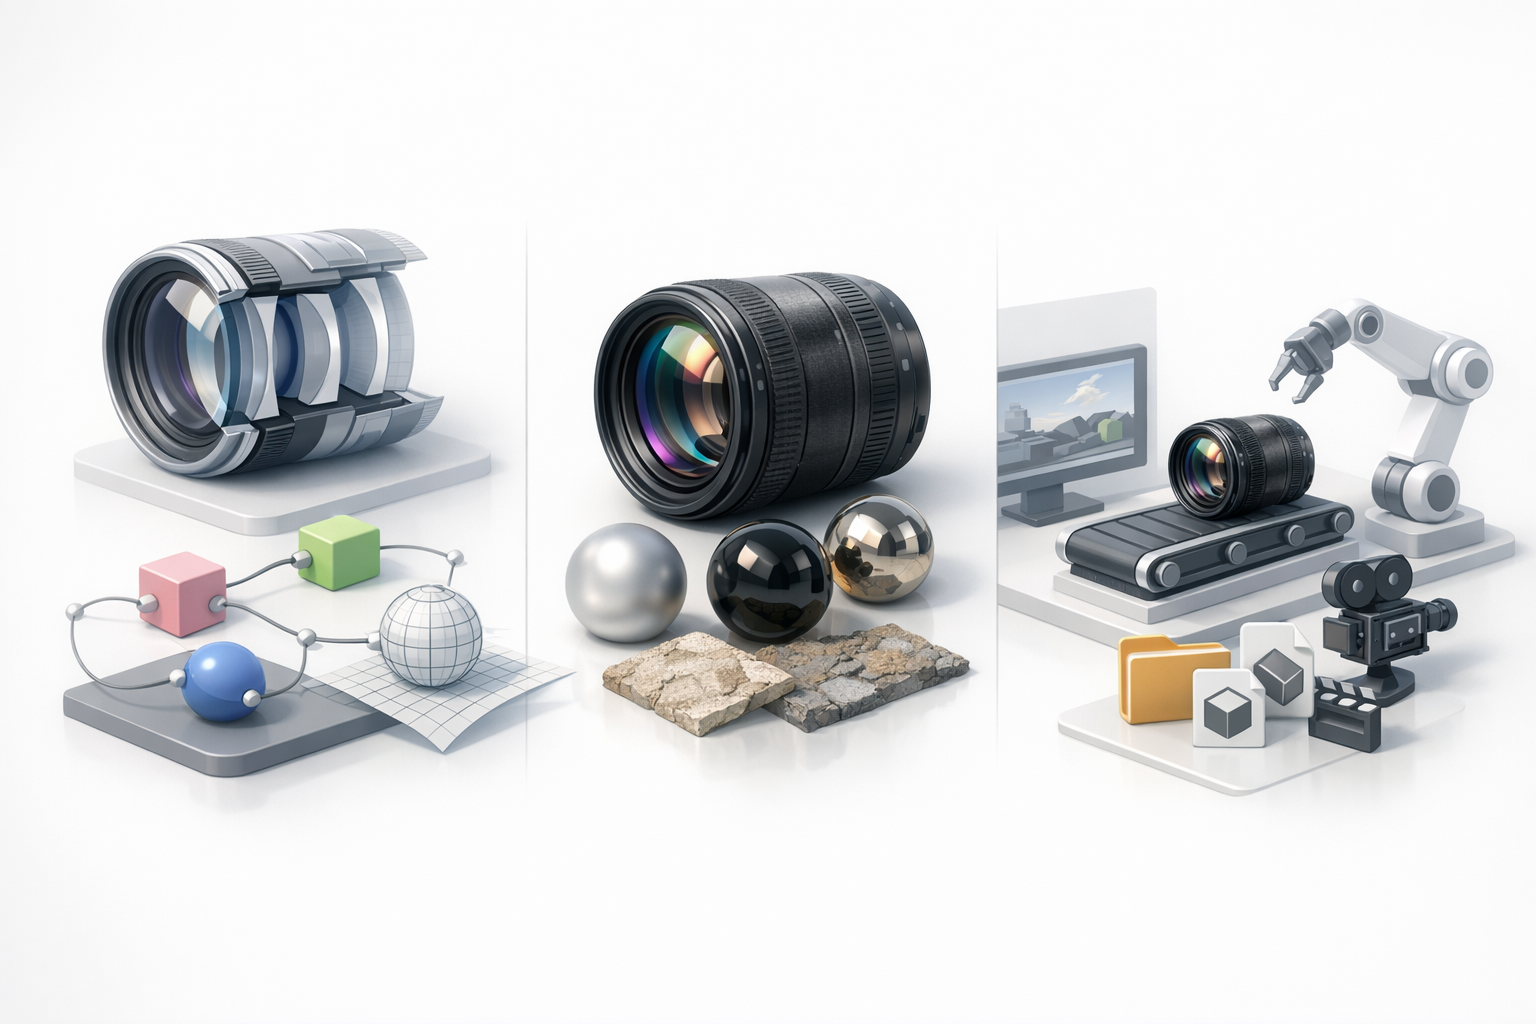
Procedural texturing approaches
I prefer procedural textures for Siemens lenses:
- Use node-based materials for glass, metal, and coatings.
- Generate roughness, normal, and opacity maps procedurally.
- Tripo AI can auto-segment and assign base materials for fast setup.
Tips:
- Preview textures in context
- Bake maps if needed for game engines
Exporting for use in games, XR, and design
Export considerations:
- Clean mesh and UVs (Tripo AI helps automate this)
- Choose formats compatible with target pipeline (FBX, GLTF, OBJ)
- Include baked textures and procedural maps
Checklist:
- Validate exports in target engine/software
- Check scale and orientation
- Document parameter presets for future edits
Comparing Geometry Nodes with Other Procedural Tools
Strengths and limitations of geometry nodes
Strengths:
- Direct parametric control
- Fast iteration and variation
- Integrates well with asset pipelines
Limitations:
- Complex setups can get unwieldy
- Some advanced effects require scripting or external tools
When to consider alternative methods or platforms
If you need:
- Advanced physics or optical simulation
- Highly stylized, non-parametric forms
- Automated batch processing for large asset libraries
Consider supplementing geometry nodes with dedicated procedural platforms or AI-driven tools like Tripo AI for segmentation and retopology.
My Workflow: Lessons Learned and Pro Tips

What I do differently for Siemens lens projects
- I always start with a modular node setup—easy to reuse and tweak.
- I rely on Tripo AI for retopology and texturing, which saves hours.
- I document parameter presets for each lens type.
Common pitfalls and how I avoid them
- Overcomplicating node graphs: Keep setups modular and readable.
- Ignoring mesh quality: Always retopologize and check for artifacts.
- Neglecting export requirements: Test exports early and often.
Pro tips:
- Use procedural masks for targeted detailing.
- Batch-generate variations for asset libraries.
- Integrate AI tools for segmentation and cleanup.
If you need scalable, production-ready Siemens lens models, procedural geometry nodes—supported by modern AI tools—offer unmatched speed, control, and quality.