Creating a High-Quality Shadow the Hedgehog 3D Model: Expert Workflow
Creating a high-quality 3D model of Shadow the Hedgehog requires a blend of solid fundamentals, efficient workflows, and the smart use of AI-powered tools. In my experience, success hinges on careful planning, accurate references, and a production-ready pipeline that covers everything from modeling to export. This guide is for both hobbyists and professionals aiming for a polished, animation-ready result—whether for games, film, or XR projects. Below, I’ll walk through my full workflow, highlight common pitfalls, and share practical advice drawn from real projects.
Key takeaways
- Reference quality is critical: Invest time in sourcing and organizing accurate visual references.
- Block out before detailing: Start with simple forms and refine proportions before adding features.
- AI can accelerate workflows: Use platforms like Tripo AI to speed up segmentation, retopology, and texturing.
- Proper topology matters: Clean geometry and UVs are essential for rigging and animation.
- Iterate and optimize: Regularly check your model in context and optimize for your target platform.
Overview: Shadow the Hedgehog 3D Model Creation
Key considerations before starting
Before diving into modeling, I always clarify the project’s end use: Will the model be animated? What platform is it for—real-time, pre-rendered, or XR? These decisions shape everything from polygon count to texture resolution. Shadow’s iconic silhouette and color scheme mean accuracy is non-negotiable, especially for fans.
Checklist:
- Define target platform and engine requirements.
- Clarify animation needs and level of detail.
- Assess available time and resources.
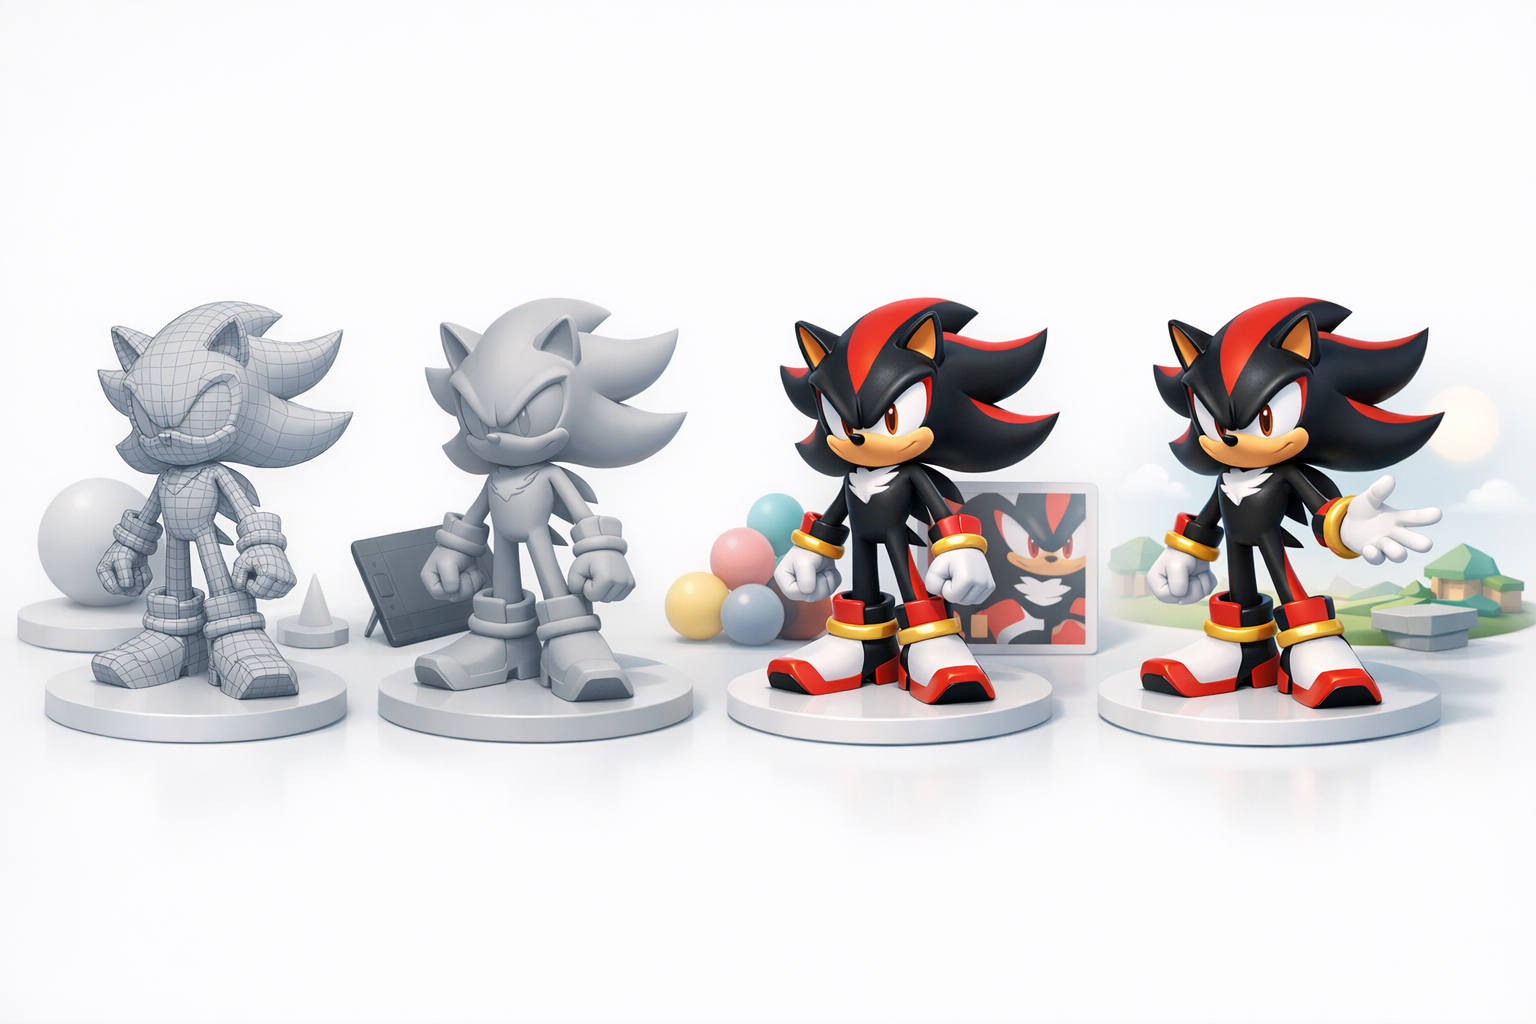
Summary of recommended workflow
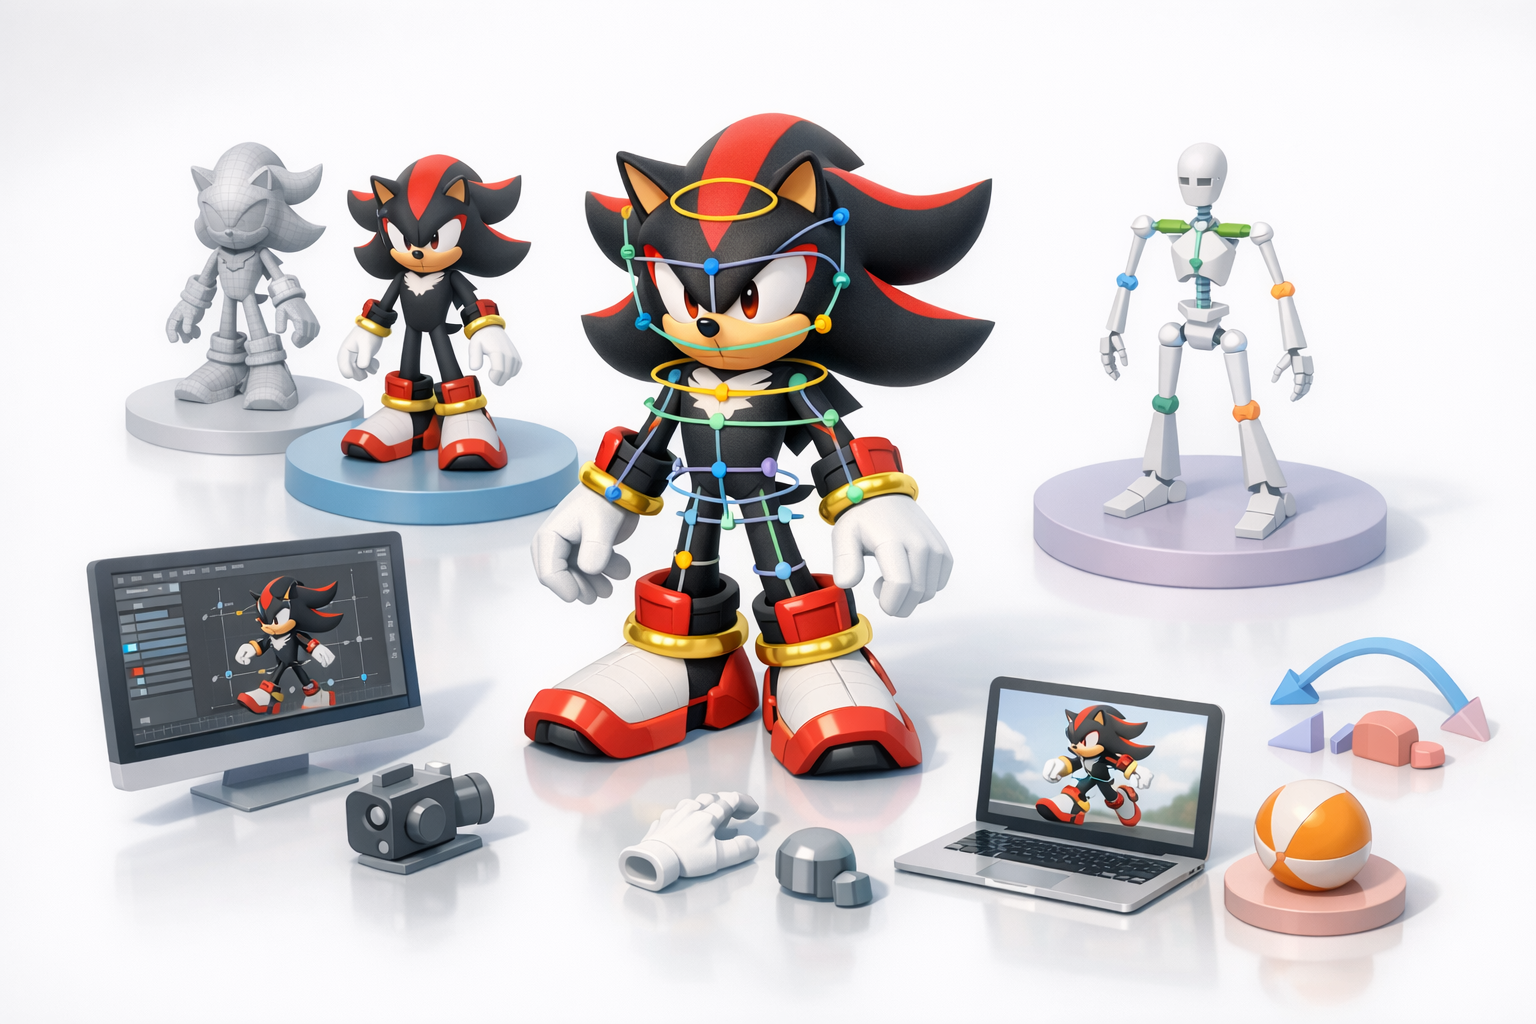
My workflow is iterative and modular:
- Gather and organize references.
- Block out base mesh and refine proportions.
- UV unwrap and texture.
- Set up rig and prepare for animation.
- Optimize mesh and export.
I leverage AI-powered tools for segmentation, retopology, and initial texturing, then refine outputs manually for quality.
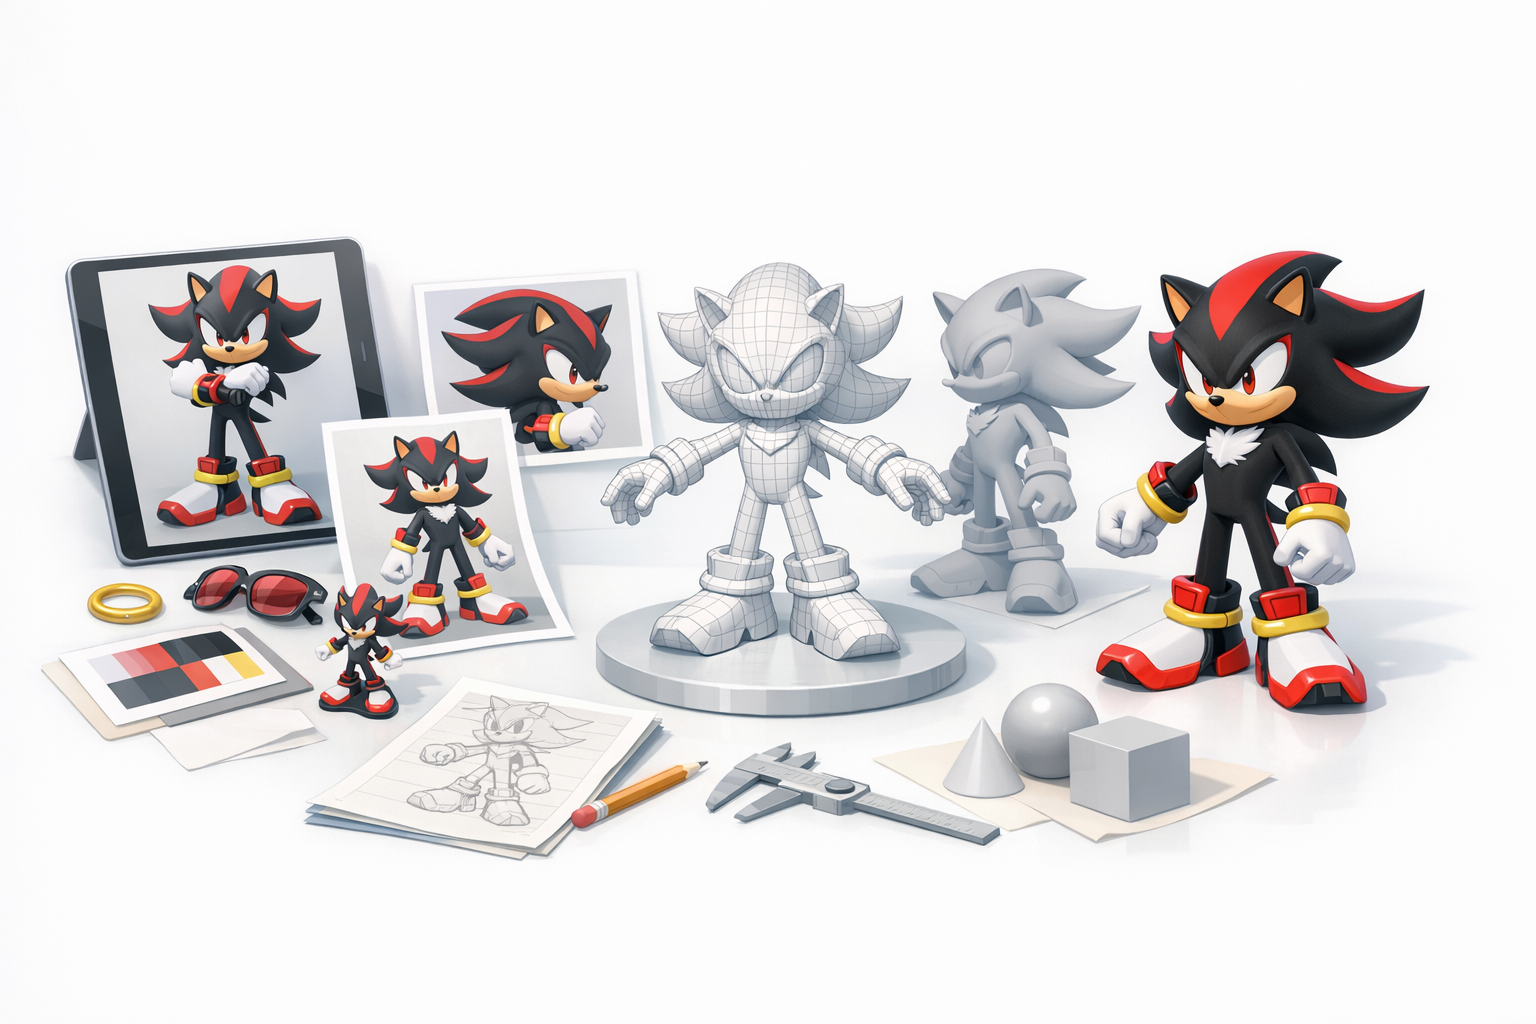
Gathering References and Planning the Model
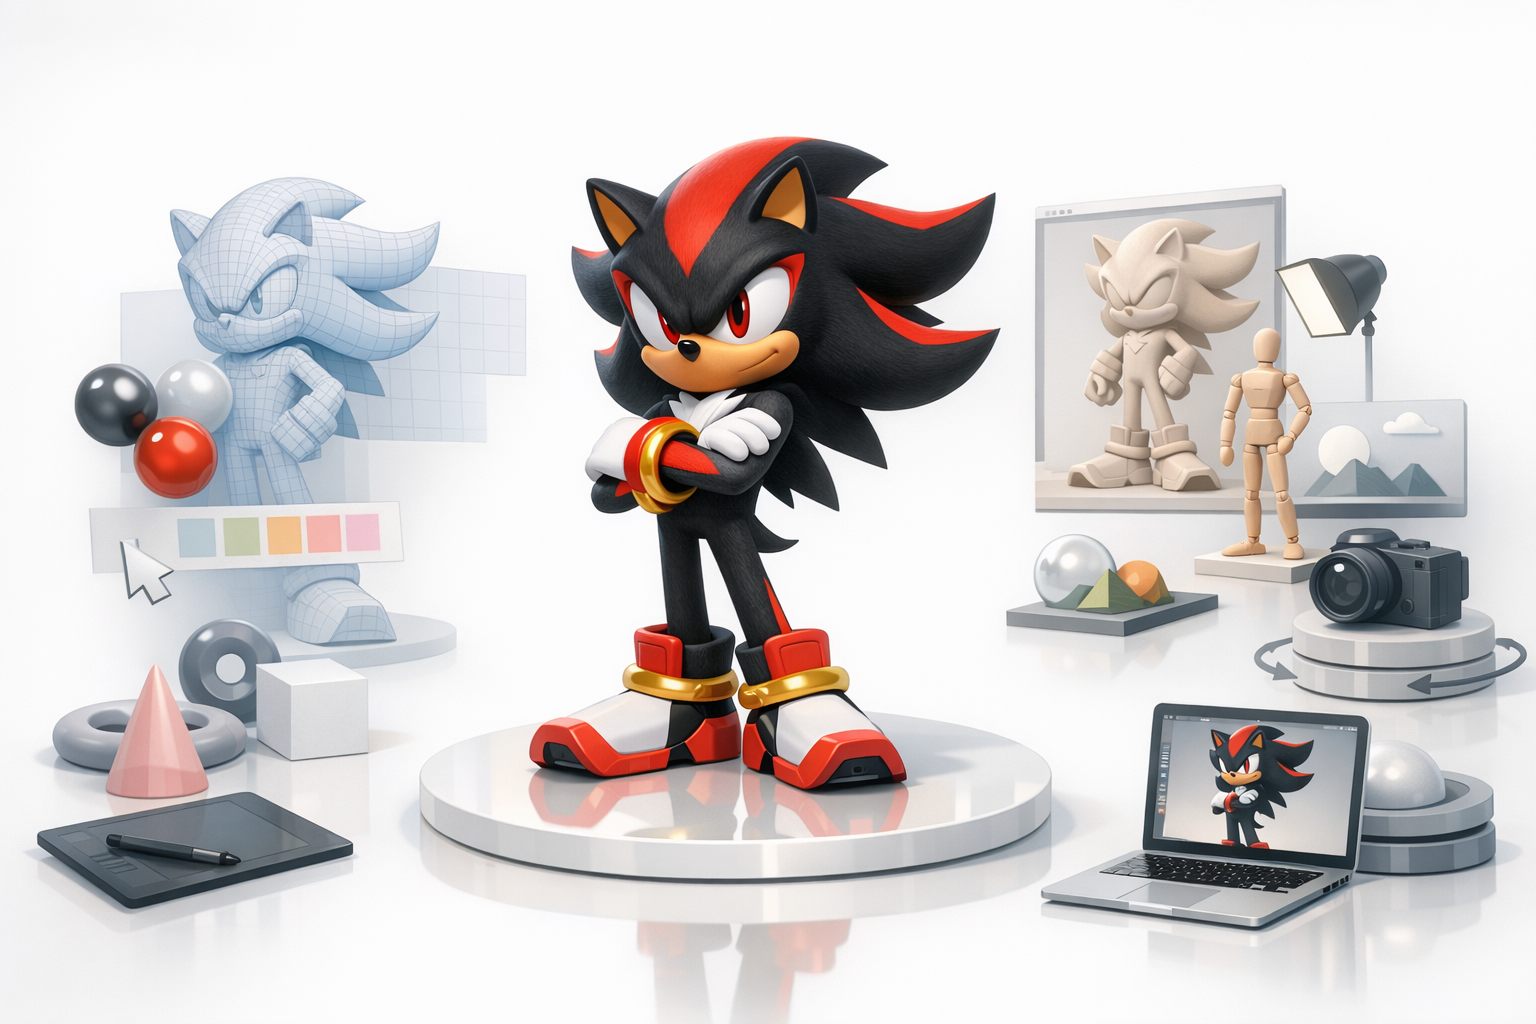
Sourcing accurate visual references
I start by collecting high-resolution images from official game art, cutscenes, and fan resources. Multiple angles—front, side, and 3/4 views—are essential. I also look for turnarounds or 3D viewer screenshots when available.
Tips:
- Use reference boards (PureRef, offline folders).
- Double-check color accuracy under neutral lighting.
- Avoid low-res or off-model fan art for primary references.
Defining model scope and level of detail
I decide early on the polygon budget and texture size, based on the project’s needs. For real-time use, I aim for efficient geometry and 2K textures; for cinematic renders, I allow more detail.
Pitfall: Overcommitting to detail early can lead to wasted effort—always match scope to the final use case.
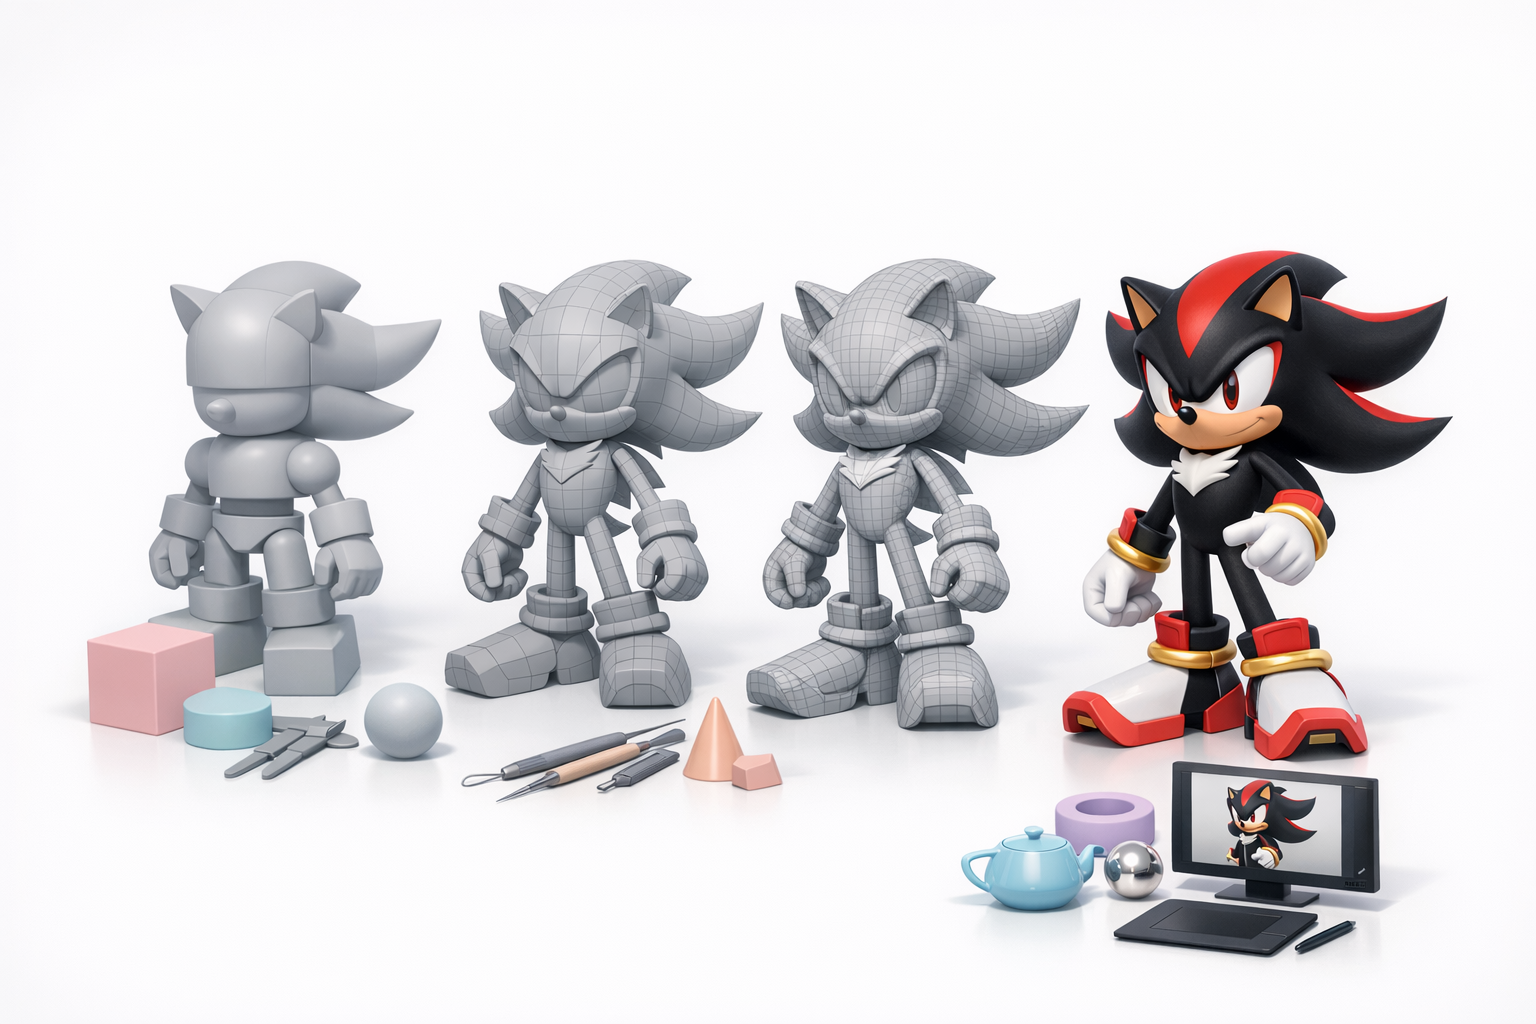
Modeling Techniques: My Step-by-Step Process
Blocking out the base mesh
I begin with primitive shapes—spheres for the head, cylinders for limbs—and focus on matching Shadow’s proportions. At this stage, I ignore details like quills or shoes.
Steps:
- Block out head, torso, limbs.
- Align with reference images.
- Adjust proportions before adding detail.
Refining shapes and proportions
Once the base mesh is in place, I start sculpting secondary forms: quills, gloves, shoes, and facial features. I use subdivision only as needed, keeping topology simple.
Tips:
- Frequently check silhouette from all angles.
- Keep edge loops clean for later rigging.
- Save incremental versions to allow rollback.
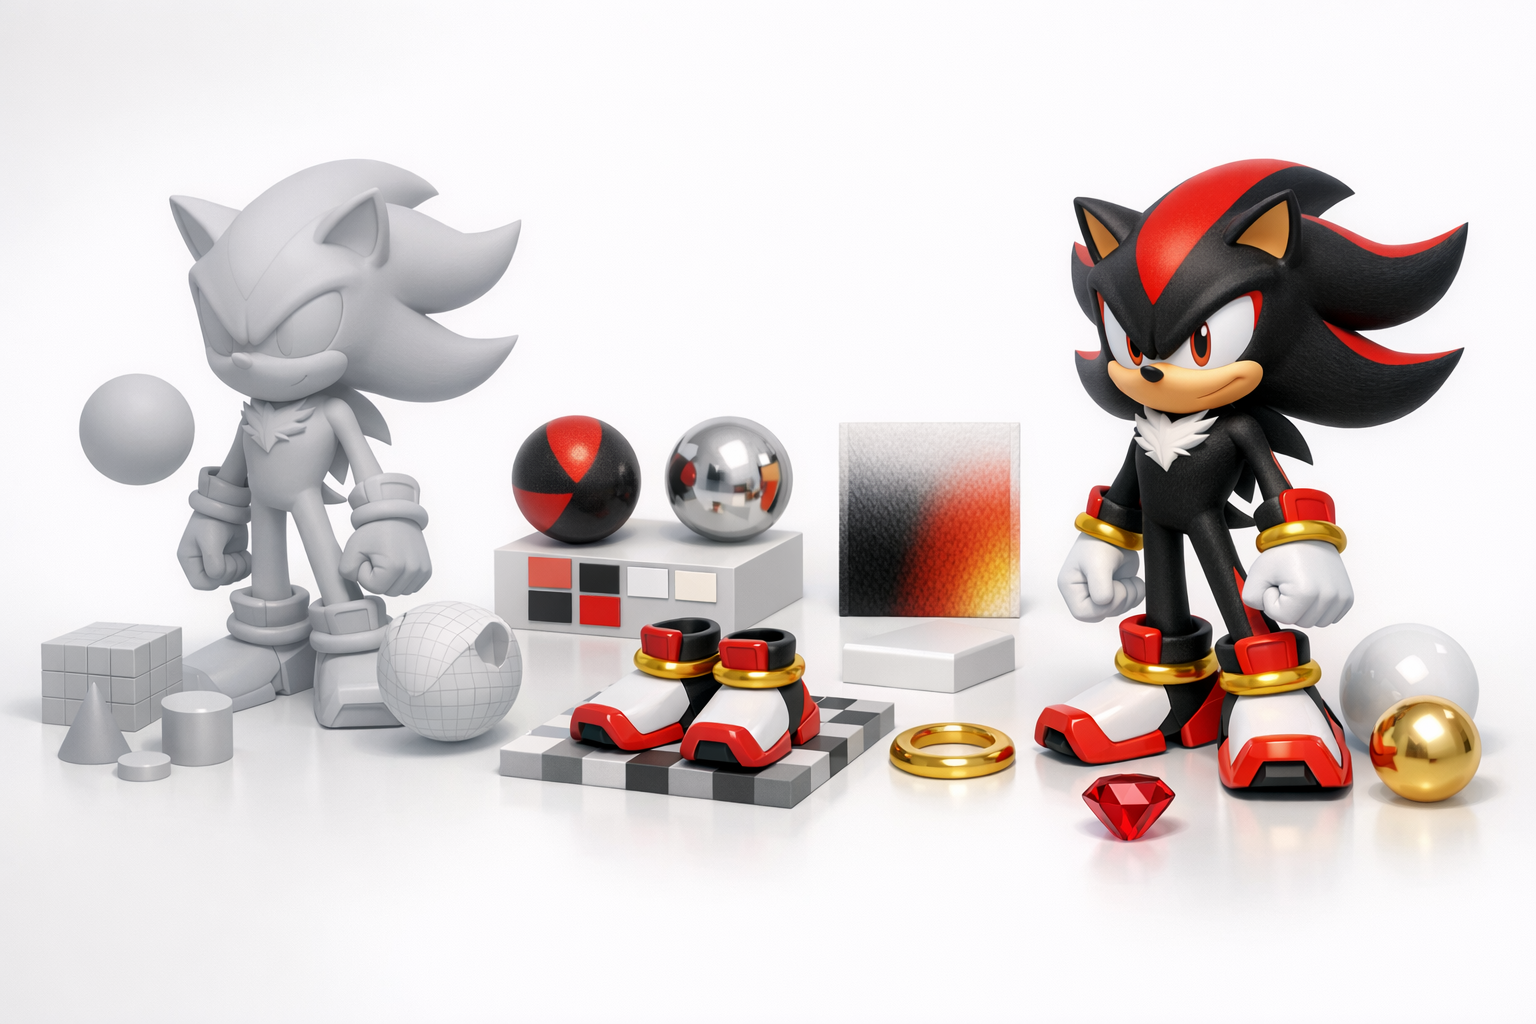
Texturing and Materials: Bringing Shadow to Life
UV unwrapping and best practices
Clean UVs are essential for seamless texturing. I mark seams along logical breaks (e.g., inside limbs, under shoes) and minimize stretching.
Checklist:
- Use checker textures to spot distortion.
- Pack UV islands efficiently to maximize texture resolution.
- Avoid overlapping UVs unless for mirrored parts.
Painting textures and applying materials
I usually start with flat base colors, then add gradients, highlights, and subtle wear. For Shadow, the red stripes and white chest fur require sharp, clean masks.
Pitfall: Overcomplicating materials—keep shaders simple for stylized characters.
Rigging and Animation Preparation
Setting up a clean rig for posing
A simple biped rig with extra controls for quills and facial expressions works best. I test joint placement with basic poses before skinning.
Tips:
- Use symmetry when assigning weights.
- Add controllers for major features (eyebrows, quills).
Tips for animation-ready topology
Animation-friendly models need edge loops around joints (elbows, knees) and clean geometry in deforming areas. I avoid n-gons and keep pole counts low.
Checklist:
- Eliminate unnecessary edge loops.
- Test deformations with basic animations.
- Maintain quads for smooth subdivision.
Optimizing and Exporting the 3D Model
Retopology and mesh optimization
I use automated tools for initial retopology, then manually tweak the mesh for efficiency and deformation. Shadow’s spiky features need careful edge flow to avoid shading artifacts.
Tips:
- Target a balanced polycount for the platform.
- Remove hidden faces inside shoes or gloves.
- Check for non-manifold edges and fix before export.
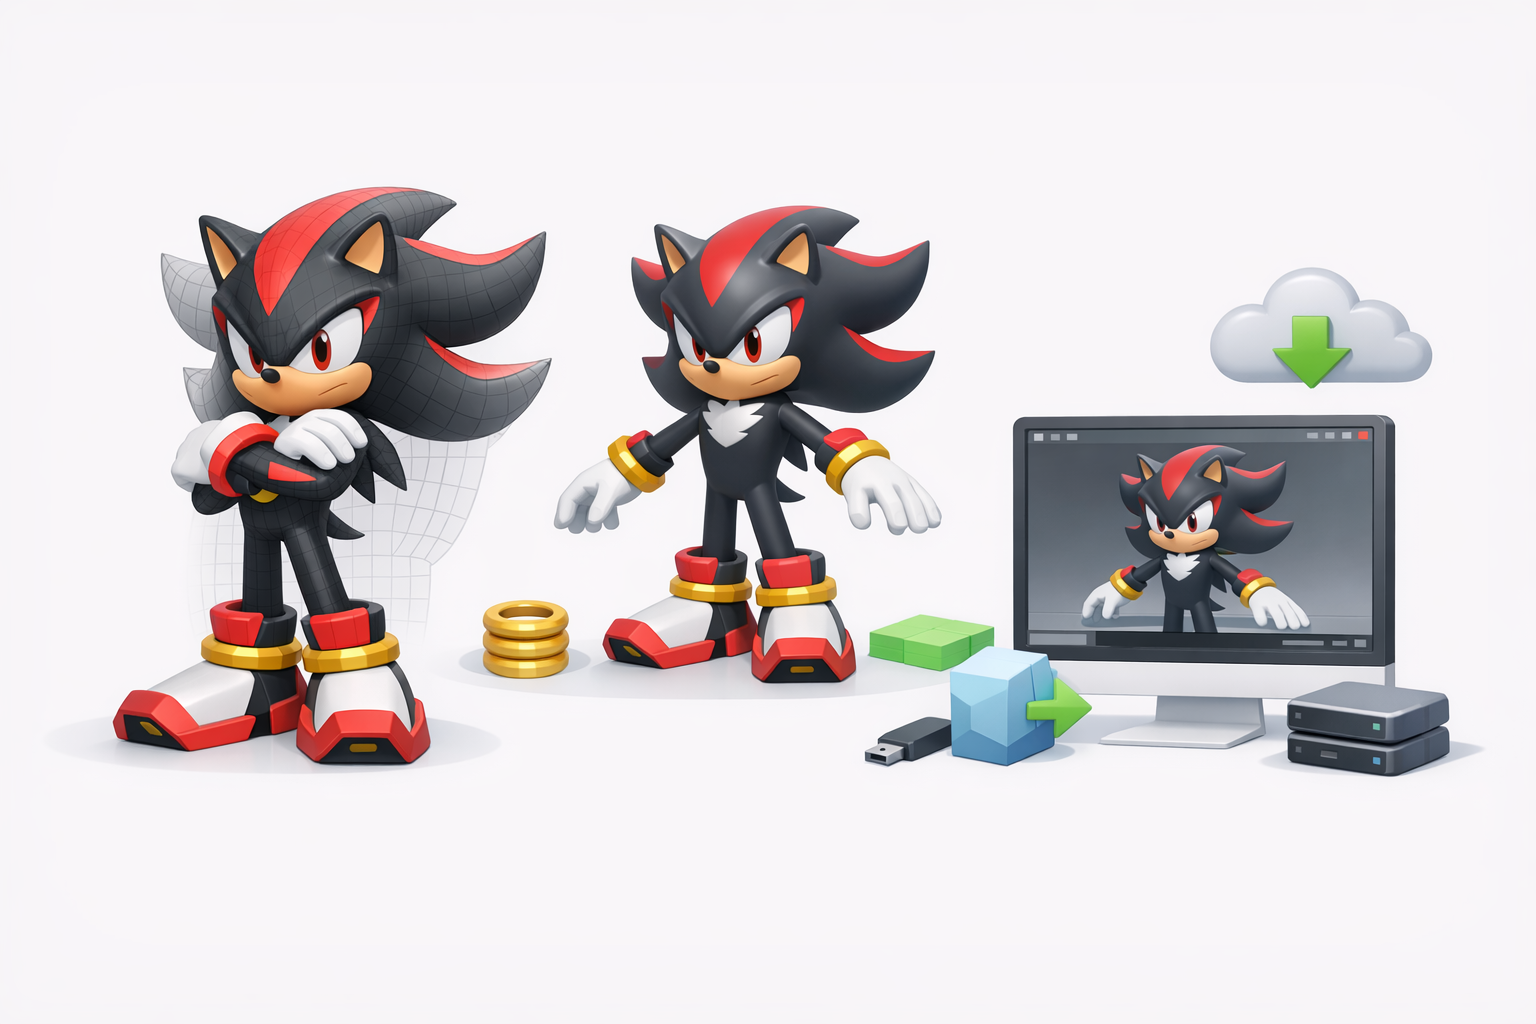
Export settings for different platforms
I export in FBX or GLTF, depending on the target engine. I always double-check axis orientation, scale, and embedded textures.
Pitfall: Forgetting to reset transforms or apply scale can cause import issues downstream.
AI-Assisted Workflows: How I Use Tripo and Other Tools
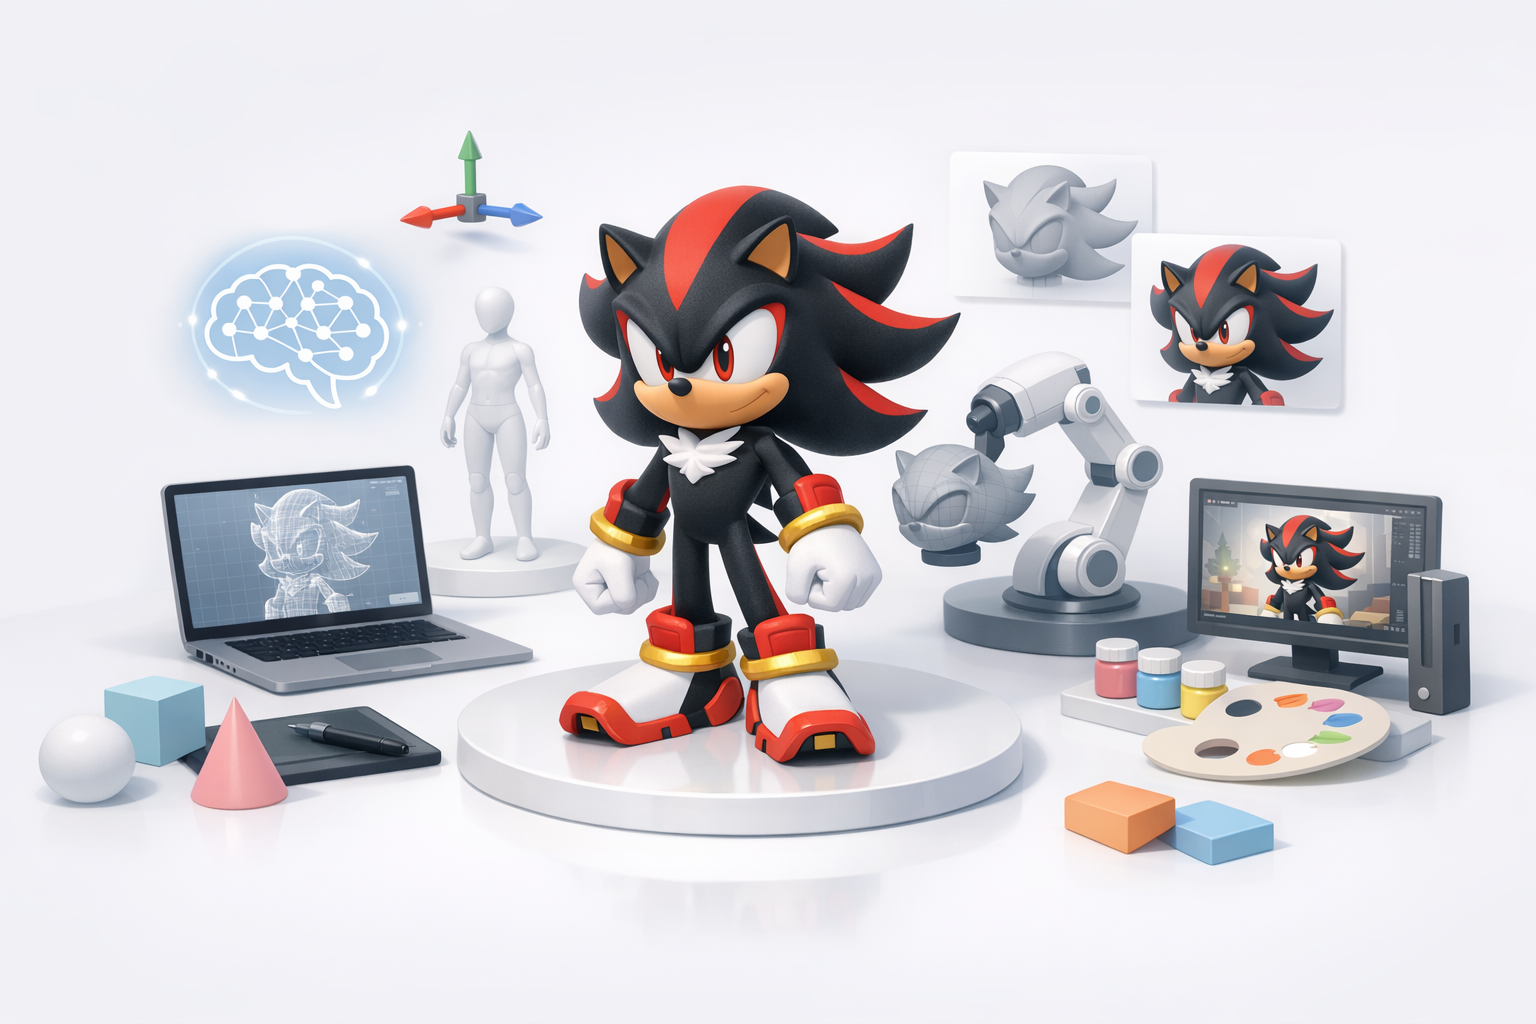
Accelerating modeling with AI-powered platforms
I use Tripo AI to quickly generate base meshes from sketches or reference images, especially for complex shapes like Shadow’s quills. The platform’s segmentation and retopology tools save hours in the early stages.
Tips:
- Provide clear, well-lit images for best results.
- Review and clean up AI-generated geometry before moving forward.
Integrating AI outputs into my pipeline
After generating a base with AI, I import it into my main 3D package, refine proportions, and proceed with manual detailing. Textures created by AI are a solid starting point, but I always tweak them for accuracy and consistency.
Checklist:
- Check topology for animation-readiness.
- Replace or enhance AI textures as needed.
- Use AI outputs to jumpstart, not replace, hands-on work.
Best Practices and Lessons Learned
Common pitfalls and how to avoid them
- Skipping reference gathering: Leads to off-model results.
- Overcomplicating geometry: Causes rigging headaches.
- Ignoring UVs early: Makes texturing much harder later.
My tips for achieving a professional result
- Regularly compare your model to references at every stage.
- Use AI tools to automate repetitive tasks, but always review outputs.
- Focus on clean topology and efficient UVs for easier rigging and texturing.
- Test exports in your target engine before final delivery.
By combining thoughtful planning, solid fundamentals, and targeted use of AI-powered tools like Tripo, I consistently achieve production-ready 3D models that hold up in any pipeline. The key is to iterate, check your work often, and never skip the basics.