Creating a Senshi 3D Model from Delicious in Dungeon: My Workflow
Building a 3D model of Senshi from Delicious in Dungeon requires a blend of artistic intuition and technical skill. In this article, I break down my entire workflow—from gathering references to exporting a game-ready asset. Whether you’re a beginner or a seasoned artist, you’ll find practical steps, pitfalls to avoid, and insight into leveraging AI-powered tools like Tripo to accelerate production. My focus is on actionable advice, efficient methods, and the nuances of character modeling for games, XR, or portfolio work.
Key takeaways:
- Reference collection and clear project goals are essential for accuracy and efficiency.
- Blocking out the base mesh and refining anatomy lay the foundation for believable characters.
- Proper UV mapping and texturing are critical for visual quality.
- Retopology and rigging optimize models for animation and real-time use.
- AI-powered tools can streamline complex steps, but manual oversight remains vital.
Executive Summary and Key Takeaways
What to Expect from This Guide
This guide details my step-by-step workflow for creating Senshi in 3D, tailored for artists aiming to produce production-ready assets. I cover everything from reference gathering to final rendering, highlighting both manual and AI-assisted techniques. Expect practical checklists, workflow tips, and honest assessments of common challenges.
Essential Insights for 3D Artists
- Start with strong references and clear intentions.
- Efficient blocking and anatomy refinement save hours later.
- Texture work and UVs are critical—don’t rush these steps.
- Retopology and rigging prep your model for animation and interactive use.
- AI tools can automate tedious tasks, but manual tweaks ensure quality.
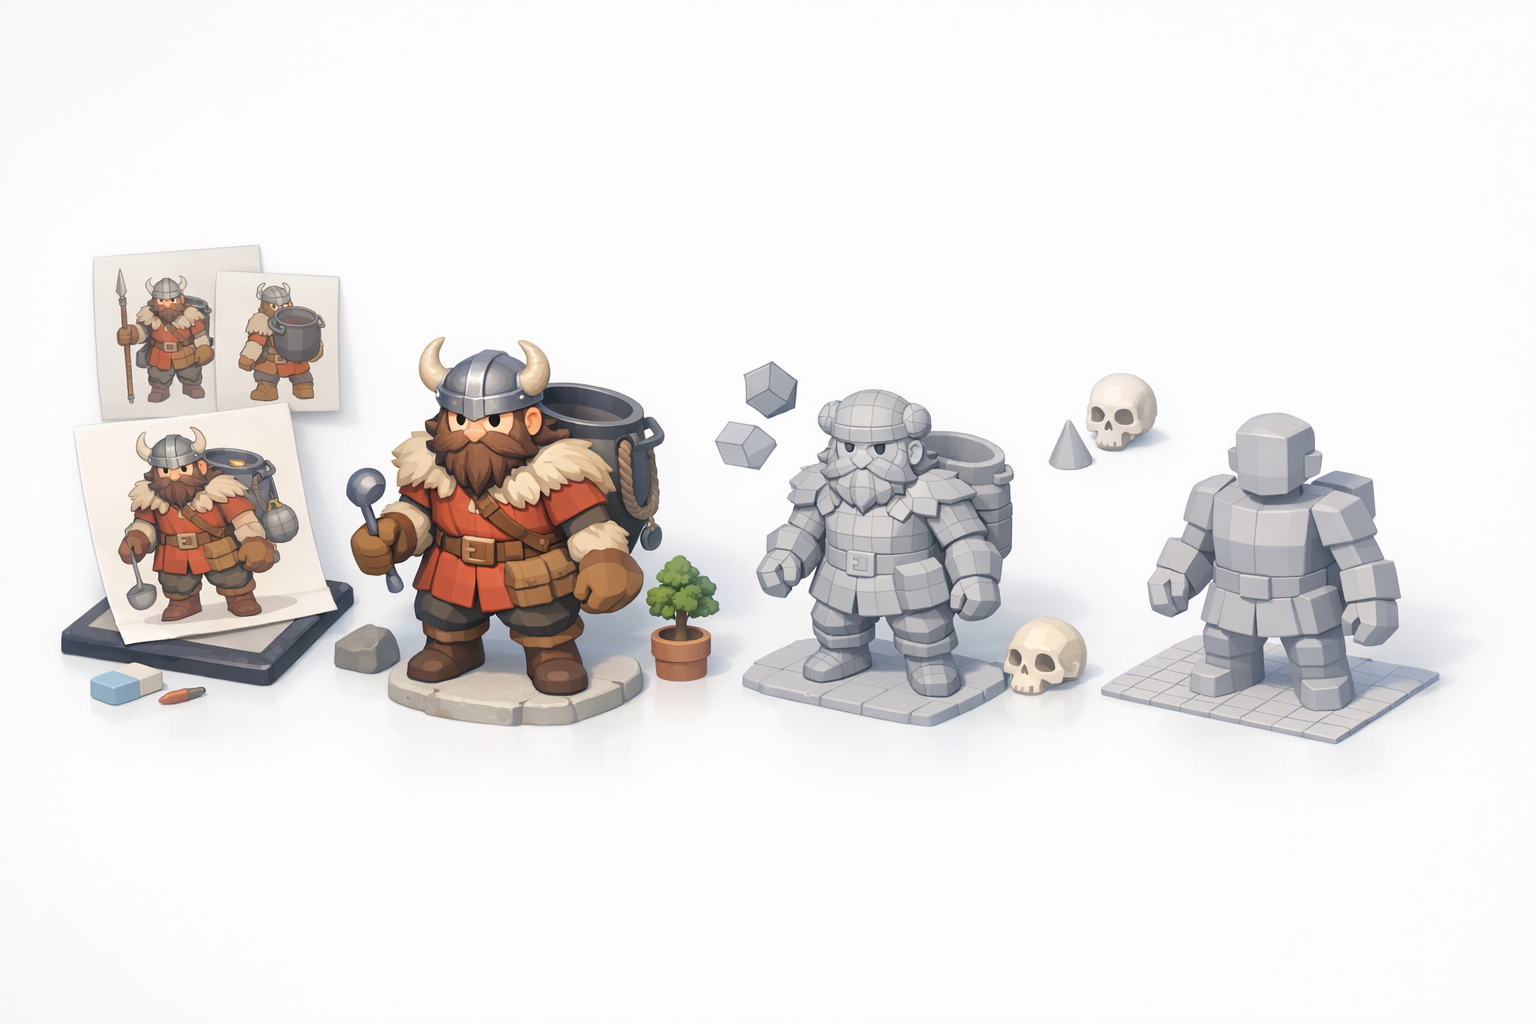
Gathering References and Planning the Senshi Model

Collecting Visual References from Delicious in Dungeon
I always begin by collecting high-quality images of Senshi from official artwork, manga panels, and fan resources. Multiple angles and expressions help capture character nuances. I organize these in a mood board for quick access.
Checklist:
- Official character sheets
- Screenshots from anime/manga
- Close-ups of costume, gear, and face
- Reference images of similar builds or armor
Pitfalls: Avoid relying on just one image—missing details can derail accuracy.
Defining Project Goals and Model Requirements
Before modeling, I define the intended use: game asset, animation, or XR. This informs polycount, rig complexity, and texture resolution. For Senshi, I aimed for a stylized, game-ready character with clean topology.
Steps:
- Determine target platform (game engine, XR, portfolio)
- Set polycount and texture size limits
- List required rig features (facial, body, props)
- Plan for animation cycles if needed
Tip: Clear goals prevent scope creep and wasted effort.
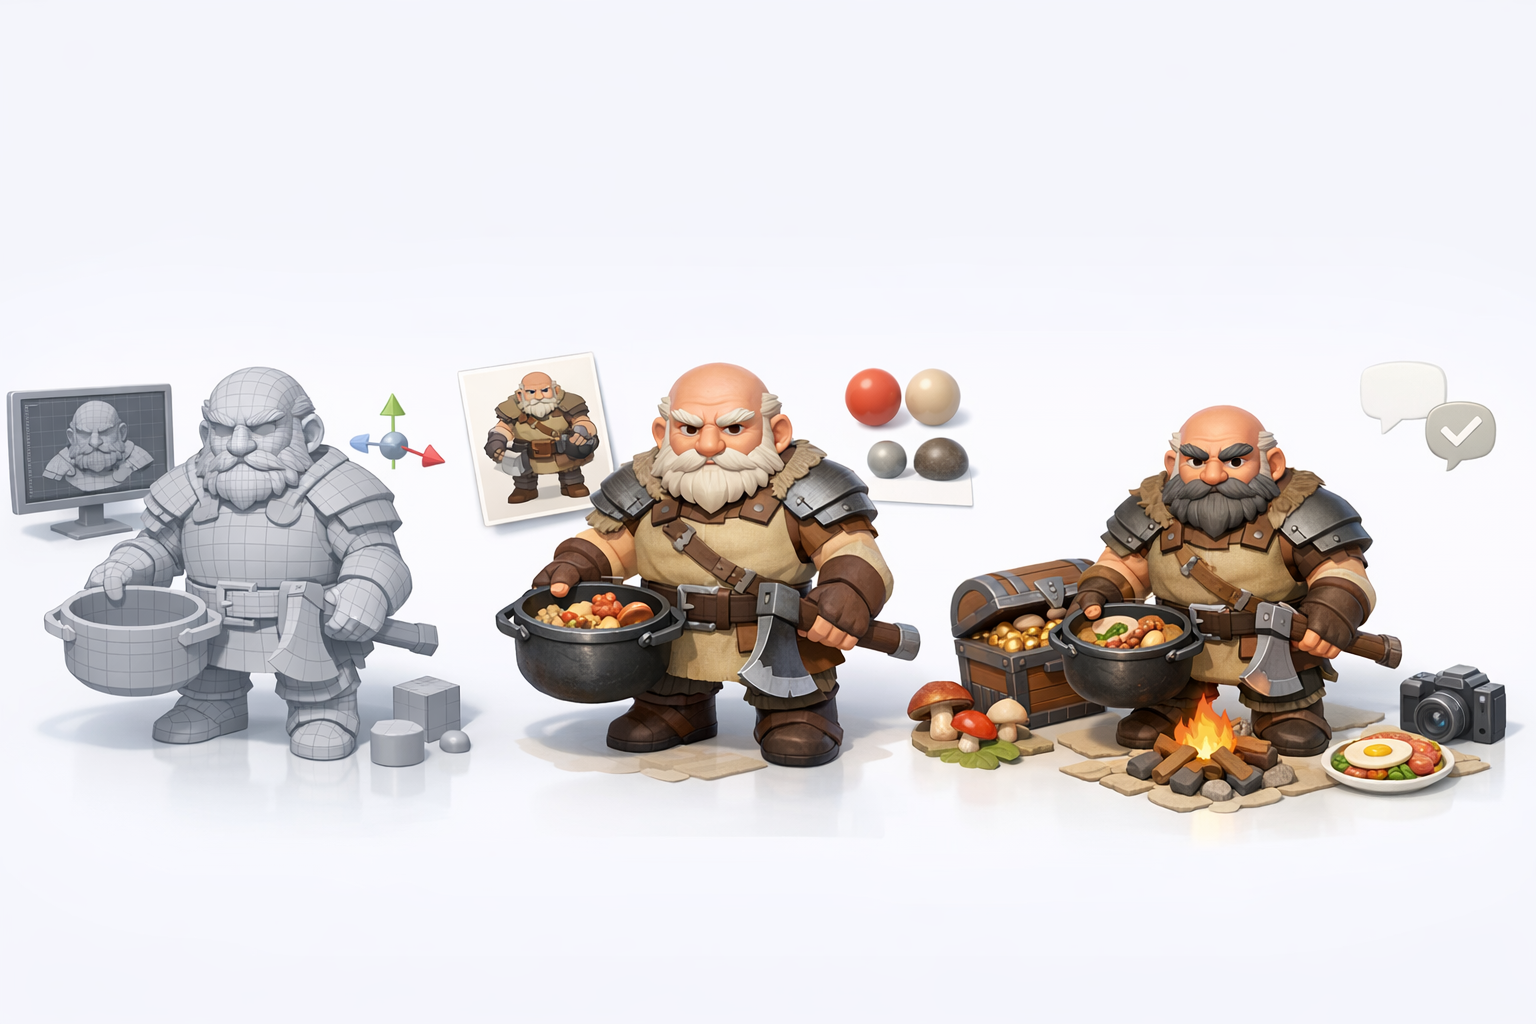
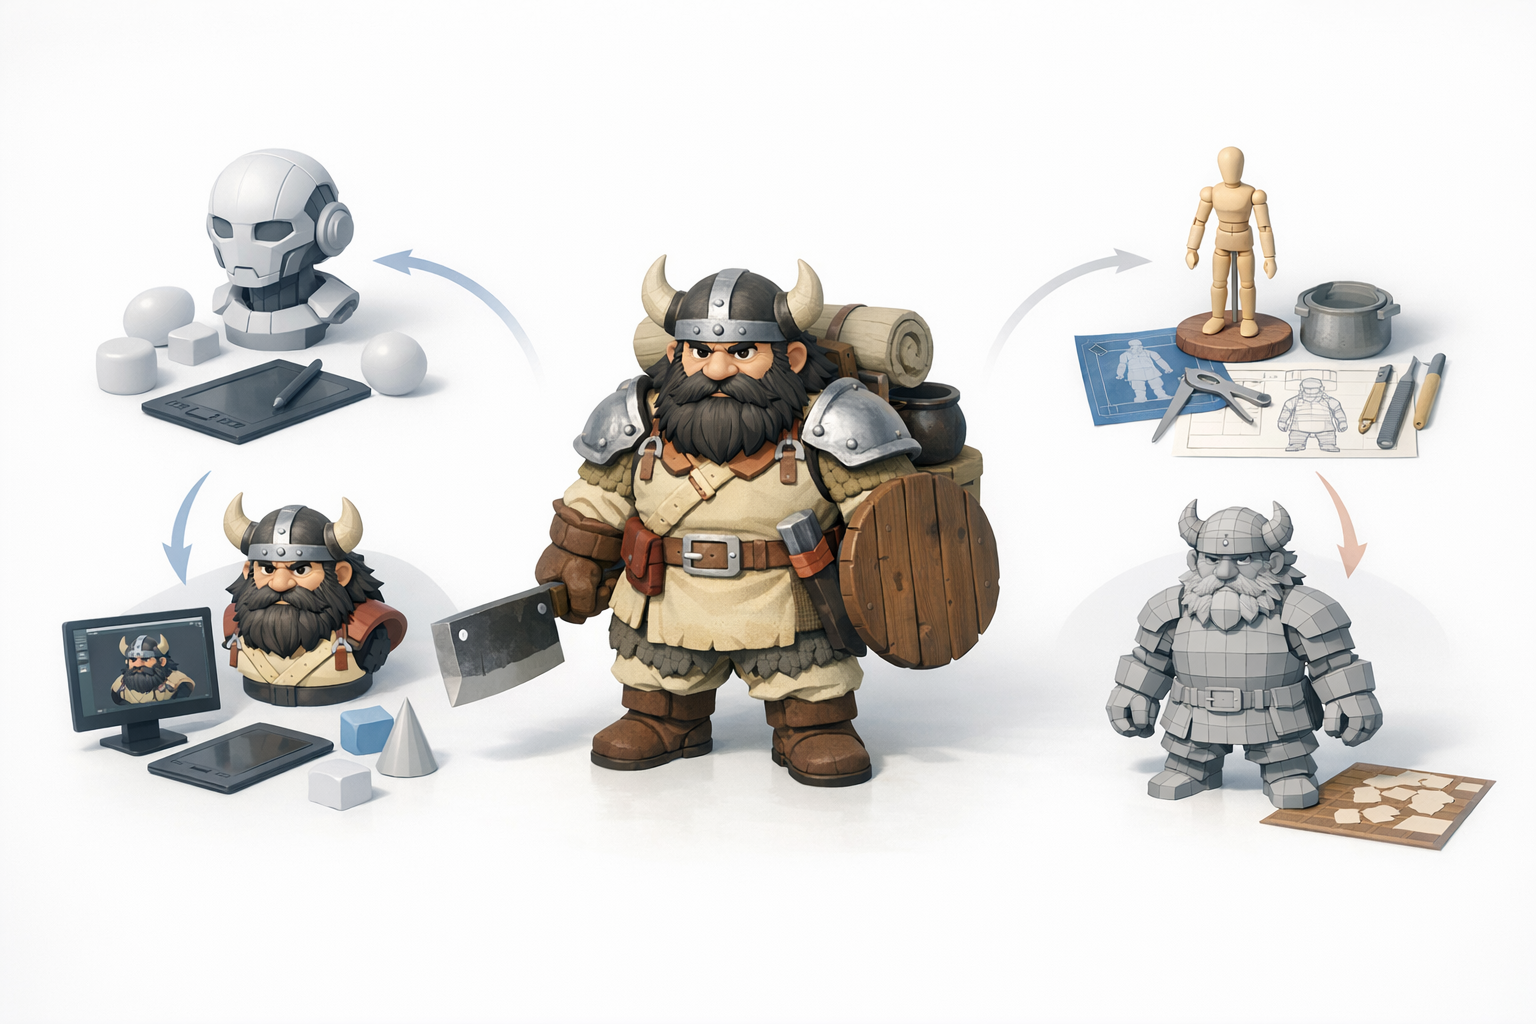
3D Modeling Workflow: From Concept to Base Mesh
Blocking Out the Senshi Character
I start with simple shapes to block out Senshi’s silhouette and major forms. Using Tripo, I can generate a rough mesh from a text prompt or sketch, then manually adjust proportions.
Steps:
- Rough out torso, limbs, and head
- Use symmetry tools for efficiency
- Focus on overall volume and pose
Pitfall: Don’t detail too early—get proportions right first.
Refining Anatomy and Proportions
Once blocked, I refine anatomy, adding muscle definition and adjusting the pose. For Senshi, his bulky frame and expressive face are key. I reference my mood board constantly.
Tips:
- Use reference overlays in viewport
- Adjust mesh for stylized exaggeration
- Check silhouette from multiple angles
Checklist: Head size, arm length, armor placement, facial features.
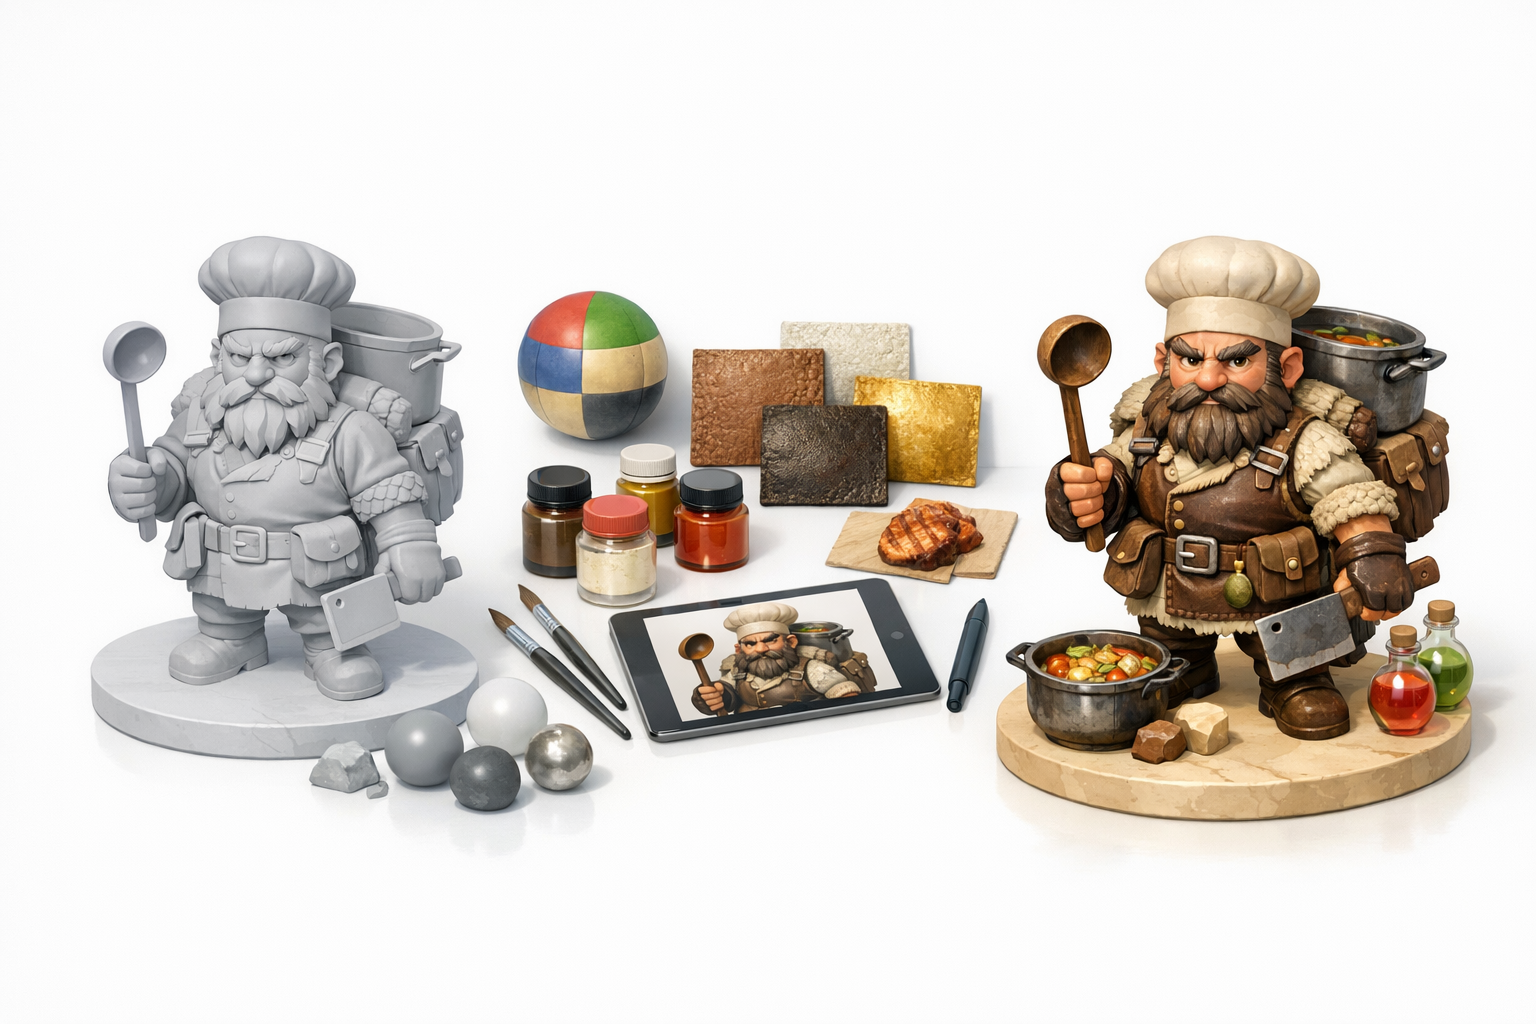
Texturing and Detailing: Bringing Senshi to Life
Best Practices for UV Mapping and Baking
I unwrap UVs early, aiming for minimal distortion and logical seams. Tripo’s intelligent segmentation speeds up this process, but I always check manually. I bake normal and ambient occlusion maps for added depth.
Steps:
- Mark seams along natural divisions (armor, clothing)
- Pack UVs efficiently for texture space
- Bake maps (normal, AO, curvature) for detail
Pitfall: Overlapping UVs can cause texture errors—always check your layout.
Painting Textures and Adding Material Details
I paint base colors, then layer in highlights, grime, and wear. For Senshi, earthy tones and metallic finishes are important. Using Tripo’s texture tools, I quickly iterate on material looks.
Tips:
- Use reference for color accuracy
- Layer details (scratches, dirt, fabric weave)
- Adjust roughness and metallic values for realism
Checklist: Skin tone, armor material, fabric texture, props.
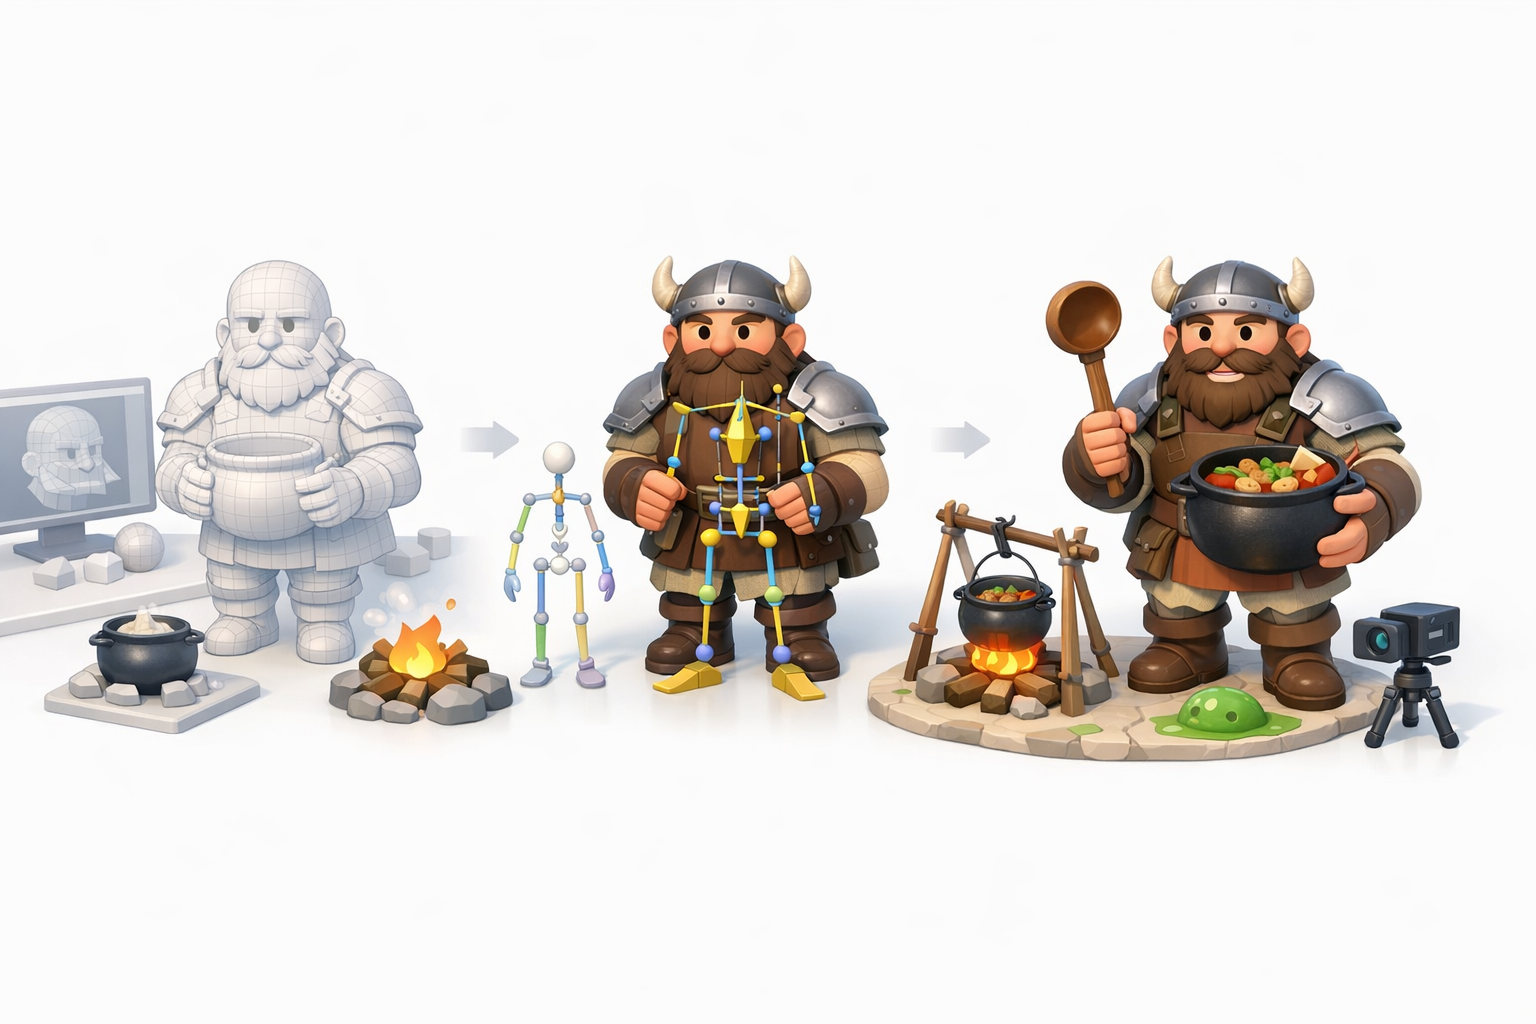
Retopology, Rigging, and Animation Preparation
Optimizing Topology for Animation
I retopologize the mesh for clean, quad-based geometry. Tripo’s auto-retopology is a time-saver, but I manually tweak edge loops around joints and the face for better deformation.
Steps:
- Ensure edge flow follows muscle groups
- Add loops at elbows, knees, and mouth
- Check polycount against project goals
Pitfall: Poor topology leads to ugly deformations—test with quick poses.
Setting Up a Basic Rig for Senshi
I rig the skeleton with standard bone chains. For Senshi, I add extra controls for his expressive face and hands. Tripo’s auto-rigging gets me started, but manual weighting is often needed.
Tips:
- Test rig with simple animations (walk, wave)
- Weight paint for smooth deformations
- Add IK/FK controls for flexibility
Checklist: Spine, arms, legs, fingers, facial bones.
Exporting, Rendering, and Showcasing the Final Model
Export Settings for Games and XR
I export in FBX or GLTF, setting scale and orientation for engine compatibility. Tripo supports direct export to common formats, minimizing conversion errors.
Steps:
- Check scale and pivot placement
- Export with embedded textures/materials
- Test import in target engine (Unity, Unreal, WebXR)
Pitfall: Incorrect axis or scale can break animations—always double-check.
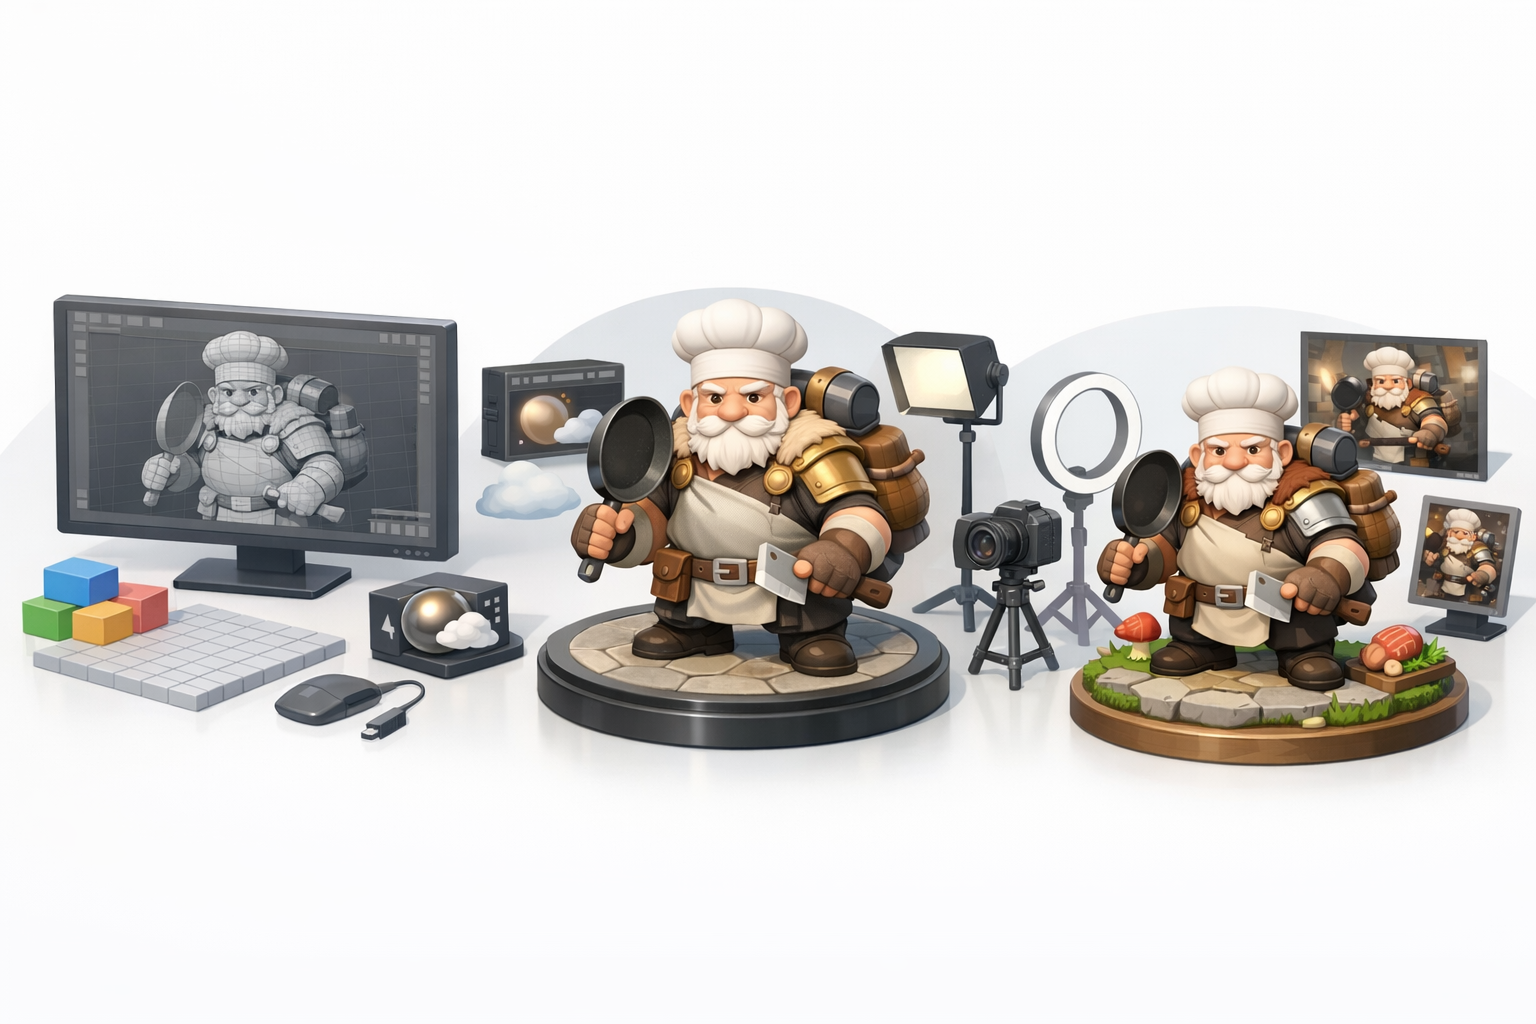
Rendering Tips and Portfolio Presentation
For portfolio renders, I use neutral lighting and simple backgrounds to highlight the model. Marmoset or real-time engine screenshots work well. I present wireframes, texture sheets, and posed shots.
Tips:
- Use three-point lighting for clarity
- Show wireframe and shaded views
- Include turnaround animations
Checklist: Beauty shots, wireframe, texture breakdown, animation clips.
Comparing AI-Powered and Traditional 3D Workflows
When to Use AI Tools Like Tripo
AI tools like Tripo are invaluable for speeding up segmentation, retopology, and texturing. I use them for rapid prototyping and when tight deadlines demand efficiency. For hero assets or nuanced characters, manual refinement is still essential.
When to use AI:
- Quick blockouts and base meshes
- Automatic UVs and retopology for secondary assets
- Fast texture iteration
Pitfall: Over-reliance on AI can result in generic or less polished models—always review outputs.
Lessons Learned from Both Approaches
Combining AI and manual workflows yields the best results. AI accelerates routine steps, but my artistic judgment ensures character and quality. Traditional methods offer precision, while AI frees up time for creative exploration.
Takeaways:
- Use AI for speed, manual work for polish
- Always check and refine AI outputs
- Hybrid workflows maximize productivity and quality
In summary: Creating Senshi in 3D is a structured process, blending reference-driven planning, efficient modeling, and smart use of AI tools. By following these steps and adapting them to your own needs, you can deliver high-quality, production-ready characters for any platform.