Ready or Not 3D Model: Workflow, Tips, and Best Practices
Creating production-ready 3D models for games like Ready or Not demands a blend of technical precision and creative workflow. Over the years, I’ve refined a process that moves quickly from concept to game-ready asset, using both traditional and AI-powered tools. In this article, I’ll break down my workflow, share actionable best practices, and highlight common pitfalls I’ve learned to avoid. Whether you’re a seasoned 3D artist or just starting out, you’ll find practical steps to streamline your own 3D modeling pipeline.
Key takeaways
- Define model requirements up front to avoid costly rework.
- Leverage AI tools for rapid prototyping and production-ready outputs.
- Optimize geometry and topology early for smooth engine integration.
- Prioritize clean UVs and efficient texturing for best visual results.
- Always test models in-engine before final delivery.
- Troubleshoot iteratively—small fixes early save big headaches later.
What Is a 'Ready or Not' 3D Model?
Definition and Common Uses
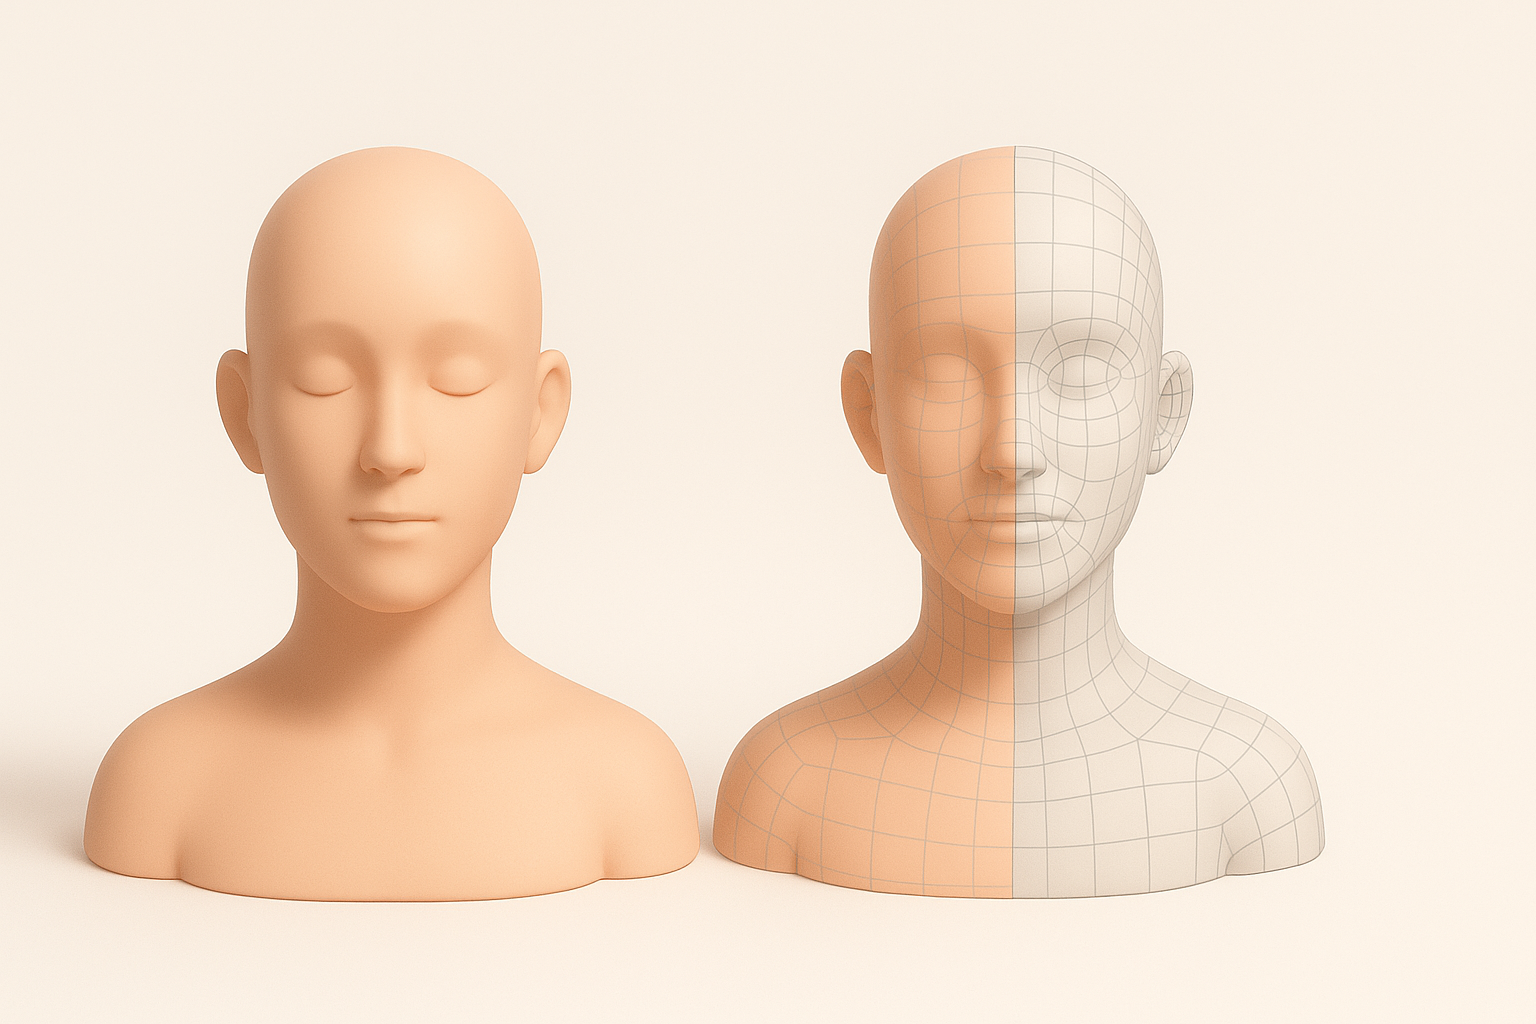
A "Ready or Not" 3D model refers to assets specifically tailored for use in the tactical shooter game Ready or Not. In my experience, these models are typically used for characters, weapons, props, and environments that need to meet strict technical and visual standards for real-time rendering.
Common uses include:
- Playable character models
- Weapon and equipment assets
- Environmental props and set pieces
Key Features and Requirements
From a technical standpoint, these models must be:
- Optimized for real-time performance (low to mid-poly count)
- UV-unwrapped and textured for PBR workflows
- Rigged and skinned if animated
- Exported in compatible formats (e.g., FBX, OBJ)
- Engine-ready—no n-gons, non-manifold geometry, or unassigned materials
I always check the game’s technical documentation for polygon limits, texture sizes, and naming conventions before starting.
My Workflow for Creating Ready or Not 3D Models
Concept to Completion: Step-by-Step Process
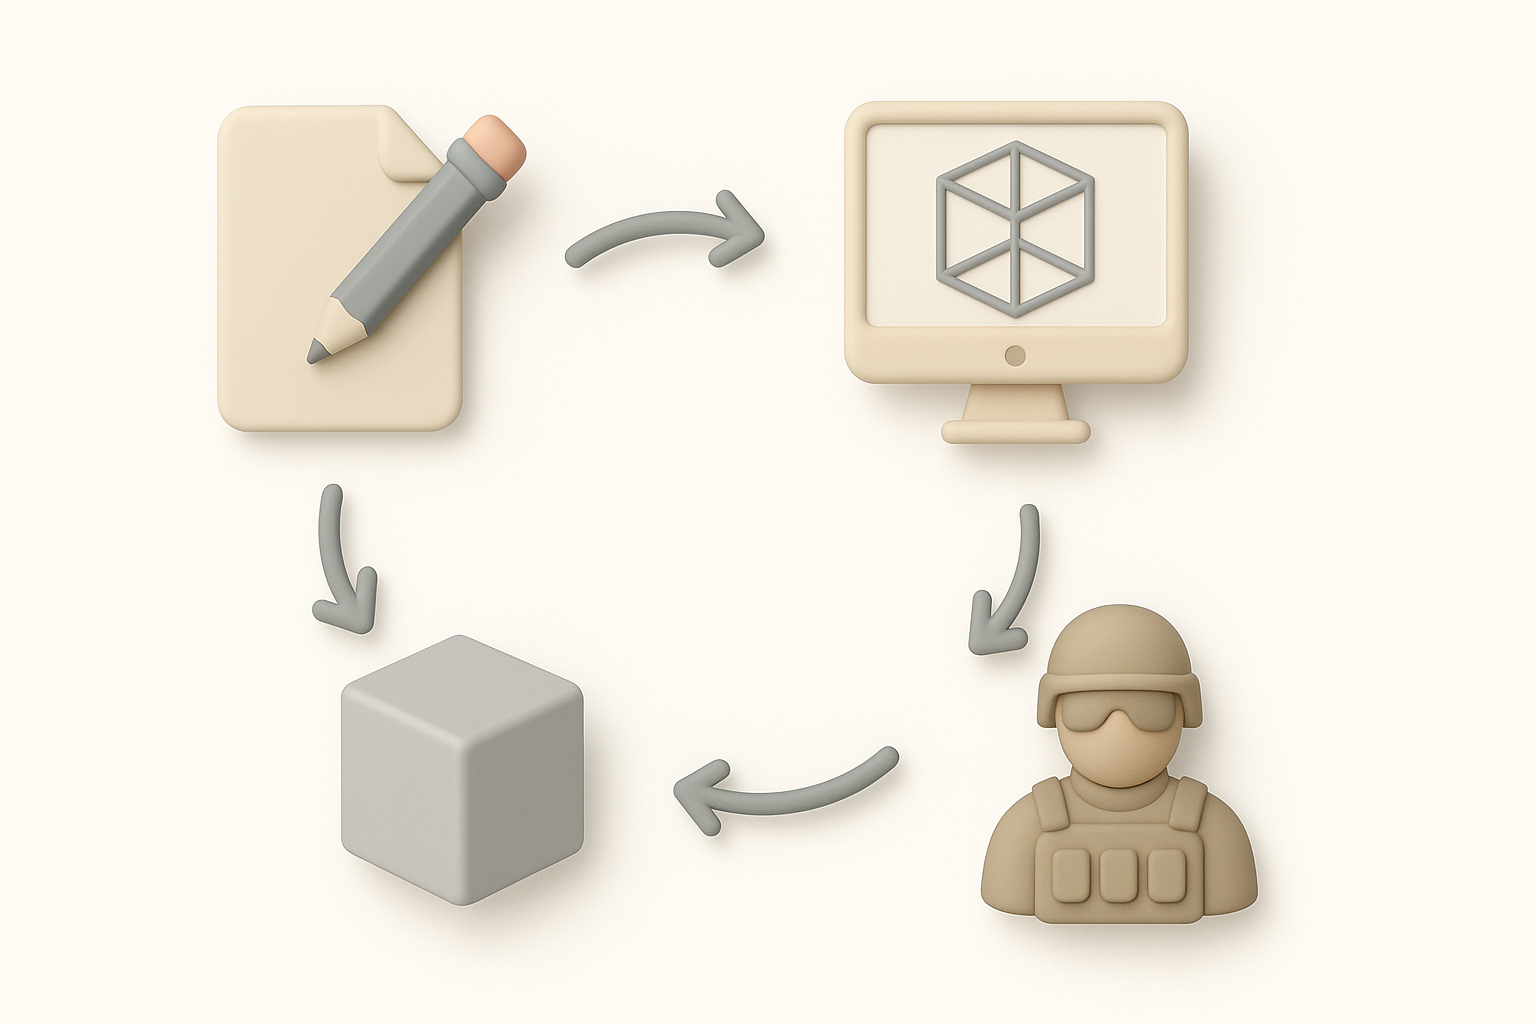
Here’s how I typically approach a game-ready asset:
- Gather references and block out the model—I use concept art, screenshots, and real-world photos.
- Sculpt or model the base mesh—Depending on complexity, I’ll either start in a DCC tool or use AI-assisted generation for quick drafts.
- Retopologize for game use—I ensure the mesh has clean, efficient topology.
- UV unwrap and bake maps—AO, normals, and other maps are baked from high to low poly.
- Texture using PBR workflow—I create albedo, roughness, metallic, and normal maps.
- Rig and animate (if needed)—For characters or interactive props.
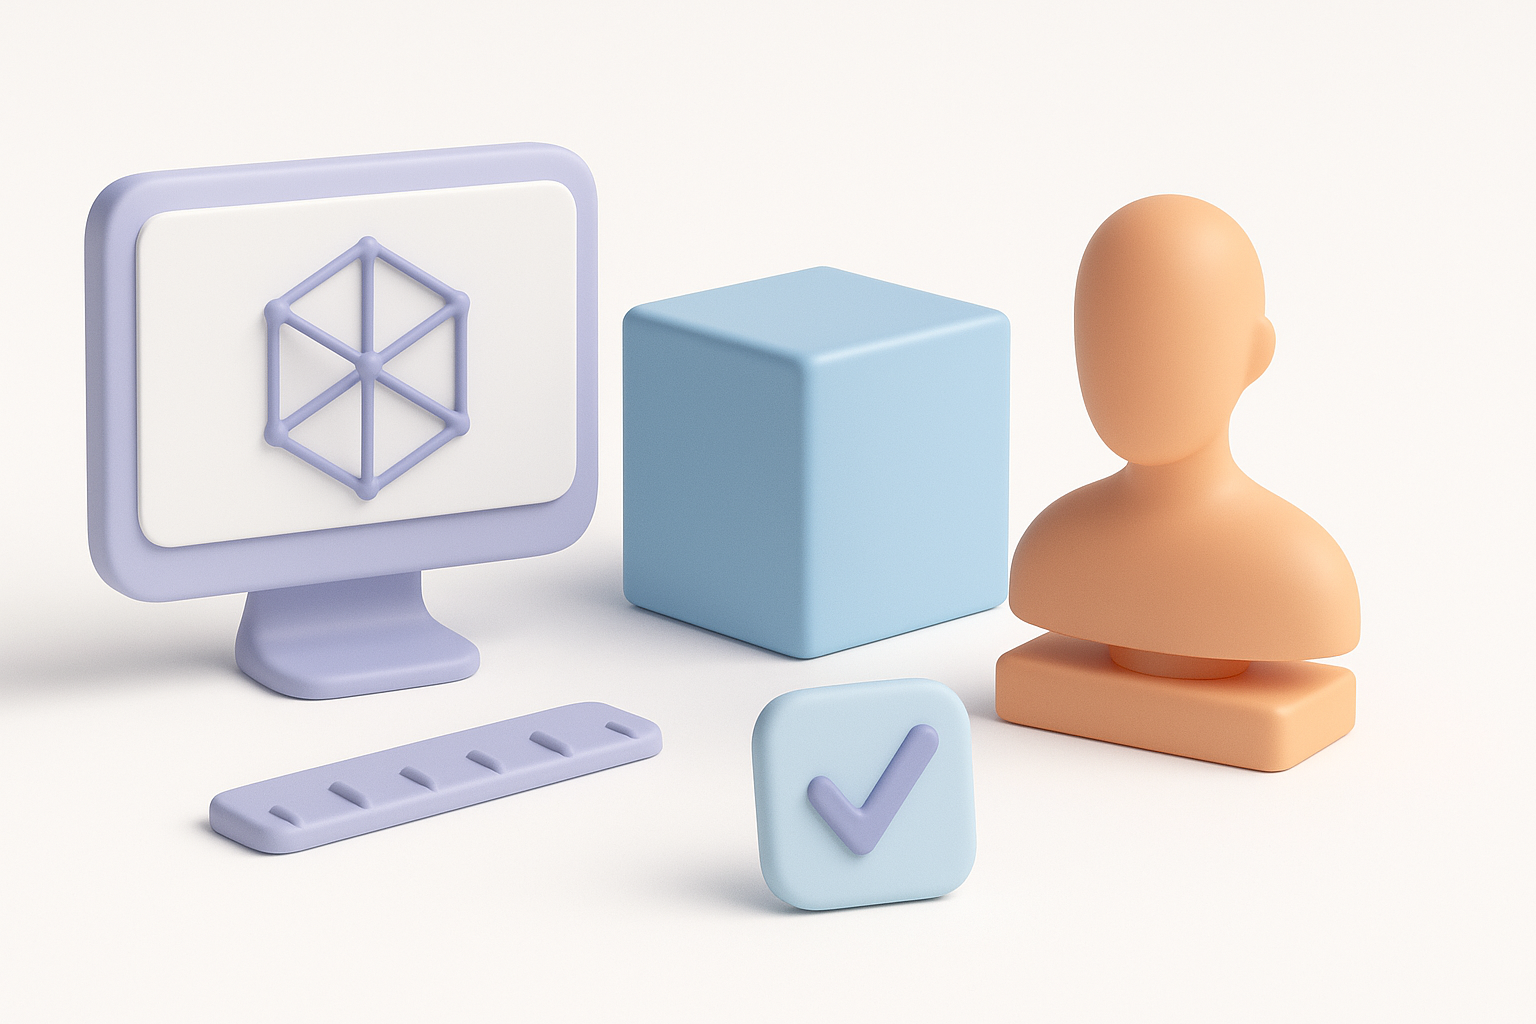
- Export and test in-engine—I always check for scale, orientation, and shader compatibility.
Tools and Platforms I Rely On
In my workflow, I regularly use:
- Tripo AI for rapid prototyping, segmentation, and retopology—especially useful for speeding up early iterations.
- Traditional DCC tools (e.g., Blender, Maya) for detailed sculpting, UVs, and animation.
- Texturing suites for PBR maps.
- Game engines (e.g., Unreal, Unity) for testing and final tweaks.
The combination of AI and manual tools lets me quickly iterate while maintaining control over the final quality.
Best Practices for Production-Ready 3D Models
Optimizing Geometry and Topology
What I’ve found most effective:
- Start with a clean base mesh—avoid unnecessary subdivisions.
- Keep poly count within budget—target the game’s recommended limits.
- Use quads wherever possible for smooth deformation and easy editing.
- Check for non-manifold edges, flipped normals, and isolated vertices—these issues often cause export or rendering problems.
Mini-checklist:
- No n-gons or triangles in deforming areas
- Edge loops placed for animation
- Single, unified mesh unless otherwise required
Texturing, Rigging, and Animation Tips
For texturing:
- Consistent texel density is crucial—use checker maps to verify.
- Bake from high to low poly for normal and AO details.
- Organize texture sets by material type for easier iteration.
For rigging and animation:
- Test deformations early—simple pose tests catch weight paint issues.
- Keep rigs lightweight—avoid unnecessary bones or constraints.
- Export animation clips separately for modularity in-engine.
Comparing AI-Powered and Traditional 3D Creation Methods

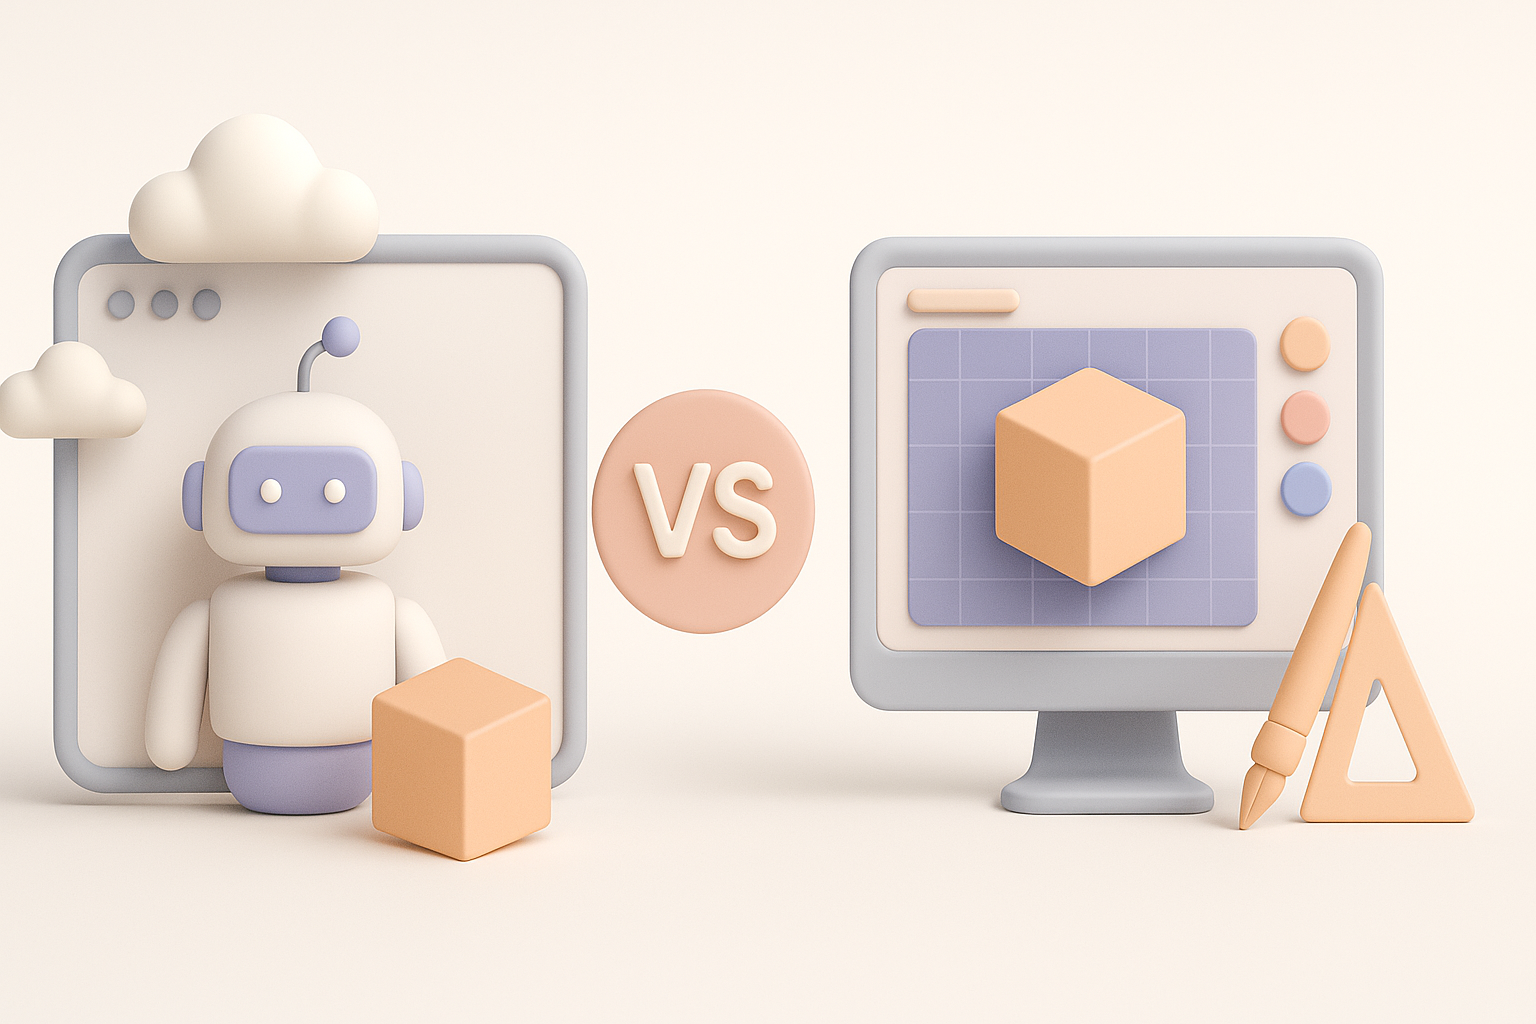
Speed, Quality, and Flexibility: My Experience
AI-powered tools like Tripo AI have drastically reduced the time it takes me to generate base meshes and even production-ready assets. For straightforward props or background elements, I often use AI to get 80% of the way there, then polish manually.
- Speed: AI tools can generate usable models in seconds or minutes.
- Quality: For hero assets, manual refinement is still essential.
- Flexibility: AI excels at rapid iteration, but complex organic shapes still benefit from handcrafting.
When to Use AI Tools vs. Manual Techniques
I use AI tools when:
- Prototyping concepts quickly
- Needing a starting point for common asset types
- Working under tight deadlines
I switch to manual methods when:
- Creating highly detailed or unique hero assets
- Needing full control over topology and UVs
- Rigging and animating complex characters
The key is knowing when to leverage automation and when to rely on traditional skills.
Troubleshooting and Common Pitfalls
Frequent Issues and How I Solve Them
Some recurring problems I encounter:
- Shading artifacts: Usually caused by flipped normals or unwelded vertices. I always check normals and run mesh cleanup tools.
- Texture seams: Often a UV issue. I use checker maps and paint out seams in my texturing suite.
- Export errors: Incorrect scale or axis orientation—double-check export settings and use engine-specific presets.
Ensuring Compatibility with Game Engines
To ensure smooth import into game engines:
- Use engine-recommended export settings.
- Name assets and materials consistently.
- Test every asset in a blank scene before integrating into the main project.
- Check for missing textures or broken rigging after import.
Common pitfalls to avoid:
- Forgetting to freeze transforms and apply scale before export
- Overlooking LOD requirements
- Neglecting to test animated assets in-engine
By following a structured workflow and embracing both AI-powered and manual techniques, I’ve consistently delivered production-ready 3D models for demanding projects. Staying organized, optimizing early, and iterating quickly are the keys to success in this fast-paced field.