Creating Ratchet and Clank Rift Apart 3D Models: My Workflow & Tips
скачать 3d модель для chicken gun
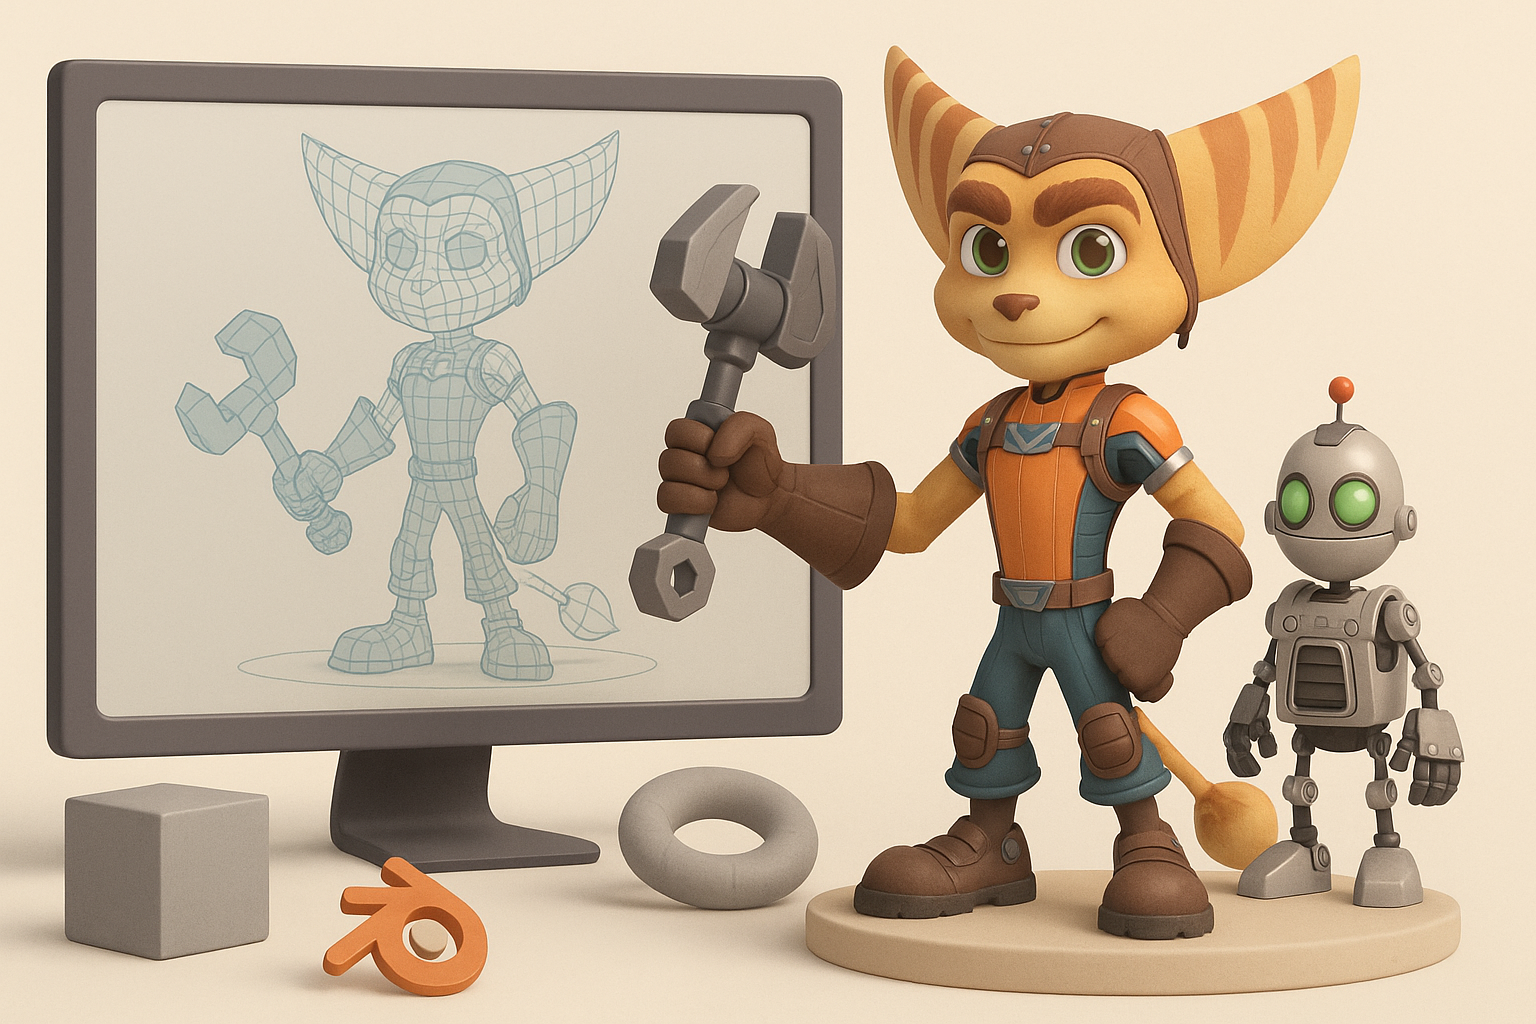
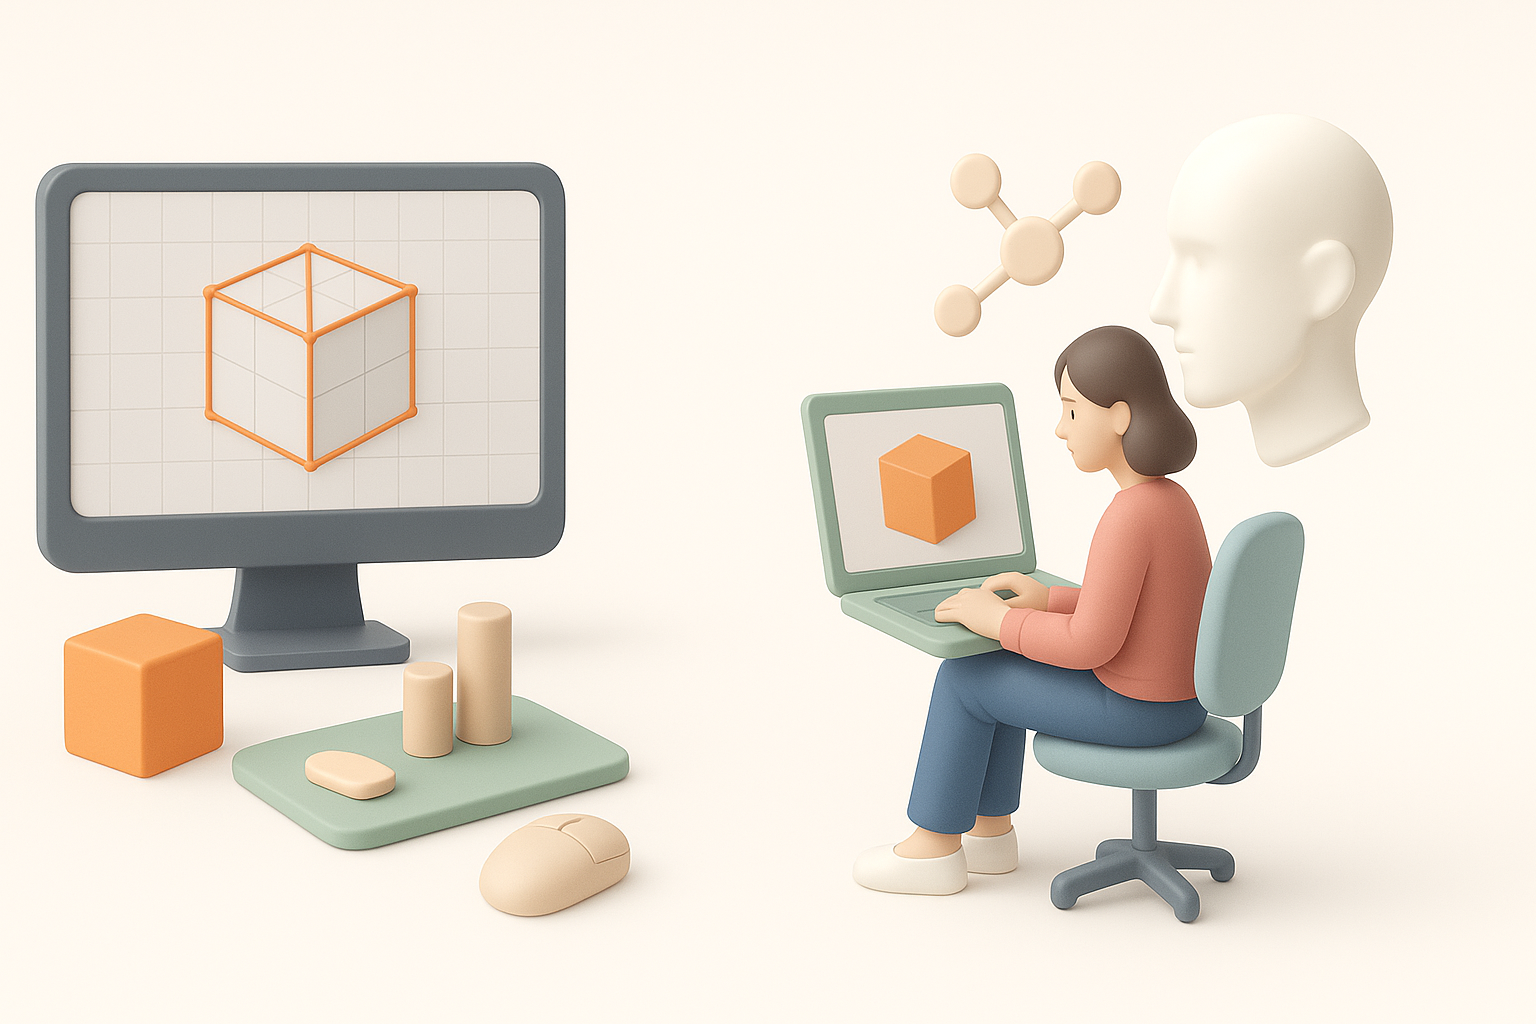
Creating 3D models inspired by Ratchet and Clank Rift Apart requires a balance of stylized artistry and technical precision. In my workflow, I focus on efficient reference gathering, strong foundational blocking, and leveraging AI tools—like Tripo—for segmentation, retopology, and texturing. This approach lets me produce game-ready assets quickly without sacrificing visual quality. Whether you’re a character artist, indie developer, or hobbyist, these techniques can help streamline your process and avoid common pitfalls.
Key takeaways:
- Reference gathering and planning are critical for stylized game assets.
- Blocking out shapes early prevents proportion issues later.
- AI-assisted segmentation and texturing can save hours per asset.
- Clean retopology and UVs are essential for animation and performance.
- Rigging and animation require careful planning for expressive characters.
- Always validate exports in your target engine to catch issues early.
Overview: 3D Modeling for Ratchet and Clank Rift Apart
Key features of Rift Apart models
Ratchet and Clank Rift Apart models stand out for their exaggerated proportions, bold silhouettes, and vibrant, hand-painted textures. I pay close attention to the playful forms, chunky hardware details, and readable shapes that make these assets pop on screen. Materials are stylized, often with subtle edge wear and color gradients, rather than photorealism.
Executive summary and main takeaways
From my experience, success with this style comes from nailing the big shapes first, then layering in detail. Prioritizing clean topology and UVs early reduces headaches during texturing and rigging. Using AI-powered tools streamlines repetitive steps—especially segmentation and initial texture passes—freeing me to focus on creative decisions.
My Step-by-Step Workflow for Game-Ready 3D Models
Gathering references and planning
Before I open any modeling software, I gather as many references as possible—screenshots, concept art, and in-game captures. I create a mood board to clarify the character’s or asset’s proportions, color palette, and key design motifs. This planning phase saves time by reducing guesswork later.
Checklist:
- Multiple angles and close-ups of the asset
- Style and material references
- Notes on scale and articulation points
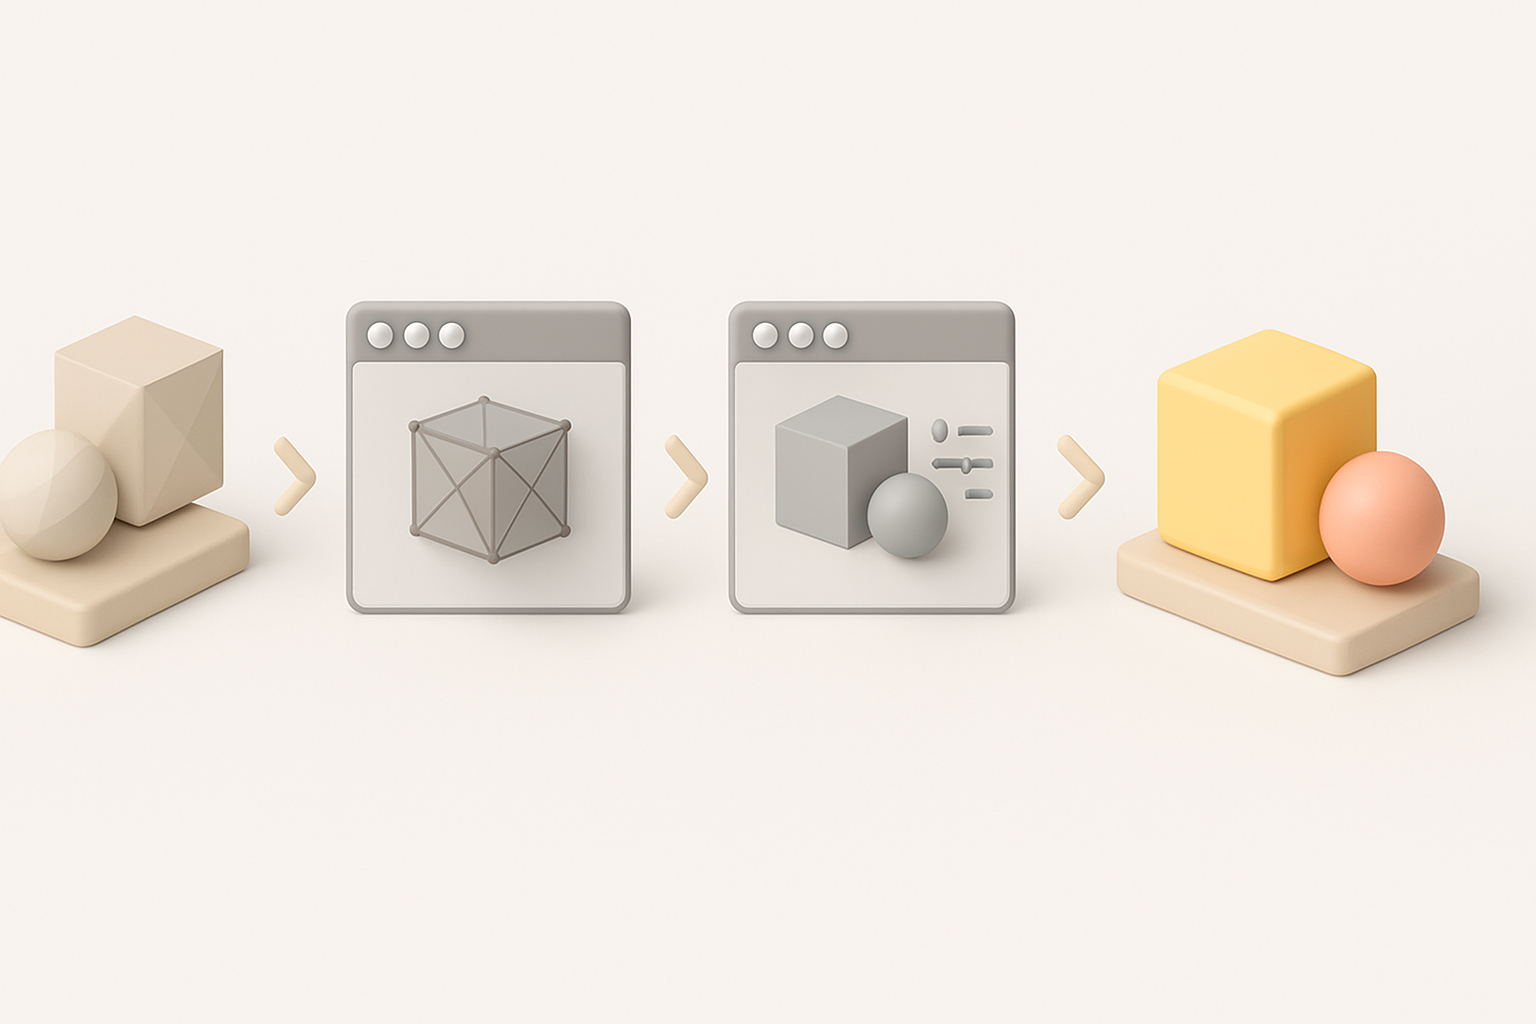
Blocking out shapes and proportions
I start with simple primitives to block out the overall form. At this stage, I avoid detail—just focusing on silhouette and proportion. This makes it easy to iterate and get feedback before investing time in refinement.
Steps:
- Rough out the main body shapes with cubes and spheres.
- Adjust proportions to match references.
- Check silhouette from multiple angles.
- Only once the blockout feels “right” do I start refining.
Texturing, Retopology, and Optimization Best Practices
Efficient retopology for animation
For game-ready models, especially characters, clean topology is crucial. I use automated retopology tools (like the ones in Tripo) to quickly generate quad-based meshes, then manually tweak edge flow around joints and deformation areas. This ensures smooth bends and minimal texture stretching.
Tips:
- Prioritize edge loops around elbows, knees, and facial features.
- Keep polycount reasonable for engine performance.
- Test deformation with quick rig/skin tests.
Texturing techniques for stylized assets
Stylized texturing relies on strong color blocking and painterly details. I bake normal and ambient occlusion maps, then hand-paint or use procedural masks for edge highlights and wear. Tripo’s AI texturing can generate a solid base, which I refine in my painting app.
Pitfalls to avoid:
- Overly noisy or photoreal textures—keep it clean and bold.
- Ignoring UV seams—plan seams where they’re least visible.
- Forgetting to test textures under in-engine lighting.
Rigging and Animation: Bringing Characters to Life

Setting up rigs for expressive movement
Expressiveness is key in Ratchet and Clank-style characters. I build rigs with extra facial controls and flexible spines. Automated rigging tools can speed up the process, but I always check and adjust weights manually.
Checklist:
- IK/FK switches for arms and legs
- Facial blendshapes or bones for emotion
- Test pose extremes for deformation issues
Tips for smooth animation cycles
I block out key poses first, focusing on strong silhouettes and exaggerated motion. Then I refine timing and add secondary motion. Spline interpolation and manual curve cleanup help avoid robotic movement.
Tips:
- Use reference videos for weight and timing.
- Exaggerate anticipation and follow-through.
- Preview animations in-engine to catch issues early.
Using AI Tools to Accelerate the 3D Creation Process
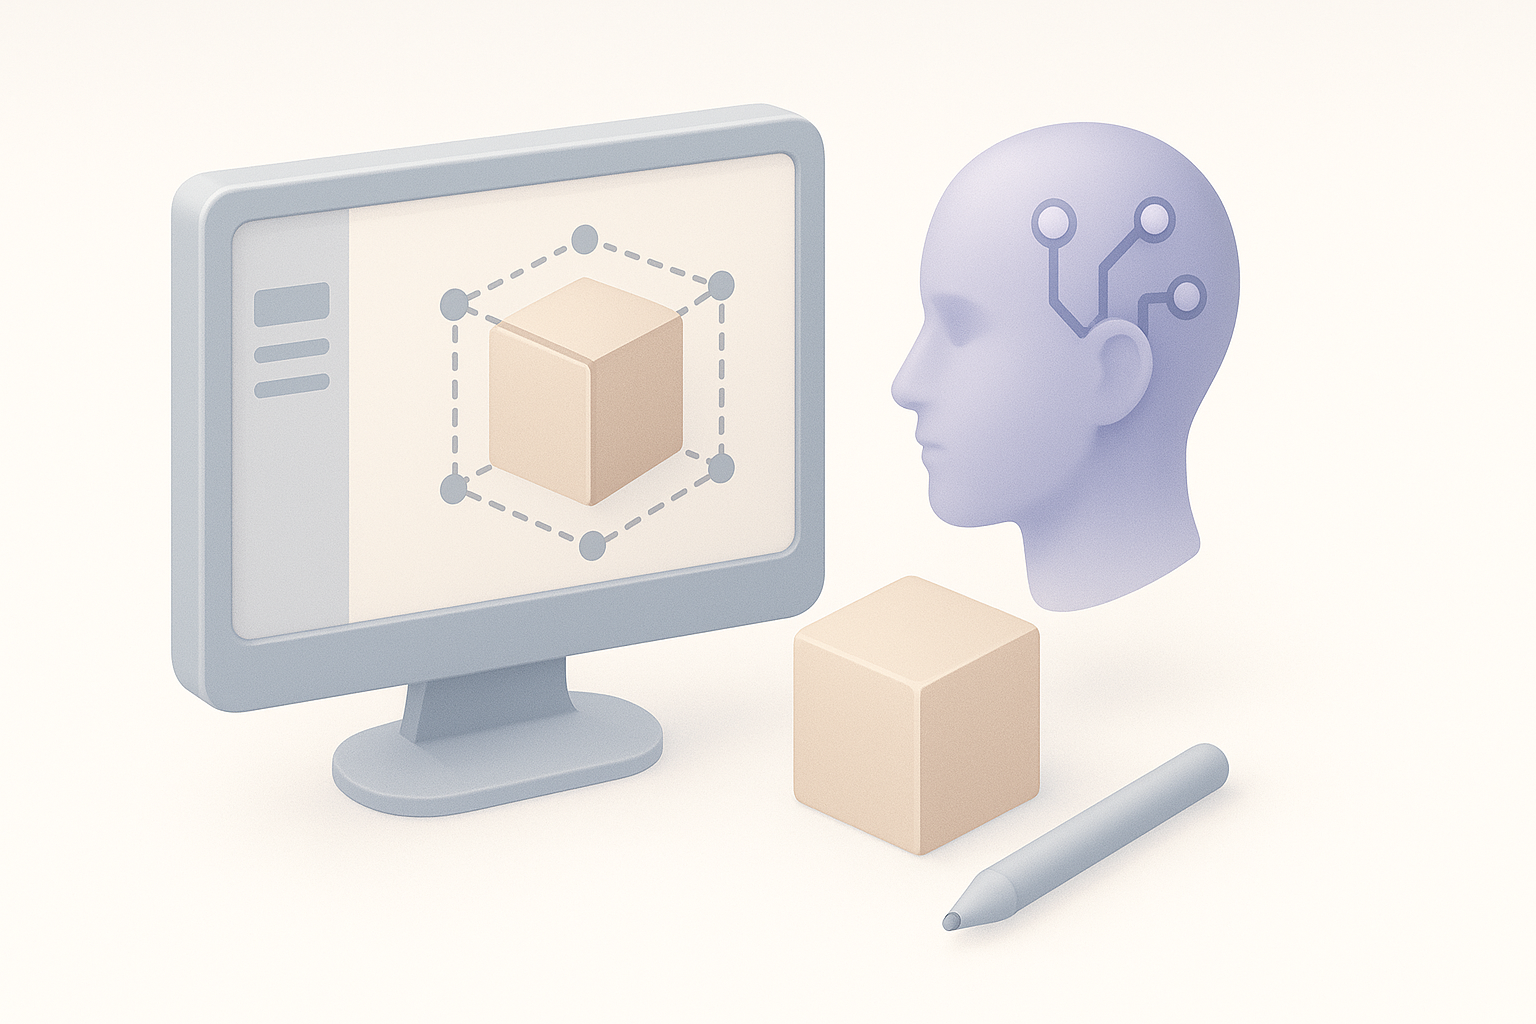
Integrating AI-powered segmentation and texturing
AI-powered segmentation helps me quickly separate model parts for individual texturing or rigging. For texturing, I often use AI to generate base color, roughness, and metallic maps from references or sketches, then tweak them by hand for style consistency.
Steps:
- Import mesh into Tripo.
- Use AI segmentation to define material zones.
- Generate and refine texture maps.
- Export maps for manual polish if needed.
How I leverage automation for faster results
Automation handles repetitive or technical steps—like UV unwrapping, retopology, and initial texture passes—so I can focus on creative problem-solving. This dramatically reduces turnaround time on each asset.
Practical tip:
Always review AI-generated results; minor manual tweaks can make a big difference in final quality.
Comparing Manual and AI-Assisted 3D Workflows
Pros and cons of traditional vs. AI-driven methods
Manual workflow:
- Full creative control
- Time-consuming, especially for repetitive tasks
- Steeper learning curve for technical steps
AI-assisted workflow:
- Fast, especially for segmentation, retopology, and base texturing
- Great for batch asset production or tight deadlines
- May require manual cleanup for style consistency
When to choose each approach
I use manual workflows for hero assets or when absolute precision is needed. For background assets or prototyping, AI-assisted methods are a clear win. The key is knowing when to trust automation and when to intervene.
Pitfall:
Relying too heavily on automation can result in generic or mismatched assets—always review and refine.
Exporting and Implementing Models in Game Engines
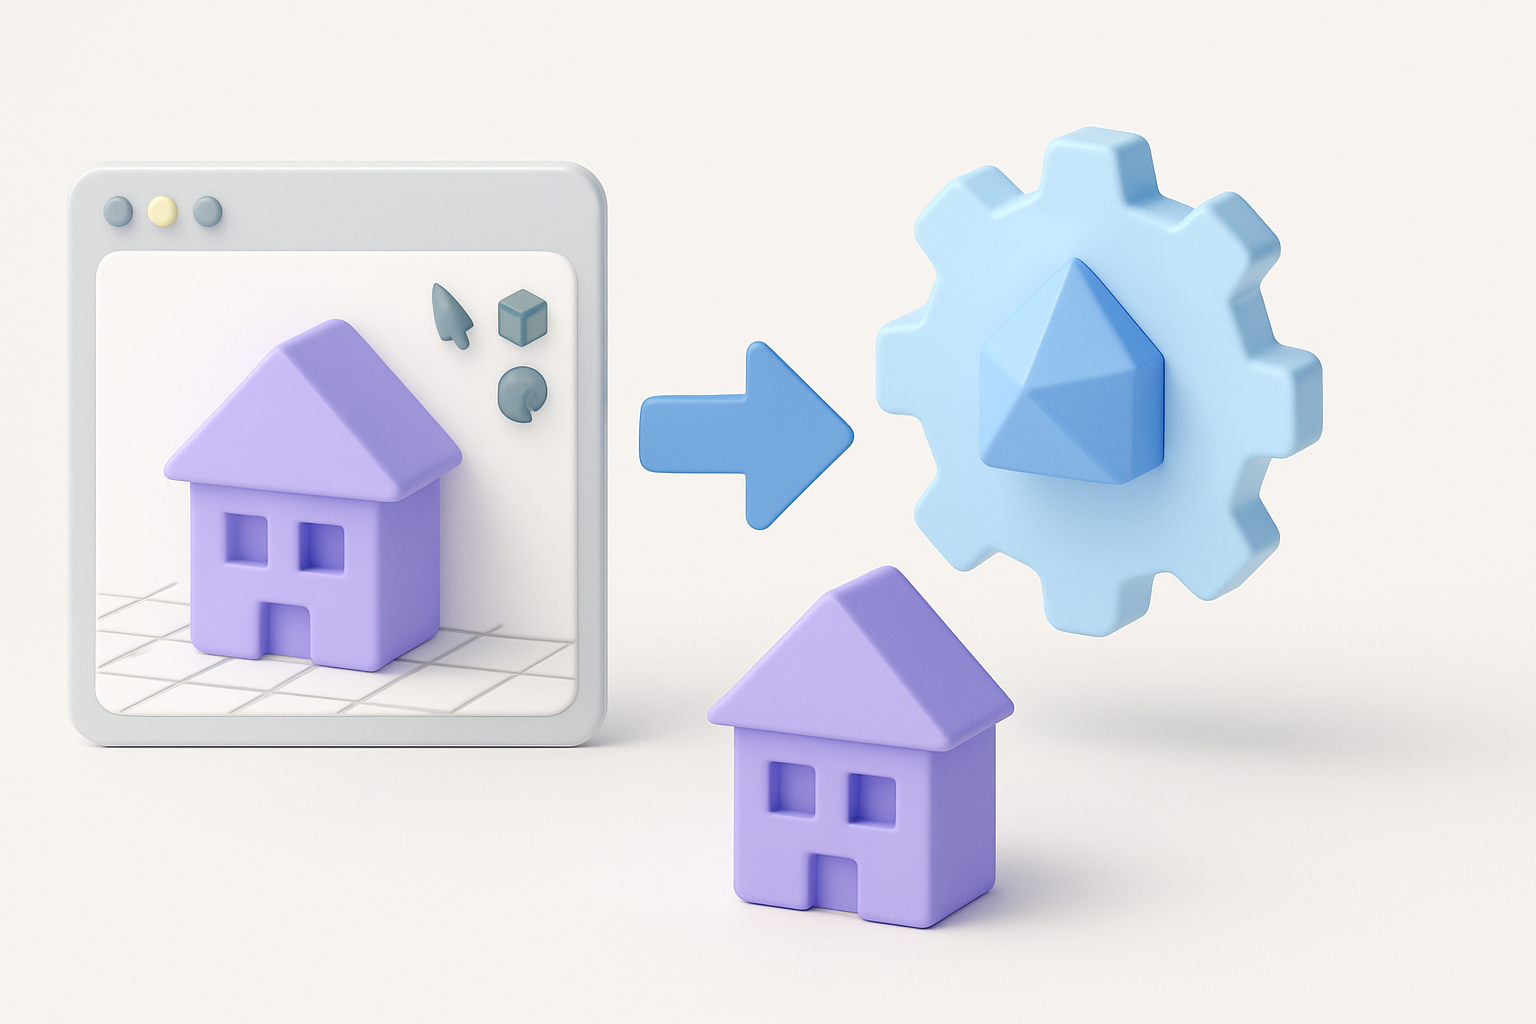
Preparing assets for real-time use
Before export, I check mesh scale, pivot points, and naming conventions. I ensure textures are in the right format and resolution for my target engine. Tripo allows me to export directly in engine-ready formats, which saves time.
Checklist:
- Apply transforms and freeze scale
- Pack and optimize UVs
- Export in FBX/GLTF as needed
Troubleshooting common export issues
Common issues include flipped normals, broken rigs, or missing textures. I test every asset in the engine before finalizing. If problems arise, I retrace my steps—often it’s a simple export setting or naming mismatch.
Tips:
- Always check for error messages on import.
- Preview animations and materials in-engine.
- Keep a versioned backup before major export steps.
By combining solid fundamentals with AI-powered tools, I’m able to deliver Ratchet and Clank Rift Apart-style 3D models efficiently—without sacrificing creativity or quality. This workflow lets me focus on what matters most: bringing stylized worlds and characters to life.