Creating and Optimizing Pressure-Themed Roblox 3D Models
Creating pressure-themed 3D models for Roblox requires a blend of creative vision, technical skill, and efficient workflow management. In my experience, leveraging AI tools like Tripo can accelerate the modeling process, especially when combined with manual techniques for refining details and optimizing performance. This guide is designed for Roblox creators, game developers, and artists aiming to build interactive, production-ready pressure models—whether for gameplay mechanics or visual storytelling. I’ll walk through concept development, modeling, texturing, rigging, optimization, and publishing, with practical tips for maximizing both quality and efficiency.
Key takeaways
- Pressure-themed models enhance gameplay and immersion in Roblox experiences.
- Efficient workflows combine AI-assisted generation and manual refinement.
- Proper optimization is crucial for Roblox performance and user experience.
- Realistic texturing and animation elevate the impact of pressure models.
- Testing and troubleshooting in Roblox Studio prevents runtime issues.
- Publishing best practices ensure smooth sharing and licensing in the community.
Understanding Pressure Concepts in Roblox 3D Modeling
What 'Pressure' Means in Roblox Context
In Roblox, "pressure" often refers to game mechanics involving force, weight, or triggers—like pressure plates, valves, or pneumatic devices. These models interact with scripts to influence gameplay, making their design both functional and aesthetic. I always clarify whether the model needs to visually communicate pressure or simply act as a trigger.
Common Use Cases for Pressure Models
Pressure models are used in puzzles, traps, doors, and interactive environments. Typical examples include:
- Pressure plates that activate doors or traps
- Pneumatic tubes or pistons for movement
- Weighted objects for balancing mechanisms
From my experience, understanding the intended use helps inform both modeling and scripting requirements.
Step-by-Step Workflow: Building a Pressure 3D Model
Planning and Reference Gathering
Before modeling, I gather references—photos, sketches, or concept art. For pressure models, I focus on mechanical details and how the object might move or respond to interaction.
Checklist:
- Define the gameplay function (trigger, visual cue, etc.)
- Collect real-world and Roblox-specific references
- Sketch rough layouts or use AI to generate concepts
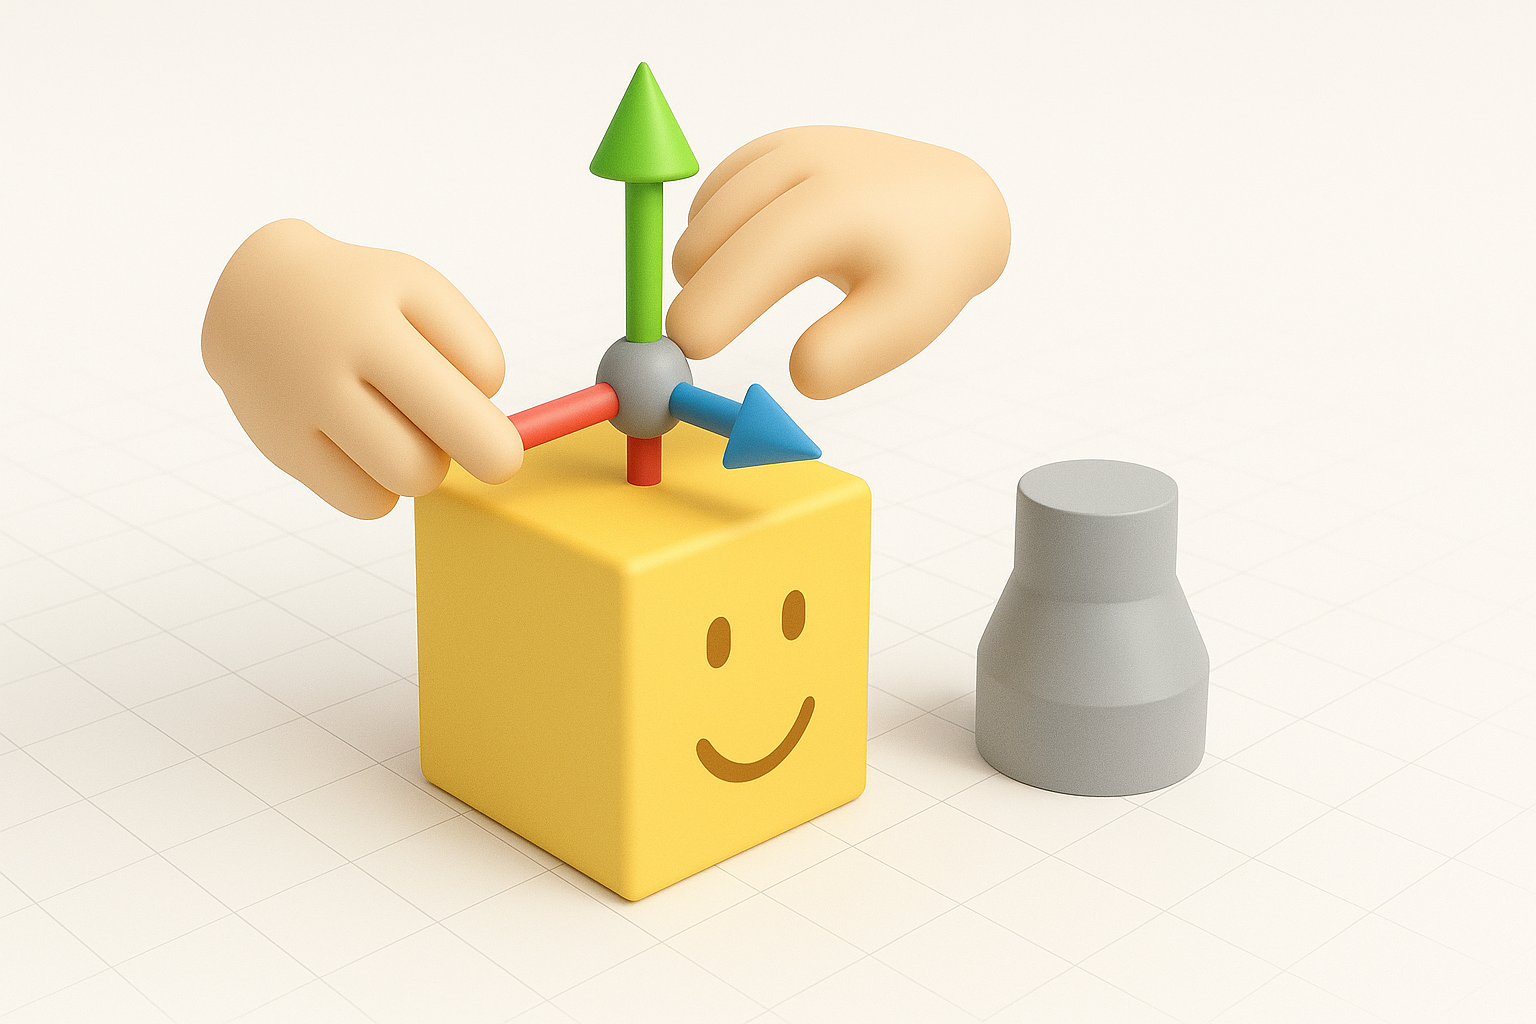
Modeling Techniques and Tools I Use
I start with basic shapes, then refine details. For speed, I often use Tripo to generate a base mesh from text or sketches, then manually adjust proportions and add mechanics.
Pitfalls to avoid:
- Overcomplicating geometry—keep it simple for performance
- Ignoring scale—test in Roblox Studio early
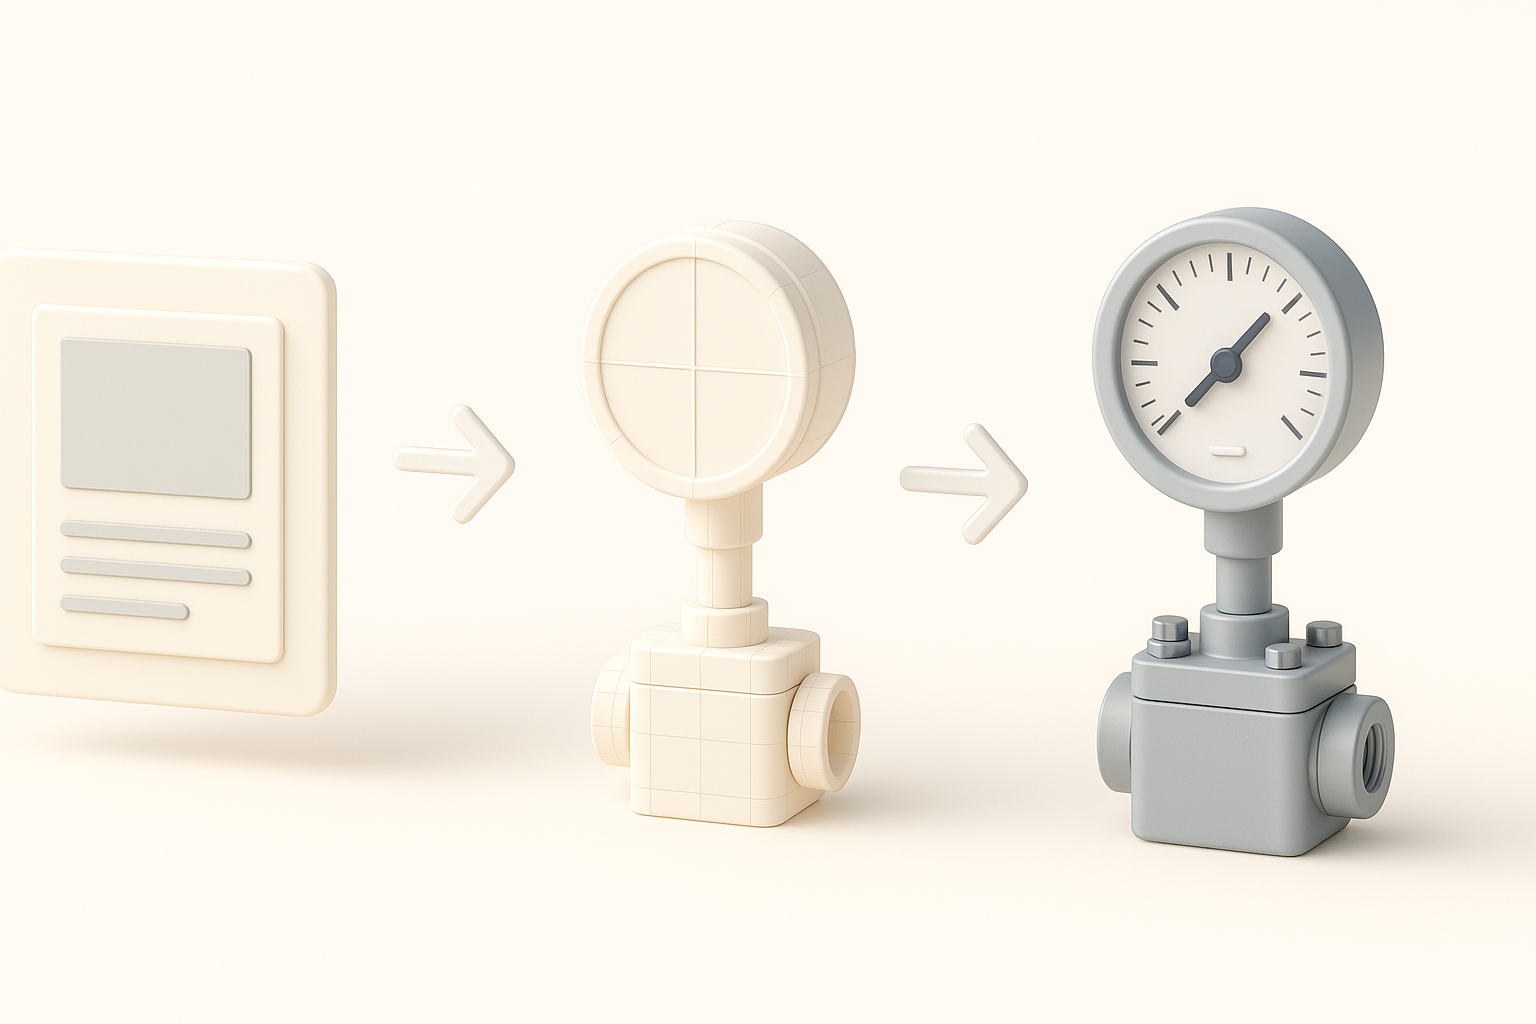
Steps:
- Generate or block out the base mesh (AI or manual)
- Refine mechanical features (buttons, plates, pistons)
- Check scale and proportions in Roblox context
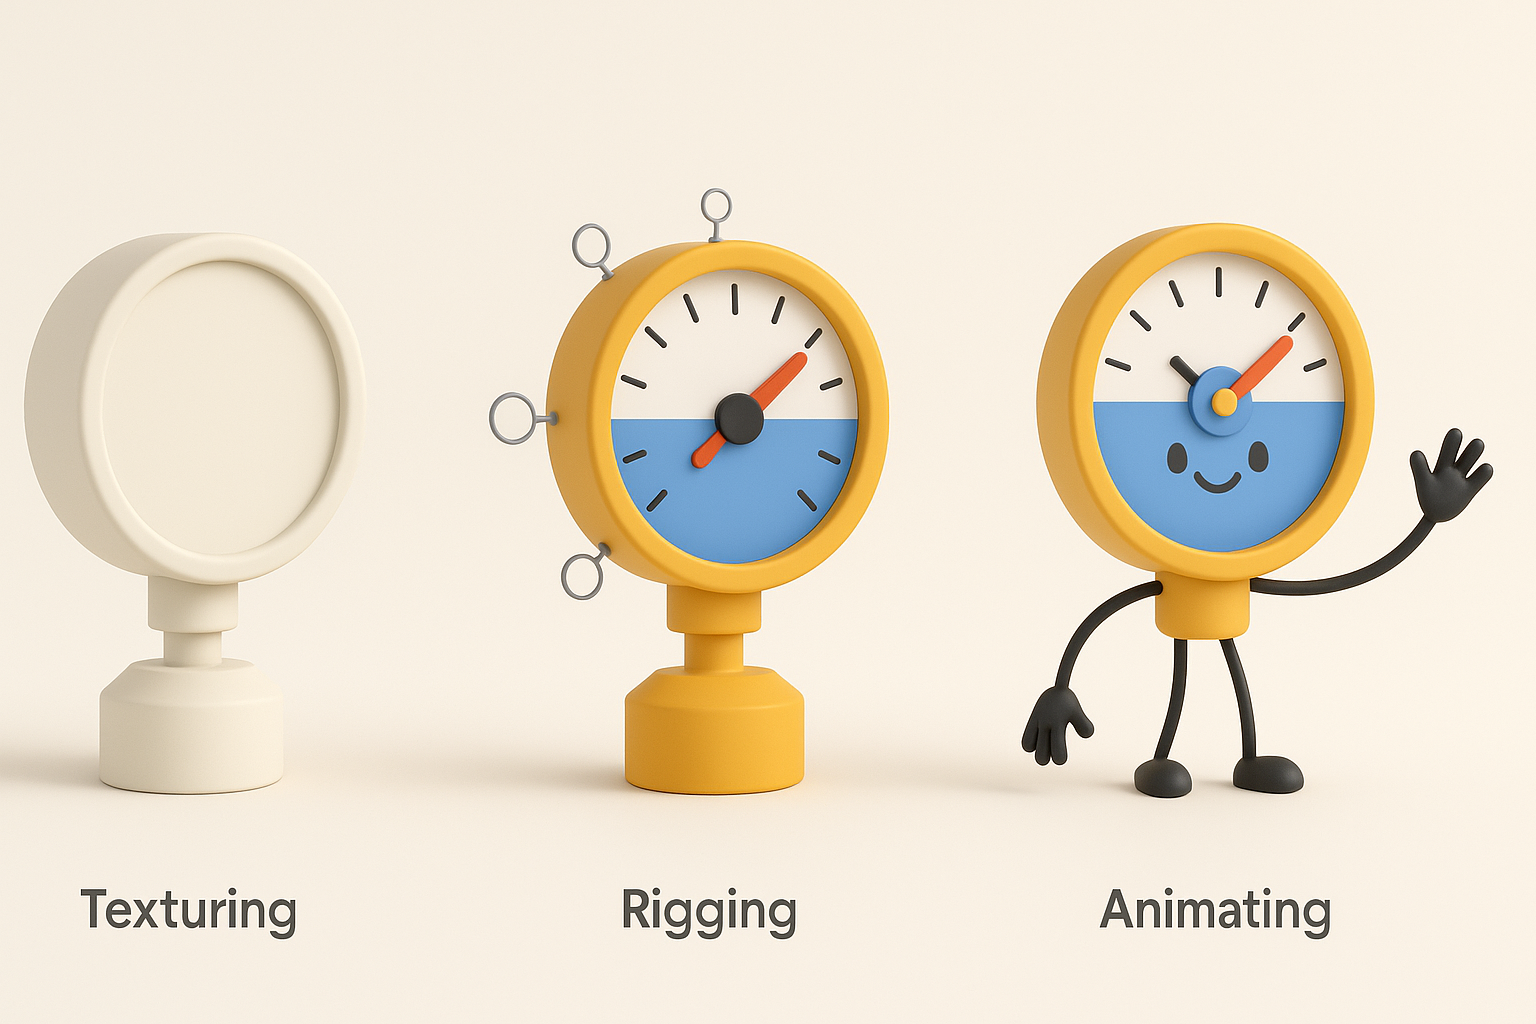
Texturing, Rigging, and Animating Pressure Models
Best Practices for Realistic Texturing
Textures should convey material and wear—metal, rubber, or stone. I use Tripo’s auto-texturing for quick results, then manually tweak maps for detail.
Tips:
- Use baked ambient occlusion for depth
- Avoid high-res textures that strain Roblox performance
- Test UVs for seamless wrapping
Efficient Rigging and Animation Tips
Rigging is often minimal (hinges, pistons), but animation should clearly show pressure effects. I rig in my 3D tool, export to Roblox-compatible formats, and animate simple movements (press, slide, rotate).
Checklist:
- Rig only moving parts
- Keep bone count low for performance
- Preview animations in Roblox Studio
Optimizing Pressure Models for Roblox Performance
Polygon Count and Retopology Strategies
Roblox favors low-poly models. I use Tripo’s retopology tools to reduce mesh complexity while preserving shape. Manual cleanup ensures no stray faces or unnecessary vertices.
Best practices:
- Target under 5,000 triangles for most pressure objects
- Merge overlapping geometry
- Remove hidden faces
Testing and Troubleshooting in Roblox Studio
I always import early and test for visual fidelity, collision, and script integration. Common issues include scale mismatches and collider errors.
Troubleshooting steps:
- Check collision and physics settings
- Validate animations and triggers
- Profile performance in crowded scenes
Comparing AI-Assisted and Manual Workflows
When I Use AI Tools Like Tripo
AI tools excel at rapid prototyping and generating base meshes or textures. I rely on them when speed is essential or when iterating concepts. For pressure models, Tripo helps automate segmentation and retopology.
Use cases:
- Quick base mesh generation
- Automated UV and texture mapping
- Initial rigging setup
Manual Techniques: Pros and Cons
Manual modeling offers precise control but is time-consuming. I use manual methods for custom details or when AI outputs need refinement.
Pros:
- Full creative control
- Tailored optimization
Cons:
- Longer production time
- Risk of technical errors if not careful
Publishing and Sharing Pressure Models in Roblox
Exporting and Importing Models
I export models in .FBX or .OBJ formats, ensuring textures and rigs are compatible with Roblox Studio. Tripo simplifies export steps, but I always double-check import settings.
Checklist:
- Export with correct scale and orientation
- Include all textures and animation files
- Test import for errors
Licensing and Community Best Practices
I respect licensing guidelines—using original assets or properly sourced materials. Sharing models in the Roblox community means clear attribution and following platform rules.
Tips:
- Use open licenses or Roblox-specific guidelines
- Document model usage and limitations
- Engage with feedback for improvements
Conclusion
Pressure-themed Roblox 3D models are both functional and visually engaging. Combining AI-assisted workflows with manual refinement yields production-ready assets efficiently. By optimizing for performance and following best practices for publishing, I ensure my models enhance gameplay and contribute positively to the Roblox community.