Creating and Optimizing Portal 3D Models: My Workflow
скачать 3d модели для chicken gun
Designing portal 3D models is a core task in my work for games and XR projects. Over time, I’ve developed an efficient workflow that moves from quick concepting to production-ready models, with a strong focus on optimization and visual impact. Using AI-powered tools like Tripo has significantly sped up my process, especially for tasks like segmentation, retopology, and texturing. In this article, I’ll break down my approach, share practical tips, and highlight common pitfalls to help you create portals that look great and perform well in real-time environments.
Key takeaways

- Start with strong references and clear concepts for visually distinct portals.
- Block out base shapes quickly—don’t get bogged down in early details.
- Use efficient retopology and smart UV mapping for real-time performance.
- Let AI tools handle repetitive tasks to save time and avoid errors.
- Always optimize textures and export settings for your target platform.
- Test portal models in-engine to catch integration or animation issues early.
What Makes a Great Portal 3D Model?
Key Visual and Functional Elements
A great portal model balances striking visuals with clear functionality. In my experience, the best portals have:
- Distinct silhouettes: Portals should be recognizable at a glance, even from a distance.
- Readable frames and “energy” centers: I focus on strong shapes for the portal’s rim and a visually interesting center (swirls, glows, or animated effects).
- Functional cues: Good portals communicate their purpose—teleportation, danger, or passage—through color, shape, and effects.
Practical tip: Overcomplicating the design can hurt readability. I always check my models in grayscale or at small sizes to ensure clarity.
Common Use Cases in Games and XR
Portals show up everywhere: fantasy games, sci-fi shooters, VR escape rooms, and AR experiences. In my workflow, I tailor portal details to the use case:
- Games: Optimize for quick recognition and minimal polycount.
- XR/VR: Prioritize performance and avoid visual clutter that can cause discomfort.
- Cinematic/Design: Push detail and texture quality for close-ups.
Pitfall: Neglecting the context can lead to models that look good in isolation but fail in the scene.
My Step-by-Step Process for Designing Portal 3D Models
Concepting and Reference Gathering
I start every portal project with a focused concept phase:
- Gather 5–10 strong visual references (games, movies, concept art).
- Sketch 2–3 rough ideas, focusing on silhouette and “energy” motifs.
- Decide on scale and interaction: is the portal a doorway, a rift, or a floor glyph?
Checklist:
- Reference folder ready
- 2+ sketches with silhouette focus
- Clear notes on function and scale
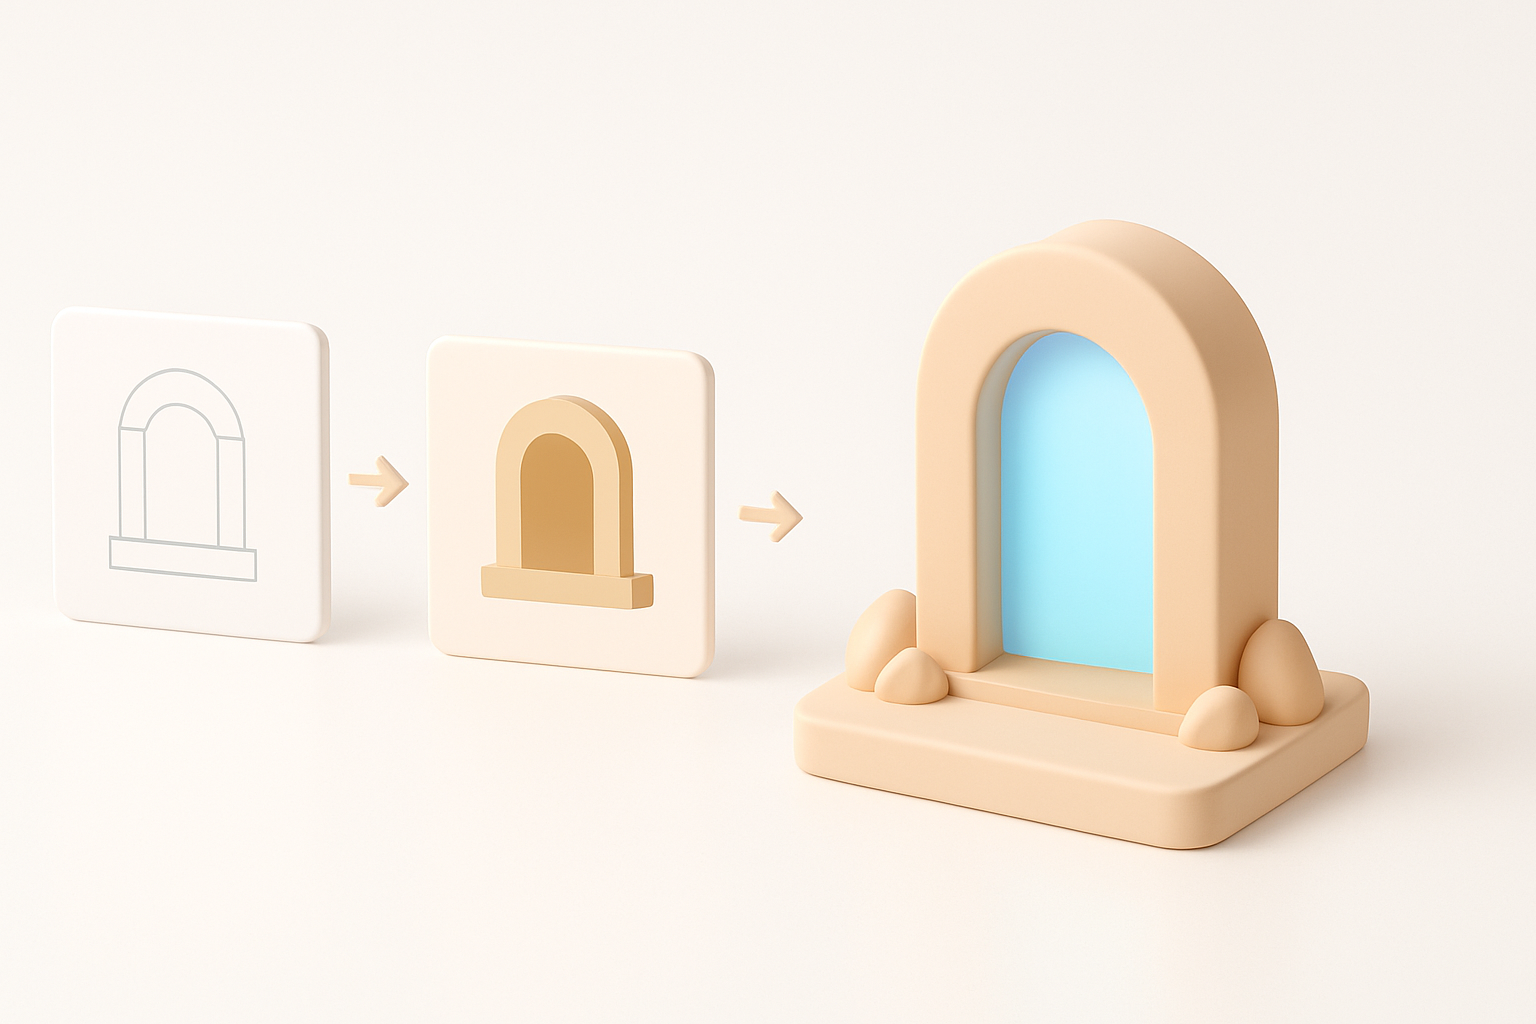
Blocking Out the Base Shape
Next, I block out the portal in my 3D tool of choice:
- Use basic primitives (cylinders, planes) to rough in the frame and center.
- Keep geometry simple—just enough to communicate the idea.
- Test proportions by placing a basic character or camera in the scene.
Pro tip: I save time by generating quick base meshes with Tripo from sketches or text prompts, then adjust as needed.
Pitfall: Spending too much time on details at this stage slows down iteration.
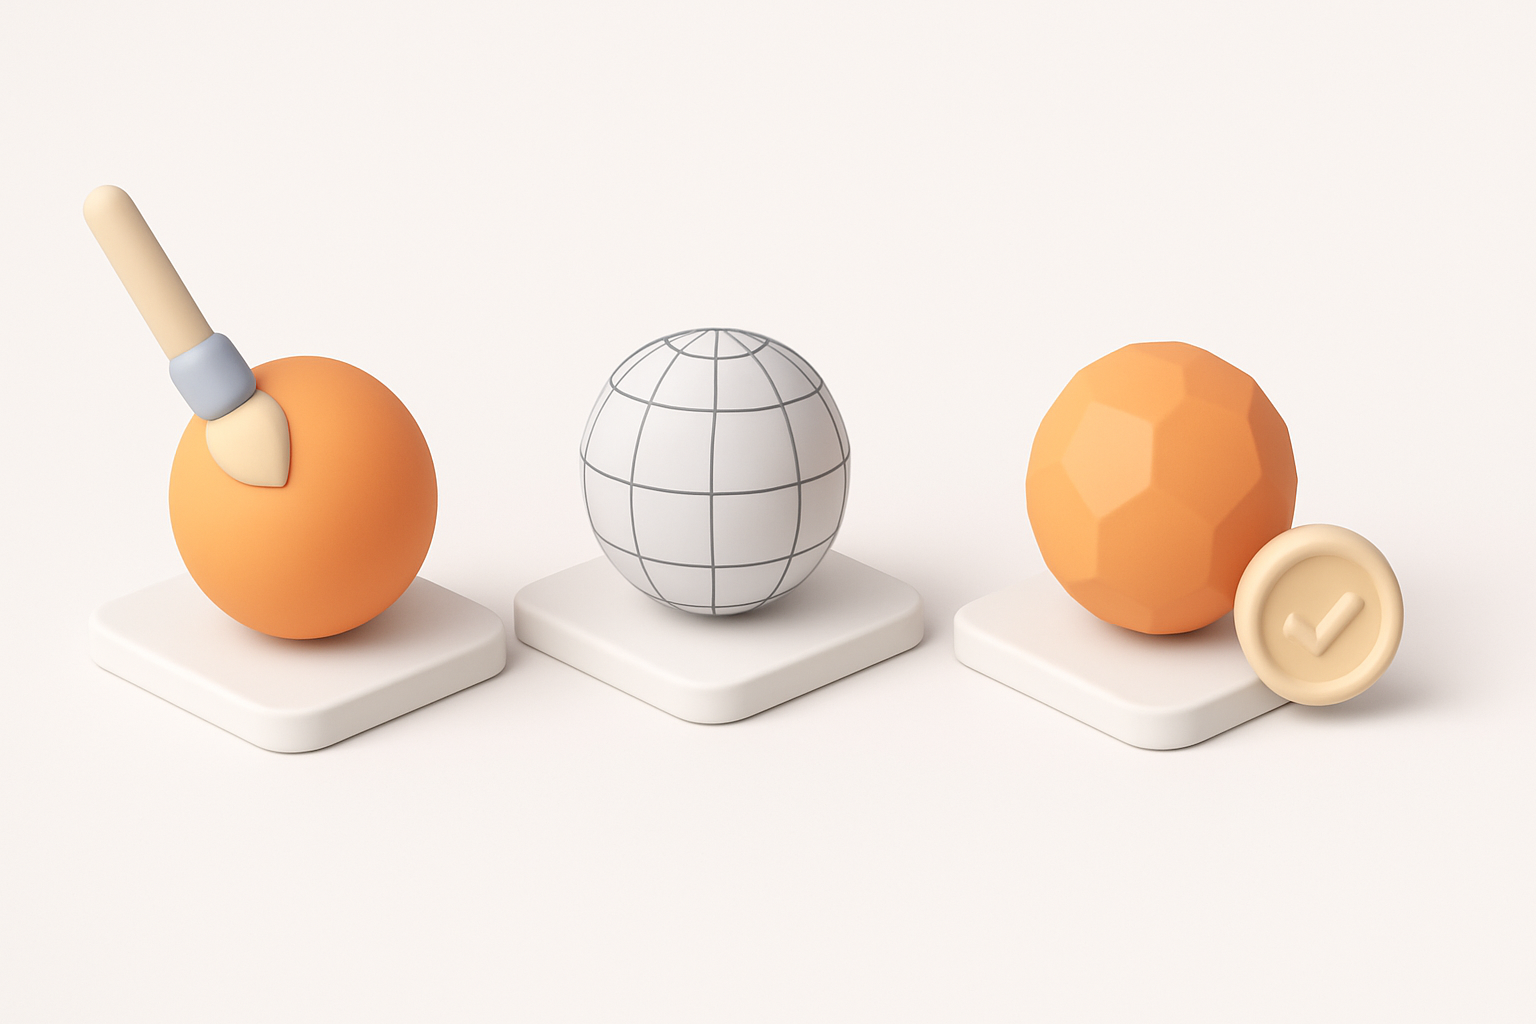
Texturing, Retopology, and Optimization Best Practices
Efficient Retopology for Real-Time Use
Clean topology is critical for portals, especially in games/XR. My approach:
- Retopologize early, targeting the lowest polycount that preserves silhouette.
- Use Tripo’s built-in retopology for quick, clean edge flow.
- Check for and eliminate hidden or unnecessary faces.
Checklist:
- Edge loops follow the portal’s main shapes
- No ngons or long, thin triangles
- Polycount under target budget
Texturing Tips for Portals
Portals benefit from smart, efficient texturing:
- Use a mix of baked textures (for the frame) and dynamic effects (for the center).
- Keep texture resolutions as low as possible without sacrificing clarity.
- Use UV islands efficiently—avoid stretching in high-visibility areas.
- Tripo’s intelligent texturing speeds up this step and helps with seamless UVs.
Pitfall: Over-reliance on high-res textures can kill performance.
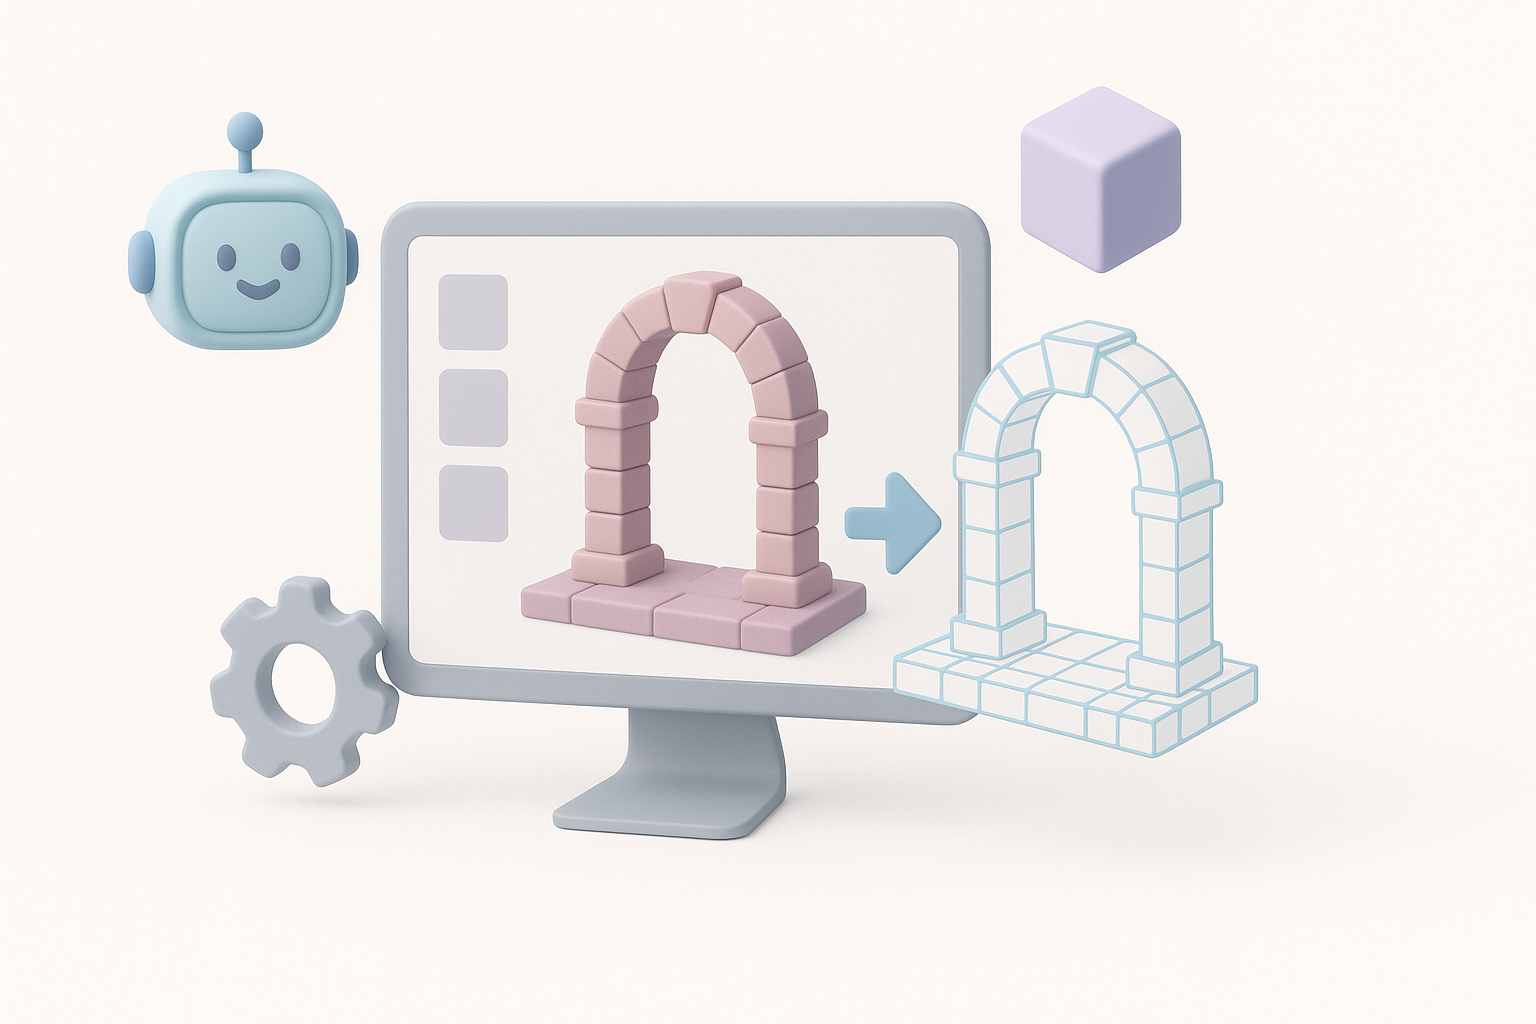
Leveraging AI Tools for Faster Portal Model Creation
How I Use Tripo AI in My Workflow
AI tools have changed my workflow:
- I use Tripo to generate base meshes from text or sketches, which saves hours.
- Built-in segmentation and retopology mean I can focus on design, not cleanup.
- Texturing tools help me create consistent, tileable materials fast.
Workflow steps:
- Input sketch or description into Tripo.
- Edit generated mesh for proportions and silhouette.
- Use auto-retopology and texturing features.
- Export for further refinement or direct use.
Comparing AI and Manual Methods
From my experience:
- AI methods: Great for speed, iteration, and avoiding tedious tasks. Best for prototyping and batch asset creation.
- Manual methods: Still necessary for custom details, fine-tuning, and unique animation setups.
Pitfall: Relying solely on AI can lead to generic results. I always add custom touches to make portals stand out.
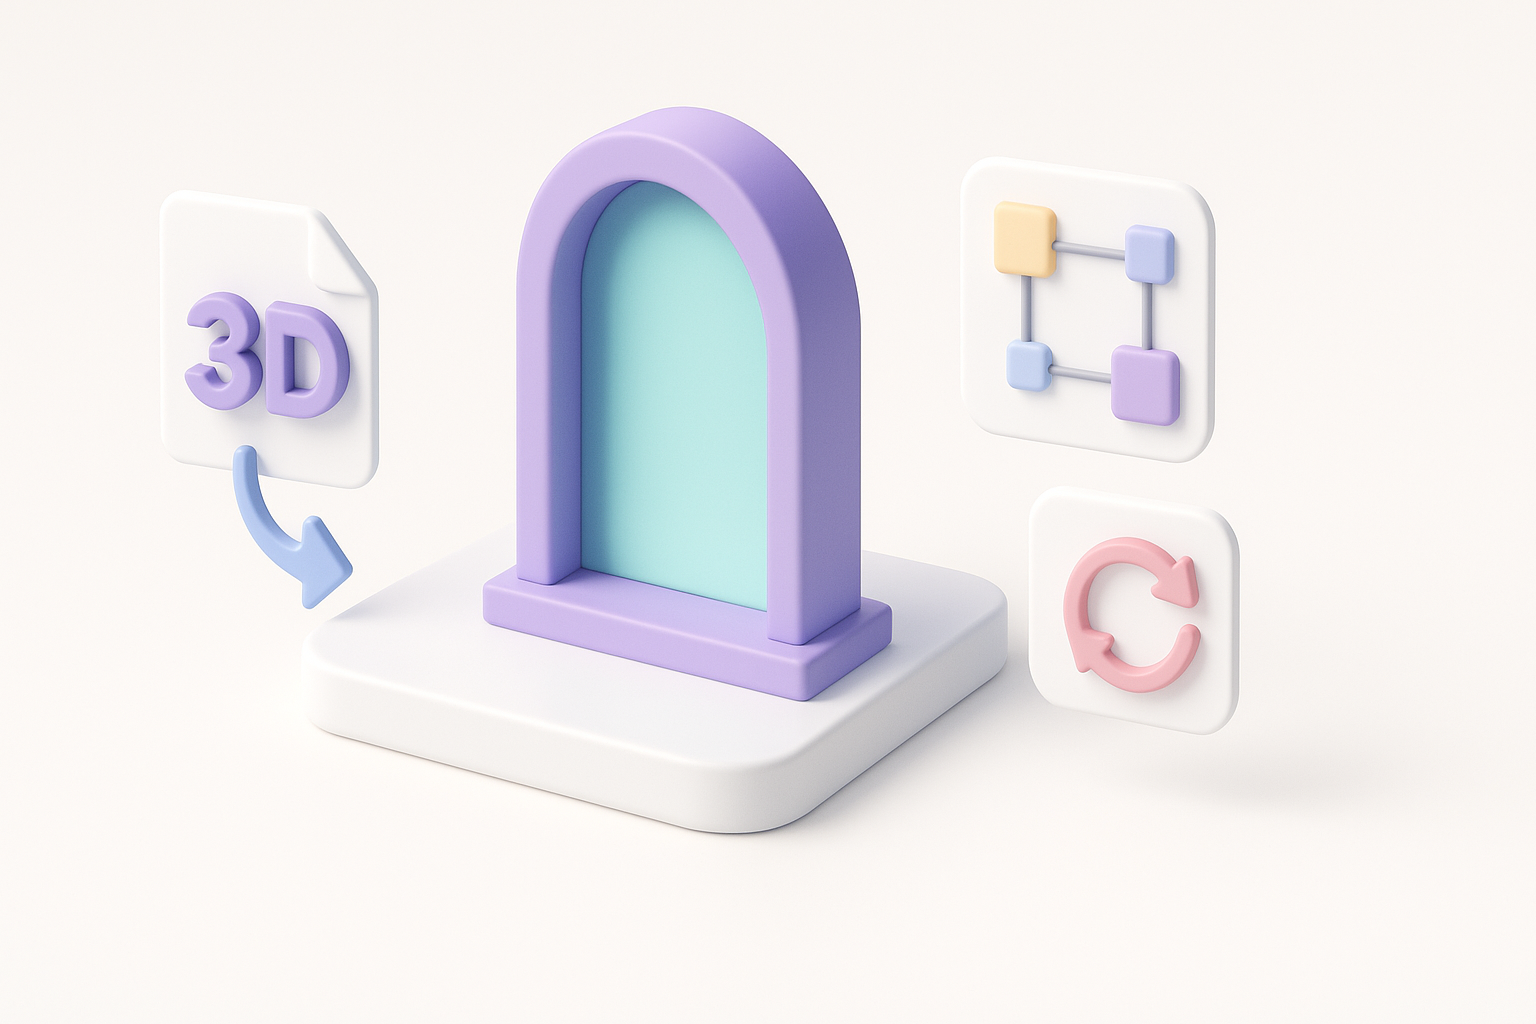
Exporting, Integrating, and Animating Portal Models
Export Settings and File Formats
Exporting is about compatibility and efficiency:
- I usually export in FBX or GLTF for game engines and XR platforms.
- Set scale and orientation to match the target engine.
- Bake animations (if any) and check texture embedding.
Checklist:
- Correct file format for target platform
- Normals and tangents exported
- Textures packed or referenced
Basic Animation and Integration Tips
Portal animations (opening, swirling, pulsing) add life:
- Animate simple transforms (scale, rotation) for the portal center.
- Use shader-based effects for energy or distortion.
- Test the model in-engine—lighting and shader differences can reveal issues.
Pitfall: Forgetting to check animation looping or timing in the target platform can break immersion.
Conclusion
Creating optimized portal 3D models is about balancing creativity with technical constraints. By leveraging strong concepts, efficient modeling, smart texturing, and AI-powered tools like Tripo, I can quickly deliver assets that look great and perform reliably in real-time environments. The key is to iterate fast, optimize early, and always test in context.