Creating Realistic 3D Models of Plant and Animal Cells
Creating detailed 3D models of plant and animal cells is essential for educational content, scientific visualization, and interactive media. In my experience, the key to success is understanding the unique features of each cell type and leveraging efficient workflows that blend AI-powered tools with manual techniques. This guide is for 3D artists, educators, and developers who want to create accurate, visually compelling cell models—from structure analysis and texturing to animation and presentation.
Key takeaways
- Start with strong reference materials and clear planning for accuracy.
- Use AI-powered platforms like Tripo AI to accelerate segmentation, retopology, and texturing.
- Focus on organelle accuracy and realistic materials for scientific credibility.
- Animate cellular processes to enhance educational value.
- Choose between AI-driven and manual workflows based on project complexity and customization needs.
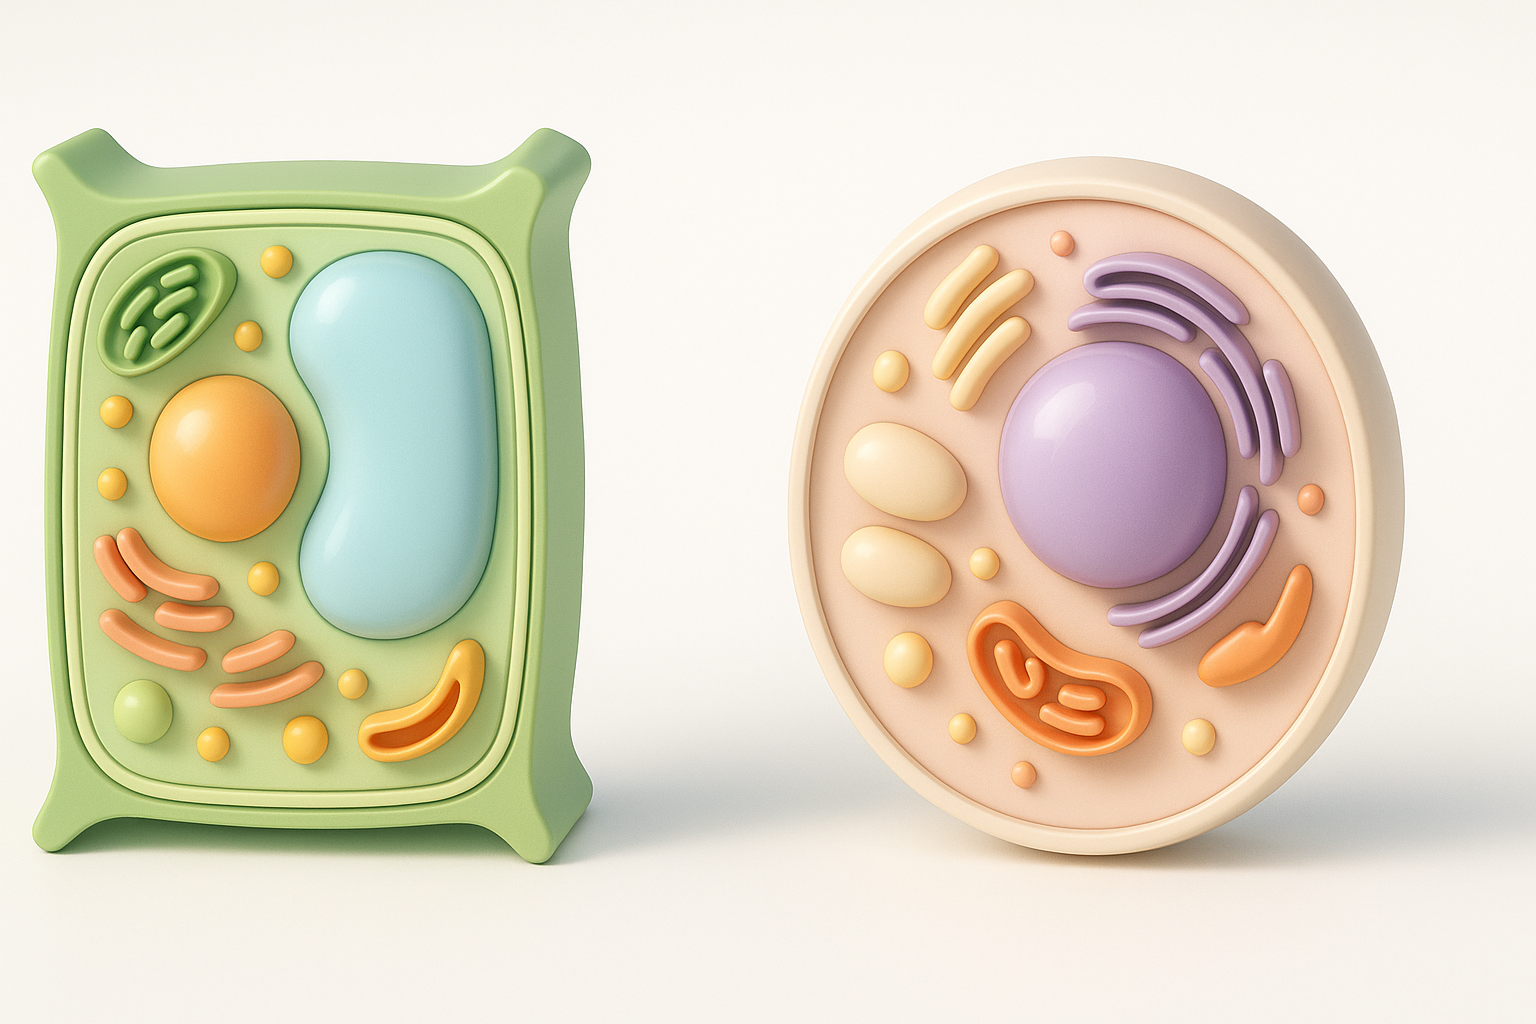
Overview of Plant and Animal Cell Structures
Key Differences Between Plant and Animal Cells
From my modeling work, the most important differences to capture are:
- Cell wall: Present in plant cells, absent in animal cells. This adds a rigid outer layer.
- Chloroplasts: Unique to plant cells; essential for photosynthesis visuals.
- Shape: Plant cells are generally more rectangular, animal cells more rounded.
- Vacuole: Plant cells have a large central vacuole; animal cells have smaller, more numerous vacuoles.
- Other organelles: Both share nuclei, mitochondria, ER, Golgi apparatus, but proportions and placements differ.
Tip: Always double-check your references to avoid mixing up organelles between cell types.
Essential Organelles to Include in 3D Models
For realism and educational accuracy, I always model:
- Nucleus (with nucleolus)
- Mitochondria
- Endoplasmic reticulum (smooth and rough)
- Golgi apparatus
- Ribosomes
- Cell membrane
- Cytoplasm
For plant cells, add:
- Cell wall
- Chloroplasts
- Large central vacuole
For animal cells, emphasize:
- Centrioles
- Lysosomes
Checklist:
- All major organelles present
- Accurate relative sizes
- Correct spatial arrangement
Step-by-Step Workflow for 3D Cell Modeling
Gathering References and Planning the Model
I always start with:
- High-quality diagrams from textbooks or scientific sites
- Microscopy images for real-world texture cues
- Sketches to plan the layout and proportions
Steps:
- Collect at least three reference sources.
- Sketch a rough 3D layout—label organelles.
- List essential features for your target audience (e.g., focus on chloroplasts for a botany class).
Pitfall: Skipping the planning phase often leads to missing organelles or inaccurate proportions.
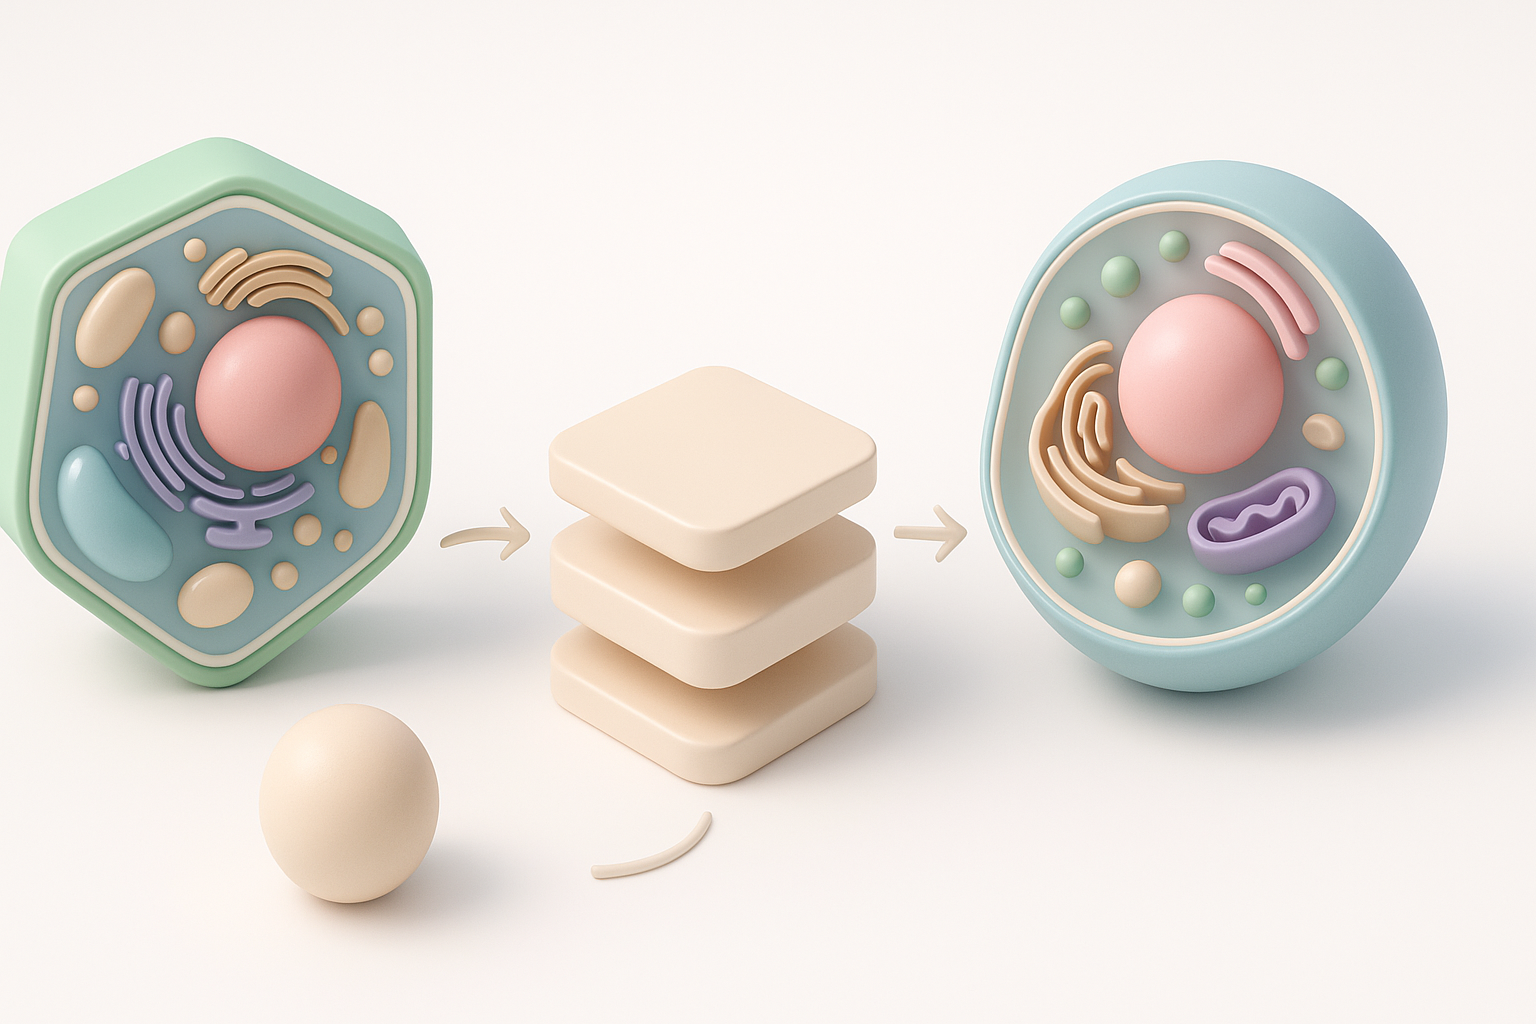
Choosing the Right Tools and Platforms
For speed and accuracy, I combine AI-driven platforms like Tripo AI with traditional modeling tools:
- Tripo AI: Great for quickly generating base meshes from sketches or text prompts, especially for complex organic shapes.
- Other tools: Useful for detailed manual edits or when you need custom sculpting.
My workflow:
- Generate a base cell mesh with Tripo AI (input: text, image, or sketch).
- Import into a 3D editor for refinement.
- Use platform-specific plugins for further detailing if needed.
Tip: Choose a tool that supports intelligent segmentation and retopology to save time.
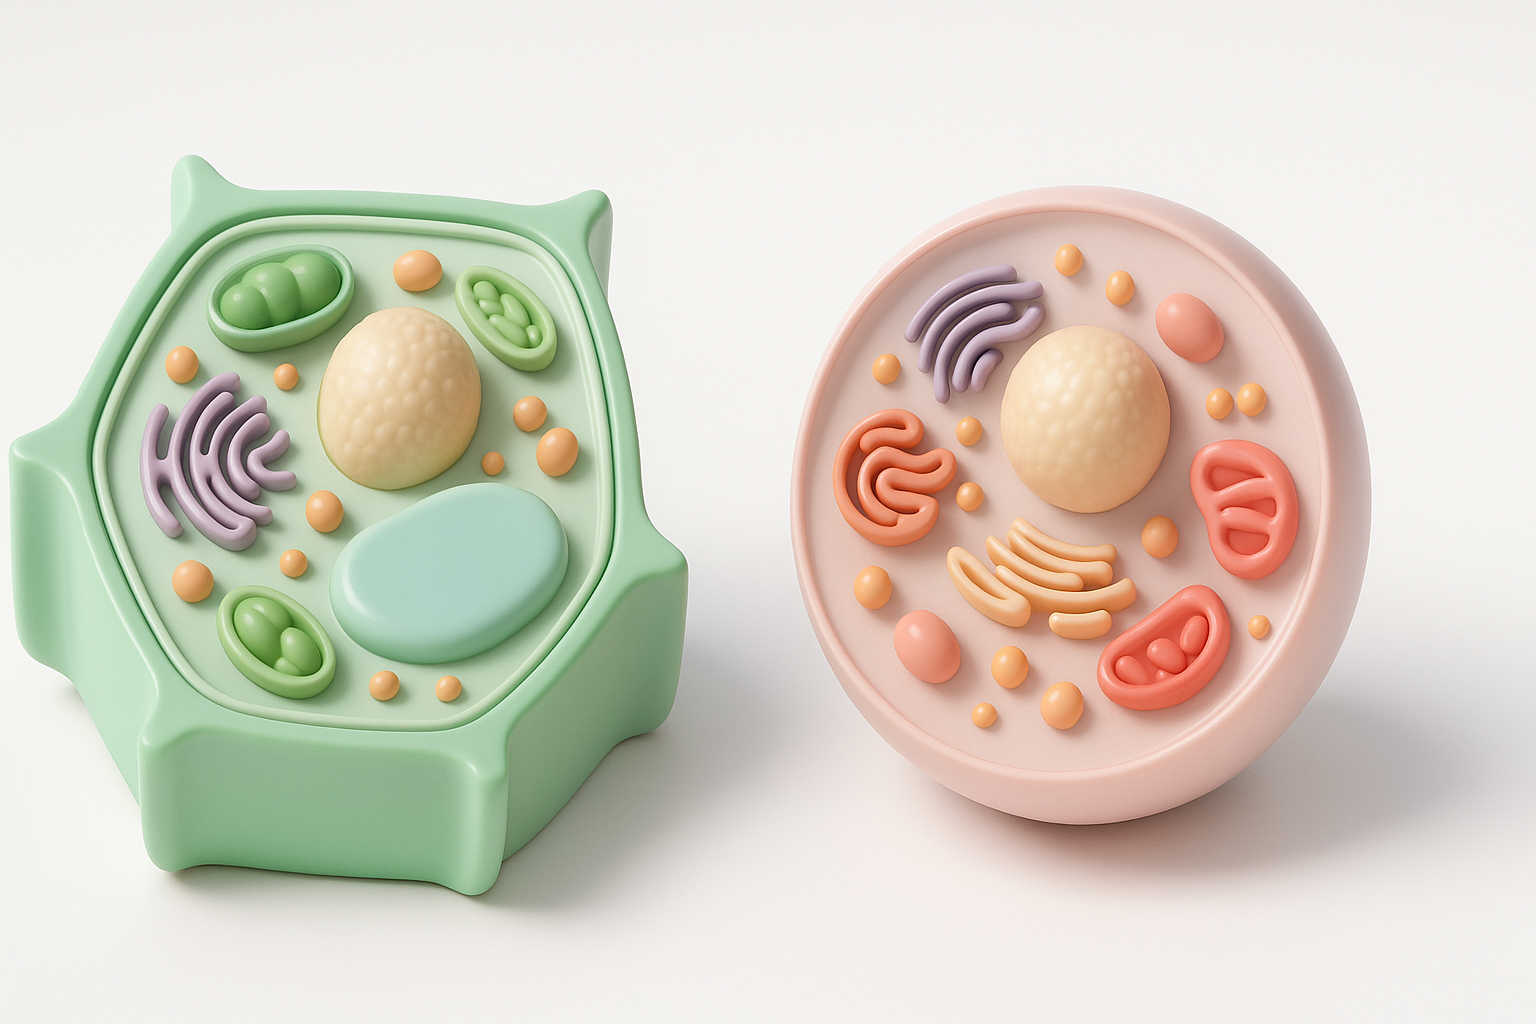
Best Practices for Modeling and Texturing
Segmentation and Retopology Techniques
Accurate segmentation is critical for isolating organelles and ensuring clean geometry.
- AI segmentation: Tripo AI excels here, automatically identifying and separating cell components.
- Manual segmentation: Sometimes necessary for unusual organelles or highly detailed models.
Retopology steps:
- Use automated retopology tools to optimize mesh density.
- Check for non-manifold edges or overlapping faces.
- Adjust topology to support smooth shading and animation.
Pitfall: Overly dense meshes can slow down rendering and animation—keep geometry efficient.
Applying Realistic Textures and Materials
Textures bring cell models to life. What I’ve found works best:
- Reference real microscopy images for color and texture cues.
- Use procedural materials for organelles like mitochondria or ER—these benefit from subtle gradients and noise.
- Texture baking: Bake high-res details into normal maps for better performance.
Checklist:
- Organelles have distinct, believable materials
- Transparency/opacity used for membranes and cytoplasm
- Subtle glossiness for wet look
Tip: Tripo AI can auto-generate base textures, which I often tweak manually for extra realism.
Rigging, Animation, and Presentation Tips

Animating Cell Processes for Educational Use
Animating processes like mitosis or photosynthesis adds immense educational value.
- Rigging: Simple bone or spline rigs suffice for most organelles.
- AI-assisted animation: Use platforms that support procedural movement for things like cytoplasmic streaming.
- Storyboard: Plan keyframes to highlight each process step.
Steps:
- Rig organelles that move or divide.
- Animate step-by-step processes (e.g., chromosome separation).
- Add camera moves to guide viewer focus.
Pitfall: Overcomplicating animations can distract from the core lesson—keep it clear and purposeful.
Showcasing and Exporting Your 3D Cell Model
Presentation is key, especially for educational or portfolio work.
- Lighting: Use soft, even lighting to highlight internal structures.
- Background: Neutral backgrounds help organelles stand out.
- Export options: Tripo AI and most platforms support standard formats (FBX, OBJ, GLTF) for web, VR, or AR use.
Checklist:
- Model is centered and scaled correctly
- All textures included in export
- Test in target viewer/platform for compatibility
Tip: For interactive presentations, consider exporting to web-based 3D viewers.
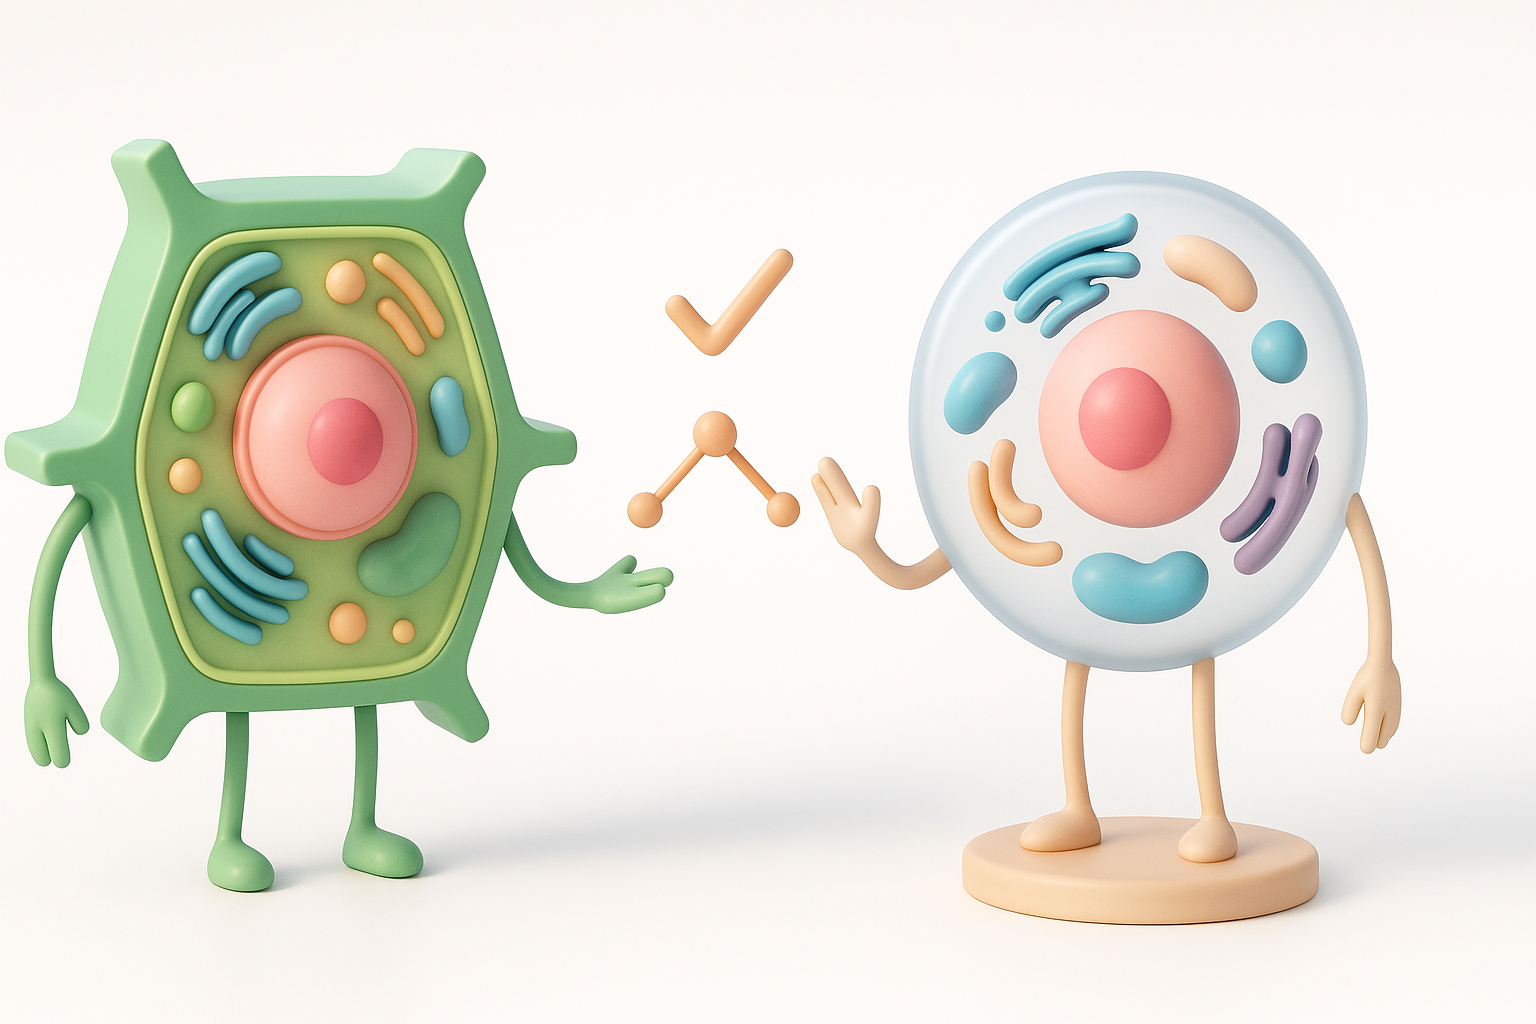
Comparing AI-Powered and Manual 3D Modeling Methods
Advantages of AI-Driven Workflows
AI-powered platforms like Tripo AI have changed my workflow:
- Speed: Generate base models and textures in seconds.
- Consistency: Automated segmentation reduces manual errors.
- Accessibility: Lowers the technical barrier for non-experts.
When I use AI: For tight deadlines, prototyping, or when I need a quick base to build on.
When to Use Traditional Techniques
Manual modeling is still essential when:
- Customization: Highly specific or stylized organelles are needed.
- Detail: Ultra-high fidelity or scientific accuracy beyond AI defaults.
- Learning: Teaching modeling fundamentals to students.
Pitfall: Relying solely on AI can limit creative control—know when to step in manually.
By combining strong references, AI-powered tools, and careful manual refinement, I consistently achieve realistic, educational 3D models of plant and animal cells. Whether your goal is a quick prototype or a detailed scientific visualization, adapting your workflow to the project's needs is key.