Pelvis 3D Model: Expert Workflow, Tips, and Best Practices
Creating accurate pelvis 3D models is a nuanced process that requires both anatomical knowledge and efficient workflows. Over the years, I’ve learned that leveraging AI-powered platforms like Tripo can drastically reduce technical bottlenecks and let me focus on anatomical fidelity and creative intent. This guide is for 3D artists, medical illustrators, and developers who want to streamline their pelvis modeling process—from initial concept to production-ready asset. Below, I share my hands-on workflow, practical tips, and lessons learned.
Key Takeaways
- Start with solid anatomical references and clarify your model’s intended use.
- Use AI tools to accelerate segmentation, retopology, and texturing.
- Prioritize anatomical accuracy—especially for medical or educational applications.
- Optimize geometry and rigging early for seamless integration in games or XR.
- Common pitfalls include poor reference gathering and neglecting topology.
- AI workflows save time but require careful validation for anatomical fidelity.
Executive Summary and Key Takeaways
What I’ve learned from creating pelvis 3D models
In my experience, the biggest hurdles are anatomical accuracy and efficient asset production. Early mistakes taught me to always start with high-quality references and to use smart segmentation and retopology tools. I’ve found that AI-powered workflows, when properly guided, can deliver production-ready results much faster than manual methods—if you stay vigilant about anatomical detail.
Summary of recommended workflows
My recommended workflow is:
- Gather and study anatomical references.
- Input a sketch, photo, or text prompt into an AI 3D platform.
- Use built-in segmentation and retopology features for clean geometry.
- Apply realistic texturing, then review for anatomical fidelity.
- Prepare for rigging/animation if needed, and export in the required format.
Understanding Pelvis Anatomy for 3D Modeling
Reference gathering and anatomical accuracy
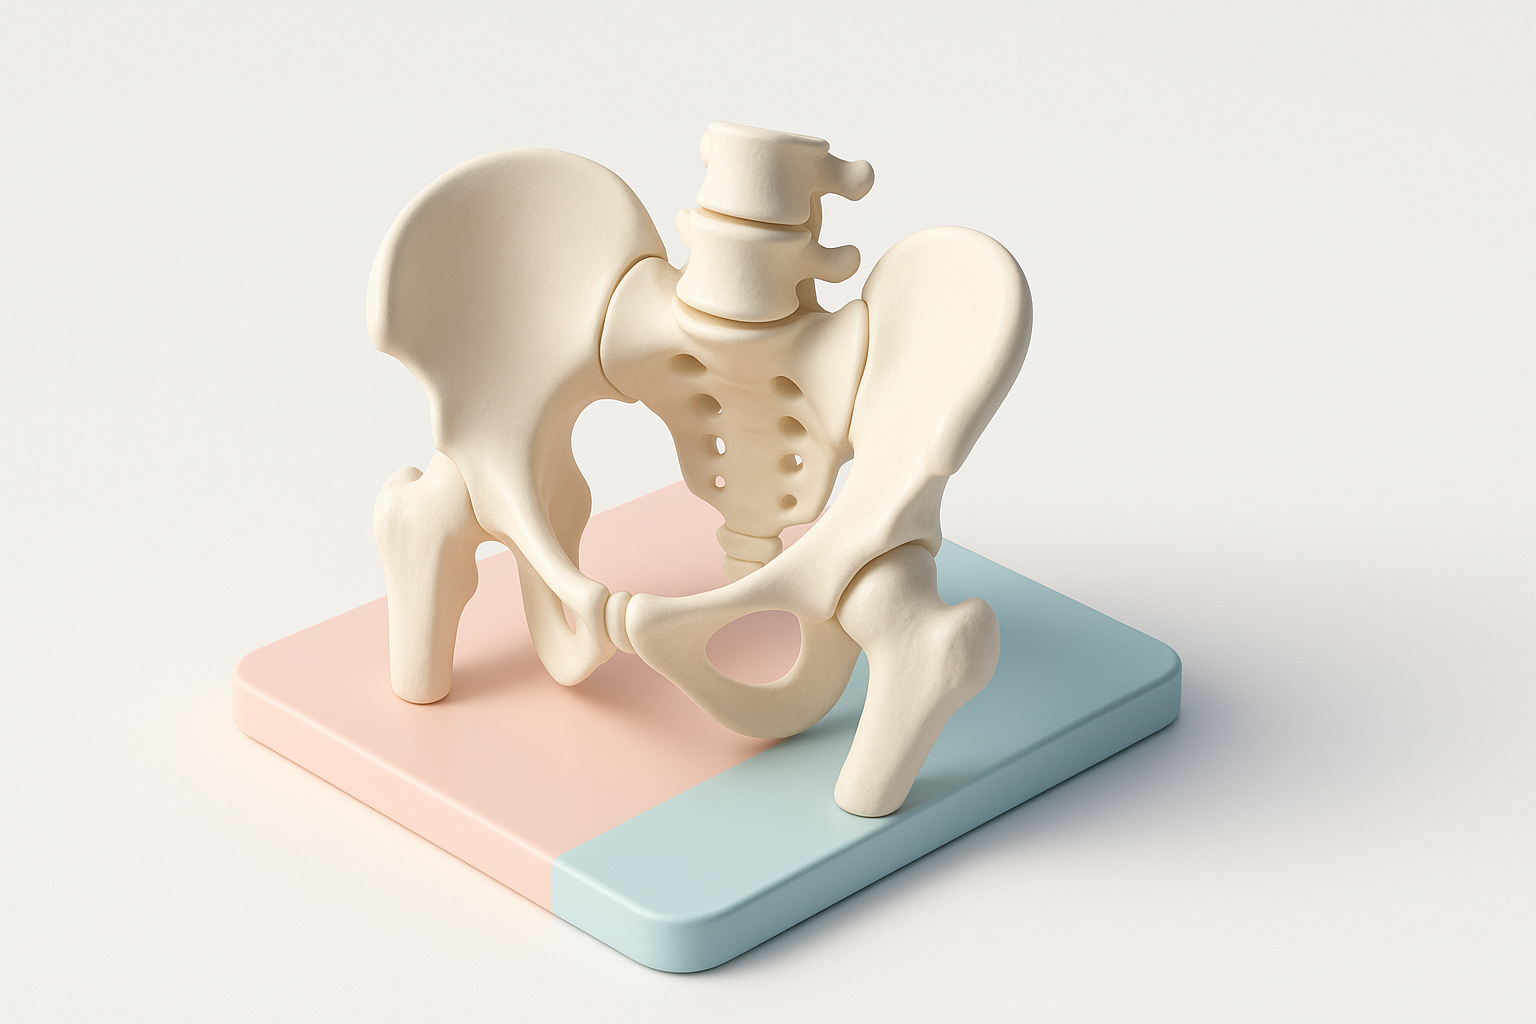
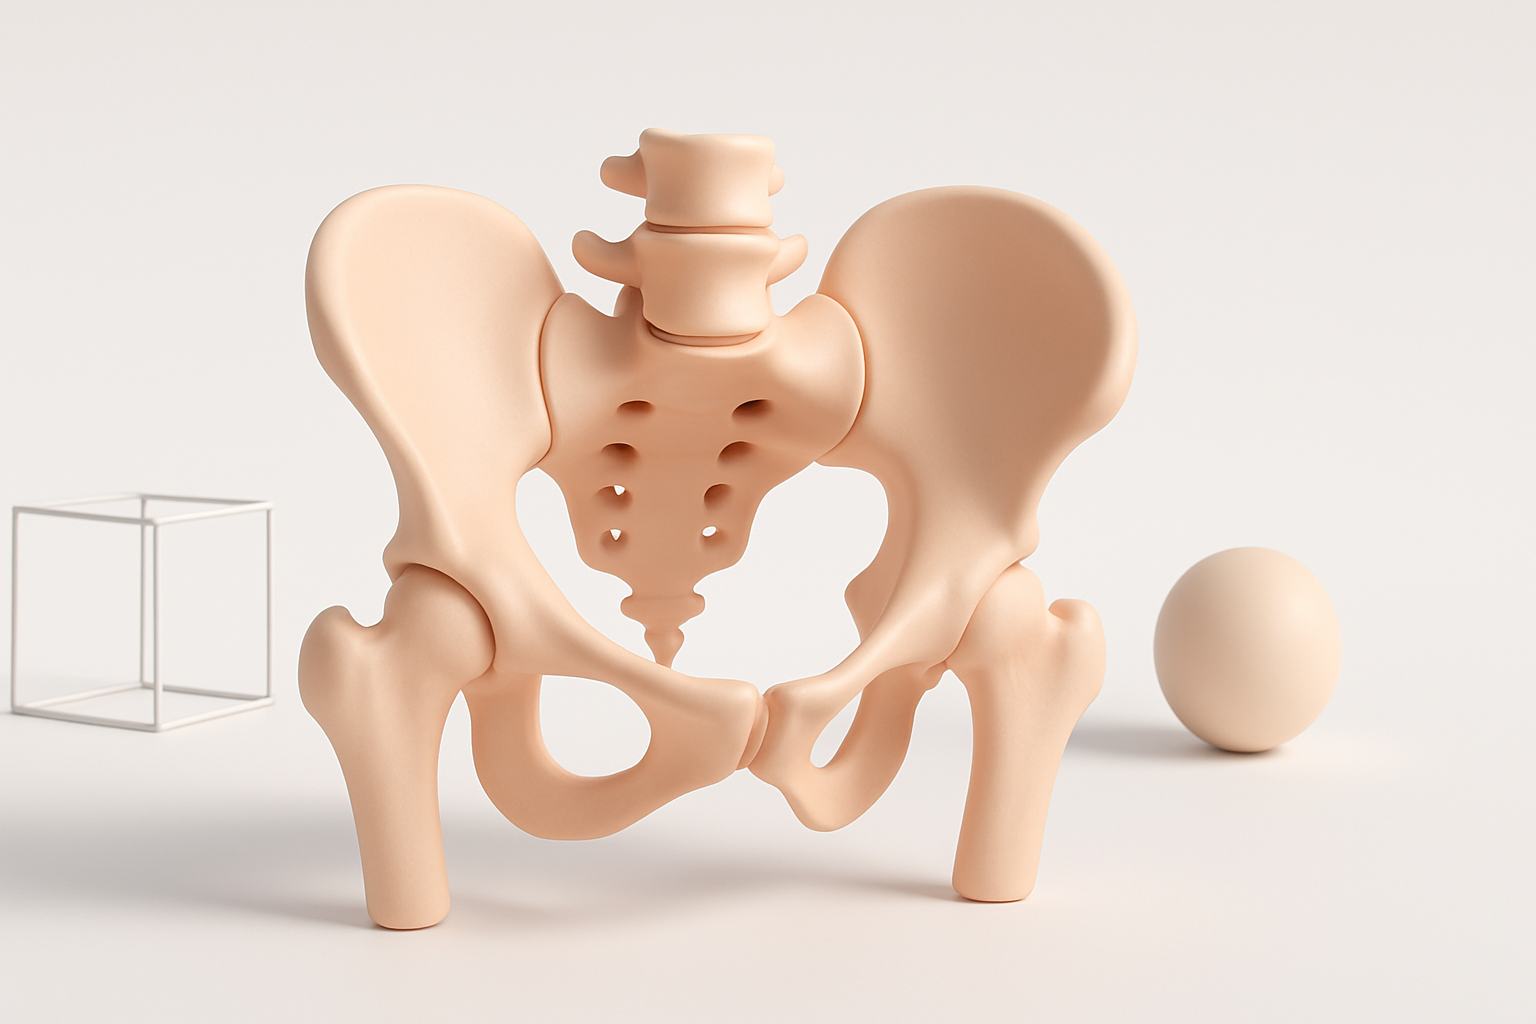
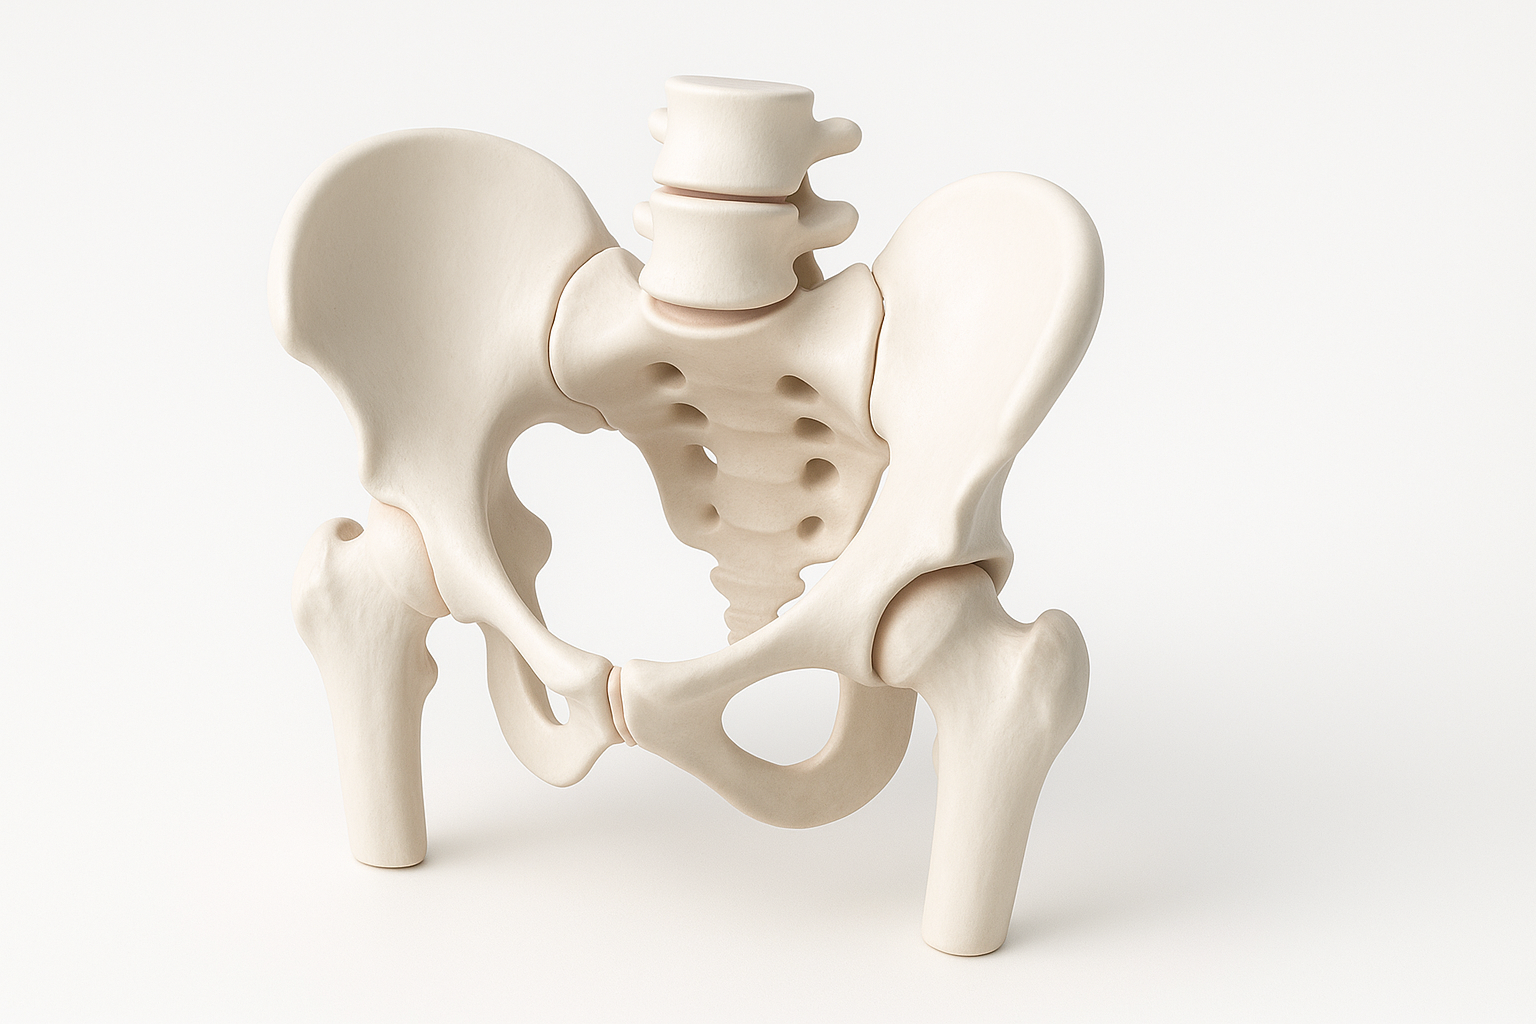
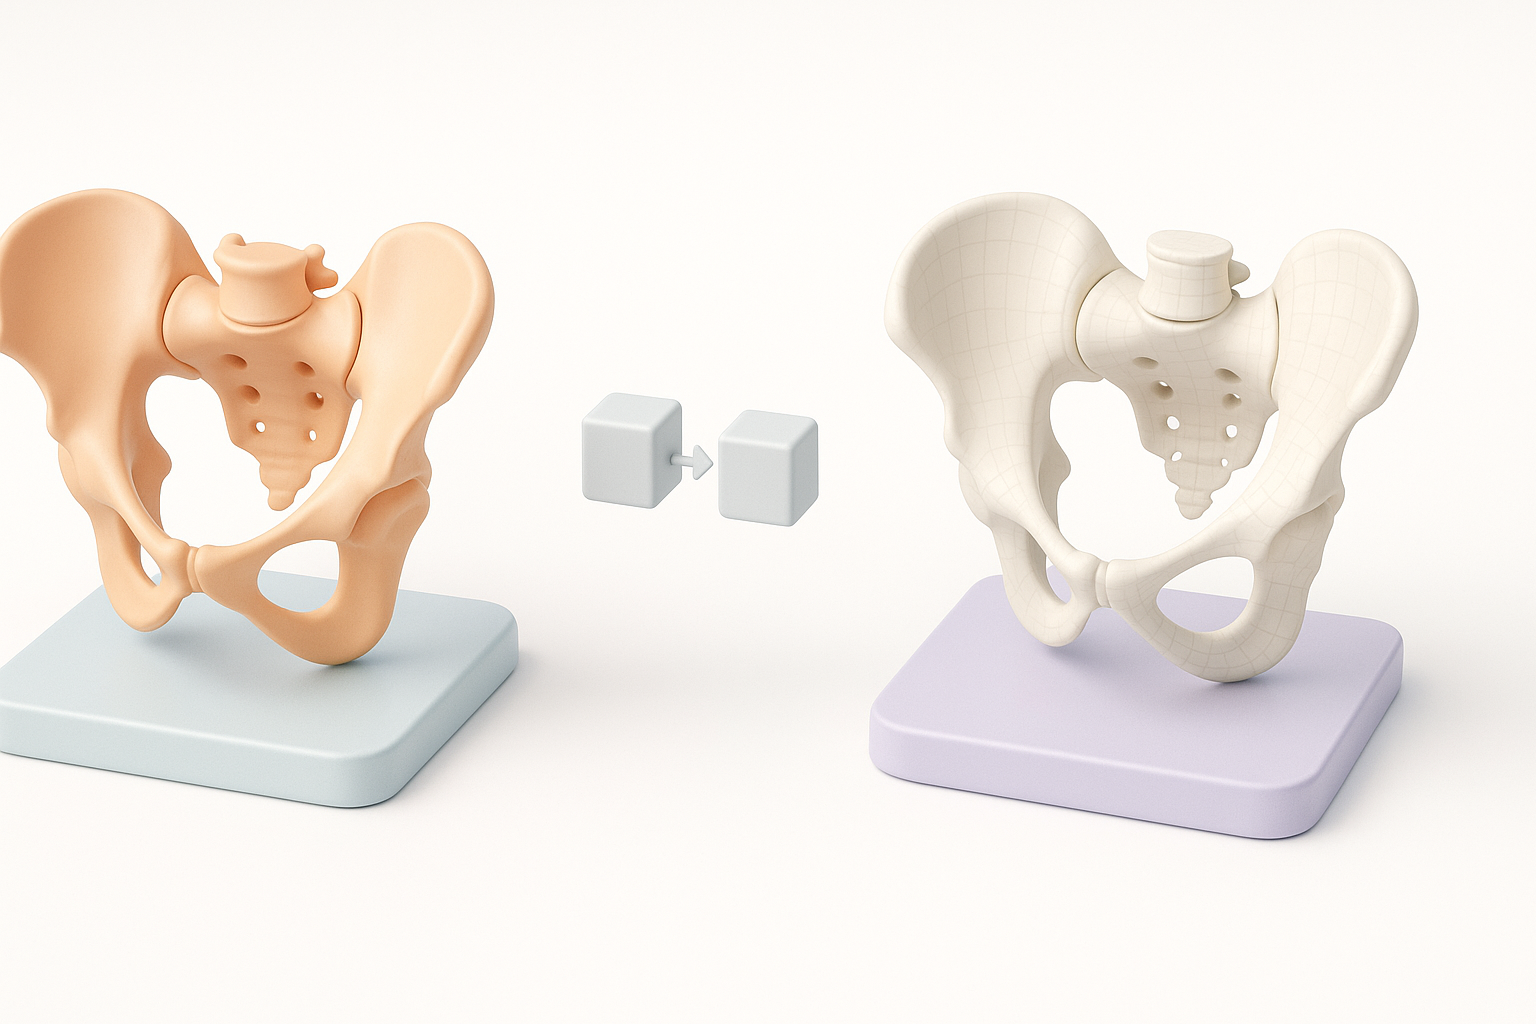
I always start by collecting detailed anatomical diagrams, CT/MRI scans, and reference photos from multiple angles. For medical or educational models, I compare against trusted anatomy atlases. This ensures the iliac crest, acetabulum, sacrum, and obturator foramen are proportionally accurate. The more precise my references, the less rework I need later.
Mini-checklist:
- Use at least three anatomical sources.
- Cross-check left/right symmetry.
- Note key landmarks for later segmentation.
Common challenges and how I address them
The pelvis is complex, with subtle curves and internal structures that are easy to misinterpret. Early in my career, I’d often miss the depth of the acetabulum or the thickness of the pubic rami. Now, I use reference overlays and side-by-side comparisons during sculpting and texturing. When using AI tools, I always manually verify the output against my references before moving forward.
Step-by-Step Workflow: Creating a Pelvis 3D Model
Initial concept: text, image, or sketch input
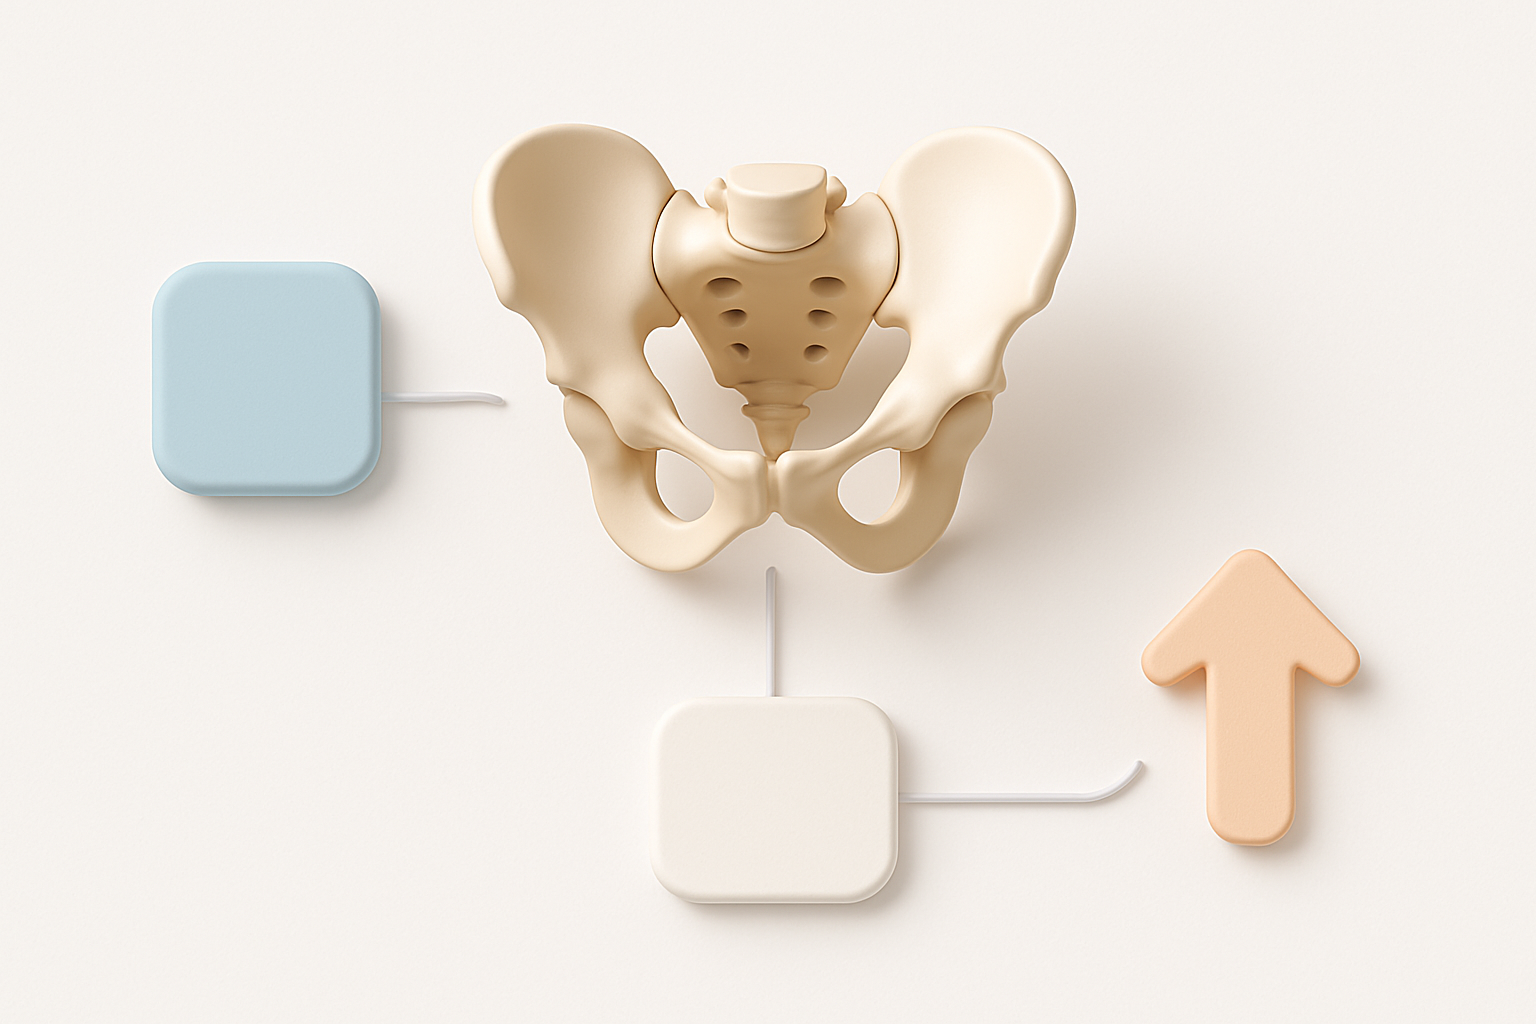
I usually begin by defining the model’s purpose—medical, animation, or XR. For rapid prototyping, I input a descriptive text prompt ("human pelvis, detailed anatomy") or upload a clean sketch/photo into Tripo. The platform’s AI generates a base mesh, which is a huge time-saver compared to manual blocking.
Tips:
- Use clear, specific prompts for text-to-3D.
- Provide annotated sketches for higher anatomical accuracy.
- Review the initial mesh for missing or distorted features.
Segmentation, retopology, and texturing techniques
Once I have a base mesh, I use the platform’s segmentation tools to isolate key regions (e.g., ilium, pubis, ischium). Automated retopology gives me clean, animation-friendly geometry. For texturing, I rely on built-in smart UV mapping and procedural textures, then fine-tune bone color and surface detail in my preferred DCC tool.
Workflow steps:
- Segment major pelvis regions.
- Run auto-retopology for optimized quads.
- Apply base textures, then tweak for realism.
- Export checkpoints for backup and review.
Optimizing Pelvis Models for Production Use

Rigging and animation considerations
If the pelvis model is for animation or XR, I plan for rigging early. Clean topology around the acetabulum and sacroiliac joints is crucial for realistic movement. I sometimes add basic joint markers or test rigs to check deformation before finalizing textures.
Checklist:
- Ensure even quad distribution.
- Test deformation at key joints.
- Bake normal maps for detail retention.
Exporting and integration tips
Before export, I double-check scale, orientation, and file format (FBX or GLB for games/XR; OBJ for static renders). Tripo’s export presets cover most pipelines, but I always validate in the target engine or viewer. I also include a low-poly version for real-time applications.
Pitfalls to avoid:
- Forgetting to reset transforms before export.
- Overlooking file size/LOD requirements.
- Not testing the model in the final environment.
Best Practices and Common Pitfalls
What I do to ensure anatomical fidelity
I routinely overlay my 3D model against reference images in orthographic views. For medical models, I consult with subject-matter experts when possible. I also keep a checklist of key anatomical landmarks and run through it before calling a model final.
Quick best practices:
- Use symmetry tools but manually tweak asymmetrical features.
- Validate with external reviewers if possible.
- Document version history for traceability.
Mistakes I’ve made and how to avoid them
Early on, I’d rush through reference gathering or trust the first AI output. I’ve learned to always double-check for missing foramina or proportion errors, and to never skip manual review steps. Over-relying on automation can introduce subtle inaccuracies—so I build in time for careful validation.
Comparing AI-Powered and Traditional 3D Workflows
Benefits of AI tools for pelvis modeling
AI-powered platforms like Tripo have fundamentally changed my workflow. I now spend less time on repetitive tasks (segmentation, retopology, base texturing) and more time refining details and ensuring accuracy. For tight deadlines or rapid prototyping, the time savings are significant.
Advantages:
- Faster initial mesh generation.
- Automated topology and UVs.
- Integrated export options.
When to use alternative methods
For projects demanding extreme anatomical precision (e.g., surgical simulations), I sometimes supplement AI outputs with manual sculpting in traditional DCC tools. If the project scope is highly custom or stylized, manual workflows may still be preferable. Ultimately, I choose the method that balances speed, accuracy, and creative control.
In summary: Combining anatomical knowledge with AI-powered 3D tools allows me to create accurate, production-ready pelvis models efficiently. Careful reference gathering and validation remain essential, regardless of the tools used.