Creating and Optimizing Overwatch 3D Models: Expert Workflow
Building Overwatch-style 3D models requires a blend of artistic vision, technical know-how, and a streamlined workflow. In my experience, success hinges on understanding the unique requirements of hero characters, leveraging both manual and AI-powered tools, and maintaining best practices from concept to game engine integration. This guide distills my hands-on workflow for creating, texturing, rigging, and optimizing Overwatch-inspired assets, with practical tips for troubleshooting and platform compatibility. Whether you’re a game artist, technical director, or indie developer, these strategies will help you deliver production-ready models efficiently.
Key takeaways
- Overwatch models demand stylized proportions, expressive faces, and clean, animation-ready topology.
- Starting with strong references and clear concepts saves time downstream.
- Efficient UV mapping, smart material setup, and robust rigging are essential for animation and real-time use.
- AI-powered tools like Tripo can dramatically accelerate modeling and texturing, but manual refinement is still critical.
- Always optimize for polygon count and engine compatibility before export.
- Troubleshooting topology and texture issues early prevents major headaches later.
Understanding Overwatch 3D Model Requirements
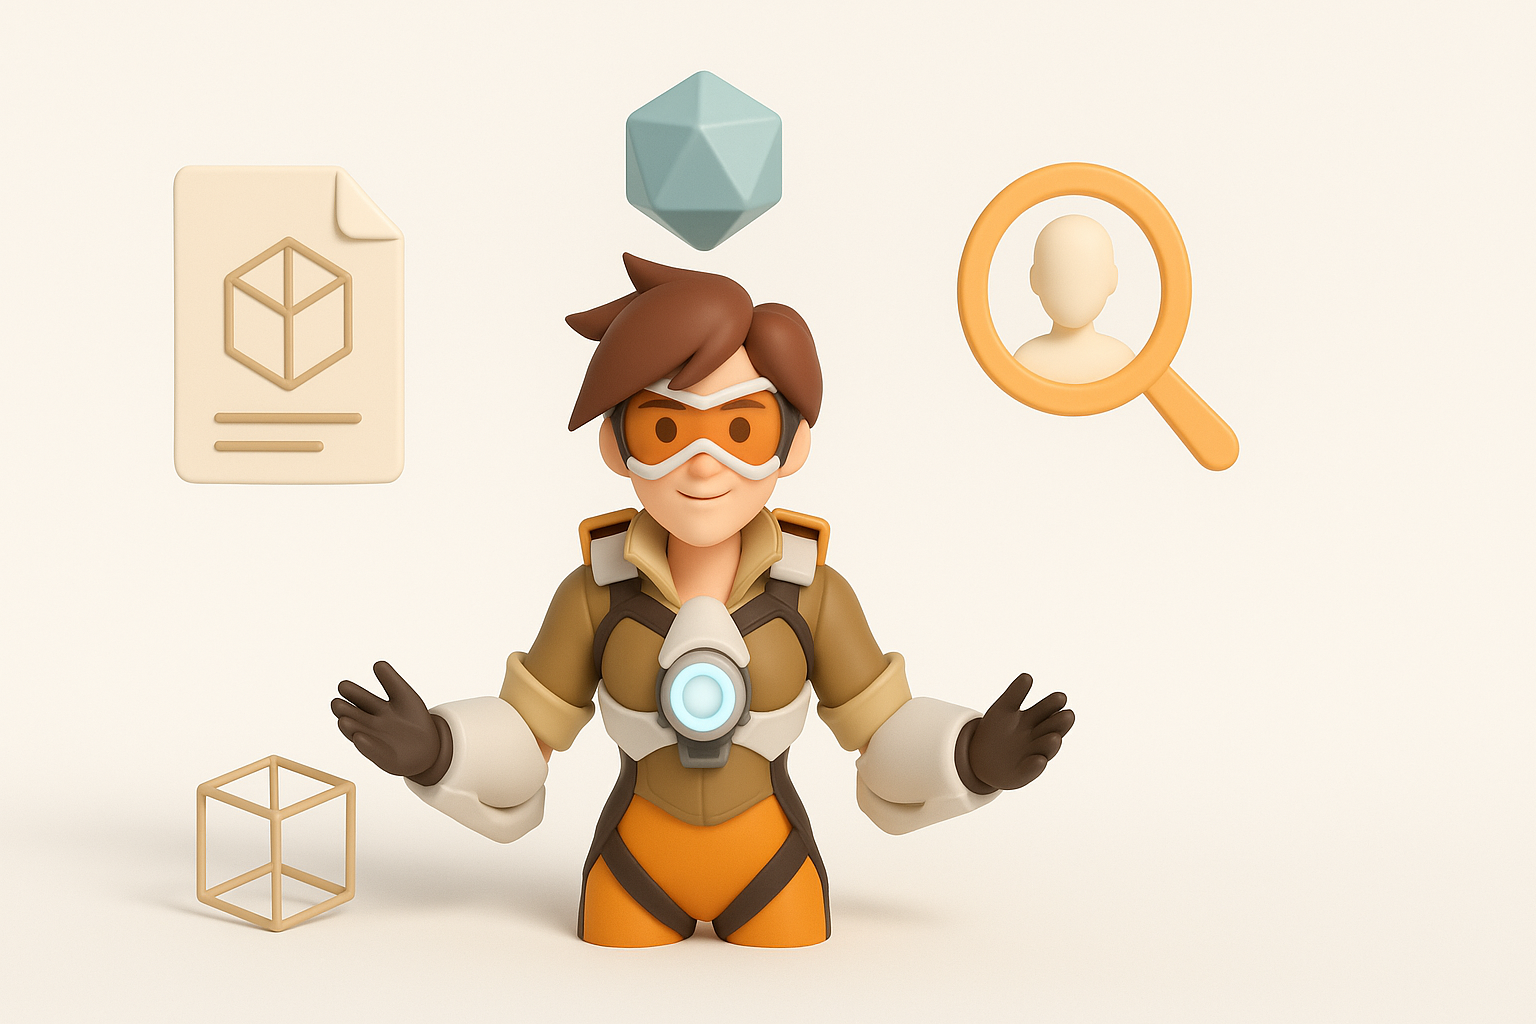
Key Features of Overwatch Character Models
Overwatch character models are defined by their stylized anatomy, exaggerated silhouettes, and readable facial expressions. In my workflow, I always prioritize:
- Clear edge flow for deformation (especially around joints and the face)
- Layered costume elements (armor, straps, tech details)
- Consistent scale and proportion for the game’s visual style
A good Overwatch model balances heroism and approachability, so I focus on bold shapes and clean lines rather than hyper-realism.
Common Use Cases and Industry Standards
These models are most often used in real-time environments—games, cinematics, XR experiences—so they must meet strict performance and compatibility standards. I typically target:
- Game-ready topology (quads, minimal ngons)
- Texture sets optimized for PBR workflows (albedo, normal, roughness, metallic maps)
- Rigging and skinning that supports a wide range of animations
Following these standards ensures my assets integrate smoothly with modern engines and pipelines.
Step-by-Step Guide to Building Overwatch 3D Models
Concepting and Reference Gathering
I always start with thorough research and reference gathering. A strong concept phase prevents wasted effort later. My checklist:
- Collect official artwork, screenshots, and fan art for style cues
- Break down character silhouettes and key design motifs
- Sketch or block out rough shapes to establish proportions
Even if I use AI to accelerate modeling, having a clear vision is critical for achieving the right look.
Modeling, Texturing, and Retopology Workflow
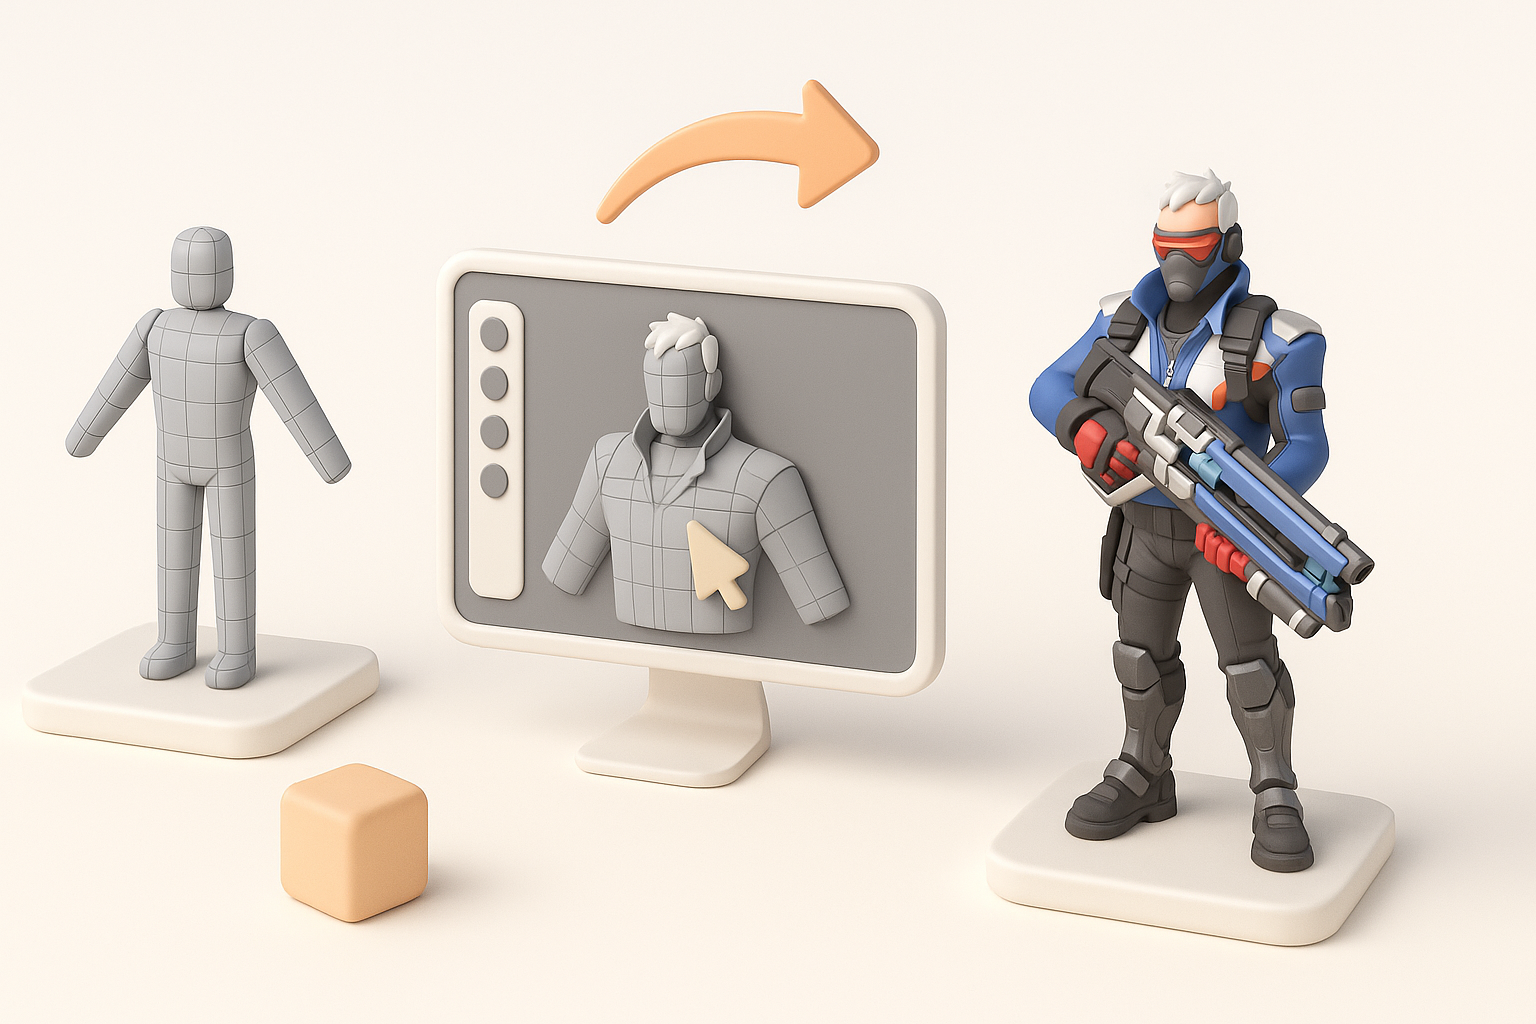
For base meshes, I often block out forms in a DCC tool or use Tripo AI to generate a starting point from a concept image or sketch. My typical workflow:
- Block out major shapes (head, torso, limbs) at low poly.
- Refine topology for animation—focus on loops around joints and the face.
- Add costume and gear as separate meshes for flexibility.
- Use smart retopology tools (manual or AI-assisted) to clean up geometry.
- Bake and paint textures, ensuring consistent style and resolution.
Pitfall: Skipping the retopology step leads to messy deformations and shading errors.
Best Practices for Texturing and Rigging
Efficient UV Mapping and Material Setup
Clean UVs are non-negotiable for good texturing. I use the following approach:
- Unwrap meshes with minimal seams and distortion.
- Pack UVs efficiently to maximize texture detail.
- Assign materials based on logical surface types (metal, fabric, skin).
In Tripo, I often auto-unwrap and adjust as needed, then export maps for further painting in Substance or Photoshop.
Checklist:
- No overlapping UVs (unless mirrored intentionally)
- Consistent texel density
- Logical material IDs for engine integration
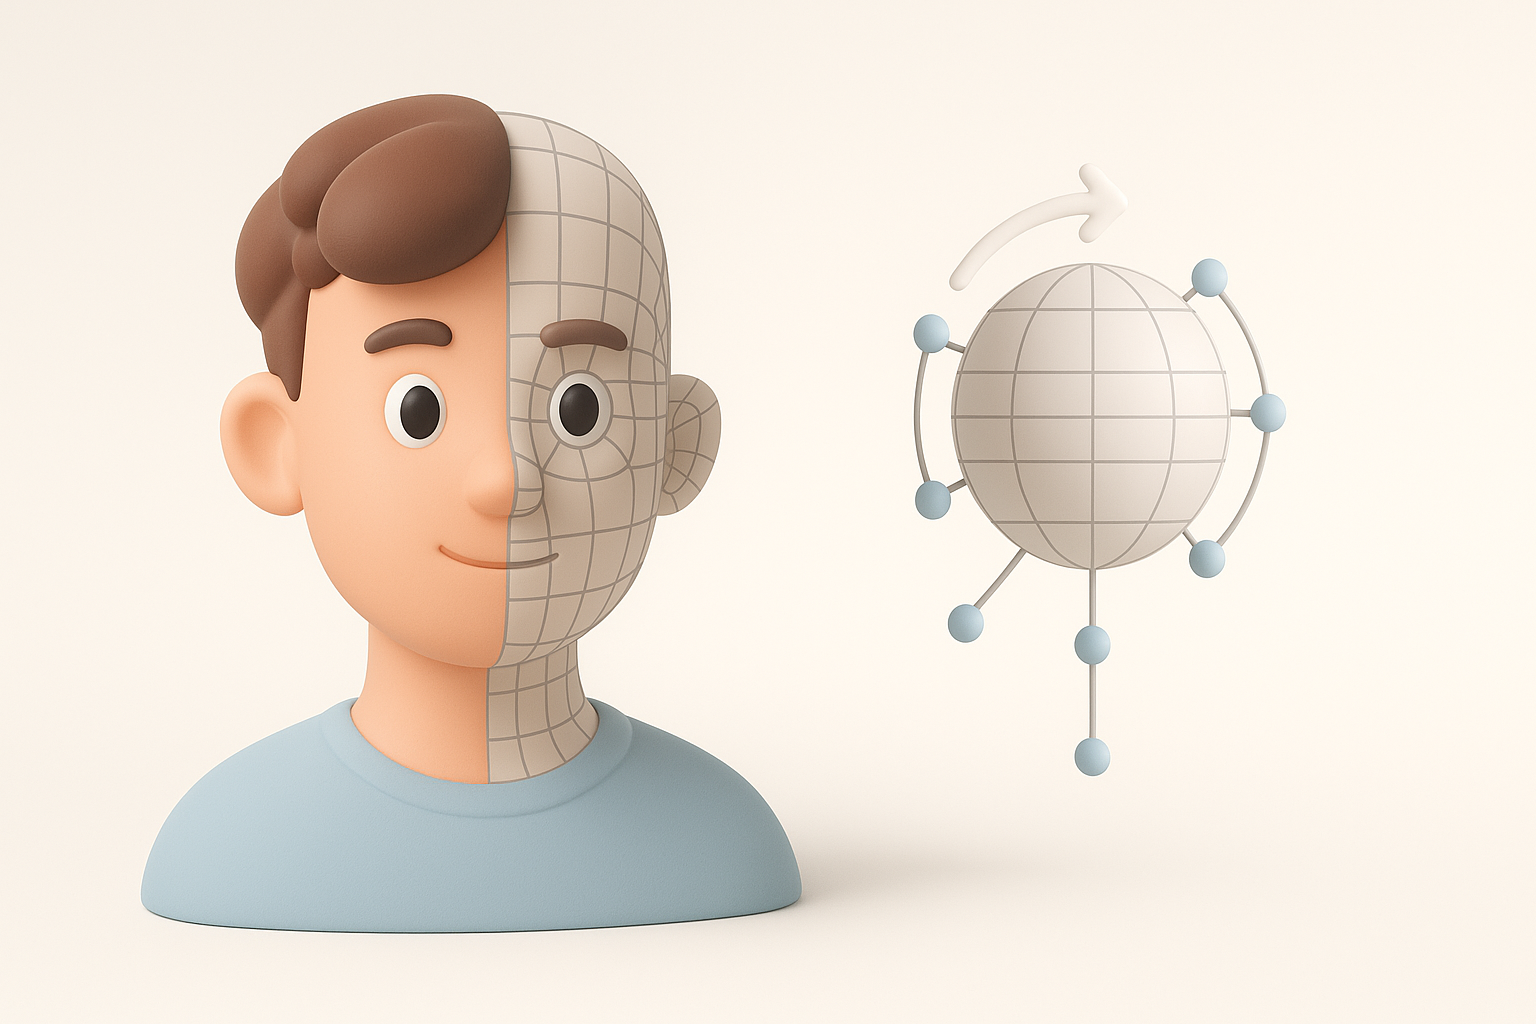
Rigging Techniques for Animation Readiness
Rigging for Overwatch-style characters means prioritizing expressive faces and fluid body movement. My rigging steps:
- Build a skeleton with enough bones for facial and body articulation.
- Skin with smooth weight transitions, especially at shoulders and hips.
- Test with standard animation cycles (walk, jump, emote).
Tip: I use built-in auto-rigging in Tripo for simple characters, then manually refine weights for hero assets.
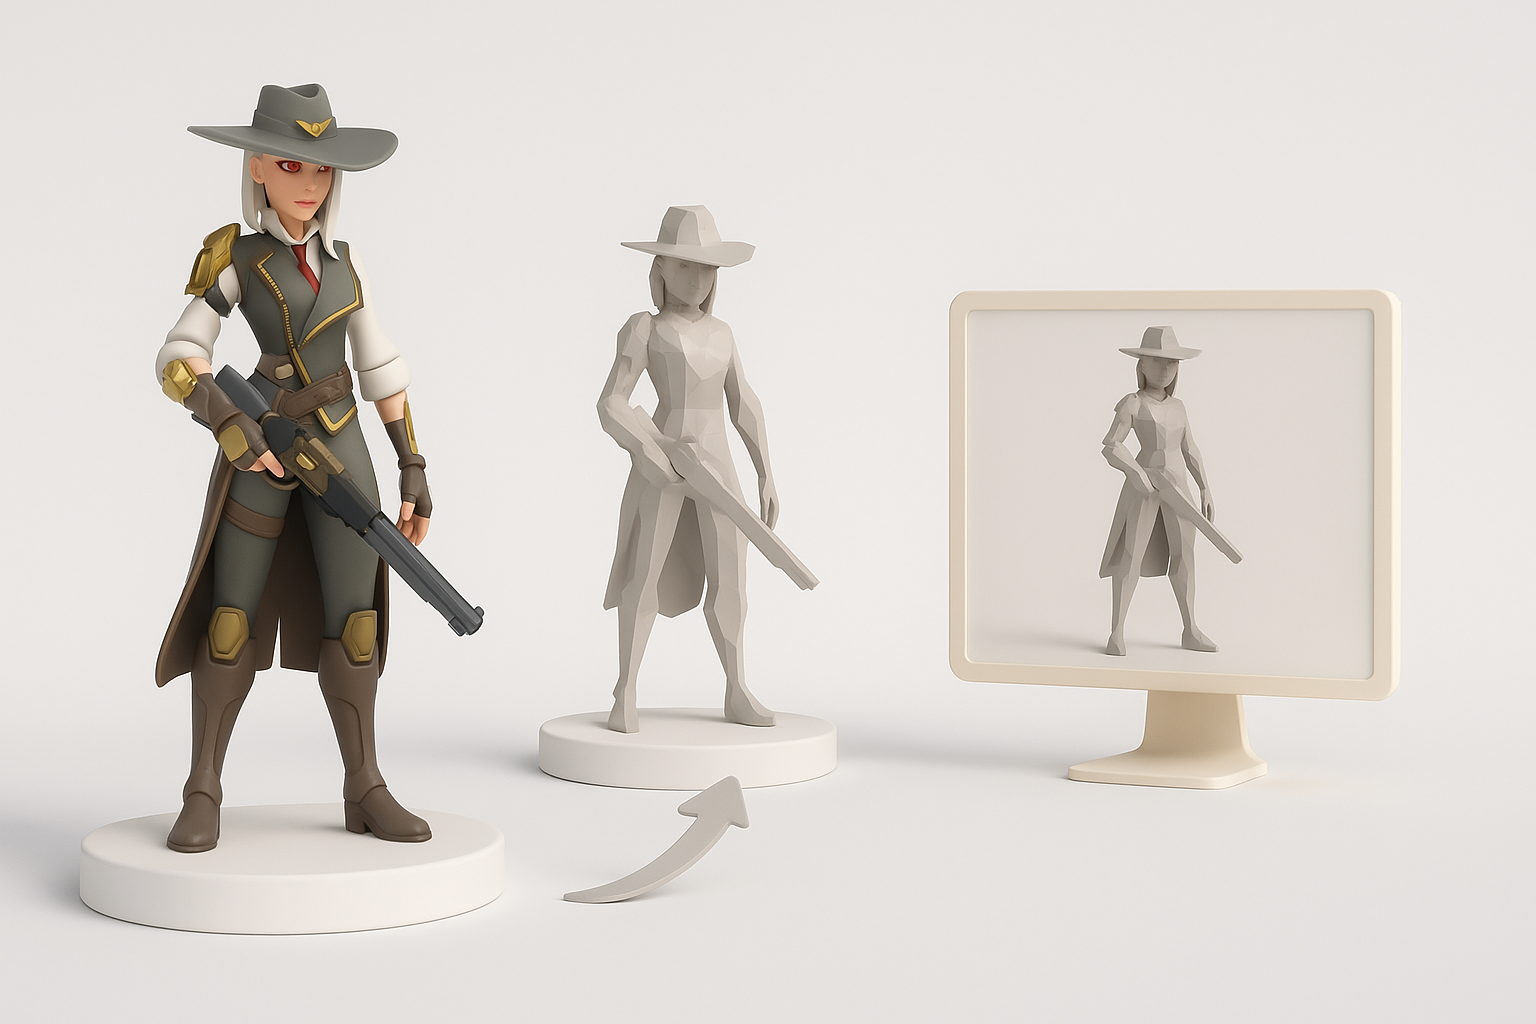
Optimizing Overwatch 3D Models for Real-Time Use

Polygon Count and Performance Considerations
Performance is key for real-time applications. My targets:
- 20k–40k triangles for hero characters (varies by platform)
- LOD (level of detail) meshes for distance rendering
- Minimize hidden or unnecessary geometry
I always check wireframes in-engine and profile performance early.
Exporting and Integrating with Game Engines
Export settings can make or break pipeline compatibility. My workflow:
- Freeze transforms and apply scale.
- Export as FBX or GLTF, with embedded or separate texture maps.
- Check material assignments and pivot points.
- Test import in the target engine (Unreal, Unity, etc.).
Pitfall: Forgetting to triangulate or bake transforms leads to broken models in-engine.
AI-Powered Tools and Alternative Workflows

Leveraging Tripo AI for Rapid Model Generation
Tripo AI lets me generate base meshes from text, images, or sketches in seconds. My practical approach:
- Input a detailed prompt or reference sketch
- Review and edit the generated mesh for accuracy and style
- Use built-in segmentation for separating costume parts
- Auto-retopology and texturing, then manual polish as needed
This dramatically reduces iteration time, especially for prototyping or background assets.
Comparing Manual and AI-Assisted Approaches
Manual modeling gives me full control over topology and style but is time-intensive. AI-assisted workflows, like with Tripo, are ideal for:
- Fast concepting and blocking out ideas
- Generating base meshes for further refinement
- Producing variations or background characters
However, for hero assets or complex rigs, I always review and refine outputs to match Overwatch’s quality bar.
Troubleshooting and Common Pitfalls
Fixing Topology and Texture Issues
Common problems I encounter:
- Non-manifold geometry or flipped normals: Check and fix in your DCC tool.
- Stretchy or overlapping UVs: Re-unwrap or relax problem areas.
- Texture seams: Paint over or adjust UVs for better blending.
Tip: Run a “final check” pass before export—Tripo’s validation tools help catch common errors.
Ensuring Compatibility Across Platforms
Cross-platform compatibility means:
- Using engine-supported file formats (FBX, GLTF)
- Standardizing texture resolutions and formats (PNG, TGA)
- Testing in multiple engines or viewers
Pitfall: Ignoring engine-specific limitations (e.g., material complexity, bone counts) can break assets on certain platforms.
By following these expert workflows and leveraging both manual and AI-powered tools, I consistently deliver polished, game-ready Overwatch 3D models. The key is blending creativity with technical rigor, and always keeping the end platform in mind.