Creating and Using 3D Nervous System Models: Expert Insights
Creating accurate, production-ready 3D nervous system models is now more accessible than ever—thanks to advances in AI-powered tools and streamlined workflows. In my experience, the key to success is combining reliable anatomical references with intelligent segmentation, retopology, and texturing. Whether you’re in education, medicine, or XR development, the right approach saves hours and improves clarity for all stakeholders. This guide distills my hands-on methods, highlights best practices, and compares AI and traditional modeling so you can deliver high-quality 3D nervous system assets efficiently.
Key takeaways
- Use verified anatomical references and segment with precision for medical accuracy.
- AI-driven platforms accelerate modeling, but always review outputs for fidelity.
- Retopology and smart texturing are essential for clean, performant models.
- Rigging and animation tools enable interactive educational and XR experiences.
- Match your workflow to project needs—balance speed, accuracy, and usability.
Overview of 3D Nervous System Models
Why 3D models matter in neuroscience and education
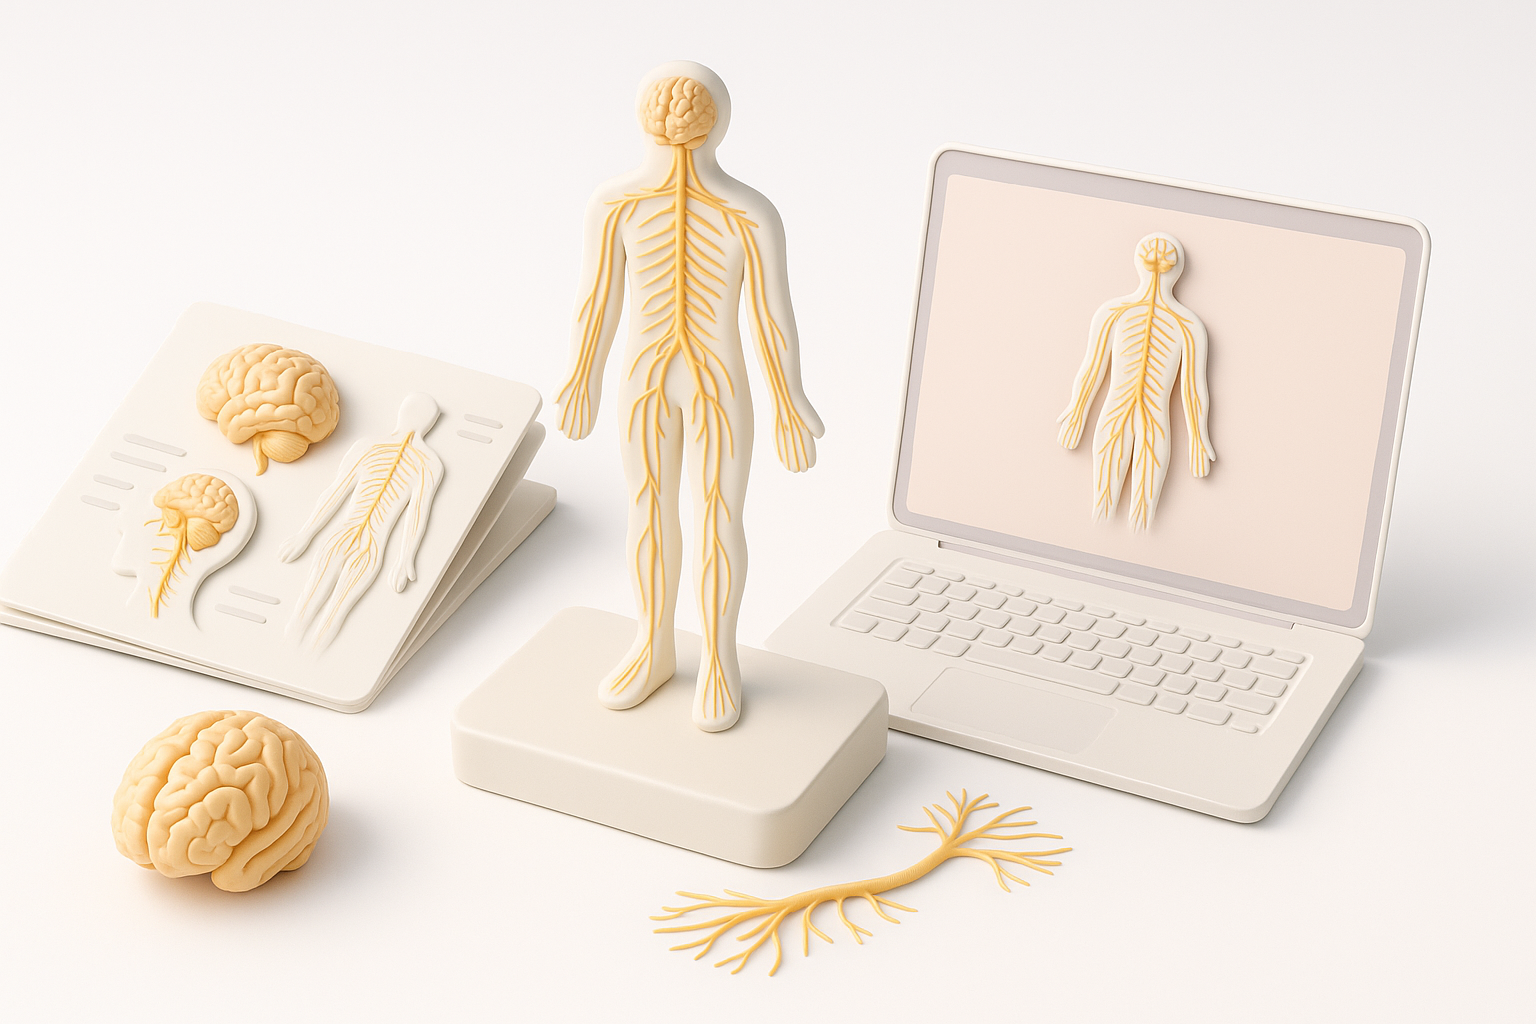
In my work with educators and medical professionals, 3D nervous system models have proven invaluable for visualizing complex structures and processes. Unlike static diagrams, interactive 3D assets allow users to explore neural pathways, rotate views, and simulate functions—making abstract concepts tangible. This is especially powerful in classrooms, patient consultations, and XR applications, where engagement and comprehension are critical.
Key features and anatomy represented in 3D
A robust nervous system model should accurately depict the central and peripheral components: brain regions, spinal cord, cranial and spinal nerves, ganglia, and major neural tracts. I always ensure critical structures—like the cerebrum, cerebellum, brainstem, and plexuses—are distinct and proportionally correct. Fine details, such as nerve roots and branching patterns, are essential for medical accuracy and should be clearly segmented and labeled.
Best Practices for Building a Nervous System 3D Model
Choosing the right reference materials and data
I start every project by sourcing high-quality anatomical references: medical atlases, MRI/CT datasets, and peer-reviewed illustrations. For clinical-grade models, I prioritize datasets with clear labeling and cross-sectional views. When possible, I consult with subject matter experts to validate ambiguous regions.
Checklist for reference selection:
- Use up-to-date anatomical atlases or imaging data
- Cross-reference multiple sources for ambiguous structures
- Confirm scale and orientation match your project’s requirements
Optimizing segmentation, retopology, and texturing
Segmentation is the backbone of a clean model. I use AI-assisted segmentation to outline major structures, but always manually refine borders—especially around delicate nerve branches. For retopology, I aim for balanced polygon counts: dense enough for detail, but optimized for real-time use. Texturing is where realism comes in; I apply high-resolution maps and procedural shaders, ensuring color and texture match reference images.
Pitfalls to avoid:
- Over-segmentation, which results in unnecessarily complex models
- Ignoring topology flow, leading to deformation issues during animation
- Using generic textures that don’t match nervous tissue appearance
Step-by-Step Workflow: From Concept to Completion

My process for generating models from text, images, or sketches
When starting from scratch, I often use AI-powered tools like Tripo to quickly generate a base mesh from descriptive text prompts, reference images, or even hand-drawn sketches. This jumpstarts the process and lets me focus on refinement rather than basic modeling. I then import the base into my preferred 3D suite for further adjustments.
Typical workflow:
- Input text, image, or sketch into Tripo to generate the initial model.
- Review and edit segmentation to ensure anatomical accuracy.
- Refine geometry and retopology for clean topology.
- Apply and adjust textures for realism.
Integrating intelligent tools for rigging and animation
Rigging nervous system models can be tricky due to their branching, organic forms. I use intelligent rigging tools that recognize neural pathways and automate joint placement, saving hours of manual work. For interactive or XR projects, I add simple animations to simulate nerve impulses or highlight specific tracts.
Tips:
- Use auto-rigging features for consistent results
- Test deformations to catch issues early
- Keep rigs lightweight for real-time applications
Comparing Tools and Methods for Nervous System Modeling
AI-powered platforms vs. traditional modeling approaches
AI-powered platforms, in my experience, dramatically reduce the time needed to create accurate nervous system models. Traditional sculpting and manual segmentation are still valuable for custom or highly detailed work, but for most projects, AI tools deliver solid base meshes and textures in minutes. However, always plan for a review and manual cleanup pass—AI is fast, but not infallible.
Comparison summary:
- AI tools: Speed, automation, good for standard anatomy, need validation
- Manual modeling: Maximum control, higher labor, best for bespoke needs
Tips for selecting the best workflow for your project
I recommend evaluating project requirements first: Is speed or anatomical precision more important? For educational and XR use, AI-generated models with minor tweaks are usually sufficient. For surgical planning or research, invest more time in manual refinement and expert review.
Decision checklist:
- Define intended use (education, clinical, XR, etc.)
- Assess available references and expertise
- Match tool choice to deadline and fidelity needs
Applications and Use Cases for 3D Nervous System Models
Educational, medical, and XR industry examples
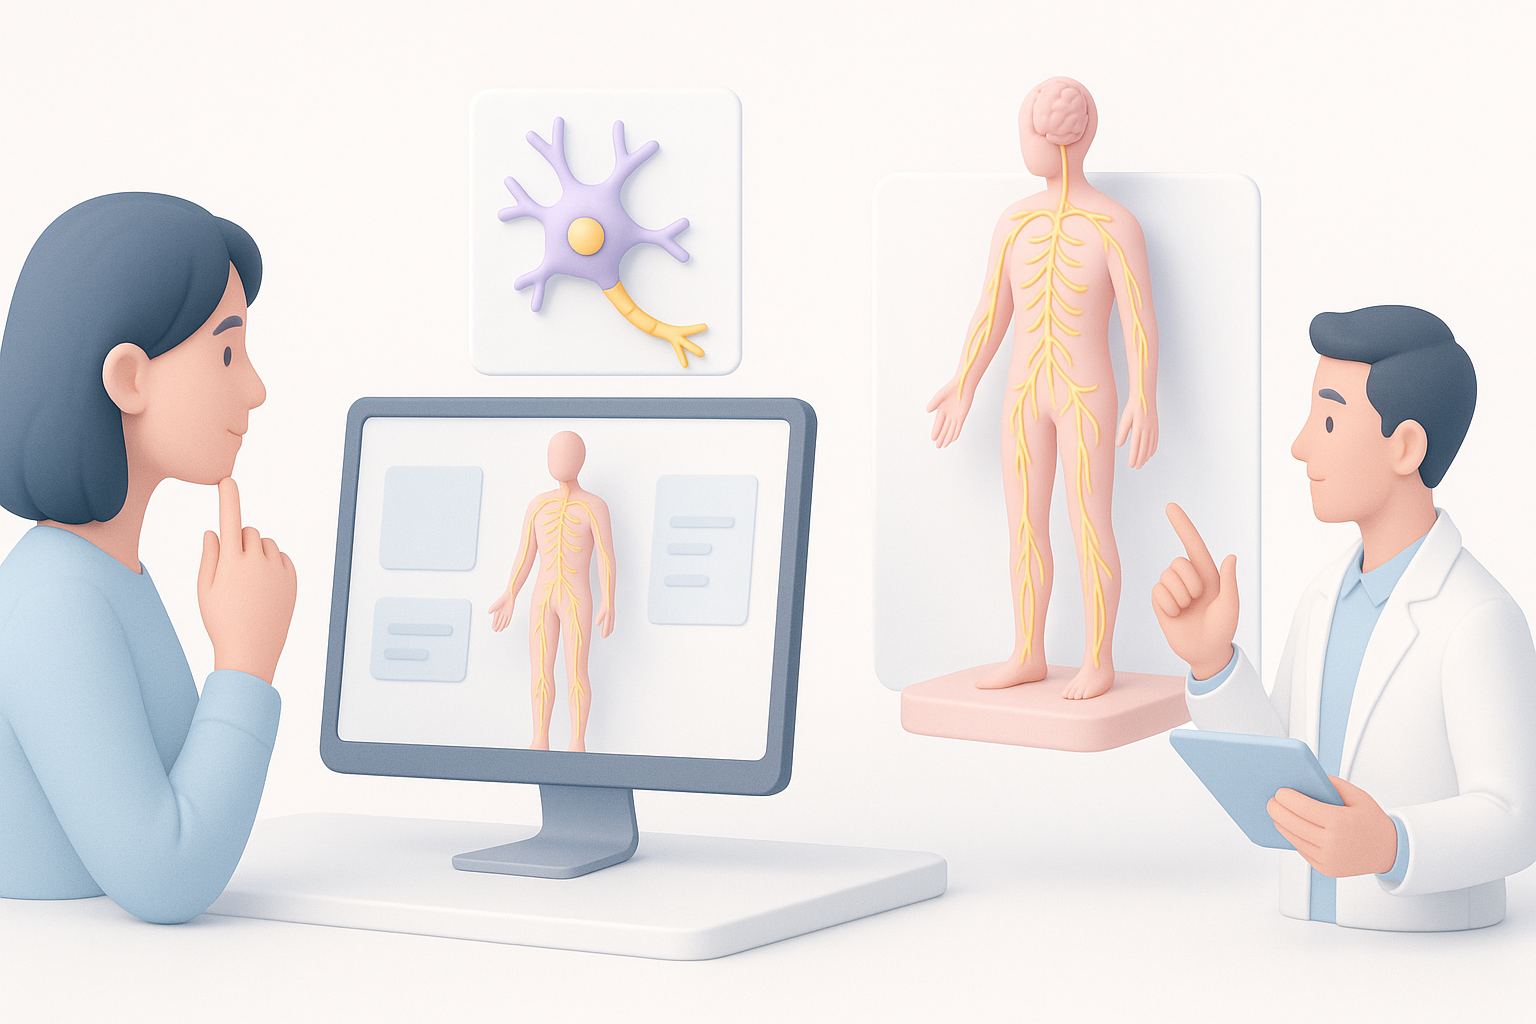
I’ve seen 3D nervous system models transform anatomy classes, making lectures interactive and memorable. In medical settings, clinicians use them to explain procedures or pathologies to patients. XR developers leverage these models for immersive simulations and virtual labs, enhancing both training and patient outcomes.
Real-world examples:
- Interactive anatomy apps for students
- Surgical planning tools for neurologists
- AR overlays for patient education
What I’ve learned from real-world deployments
Deploying these models has taught me that usability and clarity matter as much as anatomical detail. Overly complex models can overwhelm users, while well-designed, labeled assets invite exploration and understanding. Always collect user feedback and iterate—what works in theory may need adjustment in practice.
Lessons learned:
- Prioritize clear labeling and navigation aids
- Optimize for device performance and interactivity
- Regularly update models as anatomical knowledge evolves
By following these insights and practical steps, you can create 3D nervous system models that are accurate, engaging, and ready for real-world impact—no matter your industry or experience level.