Creating and Optimizing an MQ-9 3D Model: Expert Workflow
Building a production-ready MQ-9 3D model requires a blend of solid reference gathering, efficient modeling, and smart use of AI-powered tools. In my experience, combining traditional techniques with advanced platforms like Tripo AI dramatically accelerates the workflow without sacrificing accuracy. This guide is for artists, game developers, and XR creators who want to deliver high-quality MQ-9 models quickly—while ensuring the model is optimized for real-time or cinematic use.
Key takeaways
- Start with comprehensive reference collection and clear topology planning for accuracy.
- Block out major forms first, then refine details methodically.
- Use AI-driven tools to automate segmentation, retopology, and basic texturing—then polish manually.
- Optimize UVs, materials, and exports for your target platform (games, film, XR).
- Manual intervention is still vital for fine details and authenticity.
- Avoid common pitfalls by double-checking scale, normals, and mesh integrity.
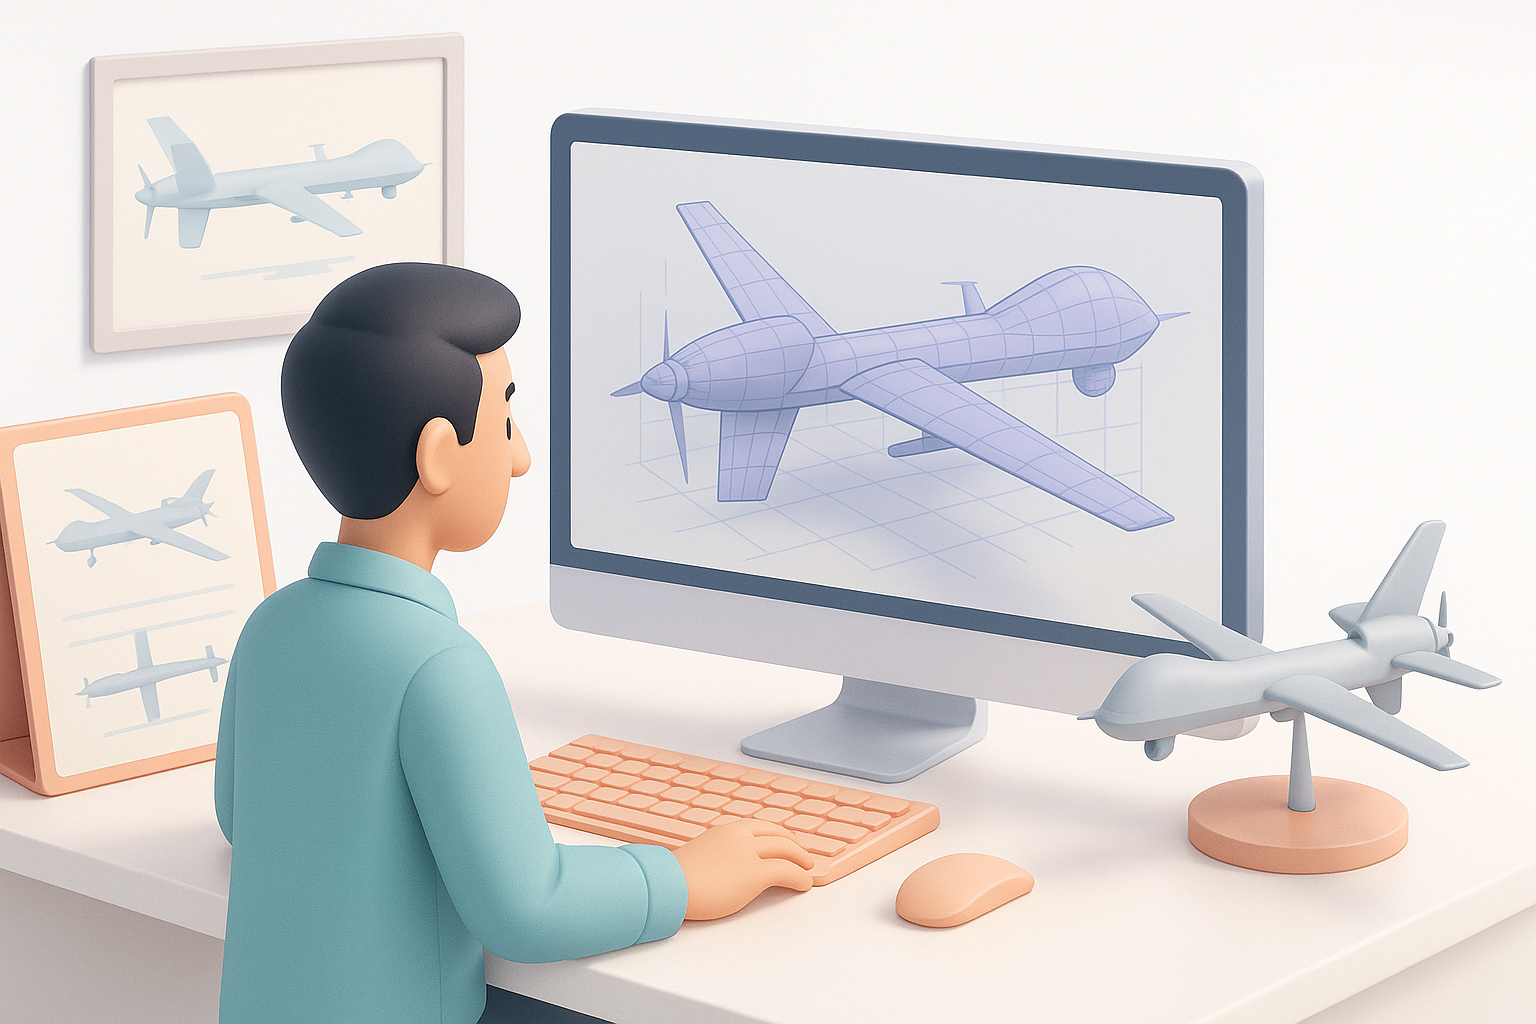
Understanding the MQ-9: Reference Gathering and Planning
Essential reference sources and blueprints
Before modeling, I gather as much visual data as possible. My go-to sources include:
- Official military blueprints and side views
- High-resolution photos from multiple angles (museum exhibits, air shows, manufacturer galleries)
- Technical diagrams and scale drawings
I keep all references organized in a PureRef board or similar, aligning them to ensure consistent scale and perspective.
Checklist:
- Match at least three orthographic views (top, side, front)
- Note key proportions—wingspan, fuselage length, sensor pod placements
- Save close-ups of landing gear, propeller, and weapon hardpoints
Planning topology and scale for accuracy
I always start by setting my scene to real-world units (meters) and locking in the correct scale. For the MQ-9, this helps ensure compatibility with game engines and AR/VR platforms.
When planning topology:
- Identify hard-surface areas (fuselage, wings) versus detailed mechanical parts (landing gear, sensors)
- Plan for clean edge flow around moving parts (e.g., propeller hub, landing gear bays)
- Consider polycount targets early—lower for real-time, higher for film
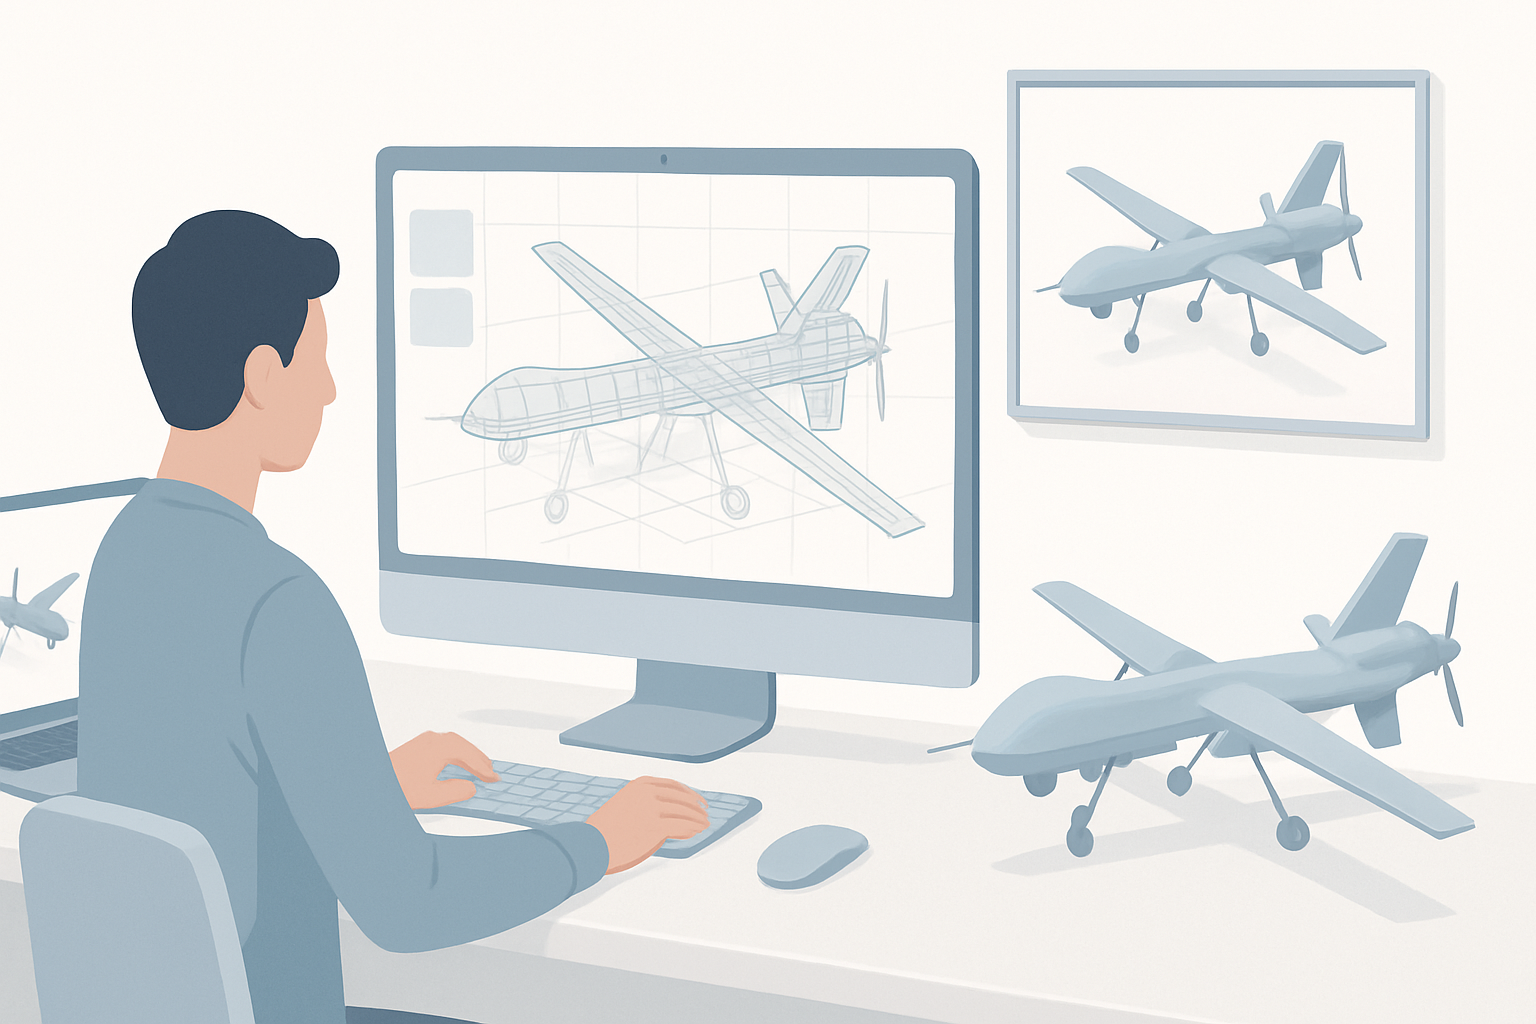
My Step-by-Step MQ-9 3D Modeling Process

Blocking out the main forms and proportions
I begin with simple primitives—boxes and cylinders—to quickly block out the overall shape. This helps me verify proportions against my reference images before committing to detail.
My steps:
- Block the fuselage as a cylinder, wings as flat planes
- Rough in the tail, engine pod, and landing gear positions
- Regularly check the model against orthographic references
This stage is crucial for catching proportion errors early.
Detailing and refining the geometry
Once the main forms are locked, I start refining:
- Add edge loops to define hard creases and smooth curves
- Use subdivision surfaces for the fuselage and wings, keeping the base mesh clean
- Model complex parts (sensor pods, weapon mounts) as separate objects for easier management
Pitfall: Rushing into details before nailing proportions leads to more rework later. I always double-check the silhouette from all main angles.
Texturing and Material Best Practices for Realism
UV unwrapping and texture baking tips
Clean UVs are essential. I use AI tools for auto-unwrap when speed is critical, but for hero assets, I unwrap manually to minimize seams on visible surfaces.
My process:
- Lay out UV islands logically (fuselage, wings, details)
- Maximize texel density for prominent areas
- Bake normal and AO maps from a high-poly version if needed
Tip: Always check for flipped or overlapping UVs before baking.
Applying realistic materials and decals
For realism:
- I start with a base metal or composite material, adjusting roughness and reflectivity to match MQ-9 references
- Add subtle panel lines, rivets, and weathering using masks or decals
- Place insignia and warning labels as separate decal meshes or layered textures
Checklist:
- Use reference photos for decal placement
- Subtle weathering adds authenticity, but avoid overdoing it for military assets
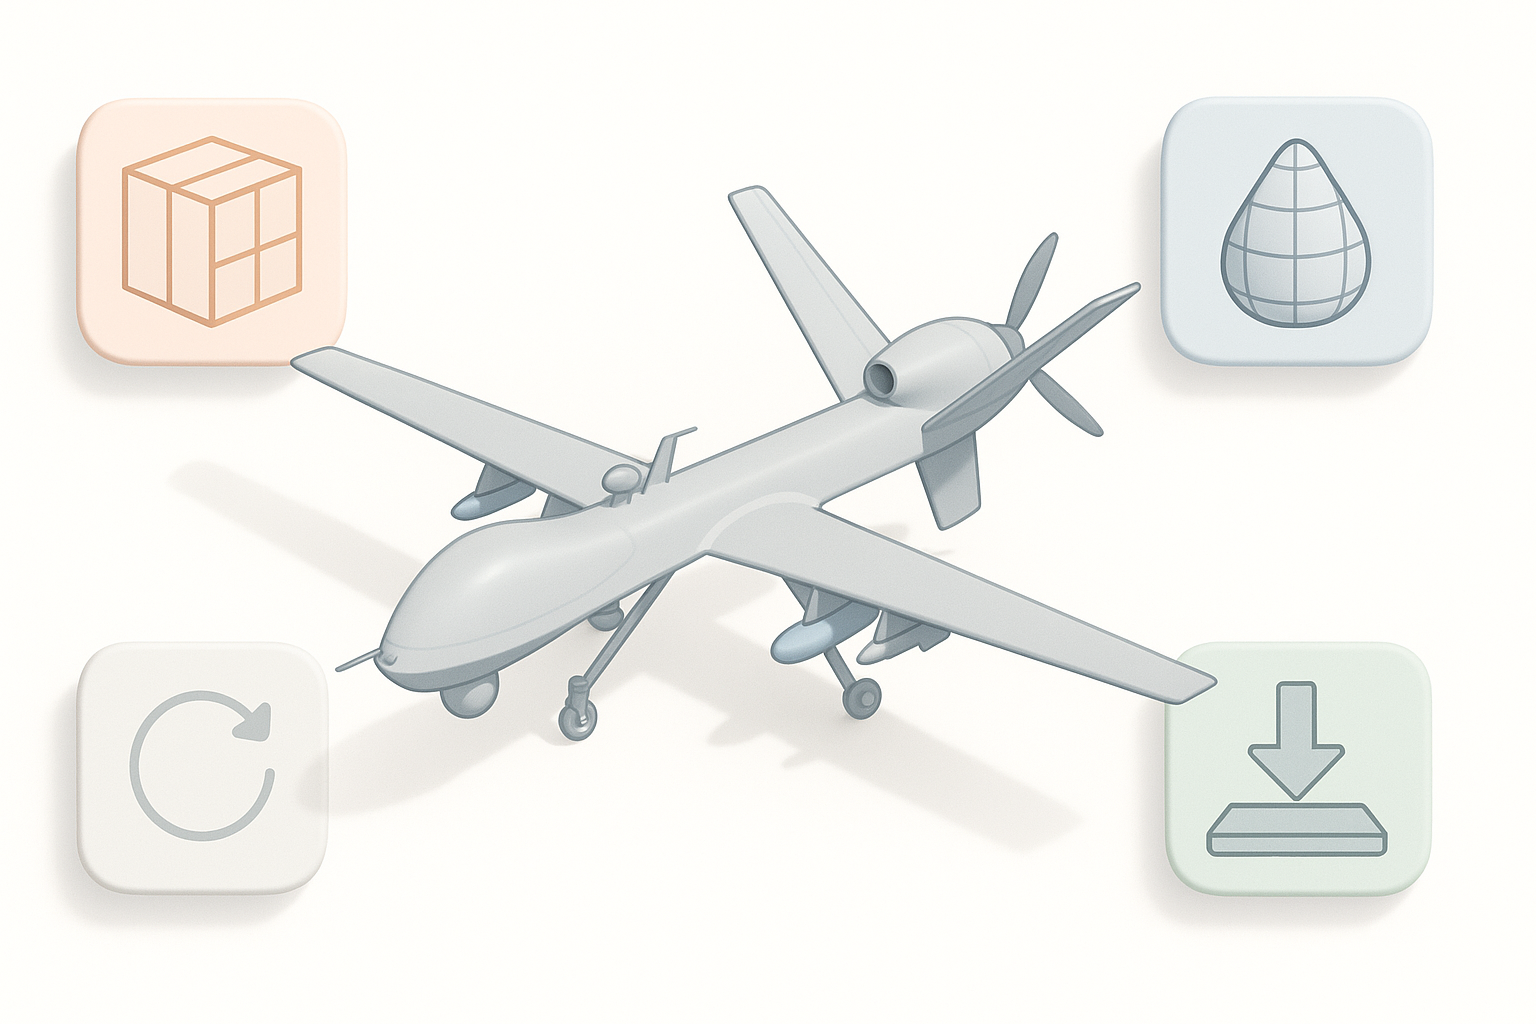
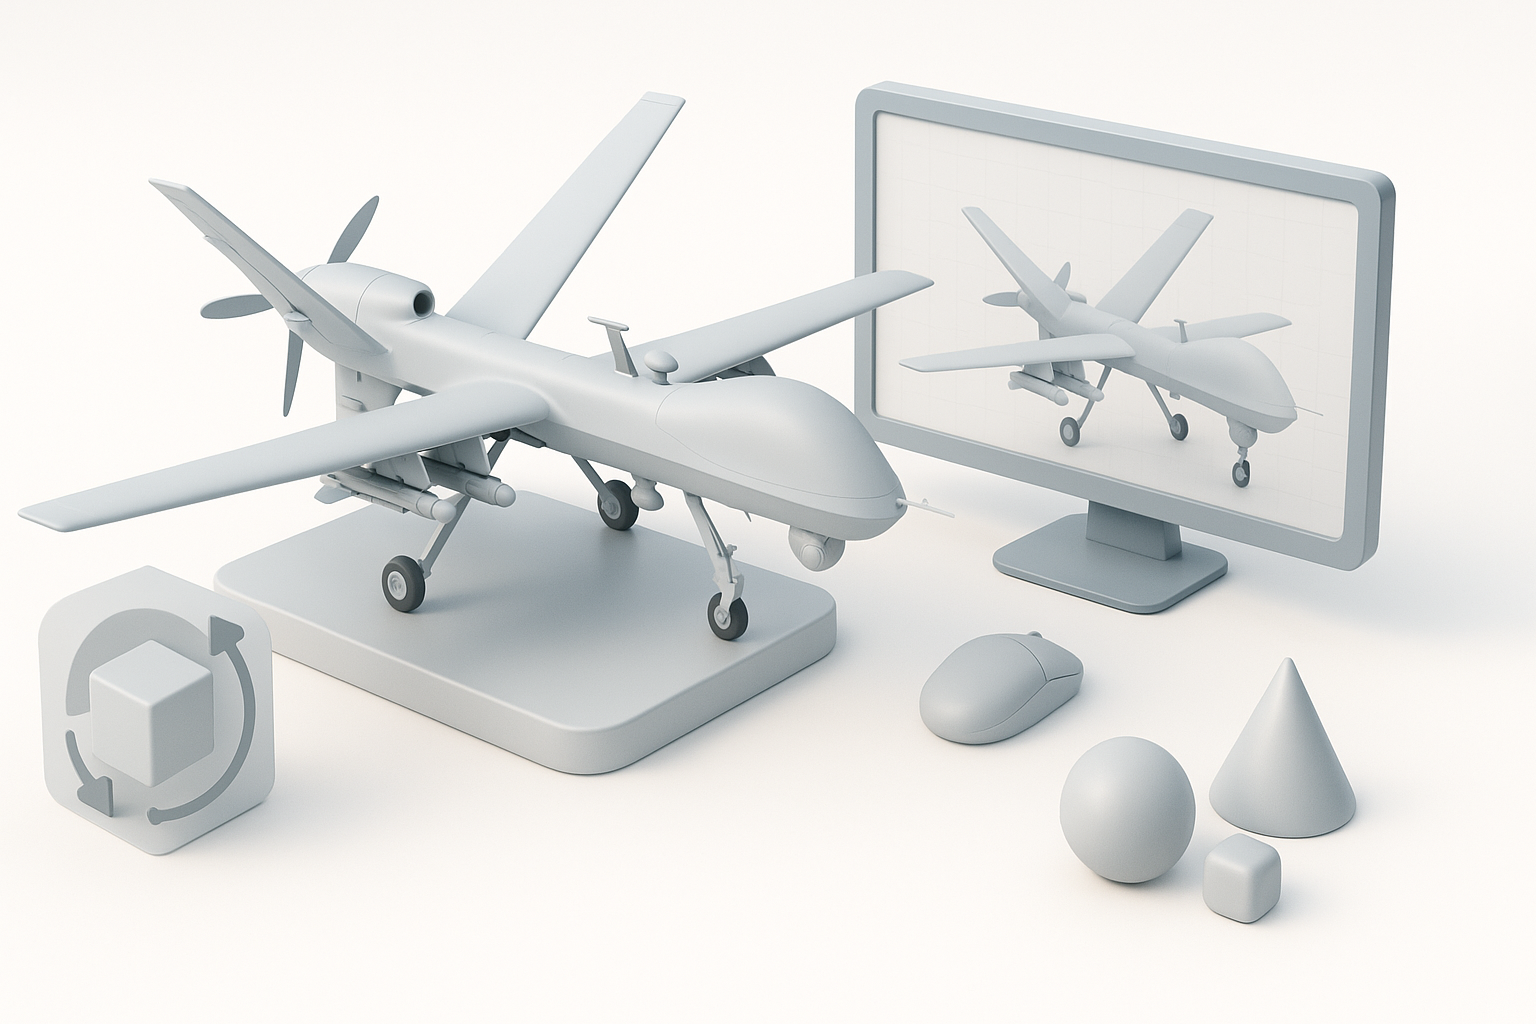
Retopology, Optimization, and Exporting

Efficient retopology for production use
I rely on AI-powered retopology for quick results, especially for complex shapes. For critical moving parts or deformation areas, I retopologize manually to ensure edge flow supports animation.
Best practices:
- Keep polycount within target limits (e.g., 20–40k for real-time MQ-9)
- Remove hidden or unnecessary geometry
- Check for ngons and non-manifold edges
Export settings for games, film, and XR
Export requirements vary:
- Games/XR: FBX or glTF, triangulated meshes, embedded textures, and packed UVs
- Film: OBJ or Alembic, higher polycount, separate texture channels
Tip: I always test imports in the target engine or DCC tool before final delivery.
Comparing AI-Powered and Traditional 3D Workflows
Where AI tools accelerate the MQ-9 modeling process
AI-driven platforms like Tripo AI significantly speed up:
- Initial segmentation and blocking of complex shapes
- Automated retopology and UV unwrapping
- Generating base textures and materials
This lets me focus on creative and technical polish rather than repetitive setup.
When to use manual techniques for best results
Despite AI advances, I still handle:
- Fine-tuning critical details and proportions
- Custom decal placement and weathering
- Final checks for animation-readiness and export compliance
Manual intervention ensures the final MQ-9 model meets both artistic and technical standards.
My Lessons Learned and Pro Tips for MQ-9 3D Models
Common pitfalls and how I avoid them
- Mismatched scale: Always set real-world units from the start.
- Topology errors: Regularly check for ngons, flipped normals, and stray vertices.
- Texture stretching: Inspect UVs and test bakes early.
- Over-detailing: Prioritize silhouette and major details; add micro-detail only if budget allows.
Recommended resources and further learning
- Military model reference forums and blueprint archives
- Hard-surface modeling tutorials (YouTube, ArtStation Learning)
- Documentation for your chosen AI 3D platform
- Communities focused on real-time asset creation
Final tip: Combining AI-powered automation with hands-on craftsmanship yields the best results—fast, accurate, and production-ready MQ-9 3D models.