How to Create a Realistic Moon 3D Model: Expert Workflow
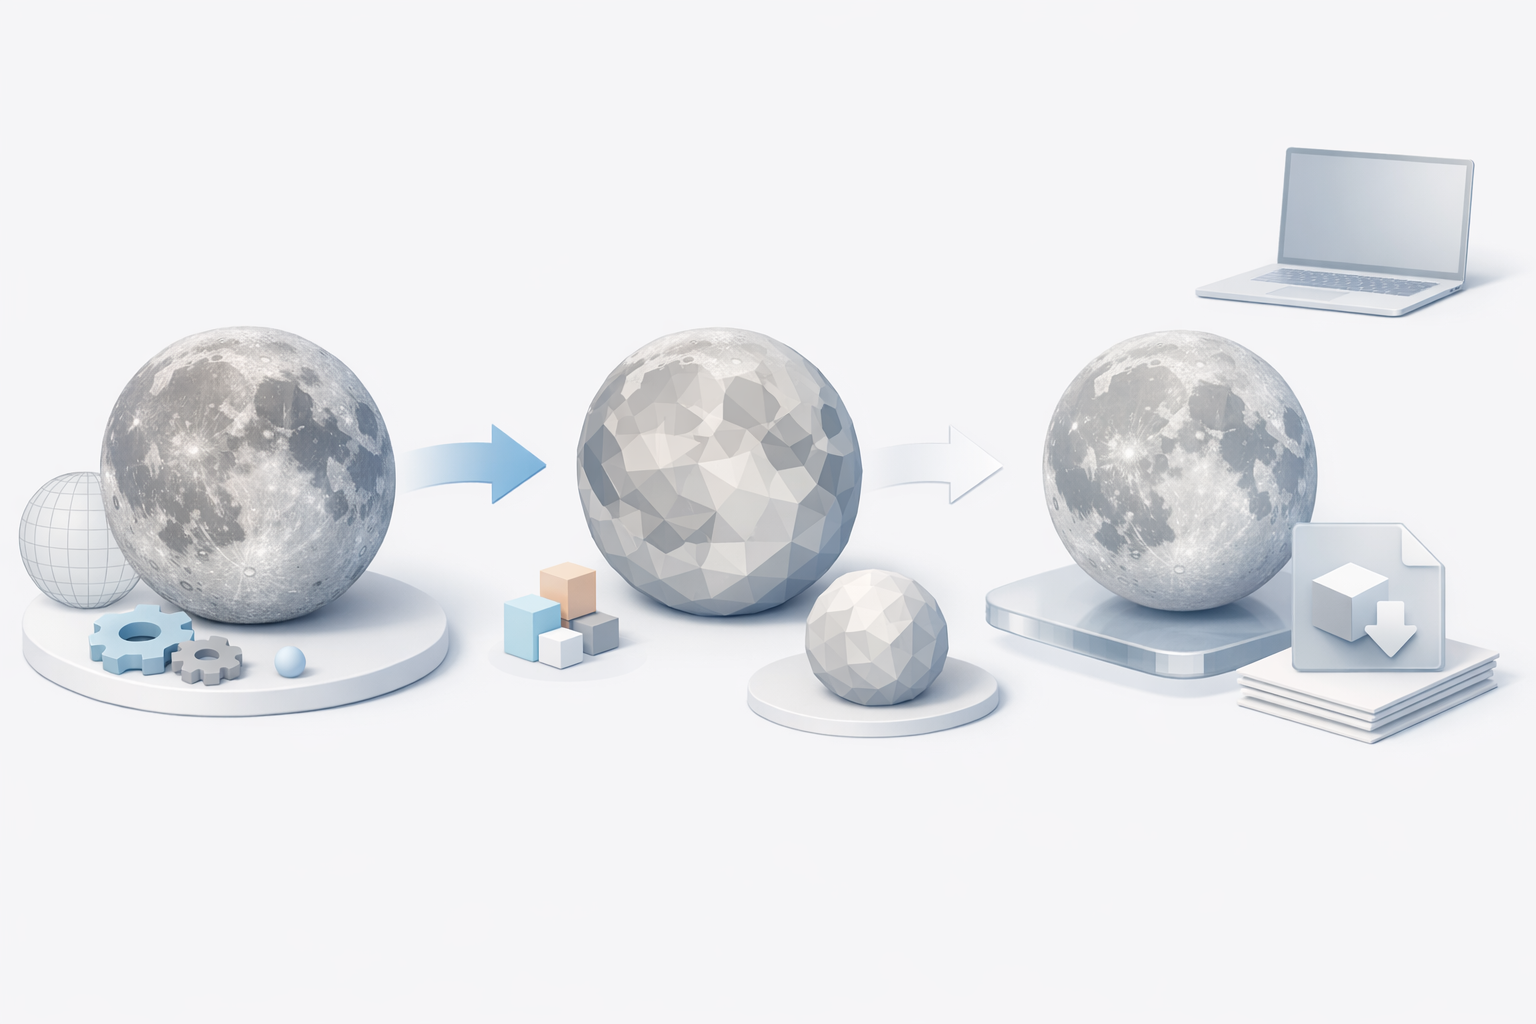
Creating a realistic moon 3D model is all about balancing scientific accuracy with artistic efficiency. In my workflow, I prioritize high-quality references, streamlined modeling, and leveraging AI-powered tools like Tripo to accelerate tedious steps such as texturing and retopology. This guide is for 3D artists, game developers, and XR creators looking to produce a production-ready moon asset—whether for real-time or cinematic use. Below, I’ll break down my end-to-end process, share practical tips, and highlight where AI can make the biggest impact.
Key Takeaways
- Start with strong reference material and a clear scope.
- Block out the sphere, then focus on realistic crater and surface detail.
- Use high-res maps for texturing; AI tools can speed up UVs and materials.
- Optimize your mesh for your target platform early.
- Leverage AI-powered workflows for faster iteration, but know when manual tweaks are needed.
Executive Summary and Key Takeaways
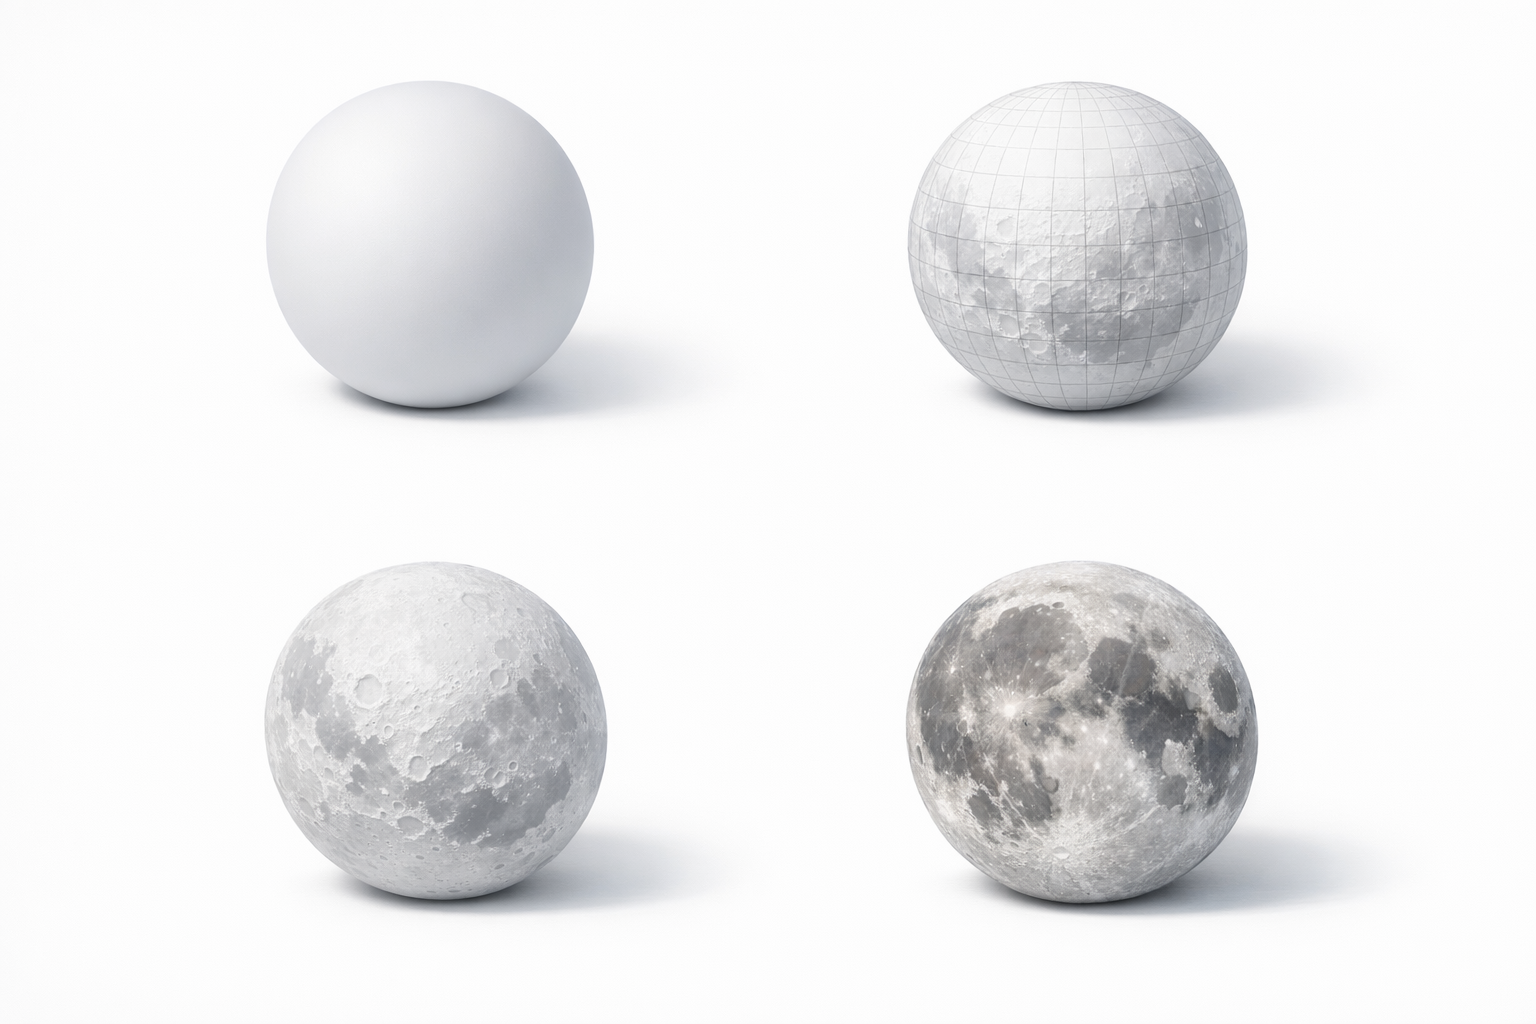
What to Expect When Creating a Moon 3D Model
Expect a balance of technical and creative work: modeling the sphere, sculpting craters, and handling realistic texturing. The hardest part is often getting the surface detail to look natural without overwhelming your polycount or texture memory. I rely on both manual sculpting and AI segmentation/texturing tools to streamline the process, especially for repetitive or high-detail tasks.
Essential Tools and Techniques Overview
For this project, I use a standard DCC (Digital Content Creation) tool for base modeling and sculpting, and Tripo for AI-assisted segmentation, retopology, and texturing. You’ll also need access to high-quality reference images and, ideally, displacement or normal maps from lunar data sources.
Mini Checklist:
- DCC software (e.g., Blender, Maya)
- Tripo AI access
- NASA or similar lunar texture data
- Basic sculpting and shading skills
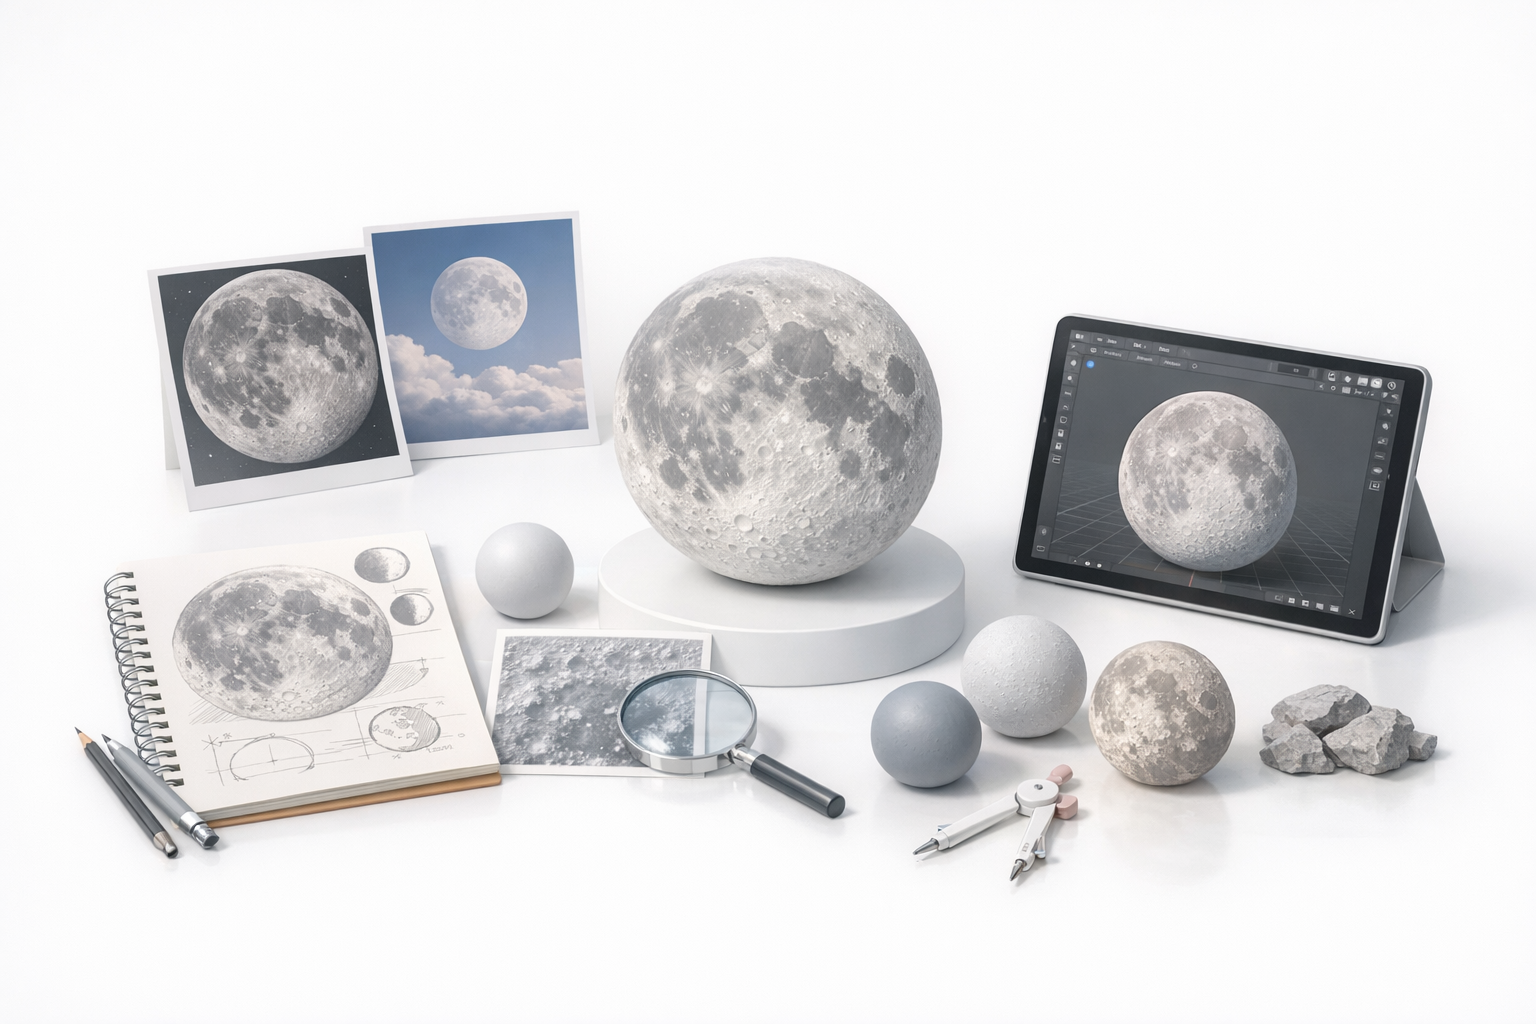
Planning and Reference Gathering
Selecting Accurate Moon References
Accurate references are crucial. I usually start with public domain resources like NASA’s LRO (Lunar Reconnaissance Orbiter) maps, which provide high-res images and elevation data. I gather both color and bump/displacement maps, as well as reference images for lighting and scale.
Tips:
- Use multiple sources to avoid bias or artifacts.
- Organize references in a PureRef board or similar tool for easy access.
Defining Project Scope and Level of Detail
Before modeling, I define the target platform (real-time vs. film), which informs my polygon budget and texture resolution. For games, I keep the mesh lighter and rely on normal maps. For cinematic shots, I allow for more geometry and 8K+ textures.
Pitfall:
Don’t overscope—decide early how close the camera will get, and match your detail accordingly.
Modeling the Moon: Step-by-Step Process
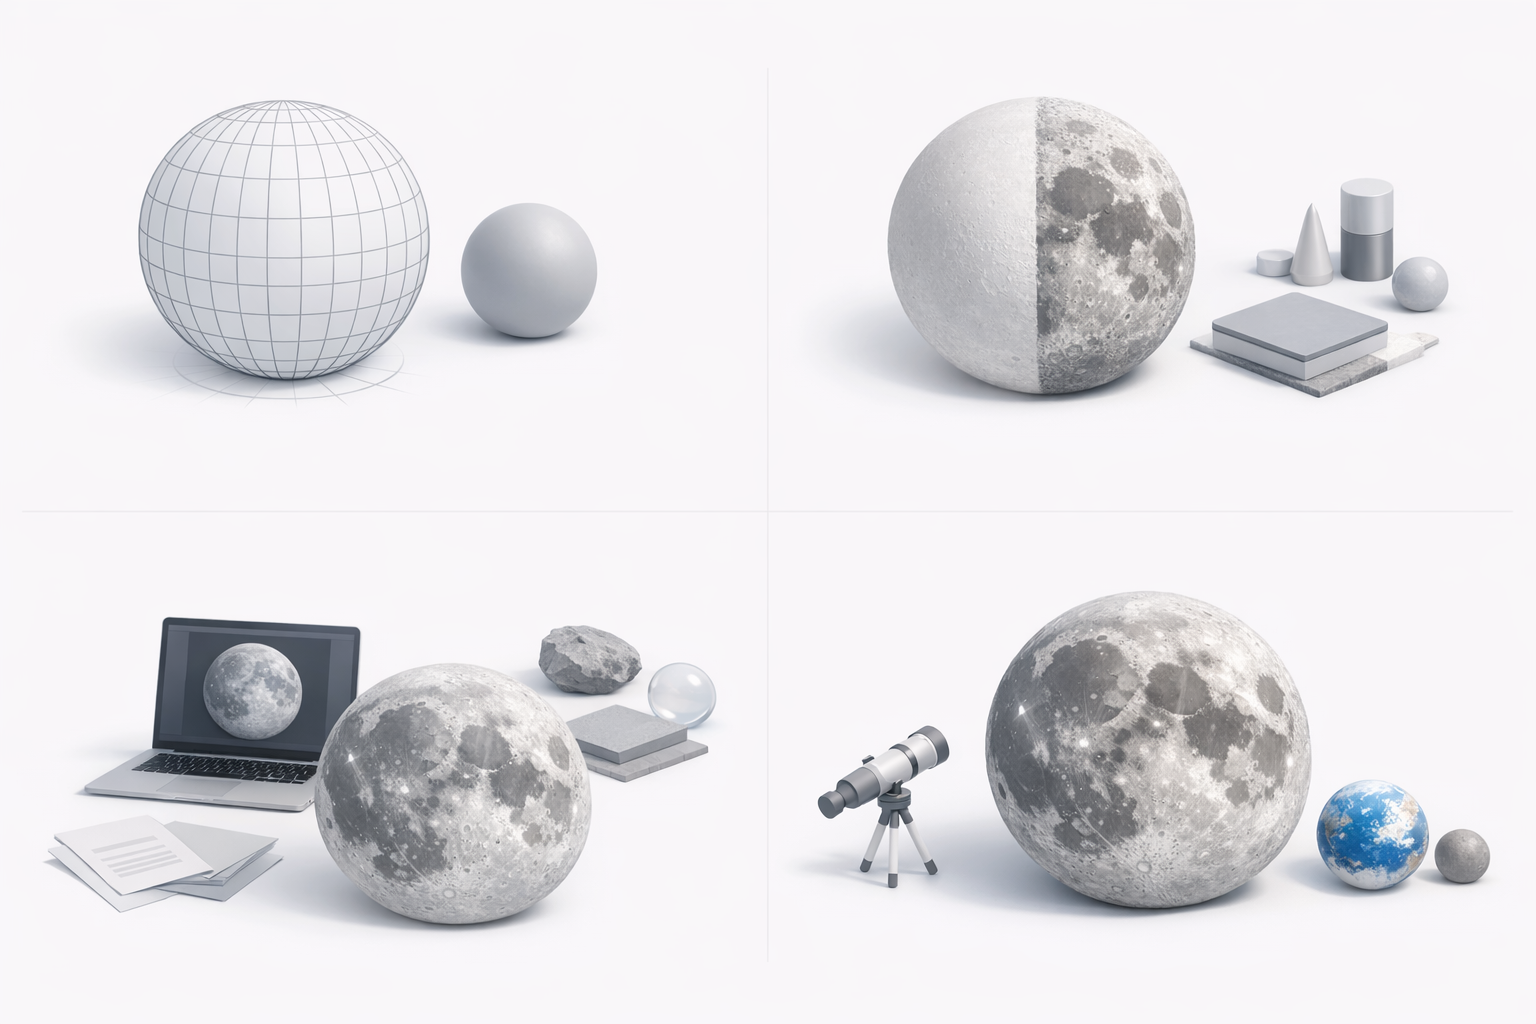
Blocking Out the Basic Shape
I start with a basic sphere, subdivided enough to avoid visible faceting. For real-time, I keep it under 10k tris; for high-res, I go higher. I position the UV seam at the “dark side” to minimize visible texture artifacts.
Steps:
- Add a sphere primitive.
- Subdivide as needed.
- Lay out basic UVs.
Adding Craters and Surface Details
For craters, I use a combination of sculpting brushes and displacement maps. I often import grayscale height maps (from NASA data) and apply them as displacement or normal maps for realism. Tripo’s intelligent segmentation can help isolate crater regions for focused detailing.
What I’ve found:
- Mixing sculpted and mapped detail gives the best results.
- Avoid overpopulating craters—reference real distribution patterns.
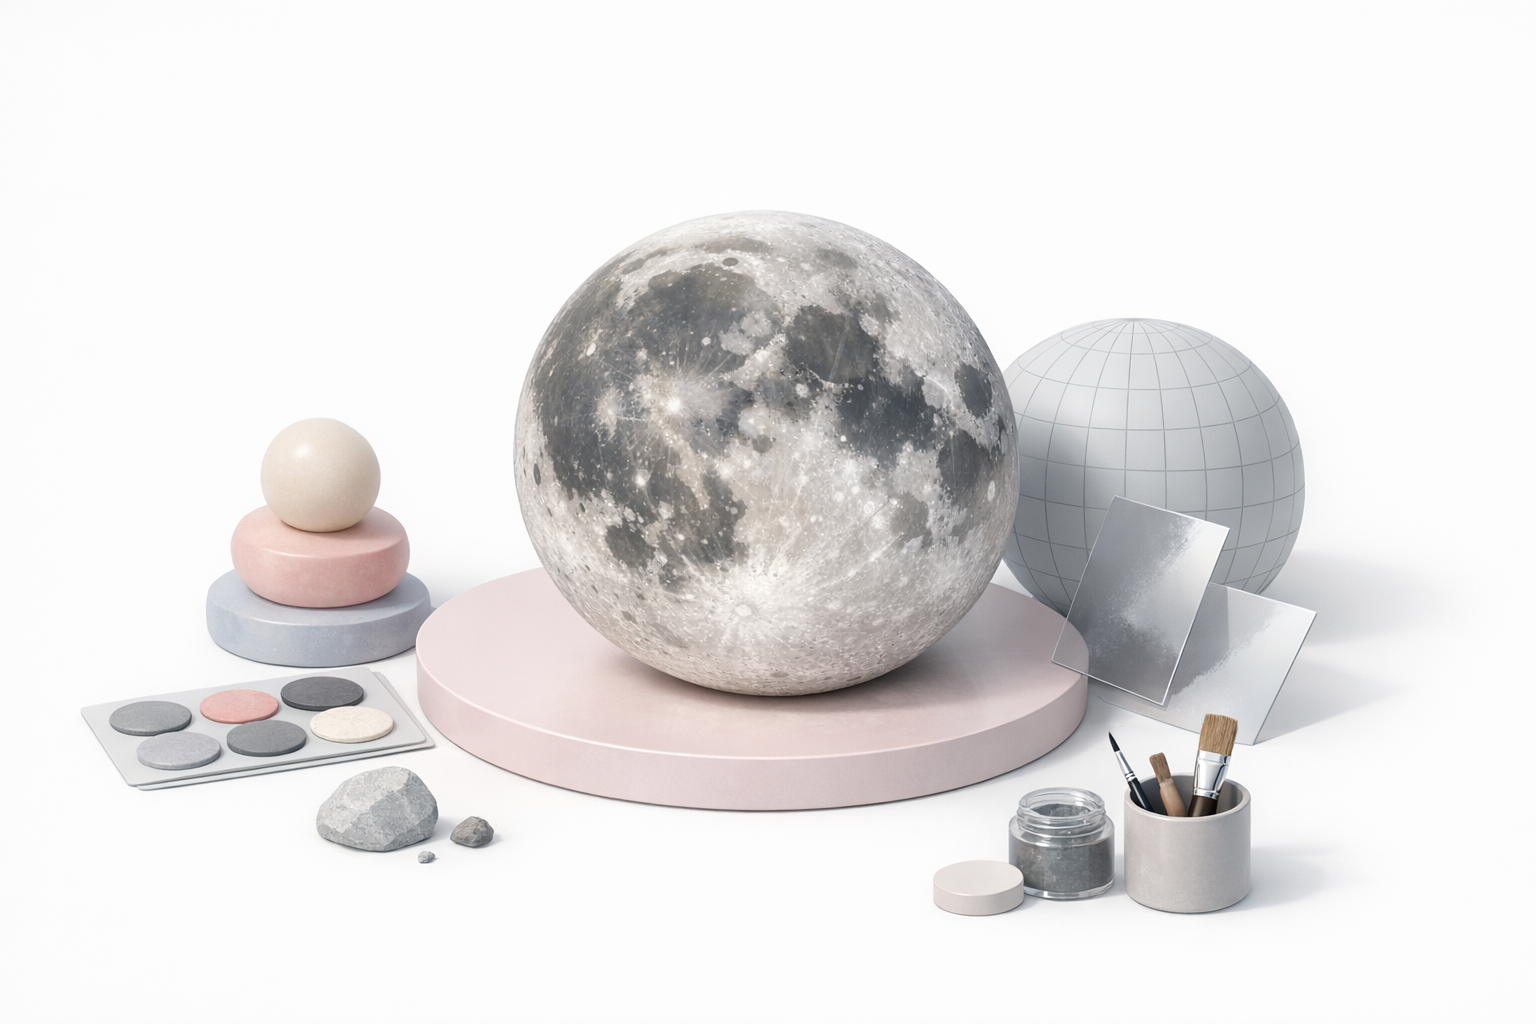
Texturing and Shading for Realism
Sourcing or Creating Moon Surface Textures
I source high-res lunar albedo and normal maps, often from public datasets. If resolution is lacking, I use AI upscaling or procedural texturing. For consistent results, I sometimes blend photographic and procedural textures.
Mini-Checklist:
- Albedo/color map
- Normal/displacement map
- Roughness/specular map
Applying Materials and Adjusting Shaders
I apply textures via standard PBR workflows. Adjusting roughness and specularity is key—moondust is matte, but rocks can be slightly reflective. I use Tripo’s auto-material assignment to save time, but always tweak manually for final polish.
Pro Tip:
Test your shader under different lighting angles to ensure realism.
Optimizing and Exporting the Model
Retopology and Mesh Optimization
For real-time use, I decimate the mesh and use Tripo’s retopology tools to maintain crater detail with fewer polygons. For film assets, I keep higher density but still clean up unnecessary loops.
Pitfall:
Don’t skip mesh cleanup—stray verts and non-manifold edges can break exports.
Export Settings for Different Platforms
Export settings depend on your target. For games, I use FBX with baked maps (2–4K). For XR or mobile, I further reduce polycount and compress textures. For VFX, I export high-res meshes with 8K+ maps.
Checklist:
- Correct scale (meters)
- Clean transforms
- Proper map packing (metallic/roughness/AO)
Best Practices and Common Pitfalls
What I’ve Learned from Real Projects
- Reference always wins—never “freestyle” the moon’s surface.
- Keep your node tree organized; messy shaders slow iteration.
- Back up your project before major steps (e.g., retopology).
Tips for Achieving Photorealism
- Use real-world lighting setups (HDRIs from space).
- Layer detail: combine procedural and photographic maps.
- Subtle color variation adds realism—don’t go full gray.
Comparing AI-Powered and Traditional Workflows
Using Tripo AI and Other Tools for Faster Results
AI tools like Tripo dramatically cut time on UVs, texturing, and retopology. I generate base meshes and materials in seconds, then refine manually. This lets me focus more on creative tweaks and less on repetitive technical work.
Manual vs. Automated Approaches: My Experience
Manual sculpting is still best for hero assets or extreme close-ups, but for most projects, AI-accelerated workflows deliver quality and speed. I often blend both: start with an automated base, then sculpt and shade by hand for final polish.
Summary:
AI tools are a force multiplier—use them to handle the grunt work, but rely on your eye and experience for the final 10%.
Keywords: moon 3d model, 3d modeling workflow, realistic texturing, ai 3d tools, expert tips, tripo ai