Creating and Using Minecraft 3D Models: Expert Workflow Guide
Creating Minecraft-style 3D models has become easier and more efficient thanks to AI-powered tools and streamlined workflows. In my experience, whether you're designing for mods, maps, or custom servers, understanding the unique constraints of Minecraft and leveraging smart automation is essential. This guide covers everything from conceptualizing models to importing them into the game, with practical advice for both manual and AI-assisted approaches. If you're a game developer, artist, or hobbyist aiming to produce high-quality, optimized Minecraft assets, this walkthrough will save you time and headaches.
Key takeaways:
- Minecraft models require blocky, low-poly design with simple textures.
- AI tools like Tripo can drastically speed up model creation and texturing.
- Manual editing is often needed for game-ready optimization.
- Proper file formats and conversion are crucial for successful imports.
- Knowing when to use AI vs. manual methods improves workflow efficiency.
- Troubleshooting import issues early prevents wasted effort.
Understanding Minecraft 3D Models
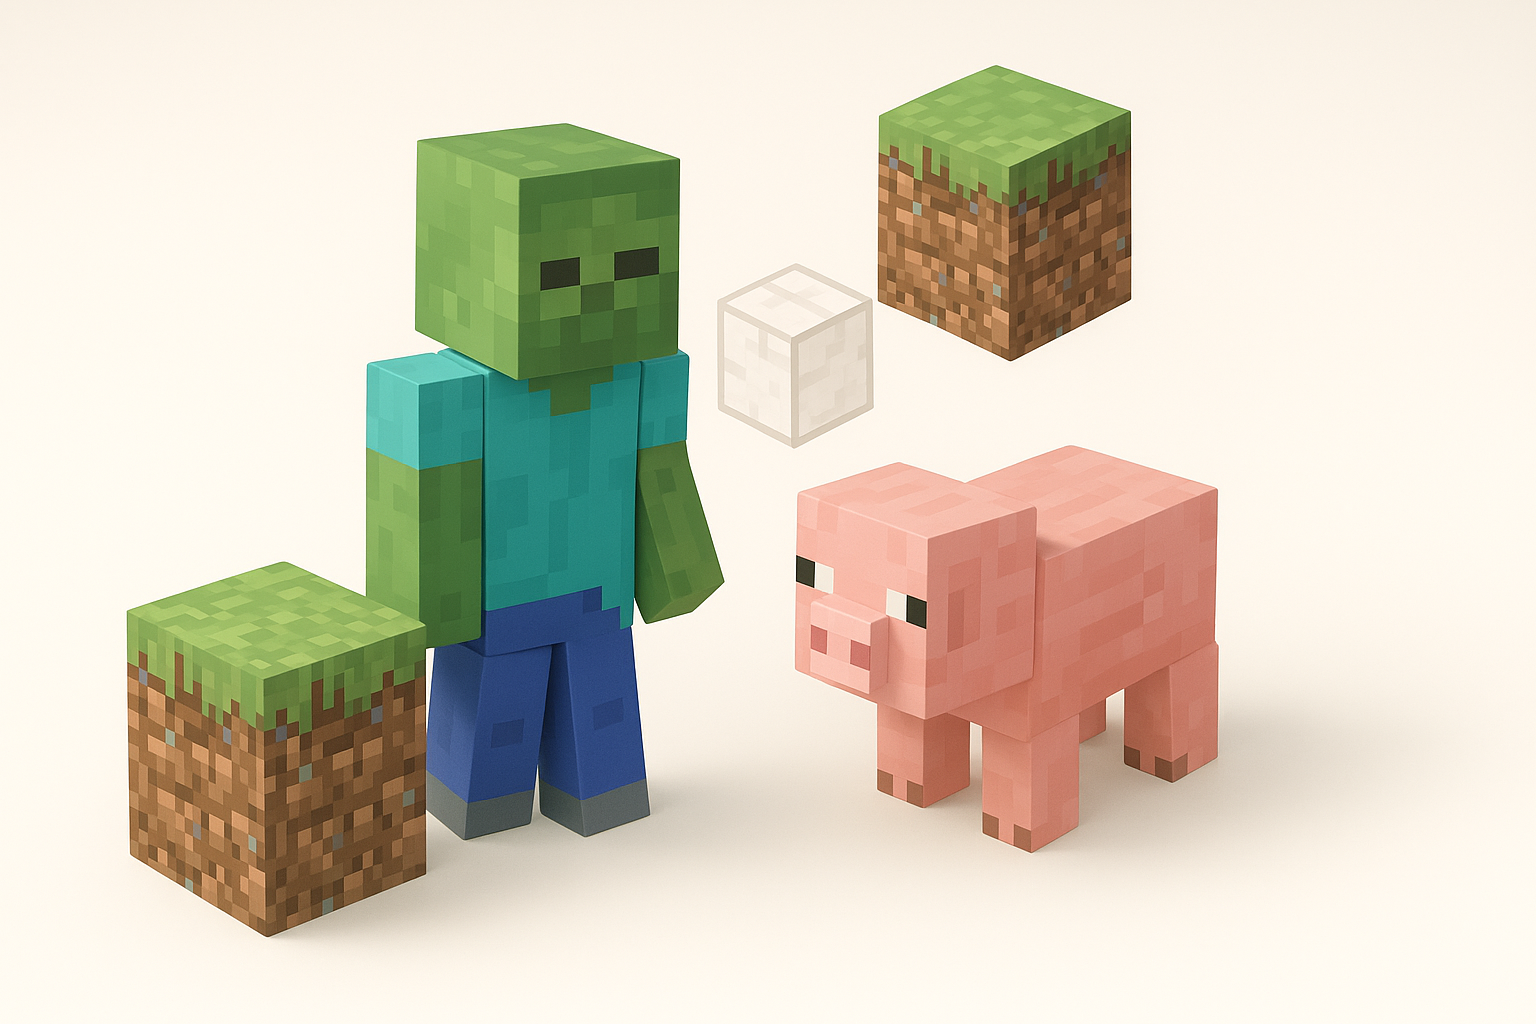
What Makes a Model 'Minecraft-Style'
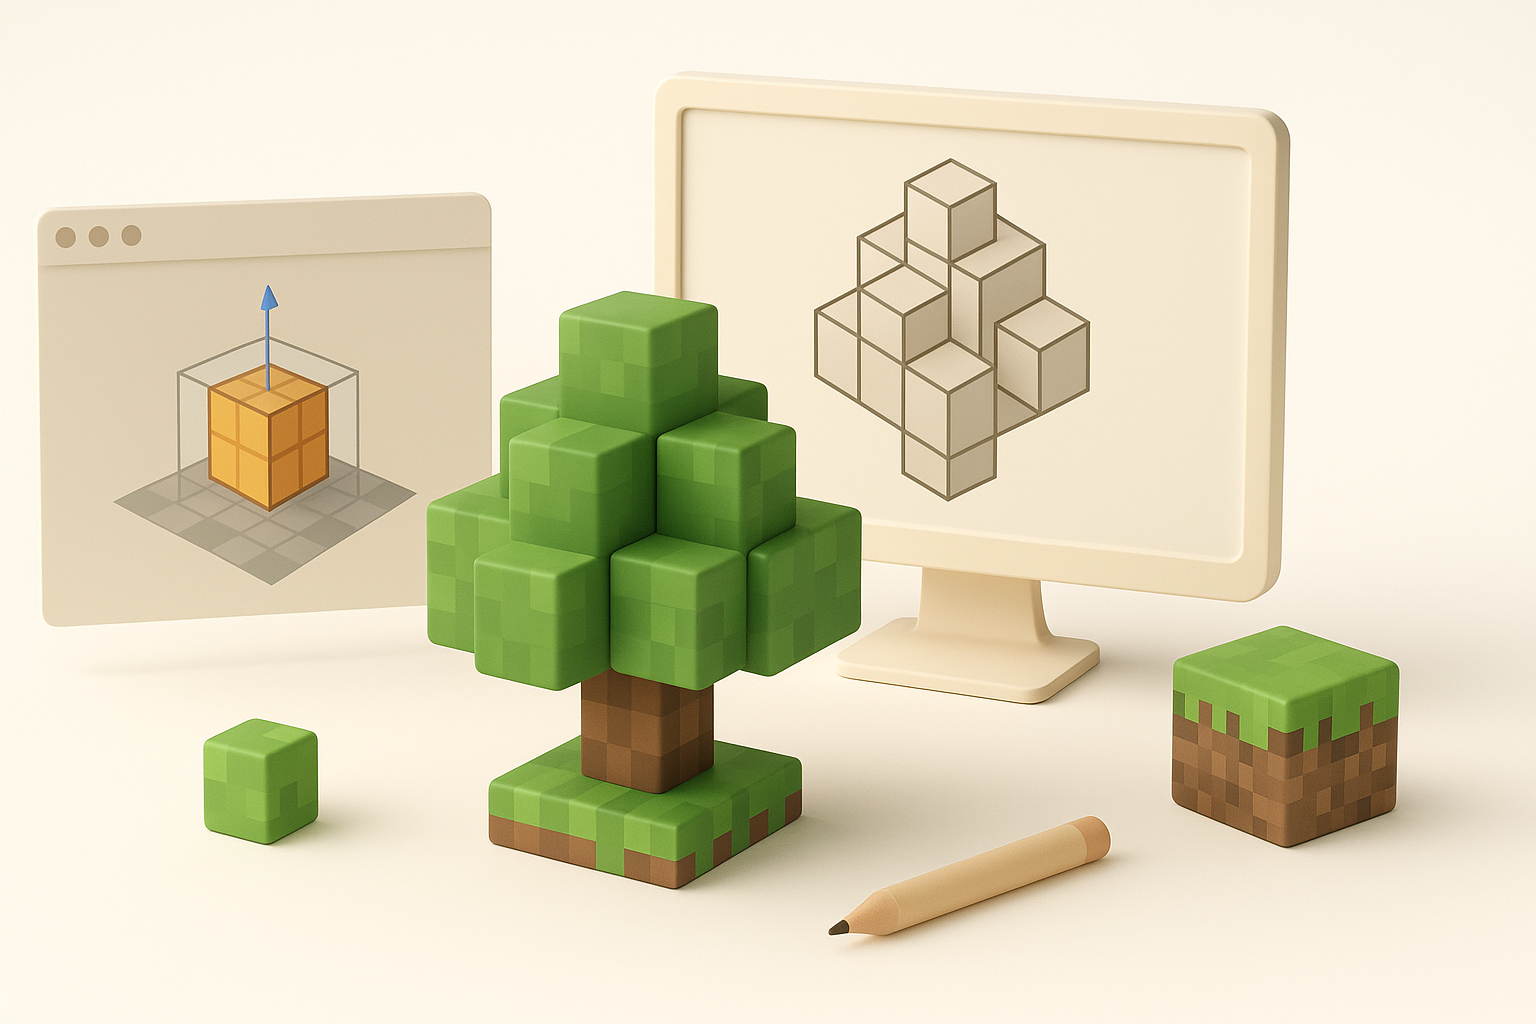
Minecraft models are defined by their blocky, low-poly geometry and pixel-art textures. In my workflow, I always start by limiting the polygon count and sticking to a grid-based structure. This ensures compatibility and visual coherence with the game's aesthetic. Avoiding curves and complex shapes is key—think cubes, slabs, and stairs.
Checklist:
- Use cube-based meshes.
- Keep textures at 16x16 or 32x32 pixels.
- No smooth shading; stick to flat faces.
Common Use Cases and Applications
Most of my Minecraft modeling projects fall into mods, custom mobs, decorative blocks, and map assets. AI tools are especially handy for rapidly prototyping new creatures or items. For large builds, I rely on batch model generation to populate environments efficiently.
Typical applications:
- Custom mobs and NPCs
- Unique blocks and items
- Decorative props for adventure maps
- Environmental assets for themed servers
Best Practices for Designing Minecraft 3D Models
Key Design Principles and Constraints
I always keep the following principles in mind:
- Simplicity: Models should be readable at a glance.
- Performance: Low-poly meshes and small textures minimize lag.
- Consistency: Match Minecraft’s visual language for seamless integration.
Pitfalls to avoid:
- Overcomplicating shapes
- Using high-resolution textures
- Ignoring Minecraft’s scale (1 block = 1 meter)
Optimizing for Game Performance
Optimizing models is critical. I use automated retopology tools to reduce poly count, then manually check for unnecessary faces. Texture size is another focus—anything larger than 32x32 pixels is usually excessive.
Optimization steps:
- Run auto-retopology (Tripo or similar).
- Remove hidden or overlapping faces.
- Compress textures and check UV maps.
- Test in-game for lag or visual glitches.
Step-by-Step Workflow: From Concept to Finished Model
Using AI Tools for Model Generation
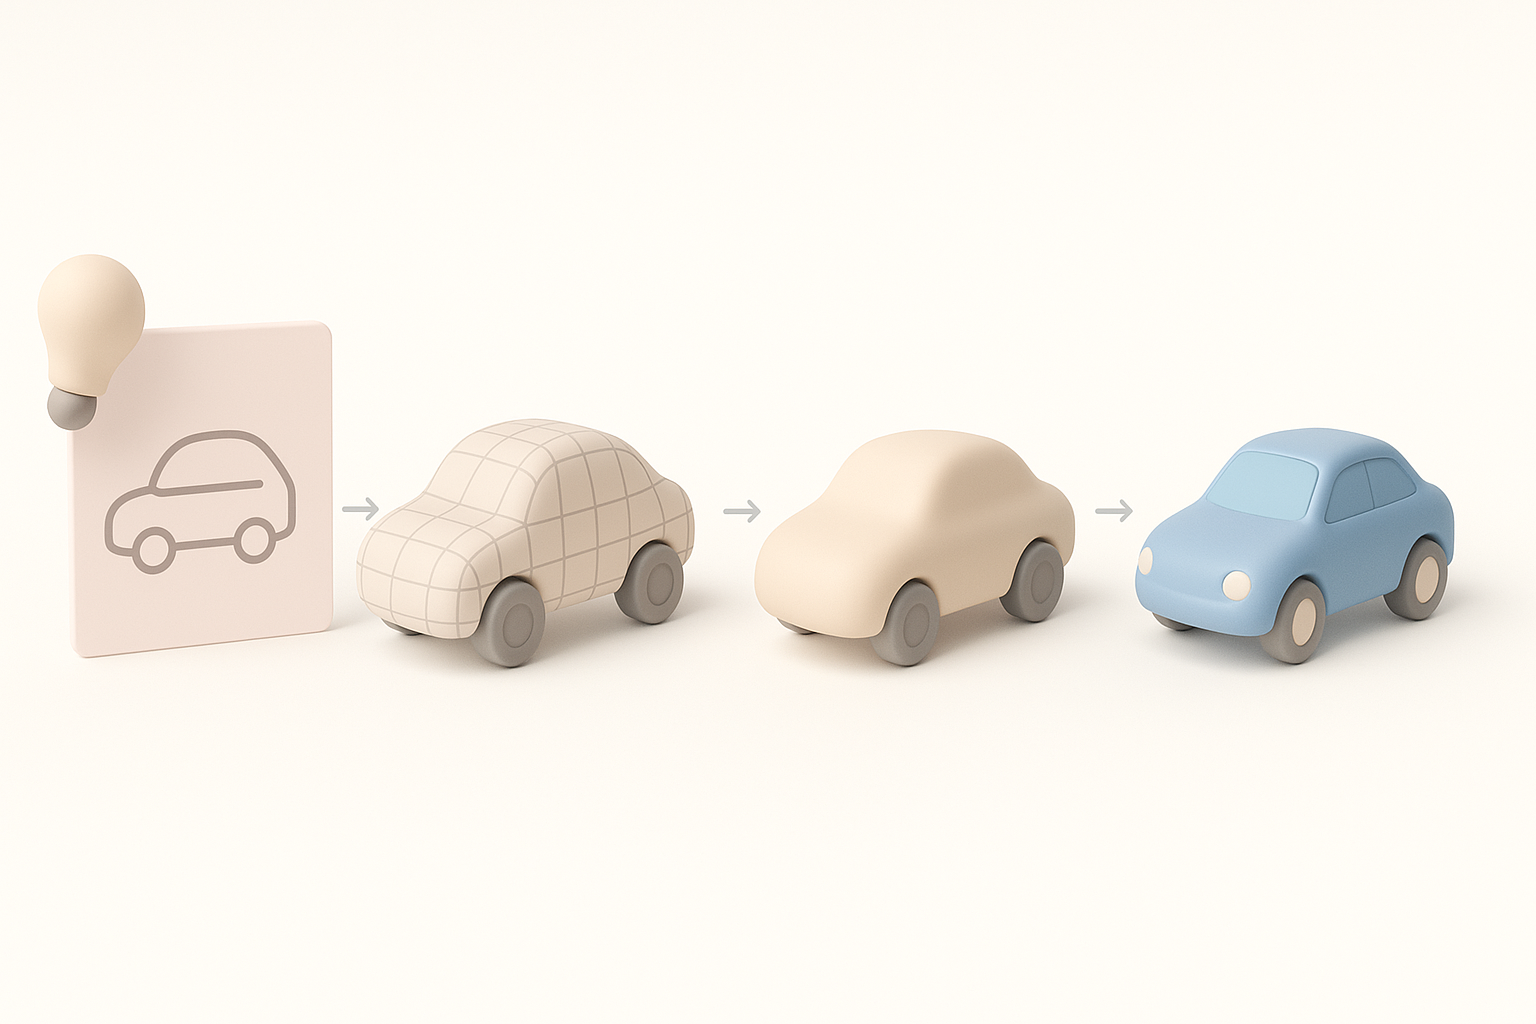
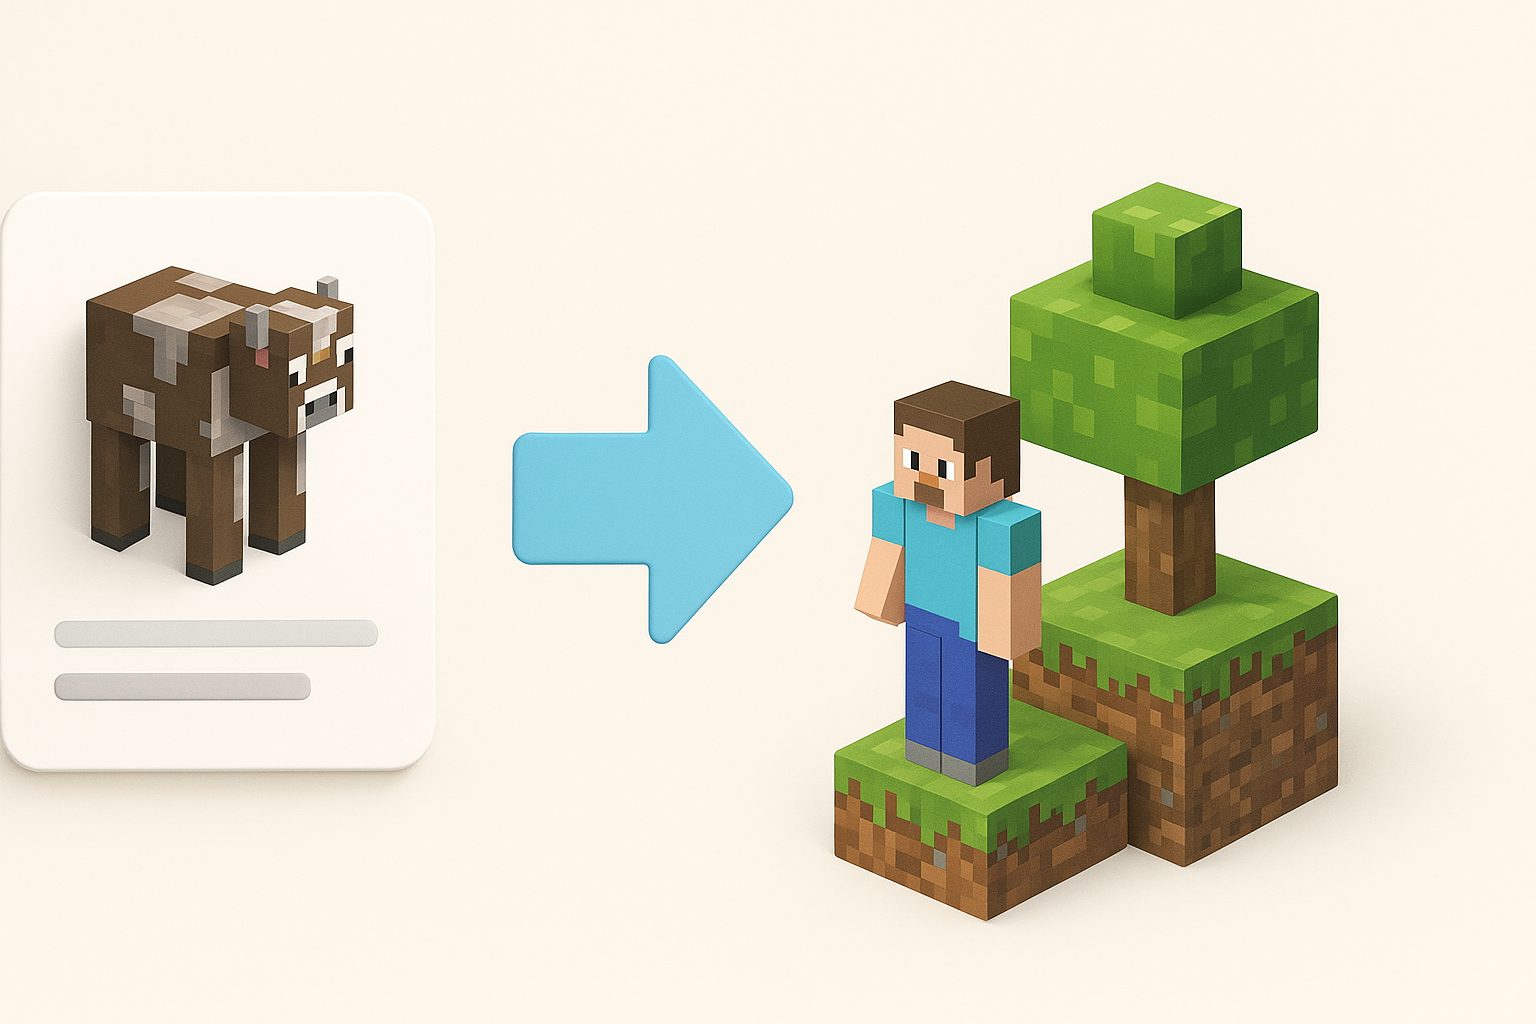
AI tools like Tripo allow me to generate base models from text prompts, sketches, or reference images. This saves hours on initial geometry and segmentation. I input descriptions or quick sketches, then review the generated mesh for structure and accuracy.
Workflow:
- Input prompt or sketch.
- Review auto-generated mesh.
- Use built-in segmentation and retopology.
- Auto-generate textures (pixel-art style).
Manual Editing, Texturing, and Export
After AI generation, I manually refine the mesh in a 3D editor. This includes adjusting proportions, fixing UVs, and tweaking textures for Minecraft’s pixel-art look. Exporting in the correct format is crucial—usually .obj or .json for Minecraft modding.
Checklist:
- Adjust mesh to fit Minecraft block size.
- Refine UVs for pixel textures.
- Export as .obj or .json with proper naming.
- Validate model in external viewer before import.
Importing and Implementing Models in Minecraft
Supported File Formats and Conversion
Minecraft supports .json for blocks and entities, and .obj for custom geometry. I use conversion tools to ensure compatibility, and always double-check for format-specific quirks (e.g., axis orientation).
Steps:
- Export from 3D tool as .obj or .json.
- Use conversion scripts/plugins if needed.
- Check orientation and scale.
Troubleshooting Common Issues
Common issues include missing textures, incorrect scaling, and mesh errors. In my experience, most problems stem from UV mismatches or unsupported geometry. I always test imports in a clean environment before deploying to a live server.
Troubleshooting tips:
- Verify texture paths and formats.
- Check mesh for non-cube geometry.
- Test model in-game for visual glitches.
- Re-export with adjusted settings if needed.
Comparing AI-Powered and Manual Modeling Methods
When to Use AI Tools
I use AI modeling tools for rapid prototyping, batch asset generation, and when I need to iterate quickly. Manual methods are best for assets requiring precise control or unique artistic touches.
Decision guide:
- Use AI for quick drafts and repetitive assets.
- Use manual editing for hero objects or complex customization.
Personal Experiences and Lessons Learned
From my hands-on work, AI tools have transformed my workflow—especially for modding and map assets. However, manual refinement is still essential for quality and game compatibility. Balancing automation and craftsmanship is key.
Lessons:
- AI accelerates ideation, but manual edits ensure polish.
- Early testing prevents costly mistakes.
- Keep models simple and consistent for best results.
In summary: Combining AI-powered tools with manual expertise streamlines Minecraft 3D modeling, but understanding the game’s unique requirements is vital. With the right workflow, you can produce optimized, visually consistent assets for any Minecraft project.