Creating and Using Mannequin 3D Models: Expert Guide
Mannequin 3D models are foundational assets in digital design, gaming, and XR. In my experience, the process of creating and optimizing these models has evolved rapidly thanks to AI-powered platforms like Tripo, which streamline tasks that used to take hours. This guide covers practical workflows, best practices, and troubleshooting tips for anyone aiming to generate production-ready mannequins, whether you're an artist, developer, or technical lead. I focus on actionable steps, real-world insights, and how to avoid common pitfalls.
Key takeaways
- AI-driven tools accelerate mannequin model creation and reduce manual complexity.
- Segmentation, retopology, and texturing are critical for production readiness.
- Efficient rigging and animation deliver realistic, usable results.
- Comparing workflows helps you choose the right tools and methods for your needs.
- Common challenges include mesh errors and texture artifacts—knowing how to fix them is essential.
Understanding Mannequin 3D Models
What Makes a Mannequin Model Unique
Mannequin models are simplified human forms designed for anatomical accuracy without detailed features. I use them as base assets for character design, animation tests, and prototyping. Their geometry is optimized for easy manipulation, which makes them ideal for quick iteration.
- Neutral pose (usually T-pose or A-pose) for rigging
- Clean topology, minimal detail, easy to modify
- Scalable for various styles and purposes
Common Applications in Industry
Mannequin models are widely used across industries:
- Game development: As base meshes for characters or NPCs
- XR/VR prototyping: For interaction testing and spatial design
- Film and animation: As stand-ins for blocking scenes
- Fashion and product design: For virtual fitting and visualization
I’ve found that starting with mannequins speeds up production and reduces errors in later stages.
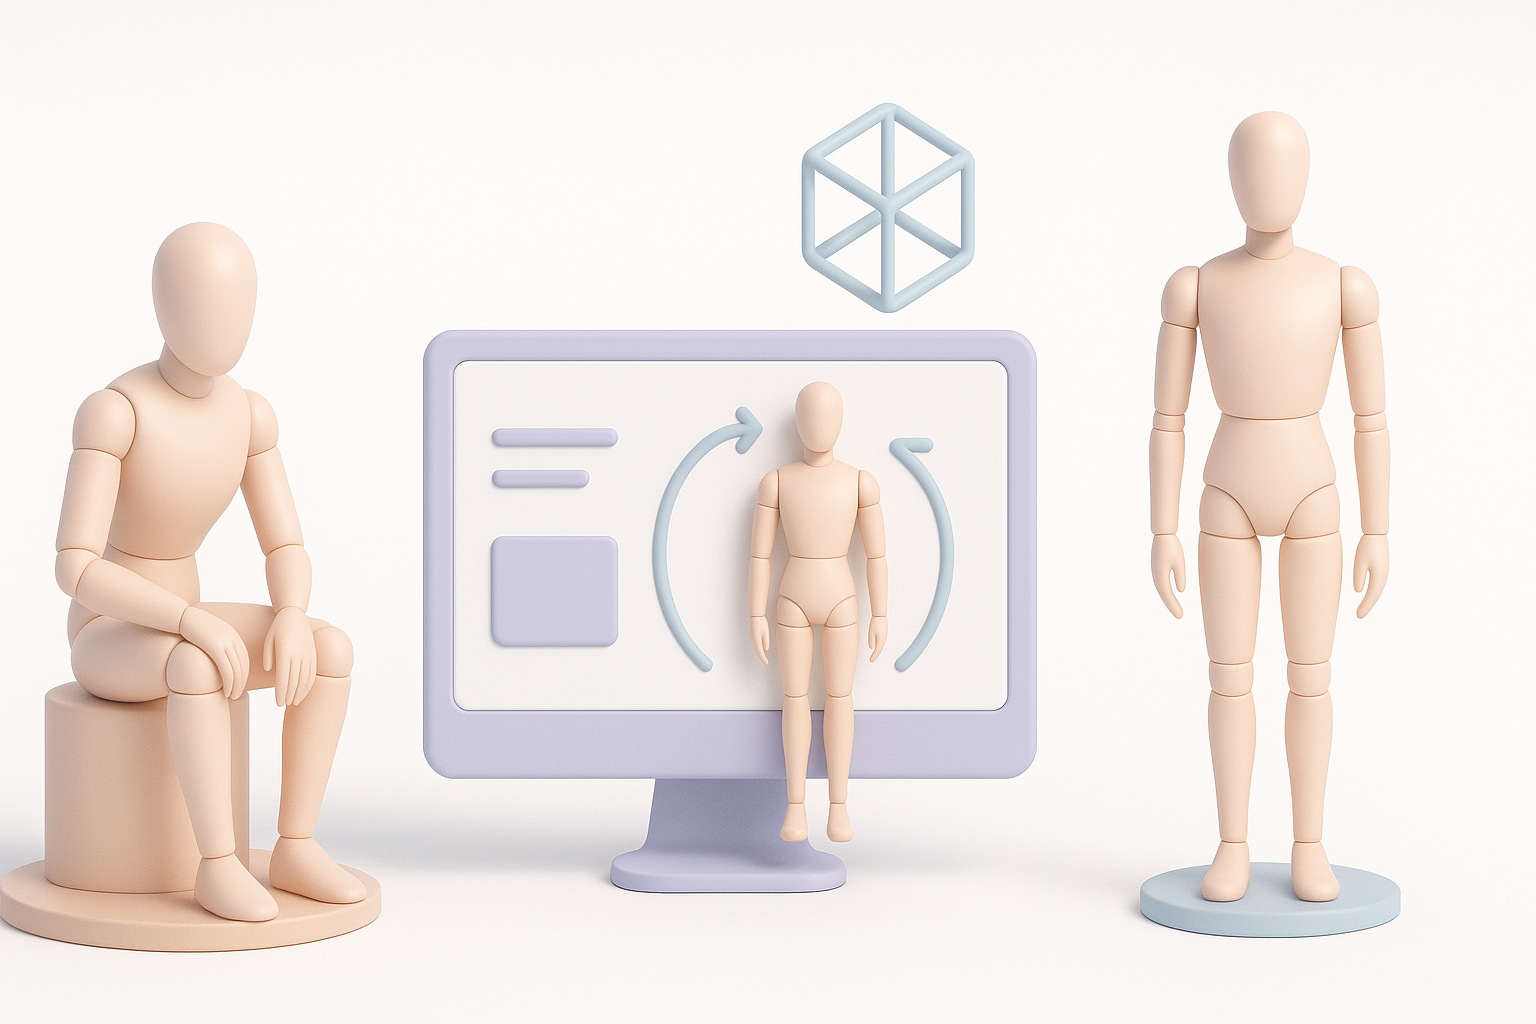
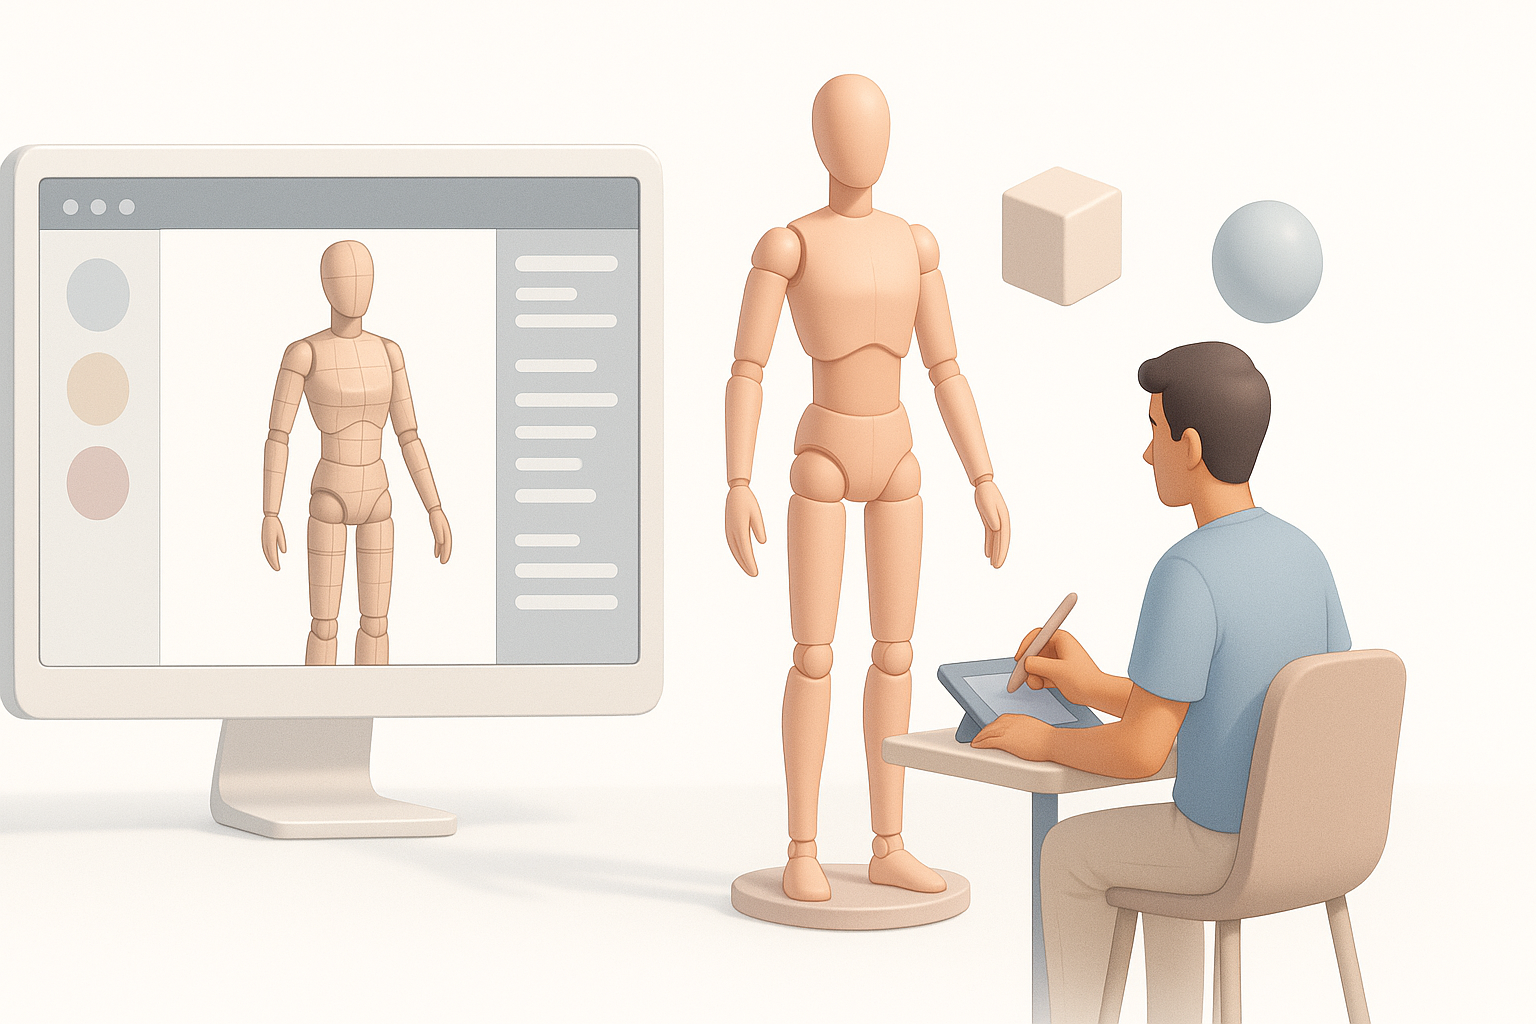
My Workflow for Generating Mannequin 3D Models
Text, Image, and Sketch-Based Creation
With AI platforms like Tripo, I can create mannequins from simple prompts or reference images/sketches. Here’s my typical workflow:
- Input: Provide a text description, upload a sketch, or use a photo.
- AI Generation: Review the auto-generated mesh for anatomical correctness.
- Quick edits: Refine proportions or pose as needed.
Tip: Use clear, concise prompts and reference images to guide the AI—ambiguous inputs often result in unwanted features.
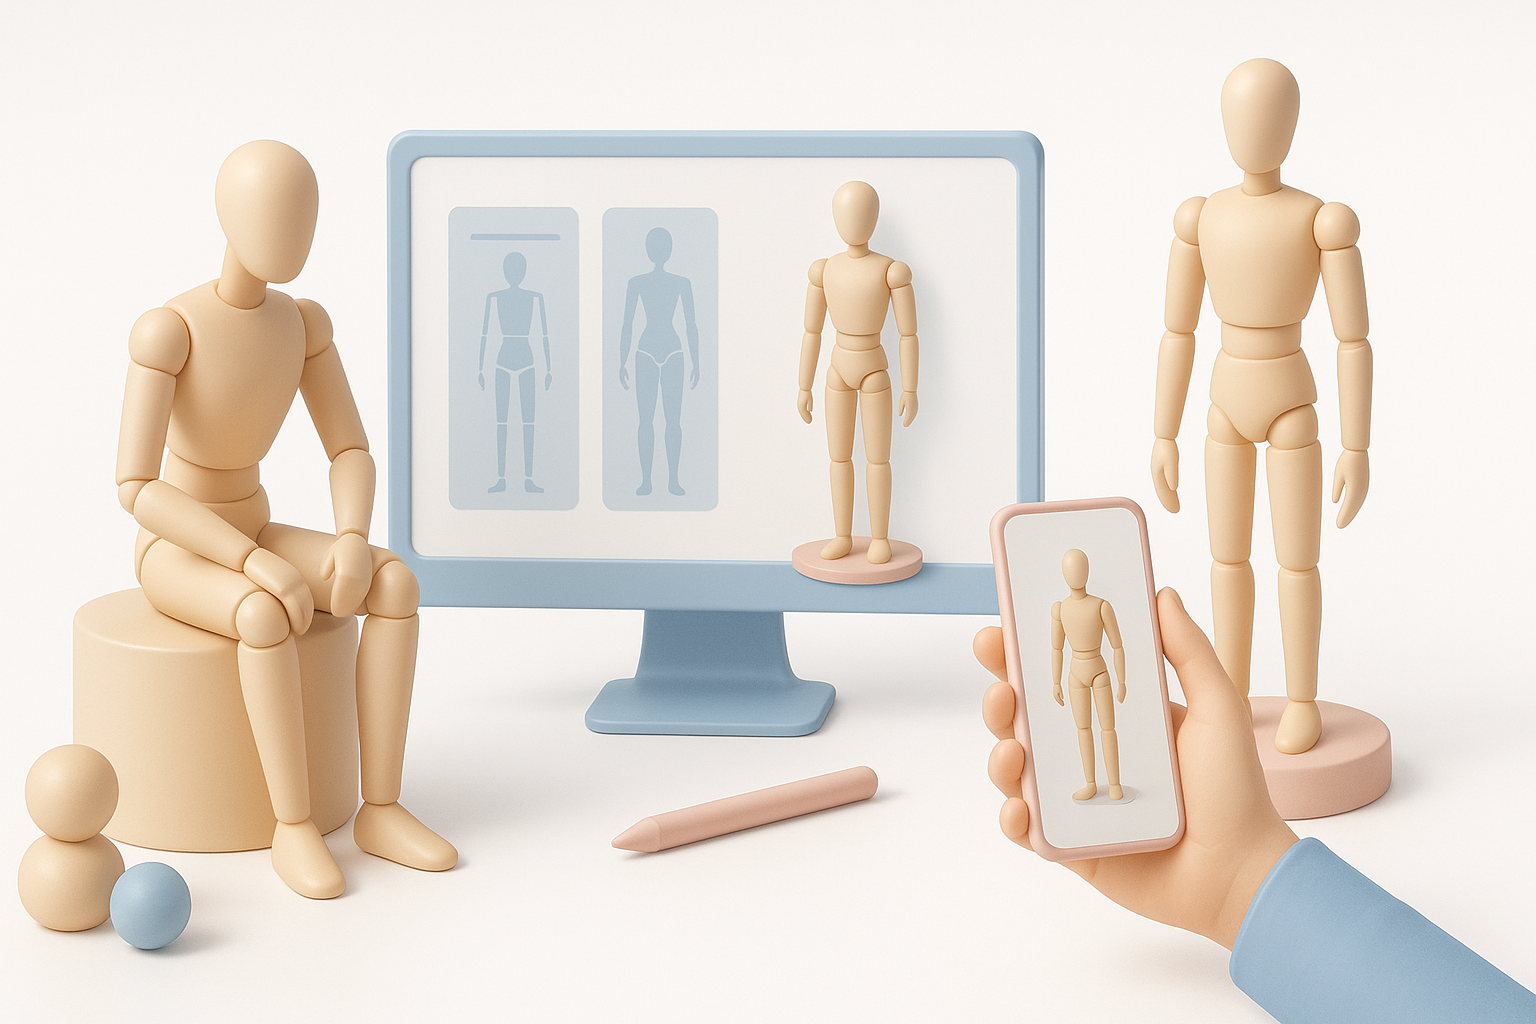
Optimizing Models for Production Readiness
Once generated, I focus on making the model ready for downstream use:
- Check mesh integrity: Look for holes, overlapping faces, or stray vertices.
- Simplify geometry: Remove unnecessary subdivisions for performance.
- Export in standard formats: FBX, OBJ, or GLTF for compatibility.
Pitfall: Overly complex meshes slow down rigging and animation; always optimize for your target platform.
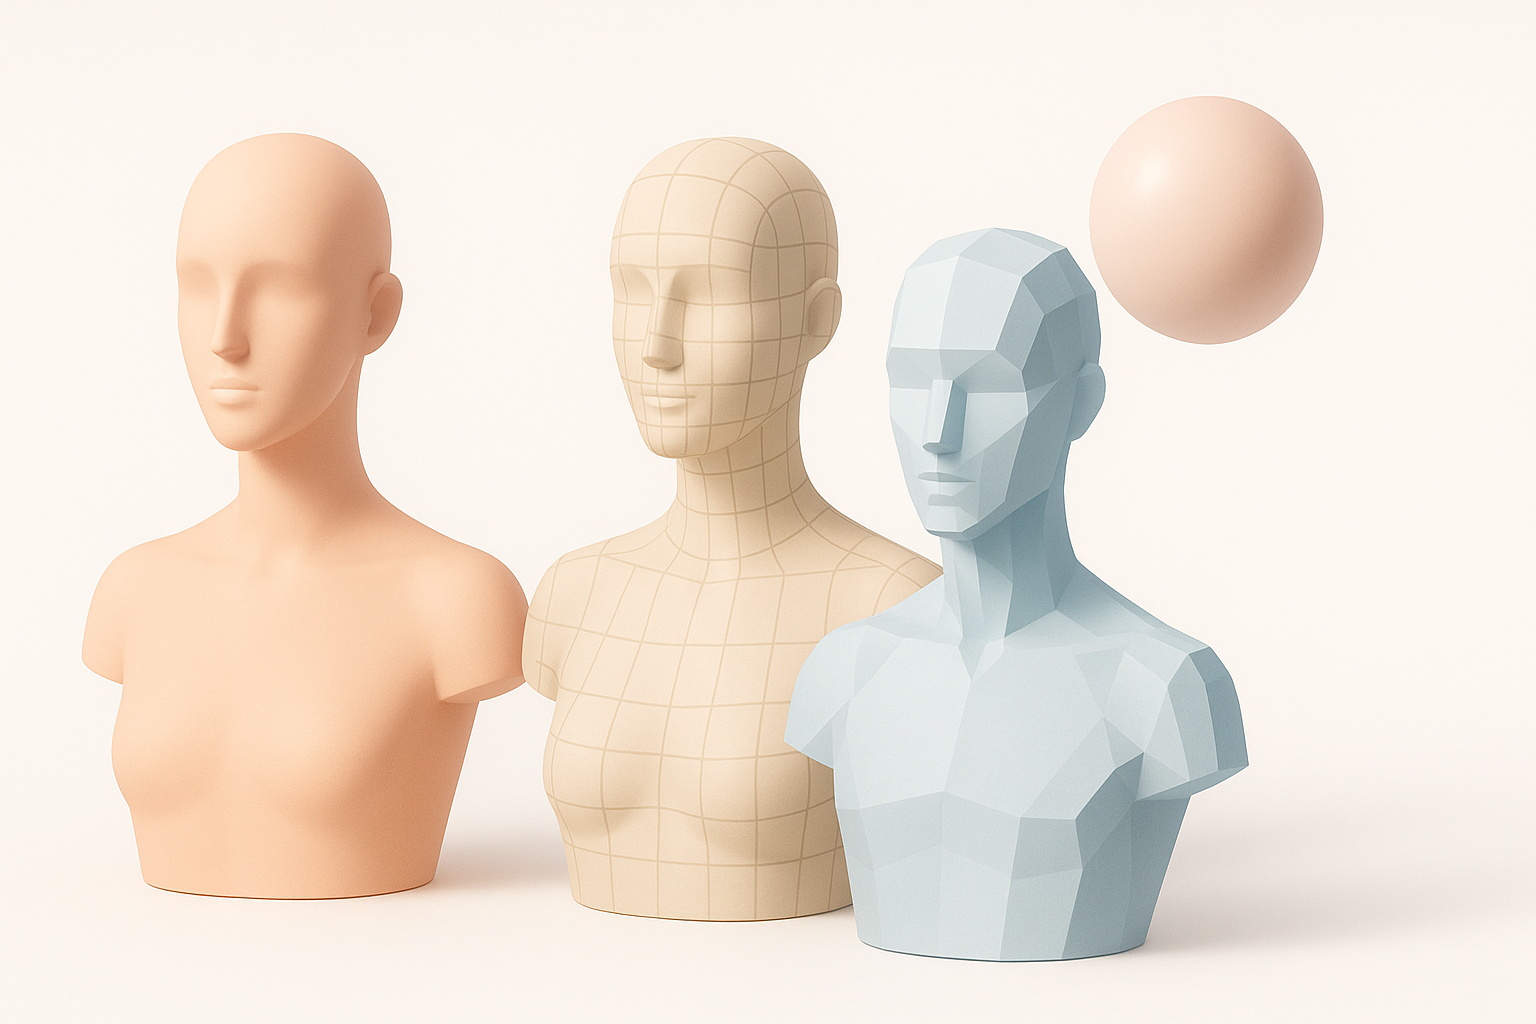
Best Practices for Segmentation, Retopology, and Texturing
Intelligent Segmentation Techniques
Segmentation divides the mannequin into logical parts (head, torso, limbs). I rely on built-in tools for automated segmentation, but manual tweaks are often needed for accuracy.
- Use auto-segmentation as a starting point
- Manually adjust boundaries for joints and articulation
- Group elements for easy selection and rigging
Checklist:
- Are all limbs segmented cleanly?
- Is the torso separated for rigging?
Retopology and Texture Mapping Tips
Retopology ensures clean, animation-friendly mesh flow. I use auto-retopology features, then manually fix edge loops around joints.
- Start with auto-retopology; refine areas prone to deformation (shoulders, hips)
- Use UV unwrapping tools for efficient texture mapping
- Test with simple textures to check for stretching or artifacts
Tip: Avoid triangles and n-gons near joints—quads are best for smooth animation.
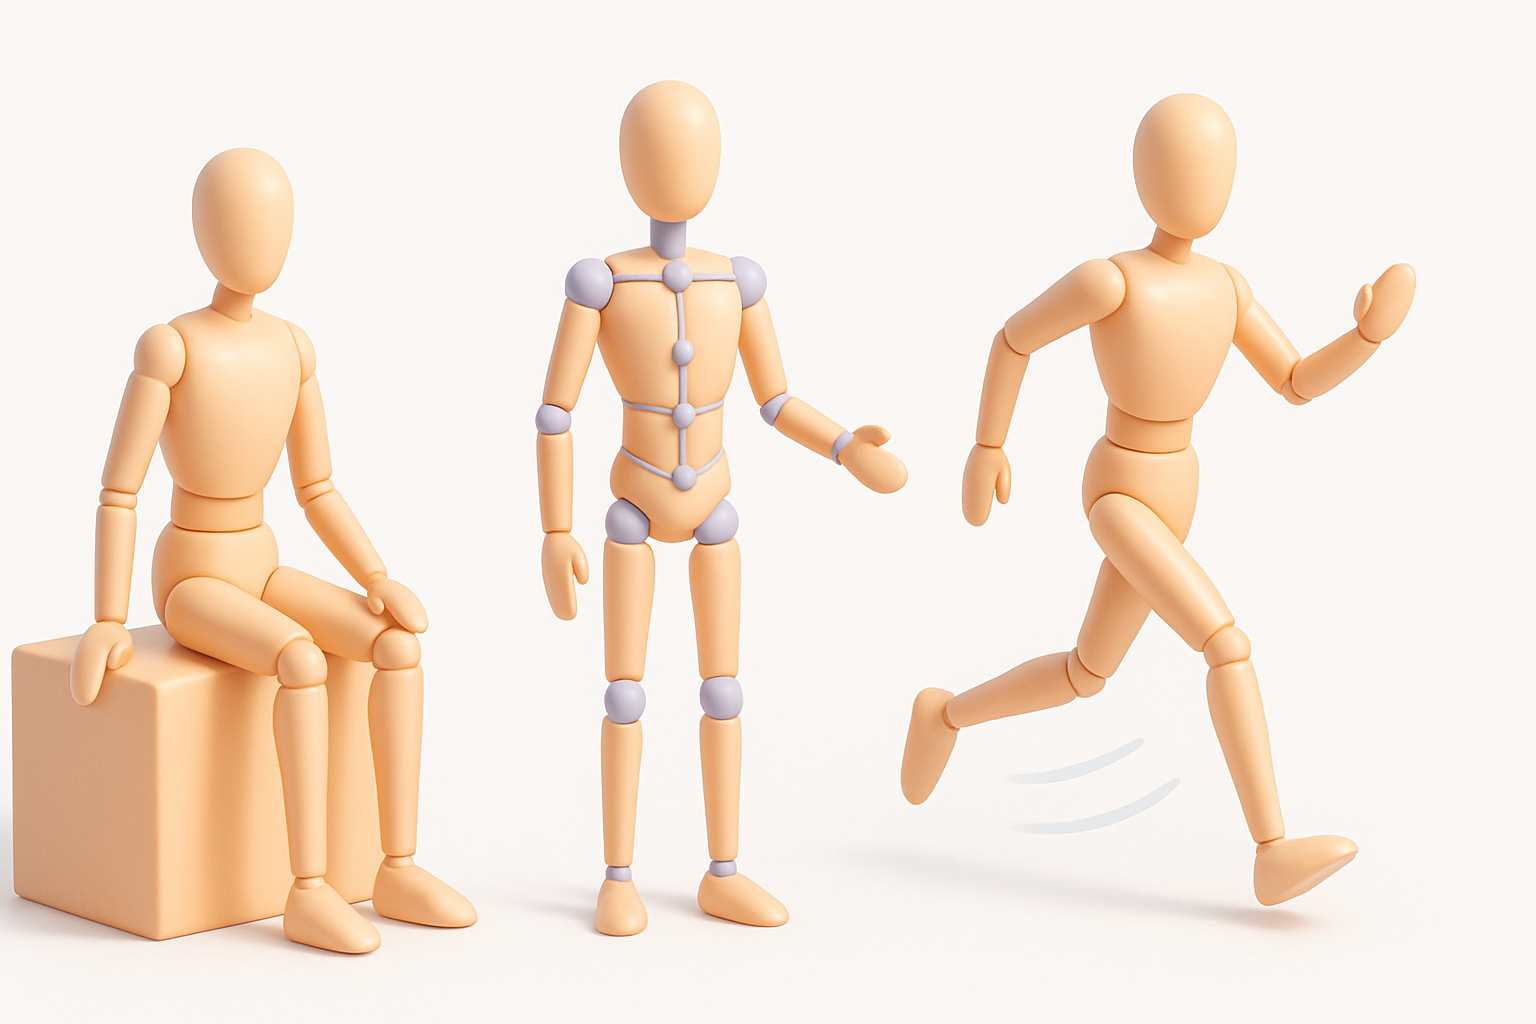
Rigging and Animation: Bringing Mannequins to Life
Efficient Rigging Methods
Rigging mannequins is straightforward if the mesh is clean. AI-assisted auto-rigging saves time, but I always check bone placement.
- Use auto-rigging for base skeleton
- Adjust bone positions for natural joint movement
- Test with basic poses to spot weighting issues
Checklist:
- Are bones aligned with limbs?
- Is skinning smooth at elbows and knees?
Animating for Realistic Movement
Animating mannequins helps validate rigging and mesh integrity. I use built-in animation templates for walk cycles and poses, then tweak timing and joint angles.
- Apply preset animations for quick tests
- Edit keyframes for custom movement
- Check for mesh clipping or unnatural deformation
Pitfall: Overlooking weight painting can lead to distorted limbs during animation.
Comparing Tools and Methods for Mannequin 3D Modeling
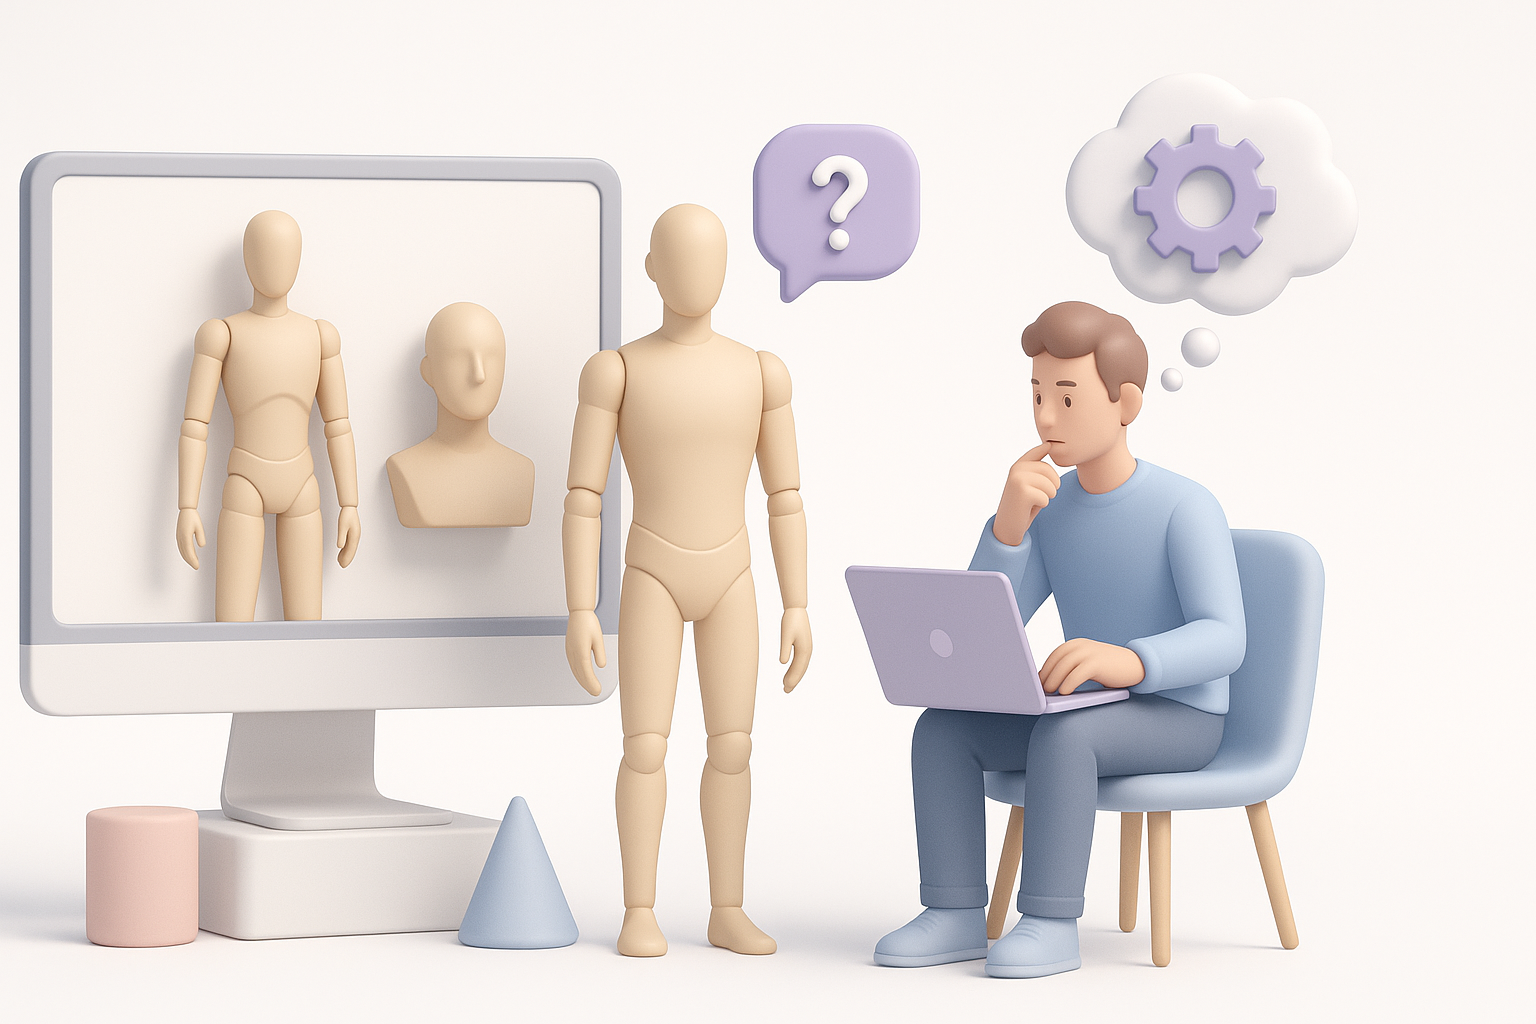
AI-Powered Platforms vs. Traditional Workflows
AI platforms like Tripo cut down modeling time dramatically. Traditional workflows require manual sculpting, segmentation, and rigging.
- AI: Fast generation, automated segmentation/retopology, easy export
- Traditional: Full control, but time-consuming and skill-dependent
What I’ve found: For prototyping and iterative design, AI tools are unbeatable. For highly customized characters, manual workflows still have their place.
Integrating Alternative Tools in My Process
I often combine AI platforms with other tools for polishing:
- Use AI for base mesh and segmentation
- Refine topology and UVs in dedicated modeling software
- Rig and animate using specialized animation tools
Tip: Export models in compatible formats to avoid workflow bottlenecks.
Troubleshooting and Expert Tips
Common Challenges and Solutions
Some issues crop up regularly:
- Mesh errors: Fix stray vertices and overlapping faces before rigging.
- Texture artifacts: Adjust UVs and check for stretching.
- Rigging problems: Re-align bones and re-weight vertices for smooth movement.
Quick fixes:
- Run mesh cleanup tools before exporting
- Always preview animations to catch errors early
What I’ve Learned from Real-World Projects
From hands-on projects, I’ve learned:
- Start simple—over-complicating early leads to more fixes later.
- Use AI platforms for speed but always manually check outputs.
- Iterative testing (rig, animate, texture) is key to production readiness.
Checklist for final review:
- Mesh integrity: No errors or holes
- Segmentation: Logical, clean groupings
- Rigging: Bones and weights tested
- Animation: Movements look natural
If you follow these workflows and tips, you'll consistently produce high-quality mannequin 3D models ready for any industry application.