Creating Little Nightmares-Inspired 3D Models: My Workflow & Tips
If you’re aiming to create 3D models inspired by the haunting world of Little Nightmares, you’ll need to blend stylized artistry with technical know-how. Over time, I’ve refined a workflow that efficiently translates eerie 2D concepts into production-ready 3D assets—especially by leveraging AI-powered tools like Tripo for speed and flexibility. In this guide, I’ll walk through my step-by-step process, from understanding the art style and blocking out forms, to texturing, rigging, and optimizing for games or XR. Whether you’re a game artist, indie dev, or hobbyist, you’ll find actionable tips for combining creativity with streamlined production.
Key takeaways
- Understanding the Little Nightmares art style is essential for authenticity.
- Block out forms early and focus on mood-driven proportions.
- Use AI-powered tools like Tripo to accelerate model generation and iterate faster.
- Stylized texturing and efficient UV mapping are critical for the signature look.
- Rigging and animation should emphasize atmosphere, not just motion.
- Optimize exports for real-time performance without sacrificing visual impact.
Understanding the Little Nightmares Art Style
Key visual elements and mood
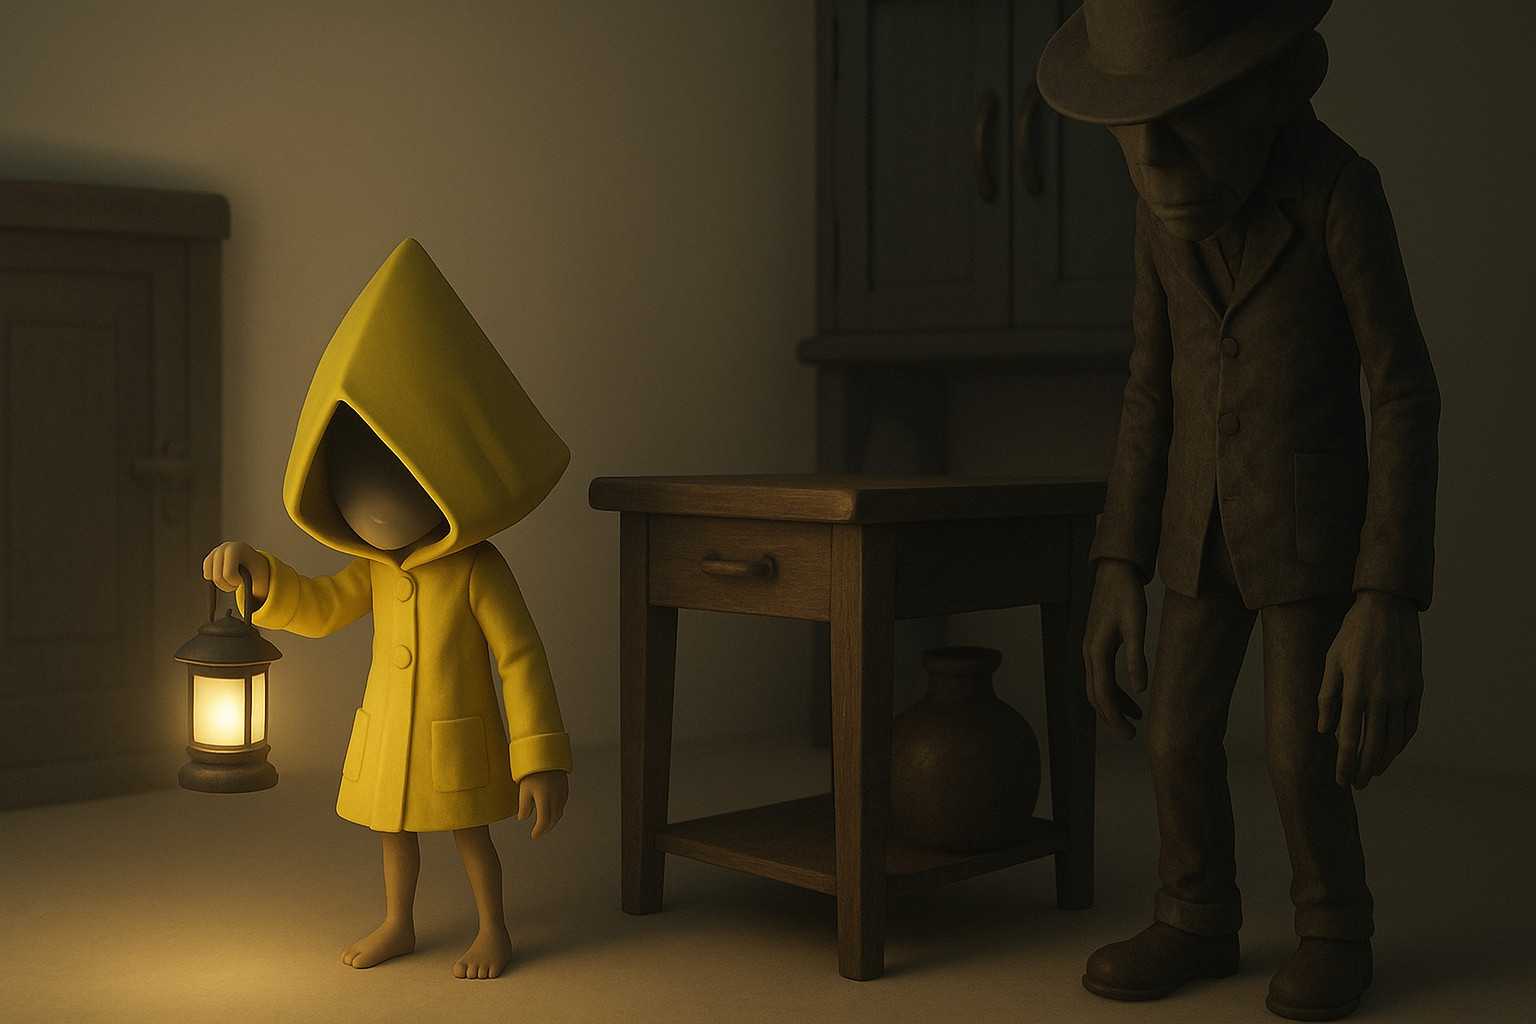
The Little Nightmares aesthetic is defined by exaggerated proportions, muted palettes, and a pervasive sense of unease. I always start by analyzing character silhouettes, oversized heads, and the interplay of light and shadow. The environments and props tend to be slightly askew, contributing to the unsettling vibe.
What I focus on:
- Distorted, childlike proportions
- Subdued, desaturated color schemes
- Heavy use of ambient occlusion and soft lighting
- Details that evoke vulnerability or menace
Translating 2D references into 3D concepts
I gather lots of reference images—both official art and fan creations. When moving from 2D to 3D, I pay close attention to how forms read from multiple angles. Blocking out basic shapes first helps me maintain the stylized look without losing the emotional tone.
Tips:
- Sketch over references to identify key shapes
- Use orthographic views to check silhouette integrity
- Don’t over-detail early—focus on mood and proportion
My Step-by-Step Process for Modeling

Blocking out forms and proportions
I start with rough primitives to establish the character’s stance and gesture. For Little Nightmares-inspired models, I exaggerate heads and hands, and keep limbs thin and slightly awkward.
My checklist:
- Use simple cubes and spheres for initial blockout
- Constantly check the model against reference silhouettes
- Adjust proportions early—fixing them later is much harder
Detailing, retopology, and texturing techniques
Once the blockout feels right, I gradually add secondary forms: clothing folds, facial features, and props. I typically use Tripo to generate a base mesh from my sketches or text prompts, then refine the topology and details manually.
Workflow steps:
- Use AI-generated meshes as a starting point
- Retopologize for clean edge flow (especially for animation)
- Add sculpted details sparingly—implied detail works best in this style
Texturing and Material Best Practices
Achieving the signature eerie look
Texturing is where the Little Nightmares vibe really comes alive. I use hand-painted textures with subtle gradients and avoid sharp, clean edges. Materials are often matte, with minimal specular highlights.
What I’ve found works:
- Layer dirt, grime, and subtle color shifts
- Use desaturated tones and avoid pure blacks/whites
- Emphasize ambient occlusion and painted shadows
Tips for efficient UV mapping and painting
Efficient UVs are crucial for both quality and performance. I aim for minimal seams and logical islands, especially around faces and hands. Tripo’s built-in UV tools help speed this up, but I always double-check for stretching.
Pitfalls to avoid:
- Overlapping UVs on visible areas
- Ignoring texel density consistency
- Forgetting to bake AO and curvature maps for painting guides
Rigging and Animation for Little Nightmares Characters

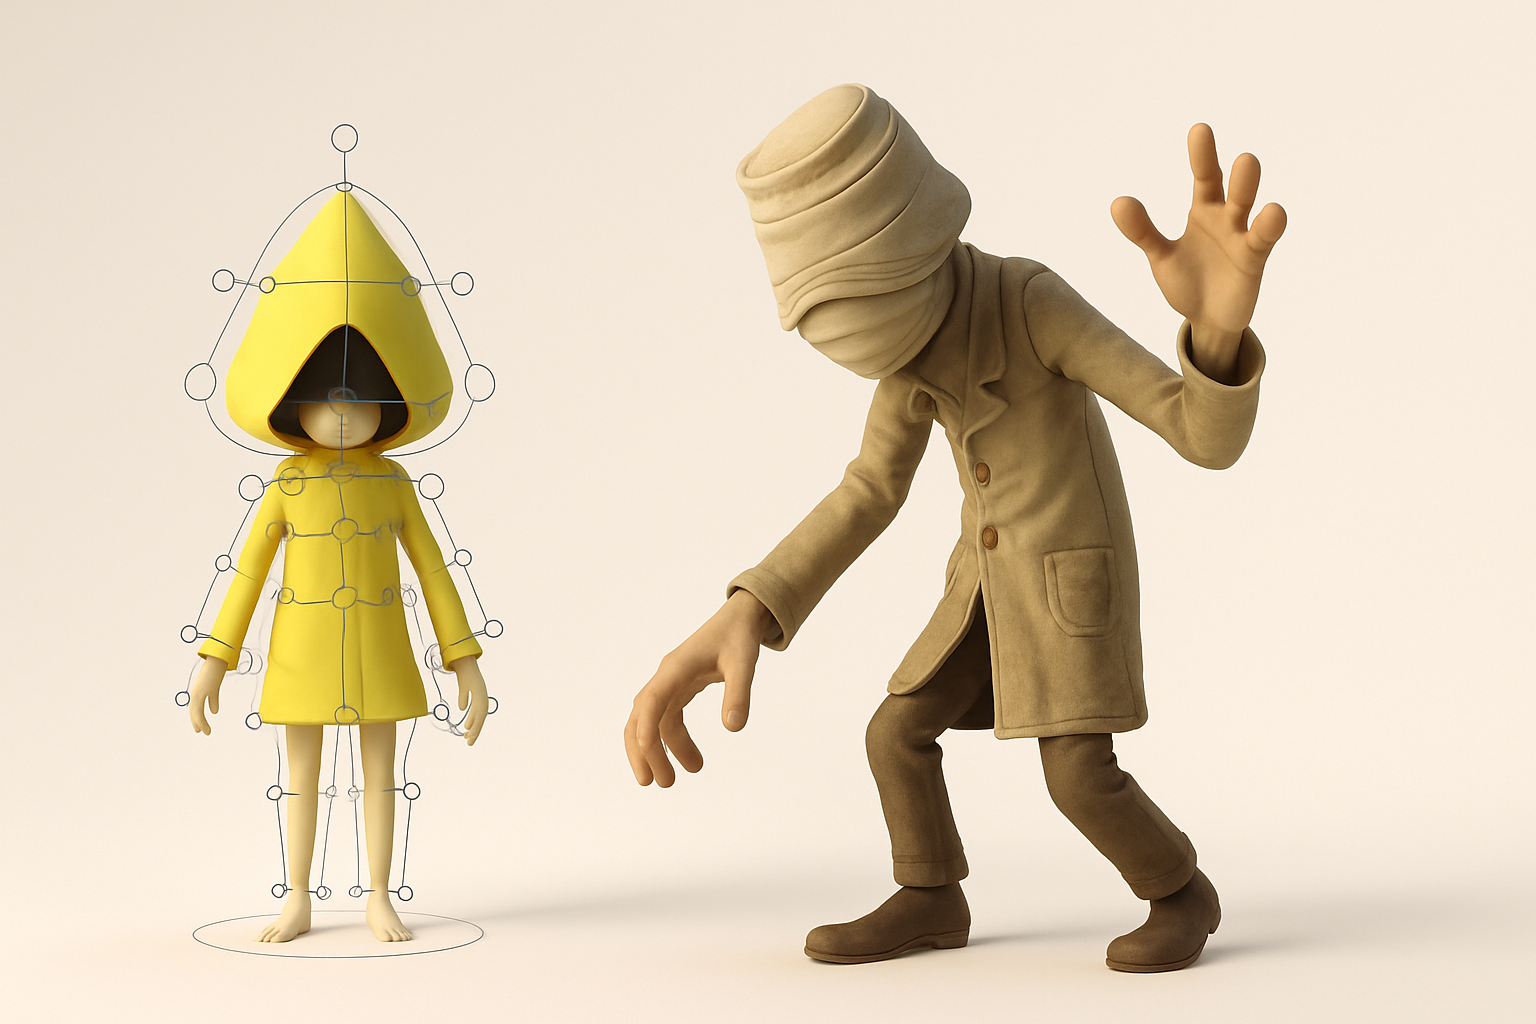
Setting up rigs for stylized movement
Rigging stylized characters requires flexibility. I use simple bone setups, but allow extra control on the head, hands, and spine for exaggerated poses. Weight painting is critical—smooth deformations keep the model feeling “alive” despite the stylization.
Checklist:
- Add extra bones for expressive facial or hand movement
- Test extreme poses early
- Keep rig controls intuitive for animation
Animating with mood and atmosphere in mind
Animation in this style is all about restraint. Movements are slow, hesitant, and often off-balance, enhancing the sense of vulnerability. I block out key poses first, then refine timing and secondary motion.
Tips:
- Use reference footage for pacing and weight
- Animate in passes: first blocking, then smoothing, then adding subtle details
- Keep the “haunted” feeling front and center
Using AI-Powered Tools in My Workflow
How I leverage Tripo for faster model generation
Tripo streamlines the early stages of modeling. I can generate a base mesh from a text description or a rough sketch, which saves hours compared to manual sculpting. This lets me iterate on concepts rapidly before committing to detailed work.
My process:
- Input a detailed prompt or image to Tripo
- Review and select the most promising base mesh
- Refine topology and proportions as needed
Integrating AI outputs with manual refinement
AI-generated models are a great starting point, but I always refine them manually. This includes cleaning up geometry, optimizing for animation, and adding unique touches that AI can’t predict.
Best practices:
- Don’t rely on AI for final topology or UVs
- Use AI outputs as a “first draft”—not the finished product
- Blend AI speed with traditional polish for best results
Exporting and Optimizing for Games or XR

Best export settings and formats
For game engines or XR, I export in FBX or glTF formats. I keep poly counts reasonable (under 20k for main characters) and textures at 2K or 4K, depending on platform needs. Tripo’s export presets are handy for quick turnaround.
Checklist:
- Check scale and orientation before export
- Ensure textures are properly packed and named
- Test imports in target engine before finalizing
Performance tips for real-time applications
Optimization is crucial for smooth performance. I bake normal and AO maps, reduce bone counts where possible, and keep materials simple (one or two per asset).
Common pitfalls:
- Excessive poly counts on hidden areas
- Too many materials or texture sets
- Forgetting to LOD (level of detail) for distant models
Comparing Traditional and AI-Enhanced Workflows
What I’ve learned from both approaches
Traditional modeling gives maximum control, but is time-intensive. AI-enhanced workflows (with tools like Tripo) dramatically speed up concepting and base mesh creation, freeing me to focus on creative decisions and polish.
My takeaways:
- AI is best for rapid iteration and prototyping
- Manual refinement is still essential for quality and uniqueness
- Combining both methods yields the best balance of speed and artistry
Choosing the right method for your project
For tight deadlines or rapid prototyping, I lean on AI tools. For portfolio pieces or unique characters, I spend more time on manual sculpting and detailing. The key is flexibility—choose the workflow that matches your project’s needs and your own strengths as an artist.
In summary: Creating Little Nightmares-inspired 3D models is about balancing mood, stylization, and technical execution. By blending traditional skills with AI-powered tools, I achieve both speed and quality—making the eerie world of Little Nightmares come to life in 3D.