Creating Kamen Rider 3D Models for Printing: Expert Workflow
As a 3D practitioner, I’ve built and printed dozens of Kamen Rider figures, refining my workflow for accuracy, printability, and visual impact. This article shares my proven step-by-step process—from reference gathering to finishing touches—so you can confidently create your own Kamen Rider models for 3D printing. Whether you’re a hobbyist or a professional, I’ll highlight practical tips, common pitfalls, and how AI-powered tools like Tripo fit into the modern workflow.
Key Takeaways
- Start with thorough reference gathering and blueprint analysis for accuracy
- Use AI-powered tools to accelerate modeling, segmentation, and texturing
- Optimize geometry for watertightness and printability before slicing
- Pay special attention to part segmentation for assembly and painting
- Adapt texturing techniques for print vs. digital display
- Post-processing and painting are crucial for authentic finishes
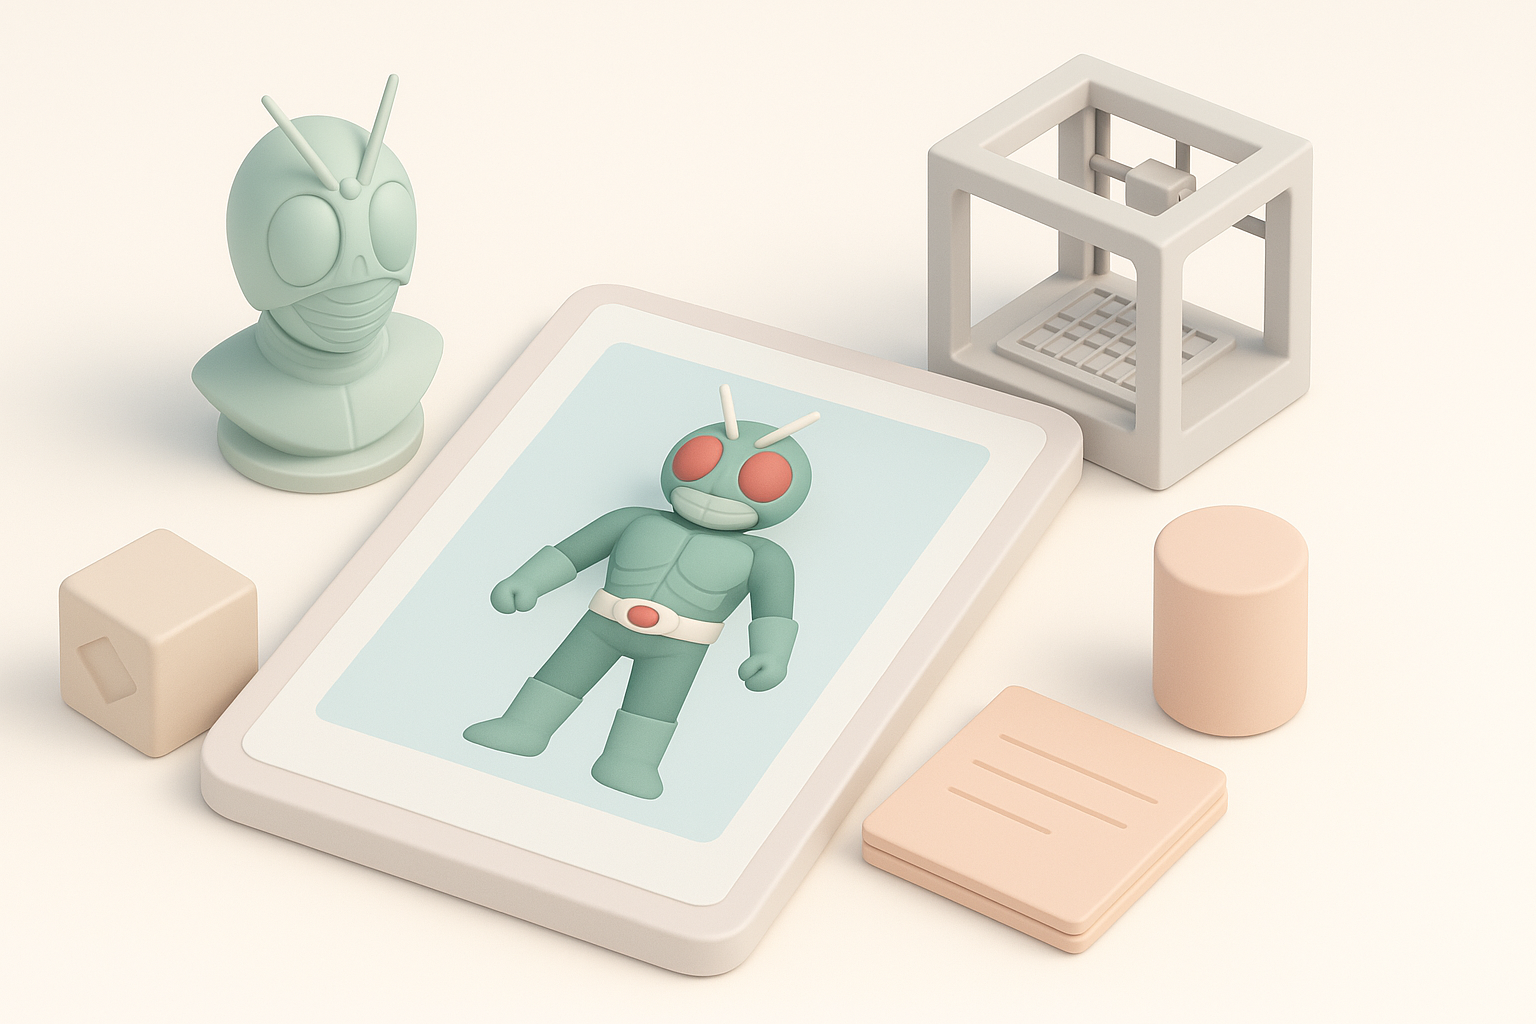
Executive Summary: Key Takeaways for Kamen Rider 3D Printing
What to expect when modeling Kamen Rider for print
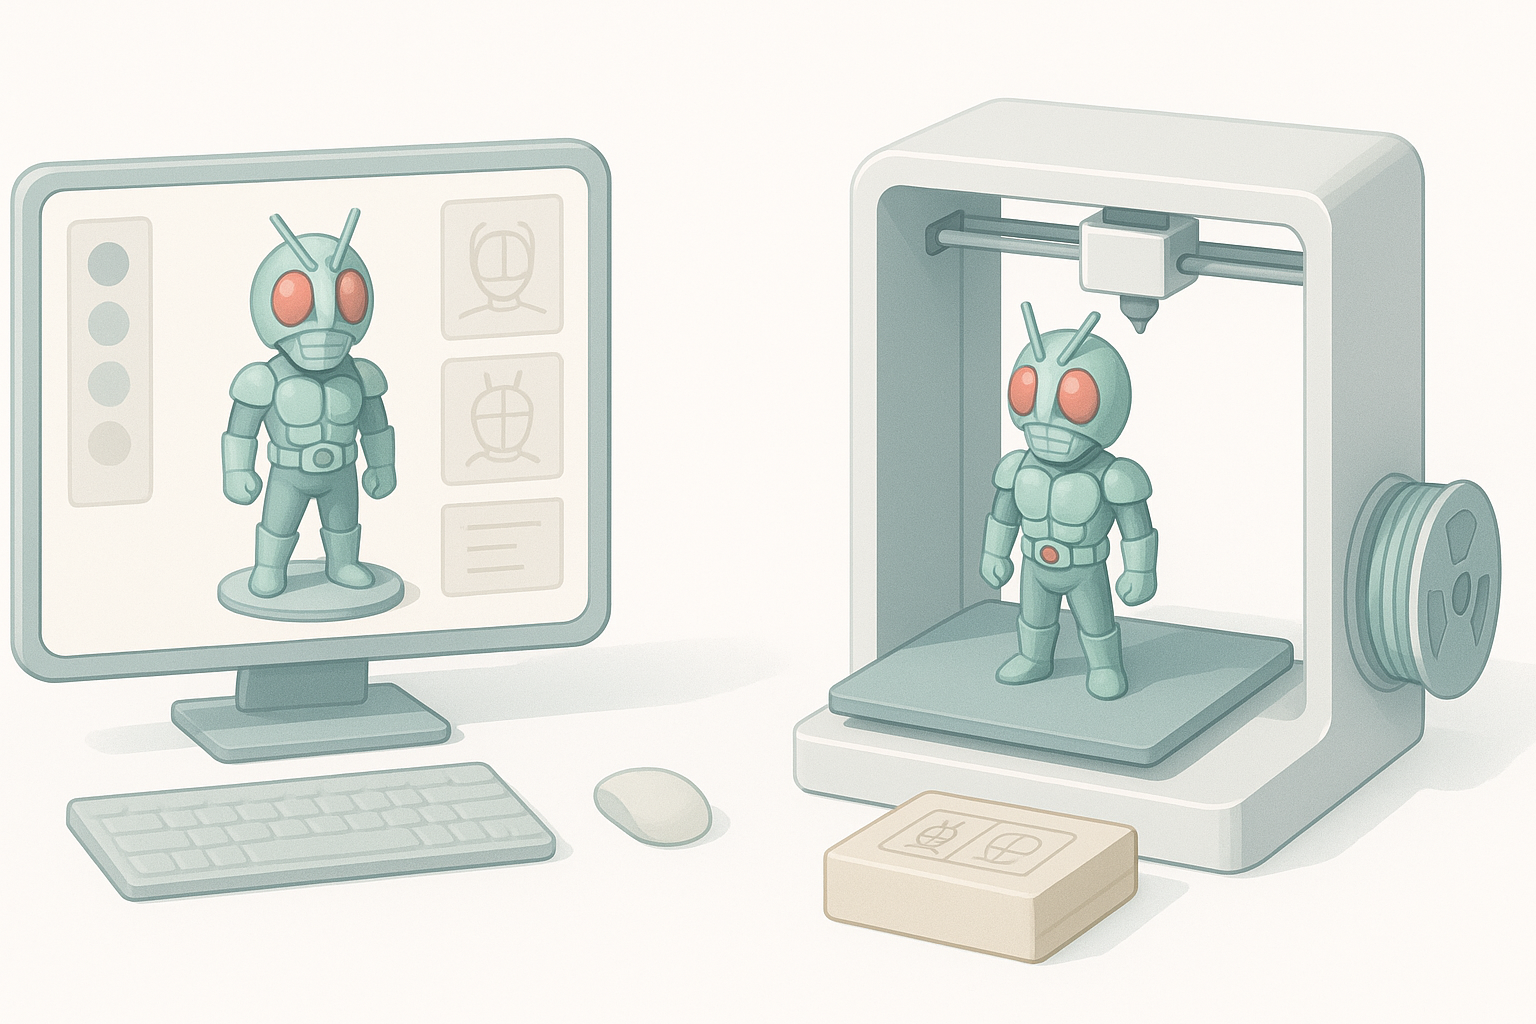
Kamen Rider models require a balance of stylized detail and functional design for 3D printing. Expect to spend extra time on complex armor, helmet features, and accessories. I’ve found that prepping models for print (vs. digital display) means more attention to wall thickness, support placement, and part separation.
Summary of recommended tools and workflows
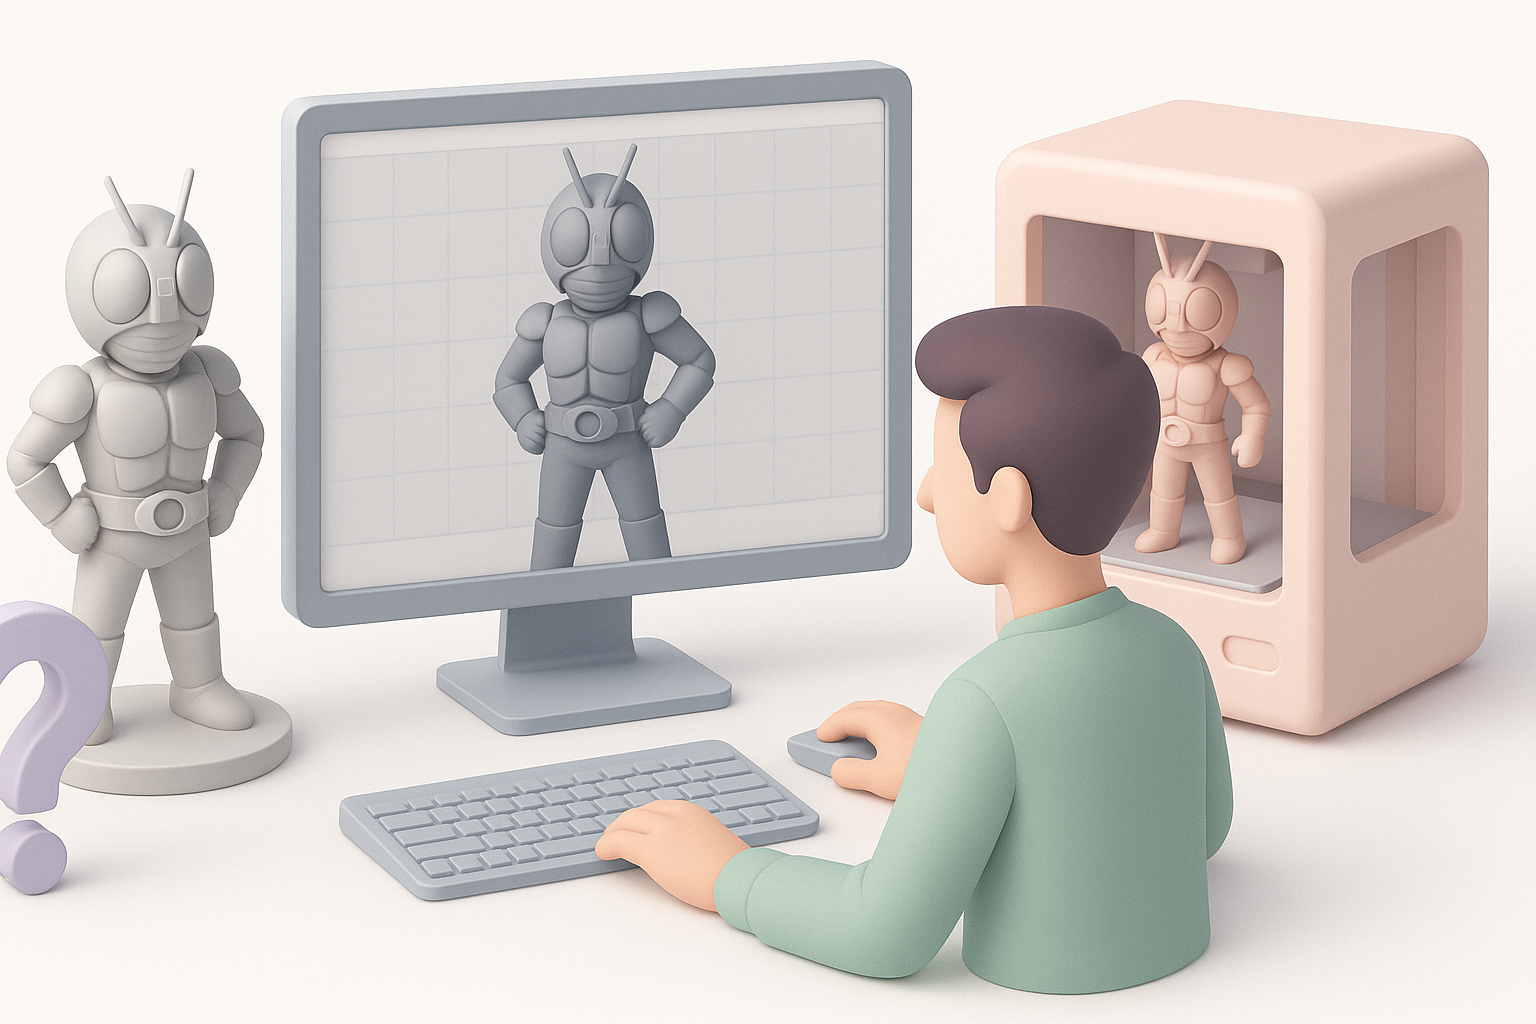
My workflow blends AI-powered platforms like Tripo for rapid base mesh generation, with manual sculpting and retopology for fine control. I supplement with traditional modeling tools for tricky areas or custom tweaks. This hybrid approach lets me focus on creative details and minimize repetitive tasks.
Planning and Reference Gathering for Kamen Rider Models
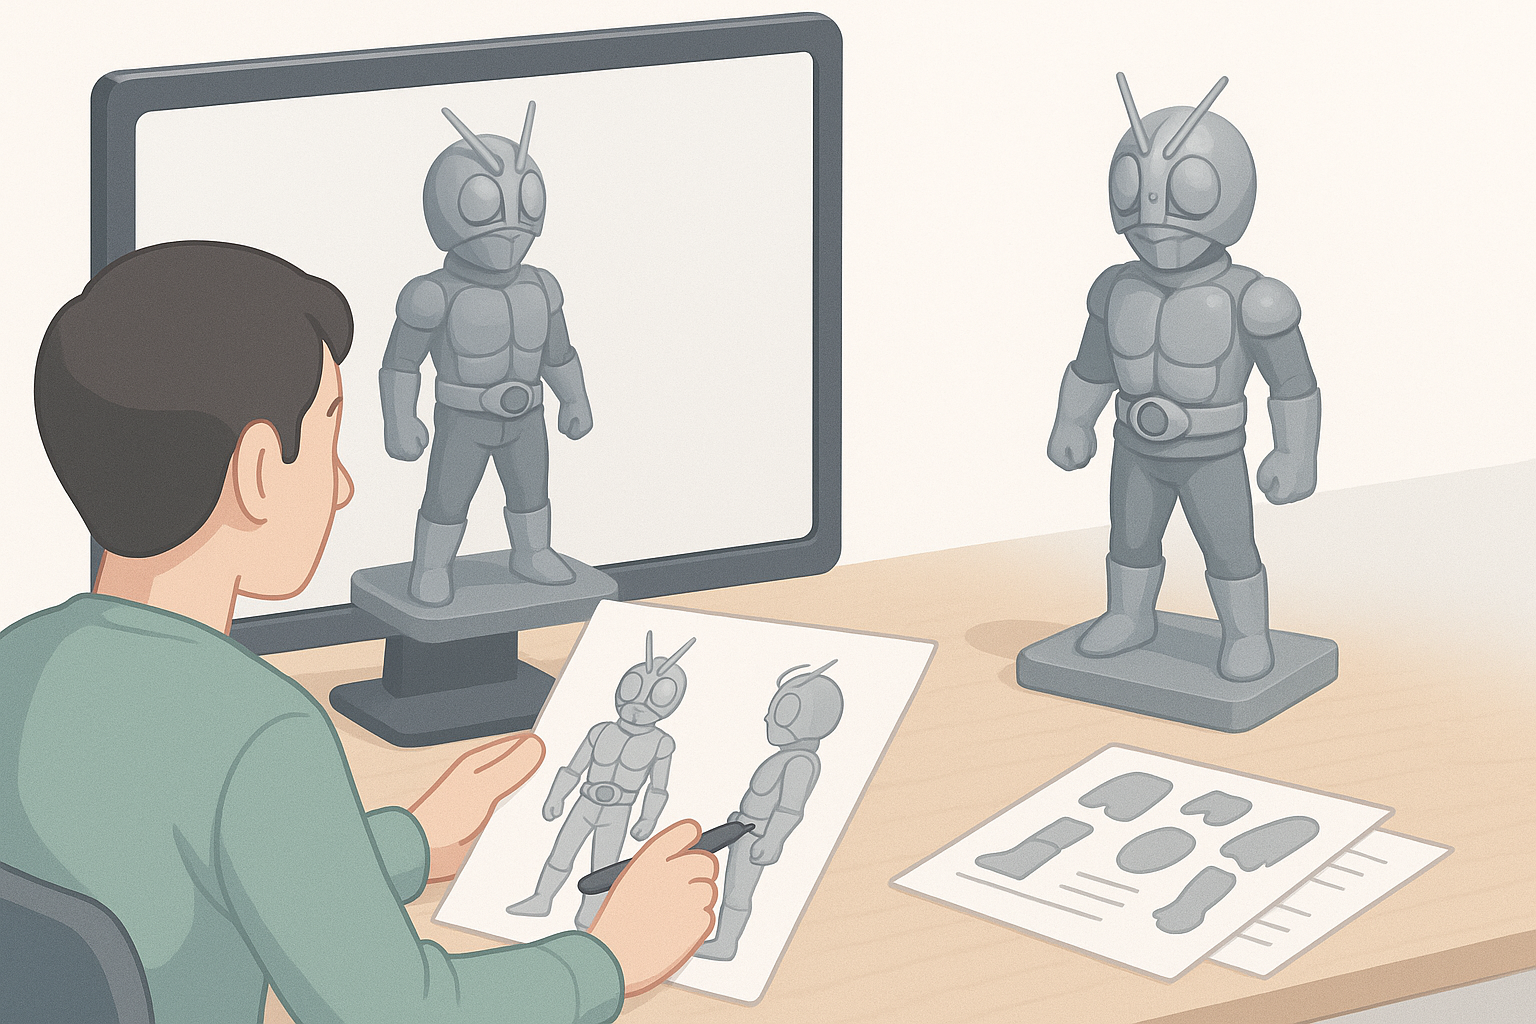
How I source accurate references and blueprints
I always start with high-resolution images from official sources, fan sites, and toy photography. Screen captures, pose sheets, and model kit instructions are invaluable for understanding proportions and mechanical details. When possible, I grab orthographic views for blueprinting.
Checklist:
- Official character sheets
- Toy/model kit photos (front, side, back)
- Close-ups of armor, helmet, and accessories
- Fan community resources
Tips for translating 2D designs into 3D print-ready concepts
Transitioning from 2D art to 3D means interpreting ambiguous angles and hidden details. I sketch blockouts or use Tripo’s sketch-to-3D feature for rapid prototyping. It’s important to exaggerate certain features for print clarity, and always check silhouette and part separation for assembly.
Pitfall: Overly thin or floating details often break during printing—reinforce or merge them early.
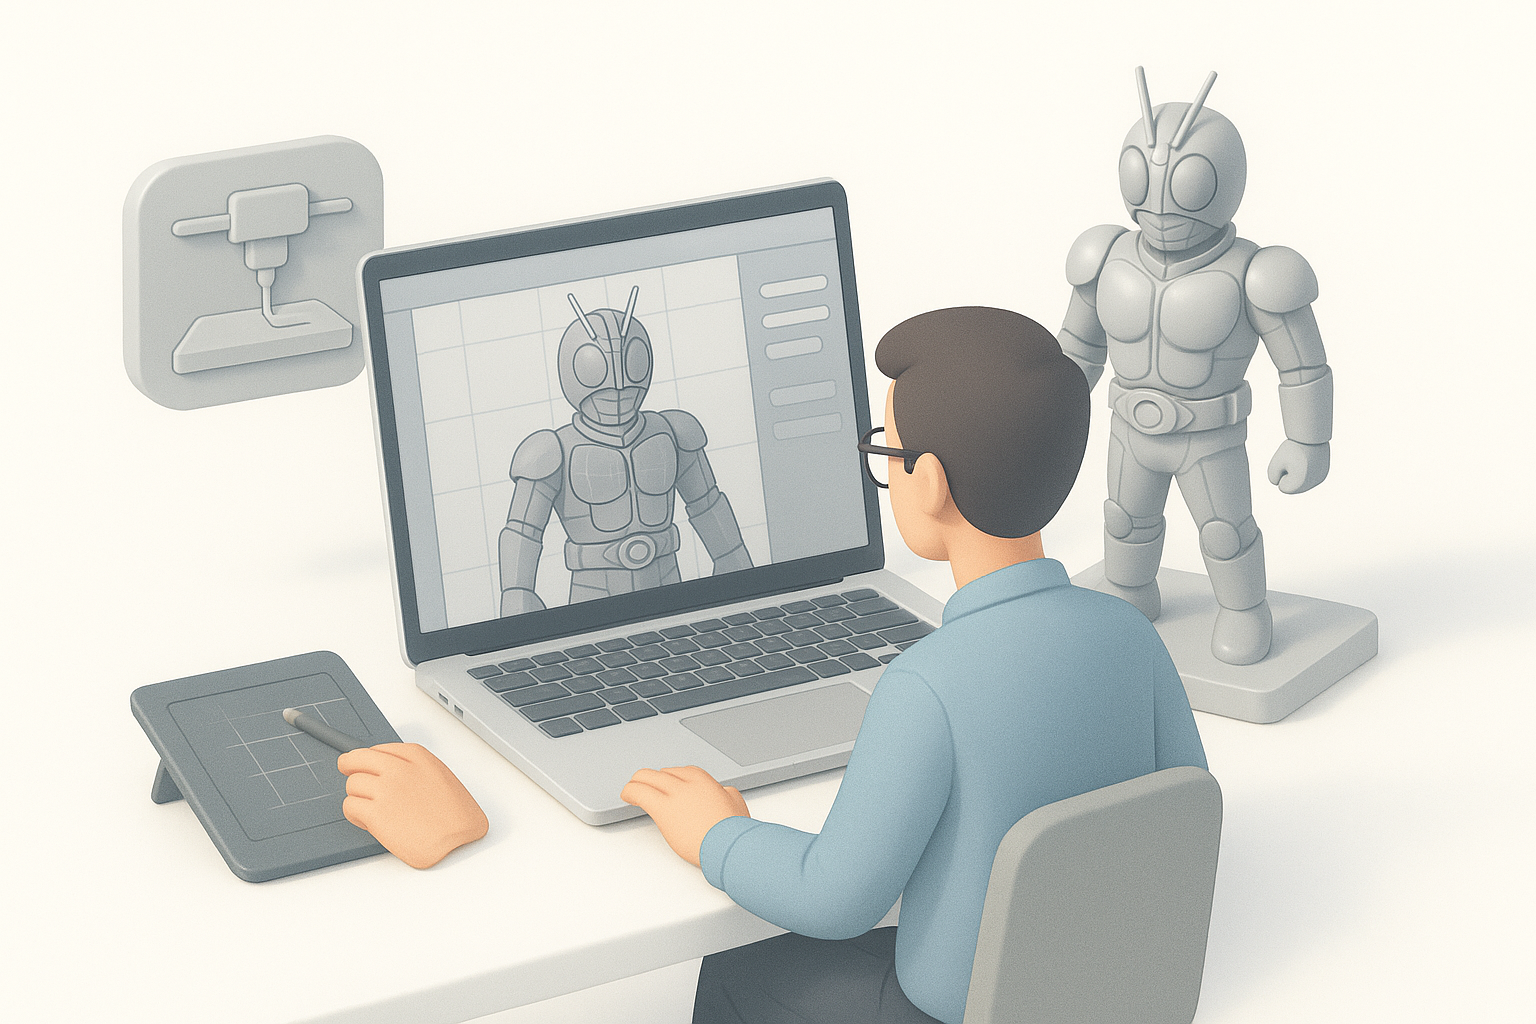
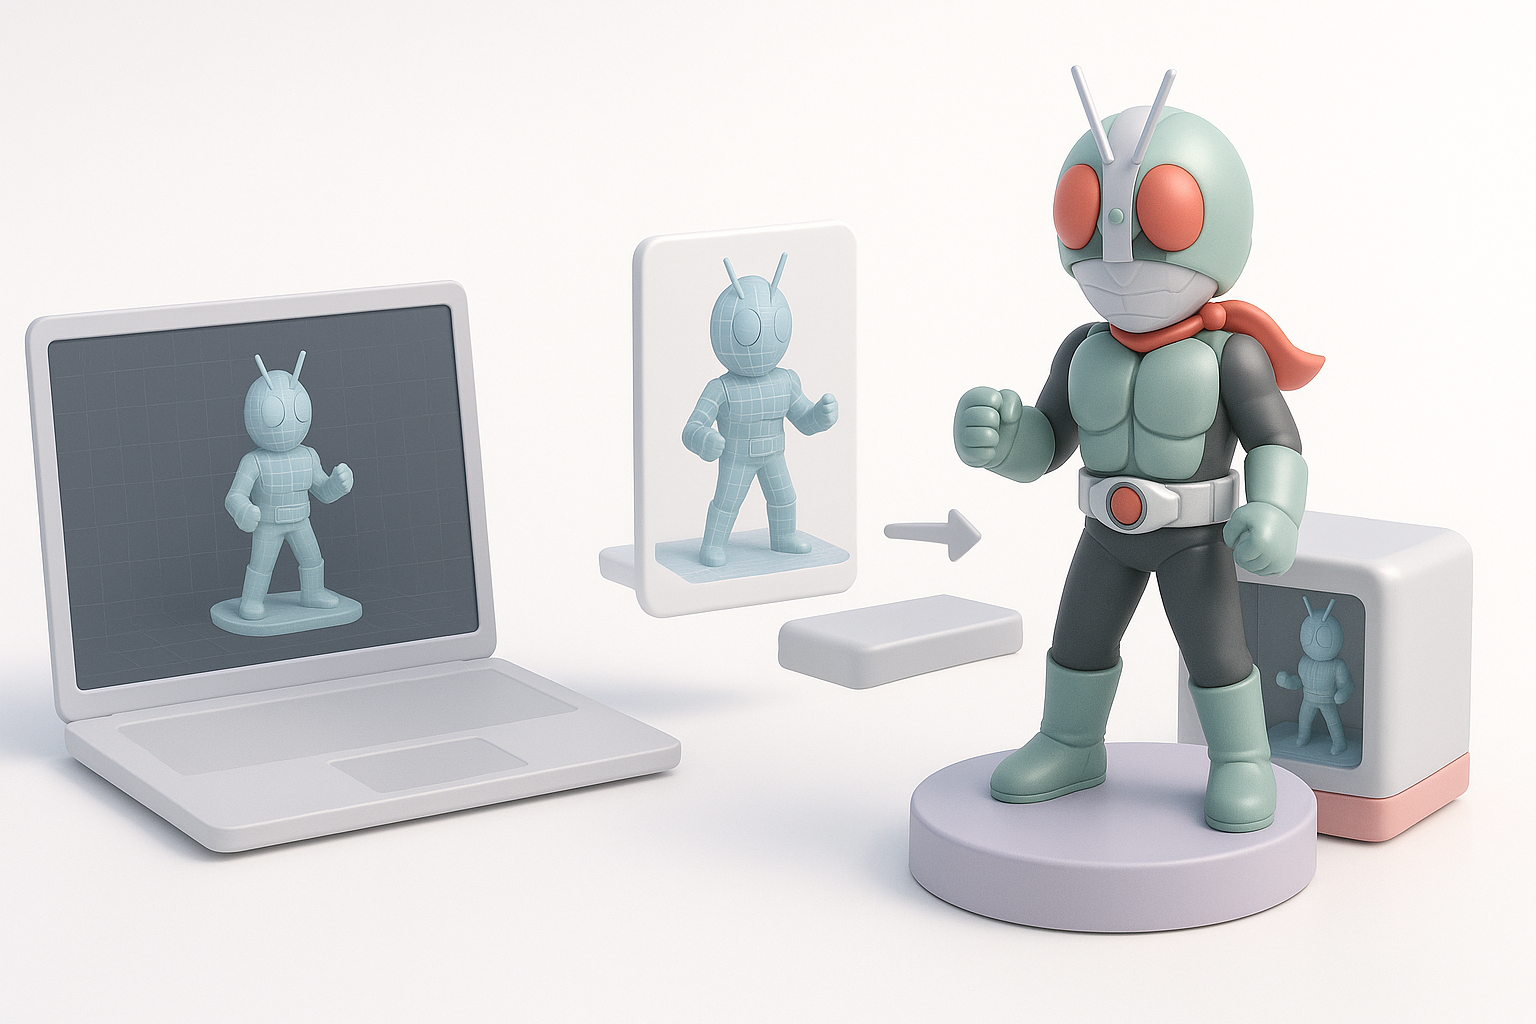
3D Modeling Best Practices for Kamen Rider Figures

My step-by-step modeling process
- Base Mesh Creation: I use AI tools to generate a rough base, then refine proportions manually.
- Detail Sculpting: Armor, helmet, and belt details are sculpted using subdivision modeling or digital clay.
- Part Segmentation: I split the model into logical parts (head, torso, limbs, accessories) for easier printing and painting.
Common challenges and how I solve them
- Complex Armor: I isolate armor pieces and create interlocking tabs for assembly.
- Tiny Accessories: For items like antennas or belts, I thicken and reinforce designs.
- Pose Accuracy: I work in a neutral pose for print, then re-pose digitally if needed.
Tip: Regularly check scale and printability using slicing previews.
Optimizing Models for 3D Printing
Retopology, segmentation, and watertight geometry
I always retopologize models to ensure clean, printable meshes. Tripo’s intelligent segmentation lets me quickly split parts and check for watertight geometry—critical for avoiding print failures.
Steps:
- Run auto-retopology for base mesh
- Manually inspect seams and holes
- Segment parts for multi-color or multi-material prints
Preparing parts for assembly and painting
I add alignment pegs, sockets, and registration marks to simplify assembly. For painting, I separate parts by color or material, minimizing masking needs.
Checklist:
- Add pegs and sockets at joints
- Separate parts by paint color
- Plan for sanding and priming access
Texturing and Detailing Techniques
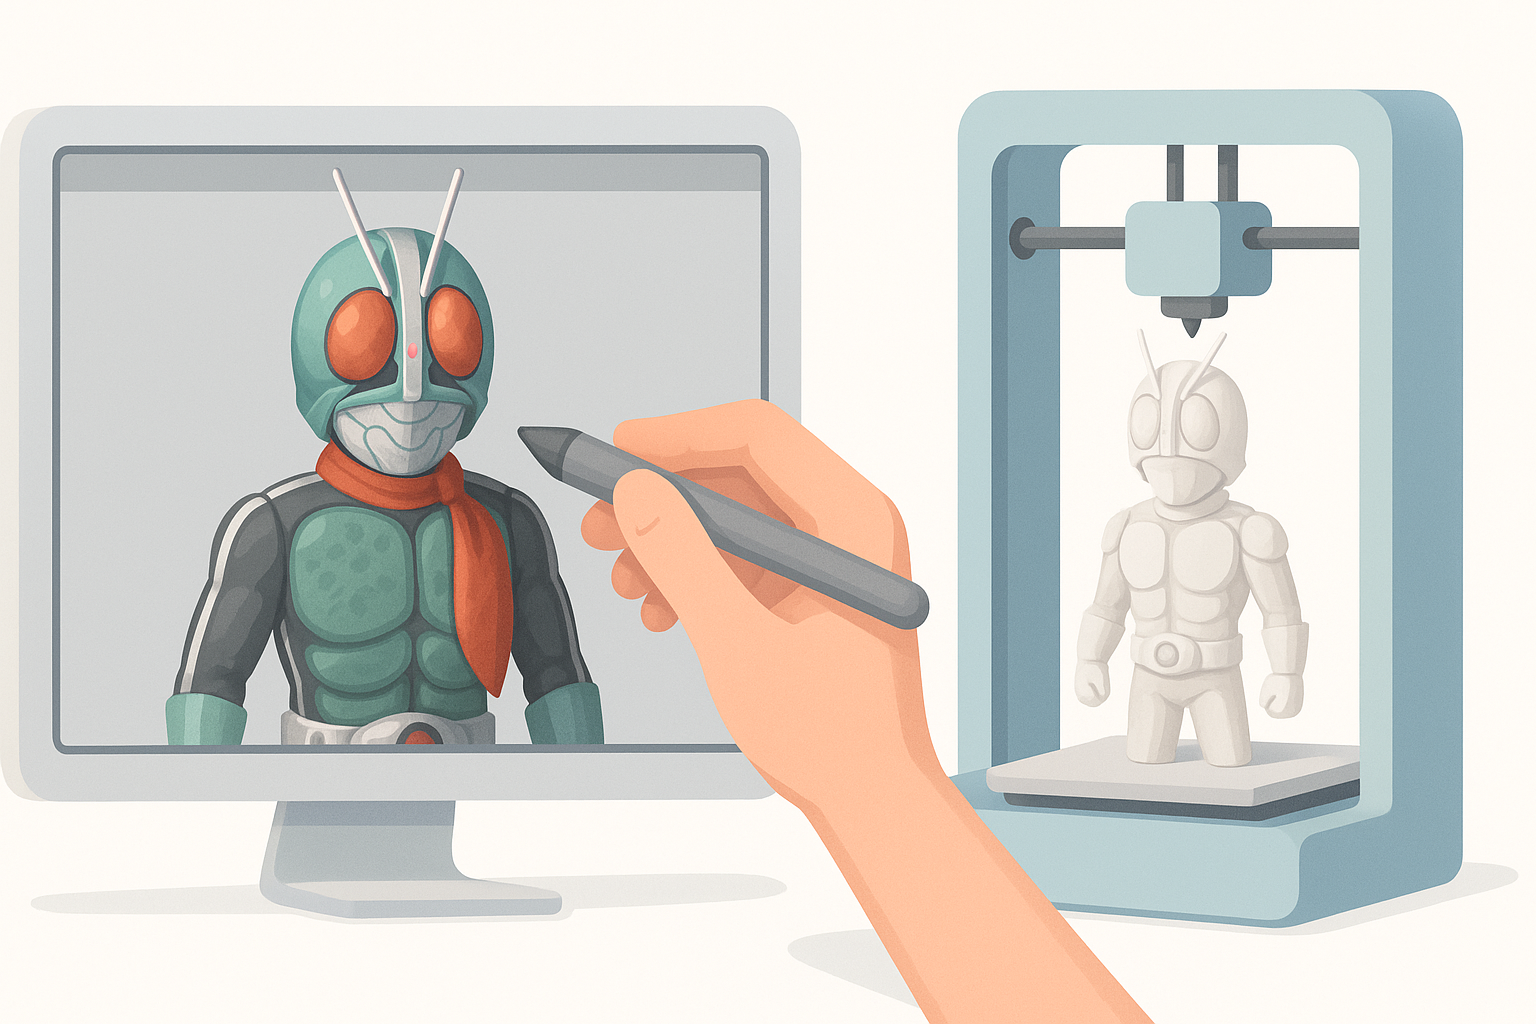
How I approach textures for print vs. digital display
For print, I bake details into geometry rather than relying on surface maps. Raised lines, panel edges, and emblem reliefs are modeled directly. For digital display, I use normal and texture maps for finer detail.
Tip: Avoid tiny surface textures that won’t show up after sanding and painting.
Adding fine details and surface features
I use AI-assisted texturing for quick base patterns, then manually sculpt emblems and armor lines. For print, I exaggerate depth and width to ensure paint adhesion and visual pop.
Pitfall: Overly shallow details often disappear after priming—test with a sample print.
Tool Comparison: AI Platforms and Traditional Methods
Where AI-powered tools streamline my workflow
Platforms like Tripo accelerate base mesh creation, segmentation, and basic texturing. This saves hours compared to manual box modeling, especially for complex characters.
Use cases:
- Rapid prototyping from sketches or images
- Automated retopology and part splitting
- Quick texture generation for reference
When I use manual modeling or alternative methods
For custom poses, intricate accessories, or highly stylized features, I revert to manual sculpting. Traditional tools give me full control for unique parts or when AI-generated results need refinement.
Tip: Combine AI and manual methods for best results—don’t rely solely on automation.
Exporting, Slicing, and Printing: My Workflow
Export settings and file formats I recommend
I export in STL for print, OBJ for multi-part assemblies, and ensure all meshes are manifold. Tripo’s export options simplify this process, but I always double-check scale and orientation.
Checklist:
- Export as STL (single parts) or OBJ (multi-part)
- Check scale (mm/cm)
- Ensure mesh is watertight and error-free
Slicing tips and troubleshooting common print issues
I use slicers to preview layer lines and support placement. Common issues: thin walls, overhangs, and unsupported details. I adjust orientation and add custom supports as needed.
Pitfall: Ignoring slicer feedback can lead to failed prints—always review previews.
Finishing Touches: Post-Processing and Painting
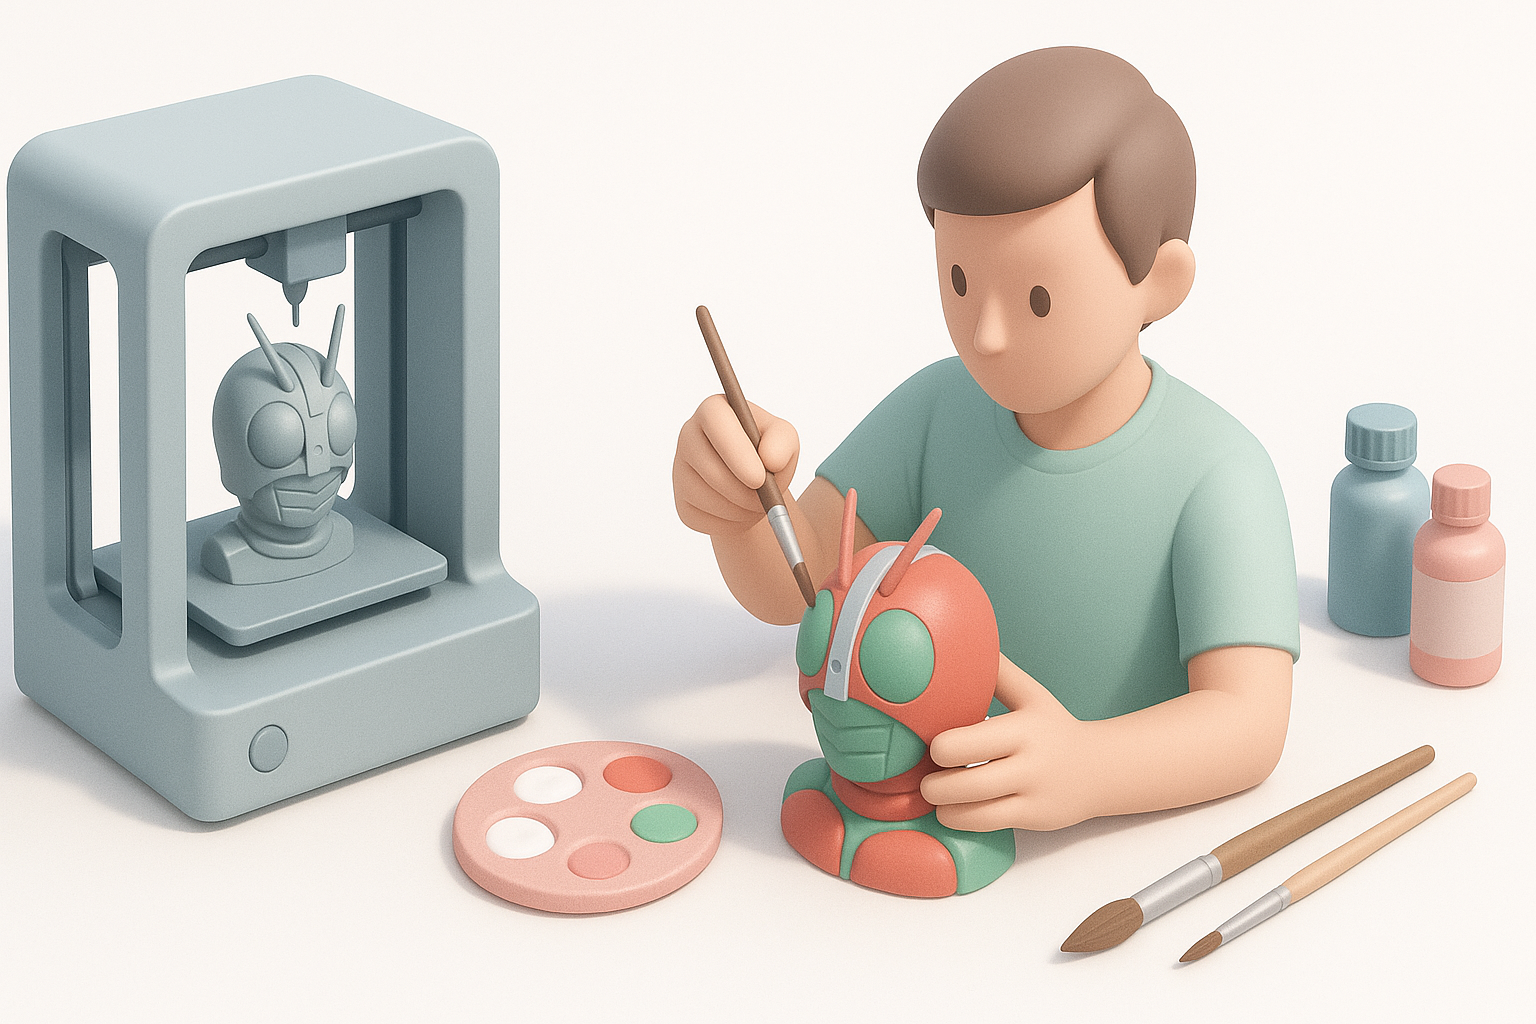
My approach to sanding, assembly, and priming
After printing, I sand seams and surface imperfections, dry-fit parts, and prime with filler spray. Alignment pegs help with clean assembly. I recommend several thin primer coats for best paint adhesion.
Steps:
- Sand seams and surfaces
- Dry-fit and glue parts
- Apply filler primer, sand again
Painting tips for authentic Kamen Rider finishes
I use airbrushes for base coats, masking tape for sharp color separations, and hand-paint details like emblems and belt accents. Reference real suits for color matching.
Tip: Gloss and metallic paints capture the Kamen Rider look—test on scrap before final application.
Frequently Asked Questions About Kamen Rider 3D Printing
Legal and copyright considerations
Kamen Rider is a copyrighted property. Personal projects are usually fine, but selling models or prints requires caution. Always respect IP guidelines and avoid commercial distribution without permission.
Where to find or share Kamen Rider 3D models
Fan communities and forums often share free models and tips. I recommend sharing your work in hobby groups, but avoid commercial marketplaces unless you have explicit rights.
Checklist:
- Use models for personal or educational purposes
- Credit original creators and sources
- Check copyright status before sharing or selling
Meta Description:
Learn expert workflows for creating, optimizing, and printing Kamen Rider 3D models. Discover best practices, tool comparisons, and finishing tips for stunning results.
Keywords:
kamen rider 3d models, 3d printing workflow, model optimization, texturing for print, ai 3d tools, tripo ai