Creating an Invincible 3D Model: Expert Workflow & Tips
Creating "invincible" 3D models—assets that are durable, versatile, and production-ready—has become essential across gaming, film, XR, and design. In my experience, building robust models requires a mix of solid fundamentals, smart use of AI tools, and meticulous attention to pipeline requirements. This article walks through my end-to-end workflow, shares best practices, and highlights how I combine manual expertise with AI-powered platforms like Tripo to deliver models that stand up to real-world demands. If you're aiming to streamline your 3D asset creation process and produce models that hold up under pressure, this guide is for you.
Key takeaways:
- Plan models with durability and flexibility in mind from the start.
- Use a structured workflow: concept, modeling, retopology, texturing, and testing.
- Clean topology and optimized UVs are non-negotiable for production-ready assets.
- AI tools like Tripo can dramatically speed up and simplify complex steps.
- Manual refinement is still crucial for quality and custom requirements.
- Regularly test models in target environments (game engines, XR, animation).
What Makes a 3D Model 'Invincible'?
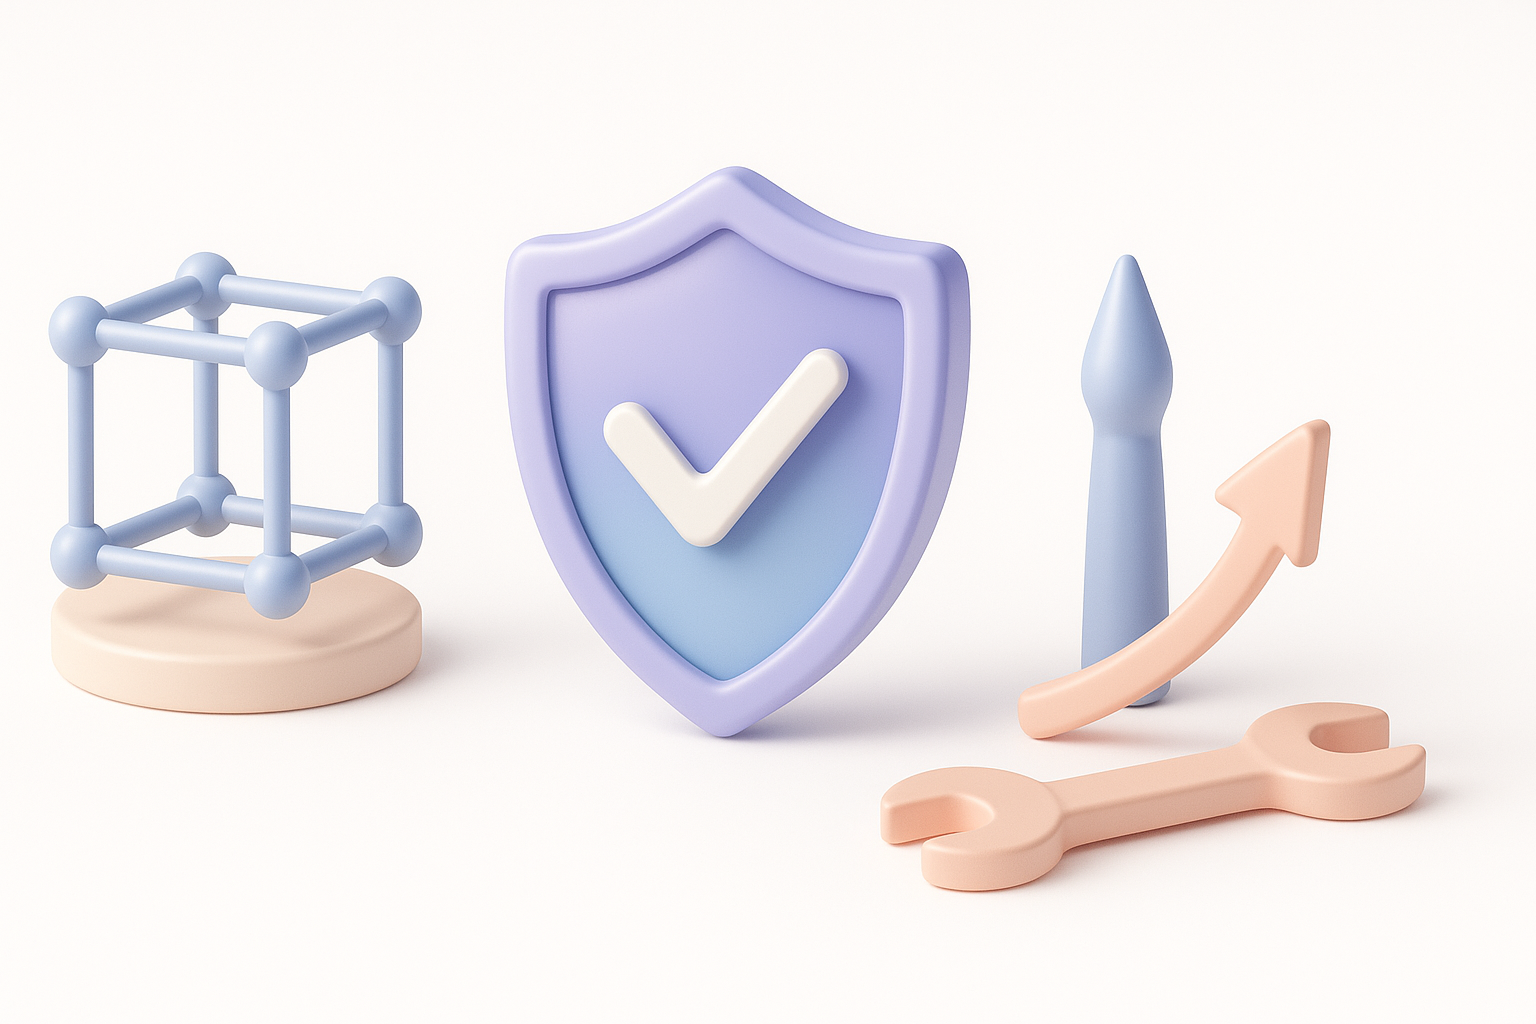
Defining Durability and Versatility in 3D Assets
When I call a 3D model "invincible," I mean it’s structurally sound, easily adaptable, and ready for anything the production pipeline throws at it. This includes clean geometry, logical mesh flow, and compatibility with various rendering or animation systems. An invincible model isn’t just visually appealing—it’s built to withstand rigging, animation, and real-time rendering without breaking or requiring costly rework.
Checklist:
- Consistent polygon density
- Logical edge flow for deformation
- Non-overlapping, optimized UVs
- Scalable for different resolutions/platforms
Common Use Cases Requiring Robust Models
From my projects, the most critical use cases are:
- Games: Models need to support LODs, dynamic animation, and real-time performance.
- Film/Animation: High detail and flawless deformation for close-ups.
- XR/AR: Lightweight yet detailed assets, optimized for mobile hardware.
If a model is going to be reused, repurposed, or rigged, it must be built to handle those scenarios from the outset.
My Step-by-Step Workflow for Building Invincible 3D Models
Concept to Completion: Planning and References
My workflow always starts with a clear brief and strong references. Rushing into modeling without a plan almost always leads to rework.
Steps I follow:
- Gather and organize references (photos, sketches, style guides).
- Define target platforms and technical constraints.
- Sketch or block out the model to clarify proportions and silhouette.
Tip: I keep a checklist of technical requirements (polycount, texture size, animation needs) visible throughout the process.
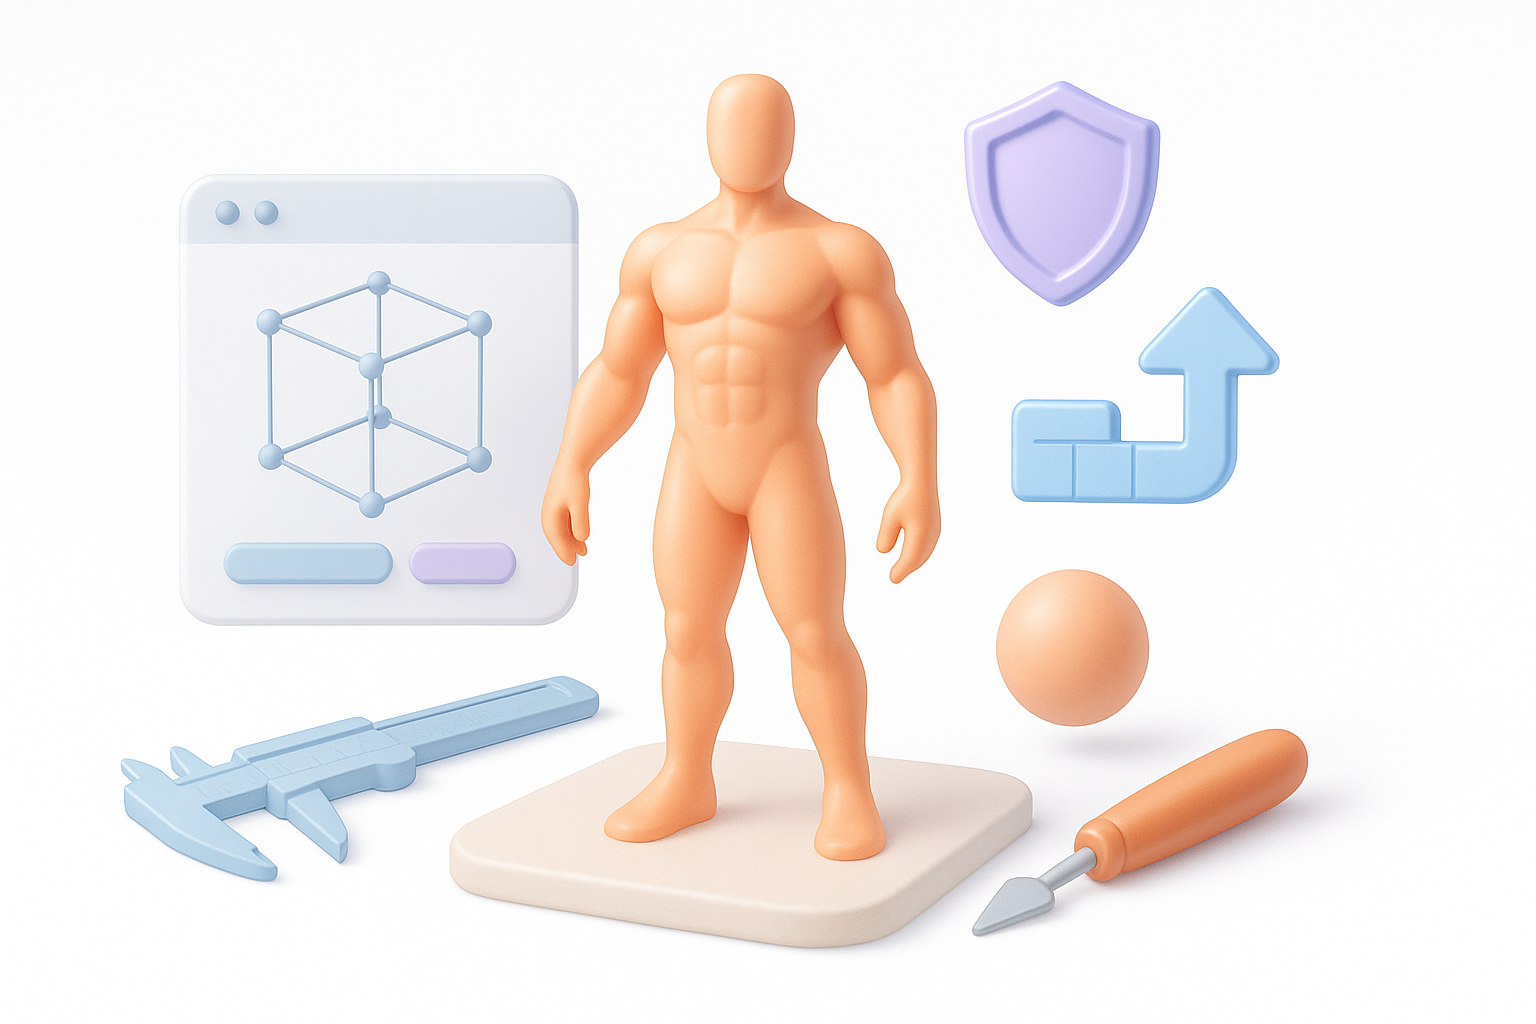
Efficient Modeling, Retopology, and Texturing Techniques
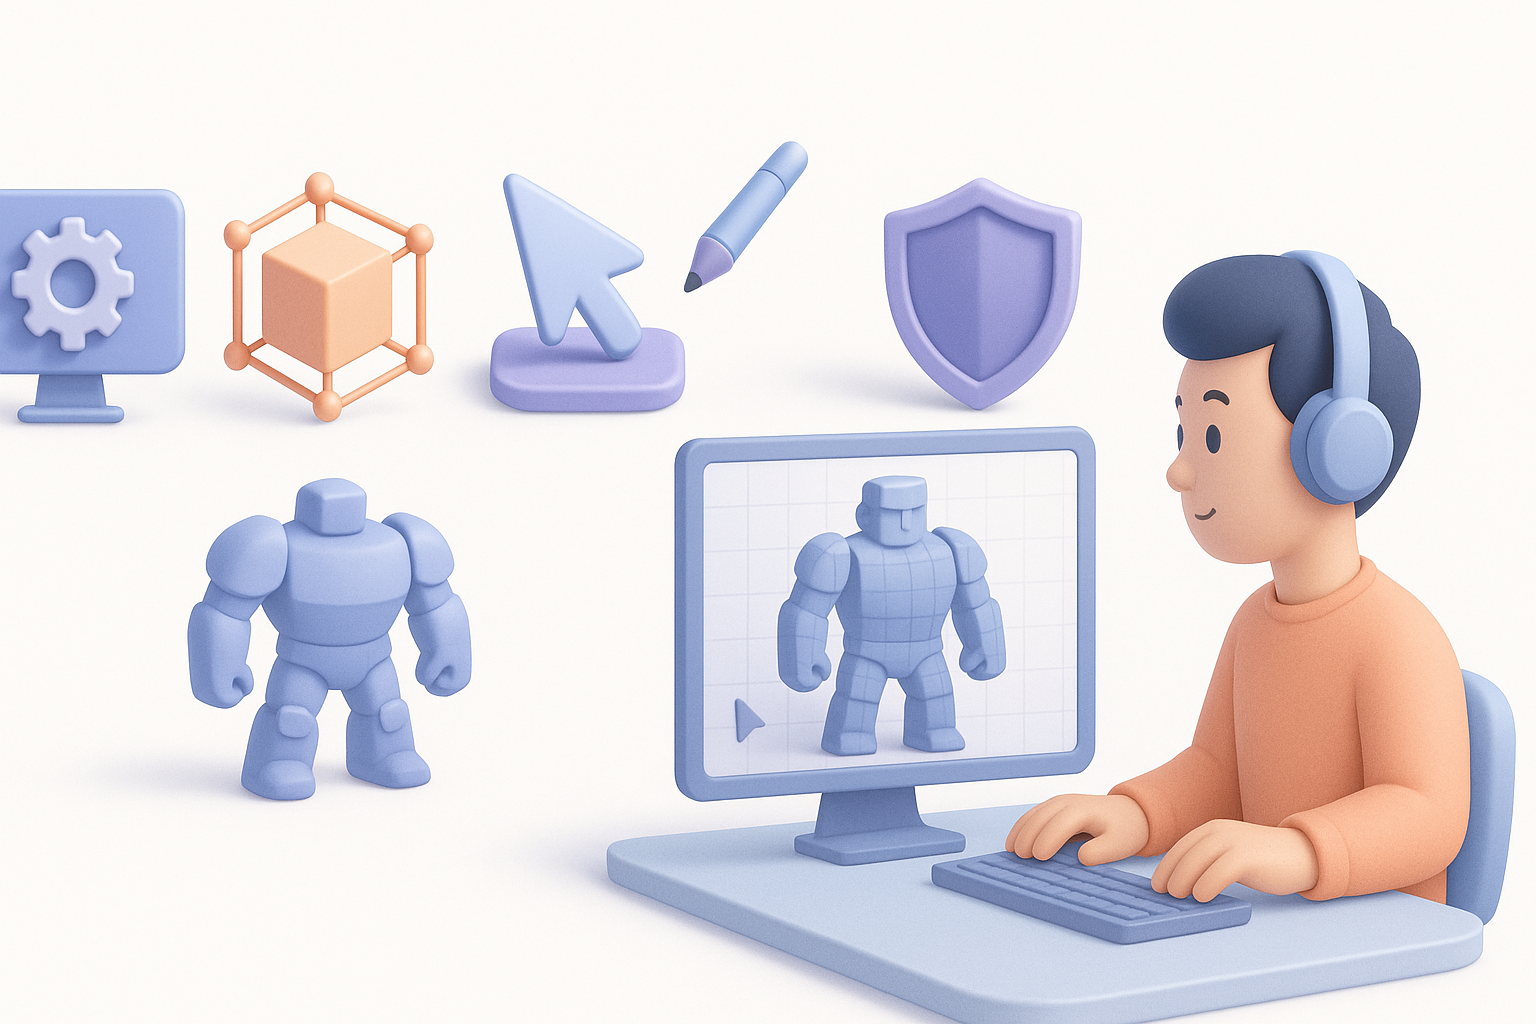
Once the concept is locked, I move to efficient base mesh creation. I often use AI platforms like Tripo to generate a starting point from text or sketches, which saves hours on blocking out forms.
My process:
- Use AI tools for quick base mesh generation.
- Manually retopologize for clean edge flow if needed.
- UV unwrap with attention to logical seams and efficient space usage.
- Texture using procedural tools or AI-generated maps, refining by hand for custom details.
Pitfall to avoid: Don’t skip retopology—AI-generated meshes often need cleanup for animation or real-time use.
Best Practices for Production-Ready 3D Models
Ensuring Clean Topology and Optimal UVs
Clean topology is the backbone of invincible models. I always check for:
- Even quad distribution
- No unnecessary poles or n-gons
- Edge loops that support deformation
For UVs, I prioritize:
- Minimal seams in visible areas
- Uniform texel density
- No overlapping (unless intentional for mirrored textures)
Quick check: Run automated topology and UV checks in your tool of choice, but always do a manual pass.
Testing for Animation, Rigging, and Real-Time Use
I test models in their intended environment early and often:
- Import into the target game engine or DCC tool.
- Apply basic rigs and check for deformation issues.
- Test material setups and LODs.
Tip: I use lightweight animation rigs to quickly spot problem areas in joints or facial regions.
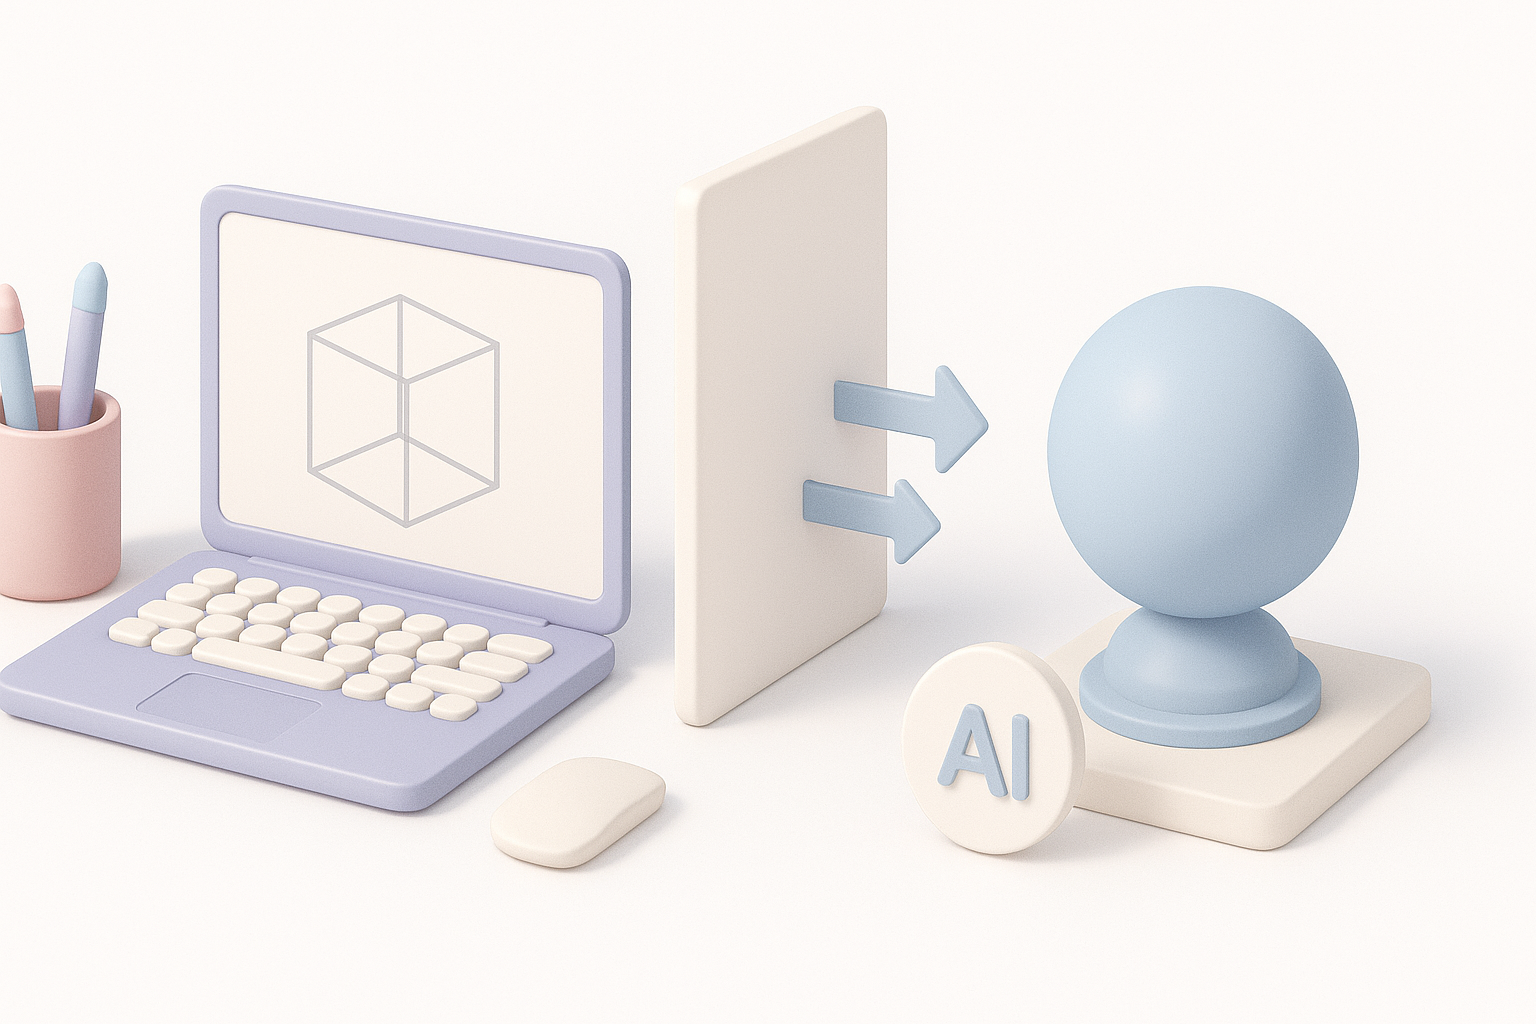
Leveraging AI Tools to Accelerate Invincible Model Creation
How I Integrate AI Platforms into My Workflow
AI platforms like Tripo have become essential for me, especially in the early and mid-stages of modeling. I use them to:
- Generate base meshes from text, images, or sketches.
- Auto-retopologize high-res sculpts.
- Quickly create base textures and material maps.
This lets me focus manual effort where it matters—final polish and custom details.
Tips for Combining AI with Manual Refinement
While AI tools accelerate the process, I always:
- Inspect and clean up geometry post-generation.
- Refine textures manually for unique surface details.
- Adjust topology for specific rigging or deformation needs.
Mini-checklist:
- Always review AI outputs for hidden mesh errors.
- Use AI as a starting point, not a finished product.
- Save versions before and after manual edits for easy rollback.
Comparing Manual and AI-Assisted 3D Model Creation
Strengths and Limitations of Each Approach
Manual Creation:
- Strengths: Full control, custom topology, artistic nuance.
- Limitations: Time-consuming, repetitive for common assets.
AI-Assisted Creation:
- Strengths: Rapid prototyping, auto-retopology, accessible for non-experts.
- Limitations: May require cleanup, less control over fine details.
When to Choose One Method Over the Other
I typically use AI-assisted workflows for:
- Early-stage ideation and rapid asset generation.
- Projects with tight deadlines or large asset counts.
Manual methods are my go-to for:
- Hero assets needing high fidelity.
- Complex deformation or custom animation requirements.
Pro tip: Blend both approaches—AI for speed, manual for precision.
Troubleshooting and Optimizing Your 3D Model

Common Issues and How I Fix Them
Frequent problems I see:
- Non-manifold geometry or flipped normals: Fix with mesh cleanup tools and manual inspection.
- UV stretching or seams: Re-unwrap or adjust UV islands for better distribution.
- Animation artifacts: Refine topology around joints, add support loops.
Troubleshooting steps:
- Run automated mesh checks.
- Manually inspect problem areas.
- Iterate fixes, testing in target environment after each change.
Performance Optimization for Games and XR
For real-time use, I always:
- Reduce polycount without sacrificing silhouette.
- Bake normal and occlusion maps for detail.
- Use texture atlases to minimize draw calls.
- Test in-engine for frame rate and visual fidelity.
Checklist for optimization:
- LODs set up and tested
- Texture sizes balanced for target platform
- No unused materials or hidden geometry
By following a structured, AI-augmented workflow and prioritizing clean, optimized assets, I consistently deliver 3D models that are truly "invincible"—ready for whatever production throws at them.